
1. Topic 생성하기
🚀 map으로 topic 한번에 생성하기
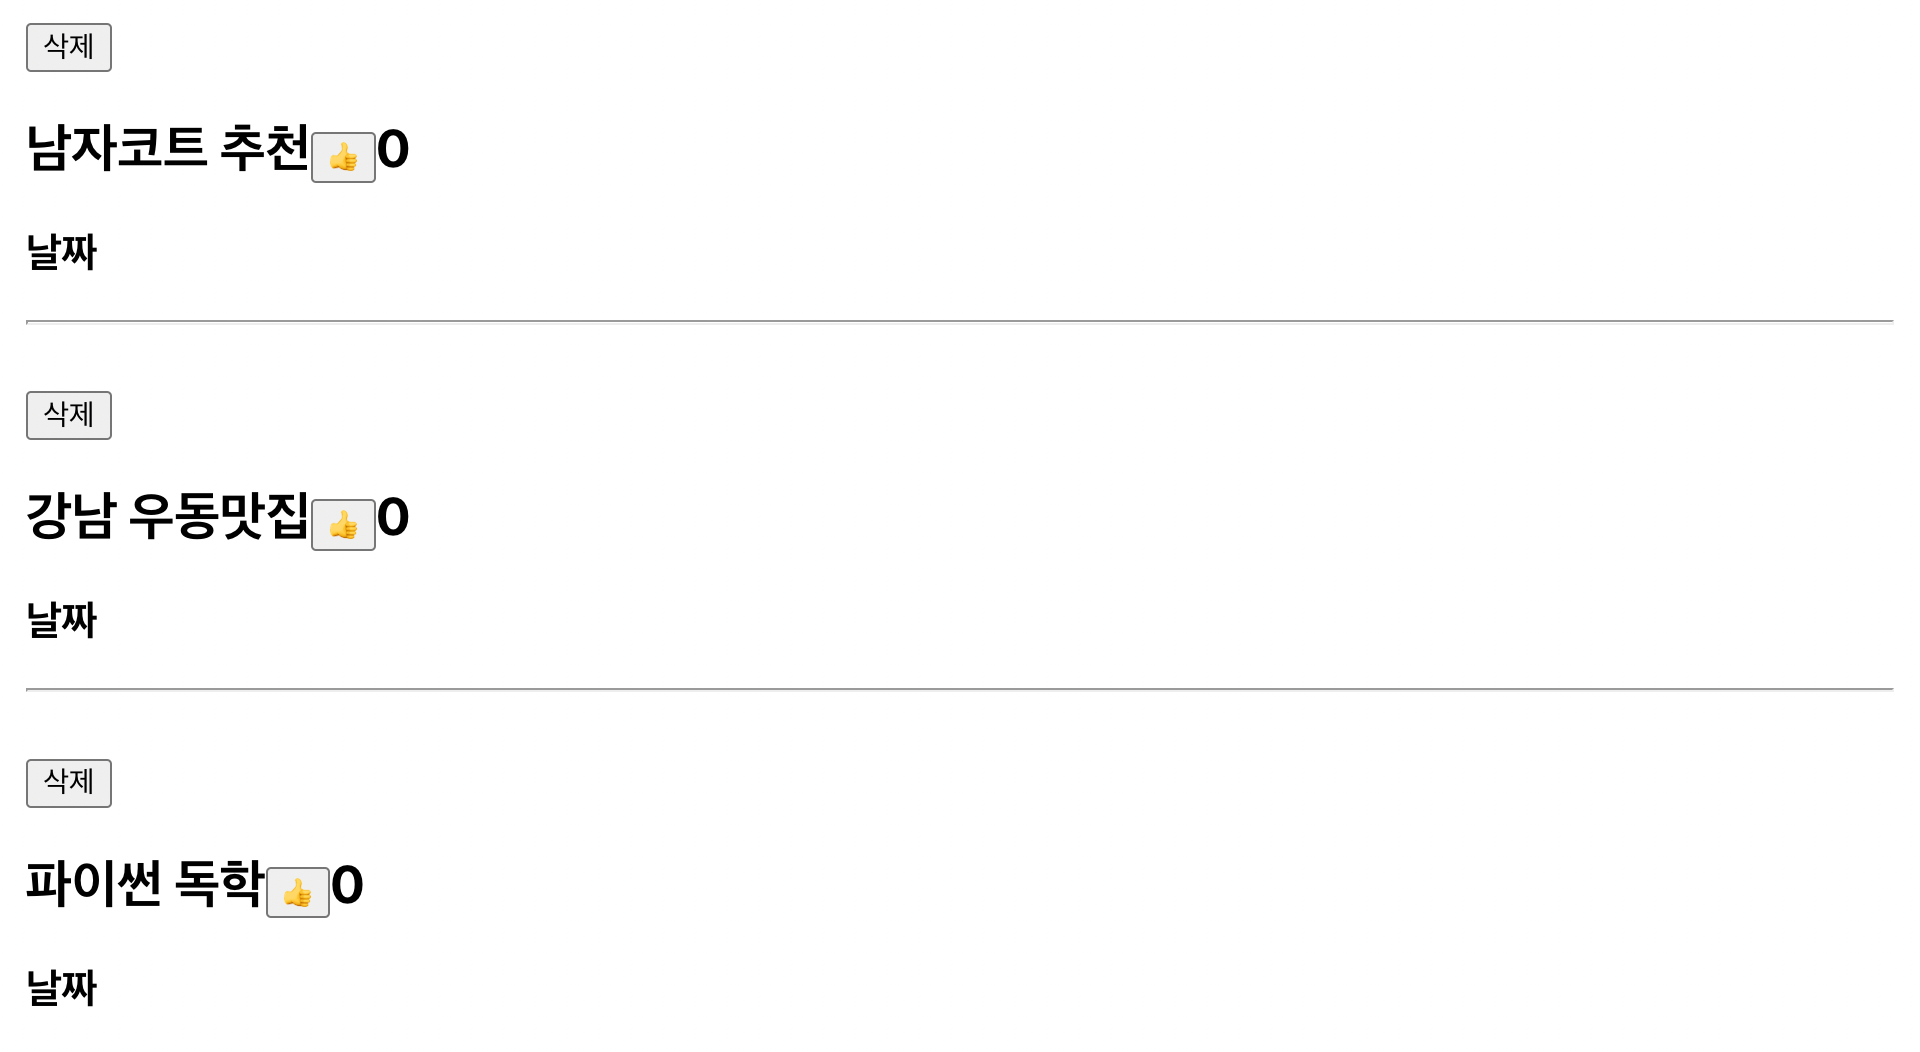
  const [topic, setTopic] = useState([
    "남자코트 추천",
    "강남 우동맛집",
    "파이썬 독학",
    "운동하기",
  ]);
  const ViewTopic = topic.map((a, i) => {
    return (
      <div className="list" key={i}>
        <button>삭제</button>
        <h2>{a}{/* {topic[i]}도 가능함 */}
          <button>👍</button>
          <span>{like[i]}</span>
        </h2>
        <h3>{date}</h3>
        <hr />
      </div>
    );
  });
- 위와 같이 배열자체를 topic으로 넣고, map 함수를 사용하면
topic에 따라서 사용할 수 있음- 배열.map((a,i)=>{})은 배열의 개수만큼 반복해서 실행하는데, 인자 a를 넣으면 하나씩 넣고, i는 배열의 인덱스 값을 하나씩 넣음.
- 따라서 {a}도 가능하고, topic[i]가 결국 같은 값을 반복해서 넣어주는 것.
🚀 동적인 UI 만드는 step
1. html css로 미리 디자인 완성
2. ui의 현재 상태를 state로 저장
3. state에 따라 ui가 어떻게 보일지 작성
🚀 map 함수를 활용한 html 반복생성
[array].map(function(){})
1. 왼쪽에 있는 array 자료만큼 내부코드 실행해줌
2. return 오른쪽에 있는 걸 array로 담아줌
3. 유용한 파라미터 2개 사용가능 파라미터 1개만 있을 때는 array안의 데이터를 나타내고
4. 파라미터 2개만 있을 때 2번째 변수는 0부터 array개수만큼 1씩 증가시킴
2. 새로운 topic을 생성하기

  const [content, setContent] = useState("");

  const inputChange = (event) => {
    console.log(event);
    setContent(event.target.value);
    console.log(content);
  };

  const plusContent = () => {
    let plusTopic = [...topic];
    plusTopic.unshift(content);
    setTopic(plusTopic);
  };
🚀 state활용
- 위와 같이 유저가 입력한 값을 추가하기 버튼을 누르면 topic의 새로운 배열의 최상단에 추가하고자 한다.
- 아래와 같은 step으로 구상해야함
- input의 onChange로 입력값을 추적해야함
- 추가하기 버튼을 누르면 input의 값이 topic 배열 맨 앞에 위치해야함
- topic이 변경되어서 topic.map이 리렌더링 되면서 추가하기 (map 함수가 re-rendering이 됨)
3. 상세페이지 만들기
🚀 상세페이지
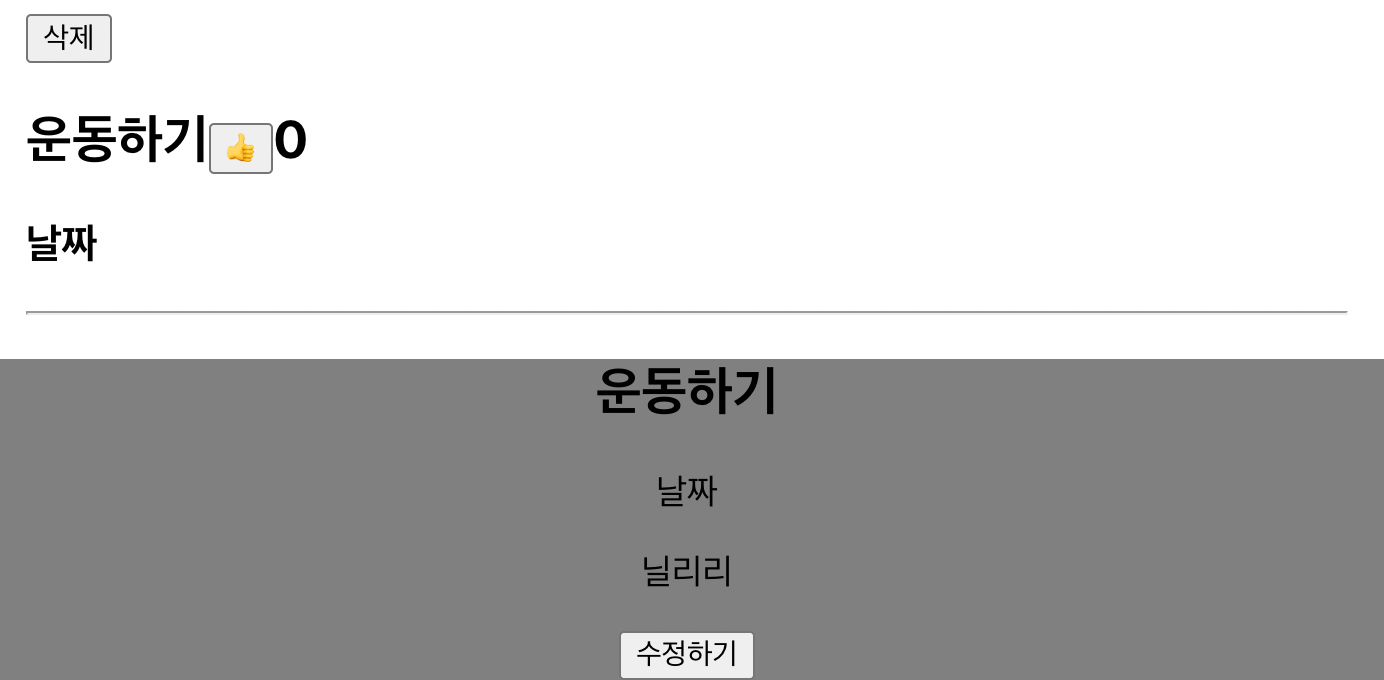
🚀 modal 만들기
<Modal
detail={detail}
title={title}
change={handleChange}
topic={topic}
/>
const Modal = (props) => {
  return (
    <div className="modal">
      <h2>{props.topic[props.title]}</h2>
      <p>날짜</p>
      <p>{props.detail[props.title]}</p>
      <button onClick={props.change}>수정하기</button>
    </div>
  );
};
- 외부에서 component를 생성하면 state값을 받아올 수 없다. 이 때 부모요소의 props를 통해 값을 받아올 수 있는데
- 이 때 부모에서 자식 컴포넌트를 리턴할 때 해당 값을 전달해줄 변수를 만들어야함
- 변수를 만들었으면 인자 값에 props를 입력하고 props.topic이런식으로 불러올 수 있음.
🚀 topic 클릭에 따라서 modal 보여주고,닫기
<h2
onClick={() => {
  modal == true ? setModal(false) : setModal(true);
}}
{
 modal == true ? (
  <Modal
  detail={detail}
  title={title}
  change={handleChange}
  topic={topic}
  />
 ) : null
}
- 스위치를 state를 통해서 true or false로 만들어주고, 클릭시 modal 값이 변하게 한뒤 삼항연산자로 modal를 만들어줄 수 있음.
4. 삭제 및 좋아요 버튼 만들기
  const ViewTopic = topic.map((a, i) => {
    return (
      <div className="list" key={i}>
        <button
          onClick={() => {
            let deleteTopic = [...topic];
            deleteTopic.splice(i, 1);
            setTopic(deleteTopic);
          }}
        >
          삭제
        </button>

         <button
            className<="like"
            onClick={(event) => {
              event.stopPropagation();
              let newLike = [...like];
              newLike[i] = newLike[i] + 1;
              setLike(newLike);
            }}
          >
            👍
          </button>
🚀 map안에서 클릭 활용
- onClick 했을 경우 topic을 삭제해주고, splice로 해당 값을 삭제해주면 된다.
- map 함수안에서의 값을 활용할 때는 무조건 map함수 안에서 함수를 선언해줘야만 그 값을 활용할 수 있음.
- 만약 좋아요를 클릭했을 때 해당 좋아요만 바꾸고 싶을 경우에도 배열을 새롭게 만들어서 사용할 것.
5.클래스로 footer 만들기
import React, { Component } from "react";

export default class Pracitceclass extends Component {
  constructor() {
    super();
    this.state = { name: "ctaag", age: 30 };
  }
  changeName() {
    this.setState({ name: "Park" });
  }
  render() {
    return (
      <footer>
        <br />
        <br />
        <br />
        <h3>footer입니다.</h3>
        <p> {this.state.name}의 블로그입니다.</p>
        <button onClick={this.changeName.bind(this)}>버튼</button>
      </footer>
    );
  }
}
🚀 클래스 활용
- 컨스트럭터 안에 this.state안에 객체를 전달해서 state값을 받고,
- 버튼 클릭시 state값을 변경하고 싶다면, this.함수.bind(this)를 하면됨
- 만약 bind(this)를 안하고 싶다면, changeName을 화살표함수로 만들어주면 됨
6. 전체코드 및 이미지

export default function State() {
  const [topic, setTopic] = useState([
    "남자코트 추천",
    "강남 우동맛집",
    "파이썬 독학",
    "운동하기",
  ]);
  const [date, setDate] = useState("2021.5.6");
  const [like, setLike] = useState([0, 0, 0, 0]);
  const [modal, setModal] = useState(false);
  const [title, setTitle] = useState(0);
  const [detail, setDetail] = useState([
    "남자코트는 무조건 인사일런스지",
    "강남은 사실 우동보단 라멘임",
    "코딩 독학엔 코딩애플",
    "닐리리",
  ]);
  const [content, setContent] = useState("");

  const handleSort = () => {
    let newSort = [...topic];
    setTopic(newSort.sort());
  };

  const handleChange = () => {
    let newTopic = [...topic];
    newTopic[0] = "여자코트 추천";
    setTopic(newTopic);
  };

  const inputChange = (event) => {
    setContent(event.target.value);
  };

  const plusContent = () => {
    let plusTopic = [...topic];
    plusTopic.unshift(content);
    setTopic(plusTopic);
  };

  const ViewTopic = topic.map((a, i) => {
    return (
      <div className="list" key={i}>
        <button
          onClick={() => {
            let deleteTopic = [...topic];
            deleteTopic.splice(i, 1);
            setTopic(deleteTopic);
          }}
        >
          삭제
        </button>
        <h2
          onClick={() => {
            modal == true ? setModal(false) : setModal(true);
            setTitle(i);
          }}
        >
          {a}
          {/* {topic[i]}도 가능함 */}
          <button
            className="like"
            onClick={(event) => {
              event.stopPropagation();
              let newLike = [...like];
              newLike[i] = newLike[i] + 1;
              setLike(newLike);
            }}
          >
            👍
          </button>
          <span>{like[i]}</span>
        </h2>
        <h3>{date}</h3>
        <hr />
      </div>
    );
  });

  return (
    <div className="App-container">
      <div className="black-nav">
        <h1>개발 BLOG</h1>
      </div>
      <button onClick={handleChange}>버튼</button>
      <button onClick={handleSort}>정렬</button>
      <br />
      <button onClick={plusContent}>추가하기</button>
      <input onChange={inputChange}></input>
      {ViewTopic}
      {modal == true ? (
        <Modal
          detail={detail}
          title={title}
          change={handleChange}
          topic={topic}
          date={date}
        />
      ) : null}
    </div>
  );
}

const Modal = (props) => {
  return (
    <div className="modal">
      <h2>{props.topic[props.title]}</h2>
      <p>{props.date}</p>
      <p>{props.detail[props.title]}</p>
      <button onClick={props.change}>수정하기</button>
    </div>
  );
};

프로그래밍으로 지속가능한 세상을 꿈꾸며