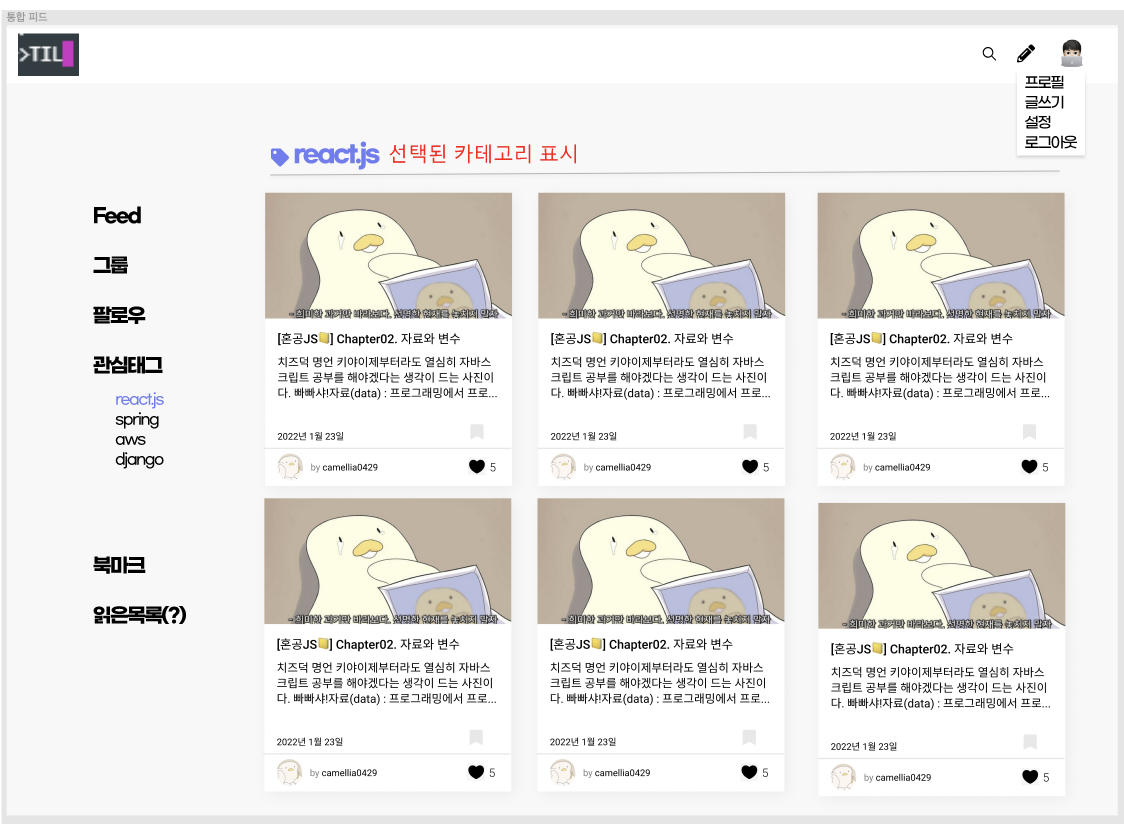
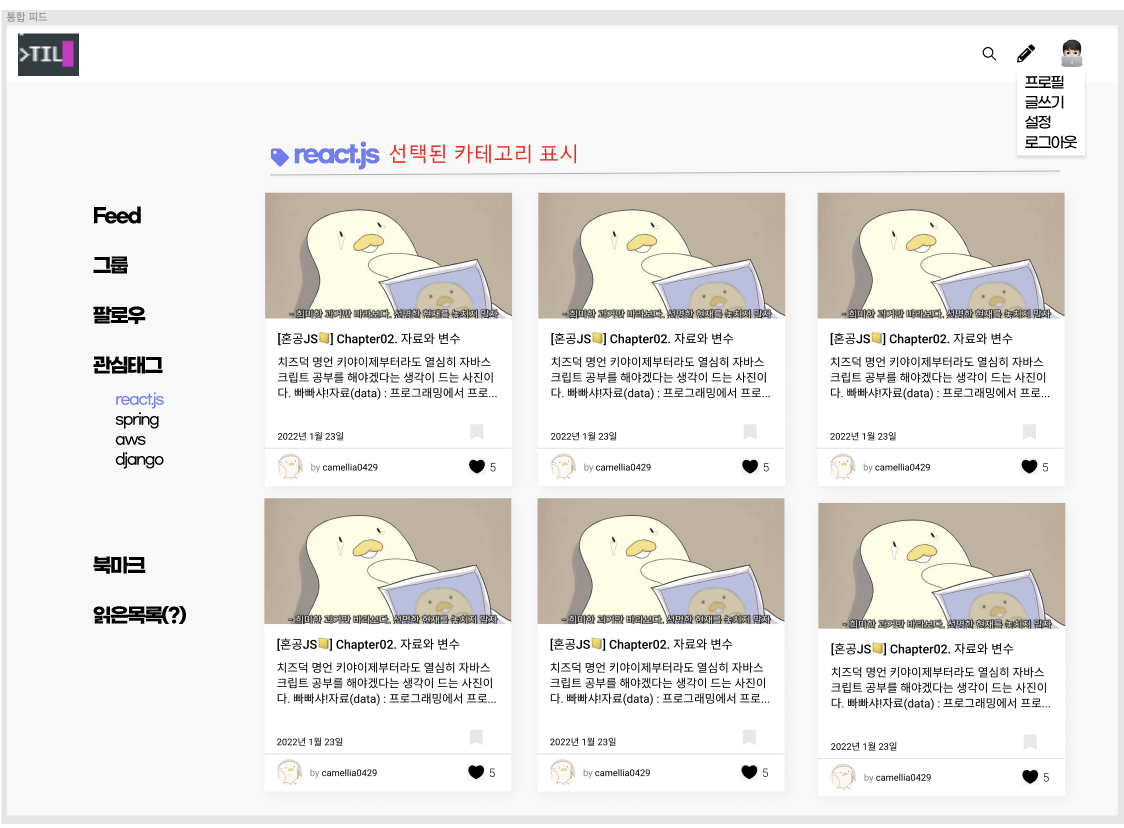
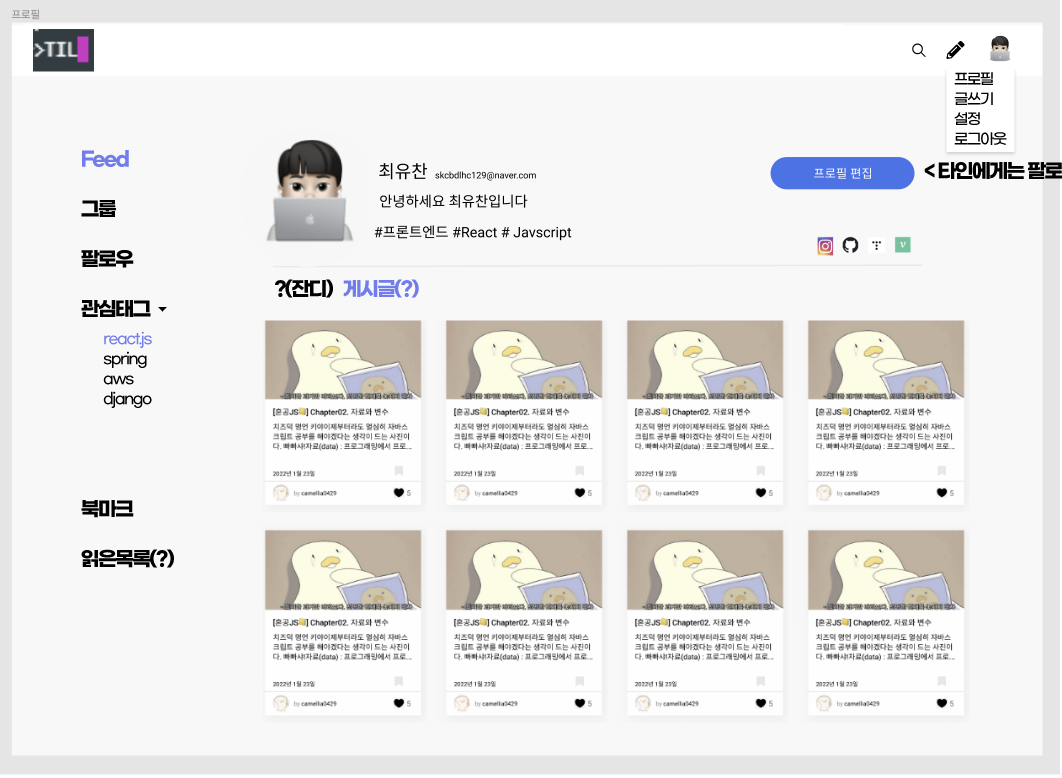
진행하던 프로젝트에서 기본 페이지의 디자인을 구성했다.


나는 페이지의 기본적인 레이아웃 구조와, 피드를 구성하는 페이지에 대한 개발을 맡게 되었다. 사진에서 보이는 navbar, sidebar 그리고 반응형까지 구현해야했다.
우선 반응형 레이아웃 구조를 구현했다.
react-responsive
npm install react-responsivereact-responsive에서 제공하는 useMdeiaQuery 훅을 이용해 763px을 기준으로 반응형을 구현했다. 이 ResponsiveLayout이라는 컴포넌트가 Route를 감싸는 형태로 만들었다. 따라서 해당 Route에서 랜더링 하려는 컴포넌트가 이 children의 요소로 들어오게 된다.
/// src/layouts/responsive.layout.js
import React from 'react';

import { useMediaQuery } from 'react-responsive';

import DesktopLayout from './desktop.layout';
import MobileLayout from './mobile.layout';

const ResponsiveLayout = ({ children }) => {
  const Desktop = () => {
    const isDesktop = useMediaQuery({ minWidth: 768 });
    return isDesktop && <DesktopLayout>{children}</DesktopLayout>;
  };

  const Mobile = () => {
    const isMobile = useMediaQuery({ maxWidth: 767 });
    return isMobile && <MobileLayout>{children}</MobileLayout>;
  };

  return (
    <div>
      <Desktop />
      <Mobile />
    </div>
  );
};

export default ResponsiveLayout;
위에서 말했듯이 ResponsiveLayout 컴포넌트가 Route를 감싸고 있다. path="/"에 해당하는 url로 접속하면, PostList 컴포넌트가 위에 children으로 들어가는 것이다.
// src/App.js
import React from 'react';
import { BrowserRouter, Route, Routes } from 'react-router-dom';
import GlobalStyles from 'styles/GlobalStyles';
import 'semantic-ui-css/semantic.min.css';
import 'styles/fonts.css';

import ResponsiveLayout from 'layouts/responsive.layout';
import PostList from 'components/PostList/PostList';

const App = () => {
  return (
    <>
      <GlobalStyles />
      <Router>
        <ResponsiveLayout>
          <Routes>
            <Route path="/" element={<PostList />} />
          </Routes>
        </ResponsiveLayout>
      </Router>
    </>
  );
};

export default App;
sidebar가 피드의 카테고리를 정해주는 기능이라, 피드를 보여주는 페이지에서만 sidebar를 보여주고 다른 페이지에서는 로고를 눌러 메인 페이지로 이동하기로 결정해서 useLoaction을 이용하여 메인 페이지에서만 사이드바를 보여주도록 했다.
그리고 위에서 정의한 children을 props로 받아 보여준다.
// src/layouts/desktop_layout.js
import React from 'react';
import { useLocation } from 'react-router-dom';
import TopNavbar from 'components/Navbar/DesktopNavbar';
import SideBar from 'components/Sidebar/DesktopSidebar';
import COLOR from 'constants/color.constant';

const DesktopLayout = (props) => {
  const location = useLocation();
  return (
    <div
      style={{
        backgroundColor: `${COLOR.BACKGROUND}`,
        width: '100%',
        height: '100%',
      }}
    >
      <TopNavbar />
      <div
        style={{
          display: 'flex',
          justifyContent: 'center',
          maxWidth: '1170px',
          margin: 'auto',
          height: 'auto',
        }}
      >
        // 메인 페이지에서만 사이드바 렌더링
        {location.pathname === '/' ? <SideBar /> : null}
        <div style={{ width: '100%', height: '100%', marginTop: '7rem' }}>{props.children}</div>
      </div>
    </div>
  );
};

export default DesktopLayout;
// src/layouts/mobile_layout.js
import React from 'react';
import MobileSideBar from 'components/Sidebar/MobileSidebar';
import MobileNavbar from 'components/Navbar/MobileNavbar';
import COLOR from 'constants/color.constant';
const MobileLayout = (props) => {
return (
<div
style={{
backgroundColor: `${COLOR.BACKGROUND}`,
width: '100%',
}}
>
<MobileNavbar />
<div
style={{
display: 'flex',
justifyContent: 'center',
maxWidth: '1170px',
margin: 'auto',
marginTop: '4rem',
height: '100%',
}}
>
<MobileSideBar />
<div>{props.children}</div>
</div>
</div>
);
};
export default MobileLayout;근데 원하는대로 기능을 구현하긴 했지만, children이라는 개념이 아직 헷갈렸다. 그래서 자료들을 찾아보며 다시 공부를 했다.
결과 화면
사이트의 완성본이라 초반 작업할 때의 화면은 아니지만 이런식으로 모바일과 데스크탑이 잘 구분되는 것을 볼 수 있다.
.gif)
참고
https://velog.io/@pyo-sh/React-Responsive
https://github.com/likelion-kookmin/daedong-food-map/tree/develop/frontend/src/layouts
.gif)