로그인
- 이메일과 비밀번호로 로그인한다.
→ 이메일과 비밀번호를 body에 담아서 POST방식으로 요청
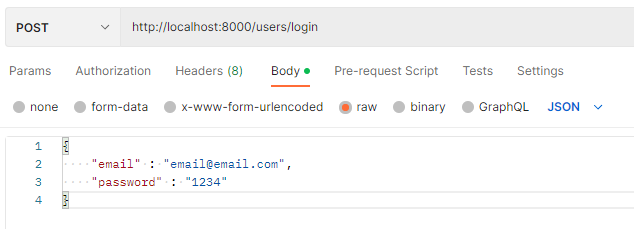
postman에서 POST요청하기
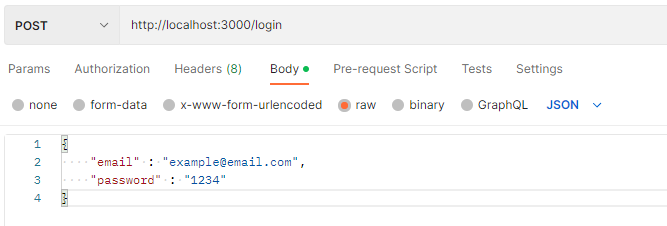
React에서 POST 요청하기
- idInput과 pwInput의 값을 받아와서 서버에 보낸다.
→ 응답으로 토큰을 받아온다.
⇒ 로컬 스토리지에 토큰 저장!
//id Input과 password Input
const id = useRef();
const pw = useRef();

//로그인 - POST방식 요청 보내기
const handleLogin = () => {
    fetch("http://localhost:3000/login", {
      //method의 기본값은 GET이므로 POST일때는 반드시 명시해야 한다.
      method: "POST",
      headers: {
        "Content-Type": "application/json",
      },
      //body에 JSON타입 데이터를 문자열로 바꿔서 body에 넣는다.
      body: JSON.stringify({
        //input에 담긴 현재 값
        email: id.current.value,
        password: pw.current.value,
      }),
    })
      // 응답을 받아서 JSON타입으로 만든다.
      .then((response) => response.json())
      // 받은 데이터에서 토큰을 브라우저(localStorage)에 저장한다.
      .then((json) => localStorage.setItem("token", json.token));
  };
토큰으로 유저 정보 불러오기
- 위에서 로그인 후 받은 토큰을 header에 넣어서 요청하면 다시 로그인 할 필요가 없다.
- 이번에는 토큰으로 유저 정보를 받아와보자.
- 아래 예제에서는 토큰을 header에 넣어서 GET요청을 하면 서버에서 유저의 이메일을 응답받을 수 있다.
postman에서 GET 요청하기

React에서 GET 요청하기
  const [userEmail, setUserEmail] = useState();

  useEffect(() => {
    //1. localStorage에서 토큰 가져오기
    const token = localStorage.getItem("token");

    //2. 토큰이 없을 수도 있다!
    if (!token) {
      alert("사용자가 아닙니다.");
      return;
    }
    //토큰이 있다면 해당 토큰을 headers에 첨부해서 요청하자!
    fetch("http://localhost:8000/users/me", {
      method: "GET",
      headers: {
        token: token,
      },
    })
      //응답받은 데이터를 JSON타입으로 파싱
      .then((response) => response.json())
      //받은 데이터에서 email을 가져와 필요한 곳에 사용한다.
      .then((json) => setUserEmail(json.email));
  }, []);

프론트엔드 개발자를 꿈꾸는 사람( •̀ ω •́ )✧
꿀같은 글 잘 읽고 갑니다~
빠이띵! :)