Testrail은 API를 지원하고 있고, Authentication 및 API를 이용한 TestPlan / Testrun 작성 및 Testcase 결과 갱신, 기타 파일의 첨부를 지원하기 위해 라이브러리를 여러 언어로 배포하고 있습니다.
Testrail API
Learn how to access and use TestRail’s API to integrate automated testing frameworks, submit test results, and automate various other aspects of TestRail via simple HTTP requests. Also, see below for a list of available bindings (libraries) for various programming languages.
The API is HTTP-based and can thus be used from virtually any framework, programming language and tool. Submitting data to TestRail via the API is done via simple POST requests. Requesting data is done through GET requests. All requests and responses use the JSON format and UTF-8 encoding.
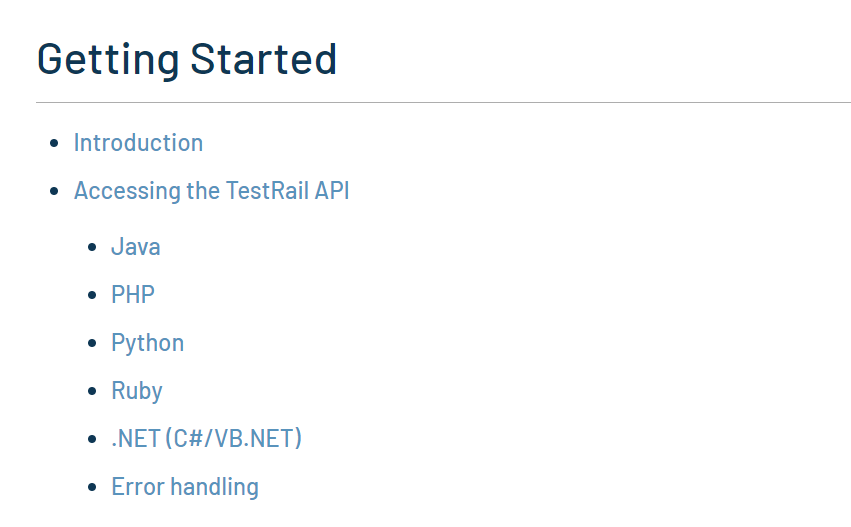
API라이브러리는 위와 같은 언어로 제공되고 있습니다.
Testrail에서 API를 사용하기 위해선, 일단 아래의 설정에서 사용허가를 해주셔야합니다.
Administration > Site Settings > API
Authentication (인증)
인증에는 두 가지 방법이 있는데, 모두 basic 방법으로 인증합니다. 라이브러리를 사용하면, 라이브러리 사용자는 해당 방법에 대해 신경쓰지 않고 매우 간편하게 사용할 수 있습니다.
Username and Password
Testrail의 username과 password를, base64로 encoding한 후 해당 값을 basic authorization으로 권한을 확인하는 방법입니다. 간편한 방법이지만 testrail password가 주기적으로 변경되는 경우에는 추천하지 않습니다.
Username and API Key
Password대신에 API Key를 Username과 함께 base64로 encoding한 후 사용합니다. password가 자주 바뀐다면, 이 방법이 편합니다.
My Settings 에서 API Key를 발급할 수 있습니다.
API Library(Binding): Java
저는 Java를 통해 구현하였으므로, Java로 설명하겠습니다.
Setup & Installation
홈페이지 에서 라이브러리가 담긴 압축파일을 다운받고, 설치하고자 하는 프로젝트의 java 폴더 하위 어느곳에나 import하신 다음 사용하면 됩니다.
또한 json handling을 위해 외부 library를 사용합니다. 보통 intelliJ 사용하신다면, import문을 알아서 확인하고 maven이나 gradle에서 알아서 설치해주긴 할 것이나, 다른 개발도구라면 직접 추가해주셔야 겠습니다.
첫 object의 초기화는 아래와 같습니다.
import com.gurock.testrail.APIClient;
import com.gurock.testrail.APIException;
import java.util.Map;
import java.util.HashMap;
import org.json.simple.JSONObject;

public class Program
{
	public static void main(String[] args) throws Exception
	{
		APIClient client = new APIClient("http://<server>/testrail/");
		client.setUser("..");
		client.setPassword("..");

		..
	}
}
단, Constructor로 넘겨주는 baseuri 로는 각각의 소속에 맞게 설정해주시면 됩니다. API Key를 사용하시는 분들은, setPassword() 에 API Key를 설정해주시면 됩니다.
GET Request
APIClient client = new APIClient("http://<server>/testrail/");
client.setUser("..");
client.setPassword("..");
JSONObject c = (JSONObject) client.sendGet("get_case/1");
System.out.println(c.get("title"));
사용하고자 하는 Endpoint가 GET 이라면, sendGet() 를 사용해줍니다. 돌아오는 리턴값은 json이므로 적절히 핸들링해주면 됩니다.
POST Request
Map data = new HashMap();
data.put("status_id", new Integer(1));
data.put("comment", "This test worked fine!");
JSONObject r = (JSONObject) client.sendPost("add_result_for_case/1/1", data);
대부분의 Testrail의 API는 POST 로 보내게 되어있습니다. 이때는 라이브러리의 sendPost() 를 사용하면 됩니다.
이 때 같이 전송하는 값들은 hashMap의 형태로 같이 보내주시면 됩니다.
Attachment Request
테스트를 진행하다보면, 증거자료로 화면의 캡쳐 등을 첨부해야하는 경우가 많이 있을 것 입니다. 특히나 실패하는 경우라면 더더욱 그럴 것 입니다. testrail에서는 간편하게 파일을 첨부할 수 있는 메소드를 제공합니다.
JSONObject j = (JSONObject) client.sendPost("add_attachment_to_result/1",
					"C:\\screenshot.JPG");
이 때 첨부하고자 하는 파일의 전체경로를 같이 기재해주어야합니다. sendPost() 내부에서, Endpoint를 판단하고, attachment가 기재되어있다면, 알아서 업로드 해줍니다.
"Content-Type", "multipart/form-data" 도 내부에서 처리해줍니다.
Endpoint들에 대해서는 아래 페이지에서 참고하시고 사용하시면 될 것 같습니다.
https://www.gurock.com/testrail/docs/api/reference
Ref