
🔐 개발과 서버 환경 분리하기
💾 서버 환경 파일 작성(application-prod.properties)
- 경로 :
/sbb/src/main/resources/application-prod.properties
# DATABASE
spring.h2.console.enabled=true
spring.h2.console.path=/h2-console
spring.h2.console.settings.web-allow-others=true
spring.datasource.url=jdbc:h2:~/local
spring.datasource.driverClassName=org.h2.Driver
spring.datasource.username=sa
spring.datasource.password=0817

# JPA
spring.jpa.properties.hibernate.dialect=org.hibernate.dialect.H2Dialect
spring.jpa.hibernate.ddl-auto=update
spring.jpa.properties.hibernate.format_sql=true
spring.jpa.properties.hibernate.show_sql=true
✅ spring.datasource.password에 비밀번호를 설정
✅ 외부에서 H2 콘솔에 접속이 가능하도록 spring.h2.console.settings.web-allow-others=true 설정을 추가
💾 build.gradle 파일 수정
group = 'com.mysite'
version = '0.0.2-SNAPSHOT'

java {
	sourceCompatibility = '17'
}
버전을 수정하였다!
💾 변경 내용 서버에 적용하기
데이터베이스에 비밀번호를 설정했기 때문에 기존에 있던 데이터베이스 파일들을 모두 지워야 한다.
만약 기존의 데이터를 유지하고 싶다면 비밀번호를 설정하기 전에 H2 콘솔에 접속하여 비밀번호를 변경하는 쿼리를 수동으로 실행해야 한다. (예: ALTER USER sa SET PASSWORD '1234';)
ubuntu@ip-172-26-8-5:~$ rm local.mv.db
ubuntu@ip-172-26-8-5:~$ ls
리스트에 db파일이 삭제된 것이 확인된다.

💾 start.sh 파일 수정
ubuntu@ip-172-26-8-5:~/sbb$ nano start.sh#!/bin/bash
JAR=sbb-0.0.2.jar
LOG=/home/ubuntu/sbb/sbb.log
nohup java -Dspring.profiles.active=prod -jar $JAR > $LOG 2>&1 &새로 업로드한 sbb-0.0.2.jar를 적용하고 -Dspring.profiles.active=prod 옵션을 주어 스프링부트가 실행되도록 설정했다.
이처럼 -Dspring.profiles.active=prod 옵션을 주어 실행하면 스프링 부트는 application.properties 파일 대신 application-prod.properties을 사용한다. 즉 application-{profile}.properties와 같은 규칙을 따른다.
💡 spring_profiles_active 환경변수 사용하기
-Dspring.profiles.active=prod옵션 대신spring_profiles_active환경변수를 설정하는 방법도 있다. spring_profiles_active 환경 변수를 사용하려면 start.sh 을 다음과 같이 수정하자.#!/bin/bash JAR=sbb-0.0.2.jar LOG=/home/ubuntu/sbb/sbb.log export spring_profiles_active=prod nohup java -jar $JAR > $LOG 2>&1 &
🚫 서버에서 h2 콘솔 접속 시 403 에러 발생
h2-console there was an unexpected error (type=forbidden, status=403).
🔑 해결방안
🔑 시큐리티에 빈 추가 (SecurityConfig.java)
@Bean
public WebSecurityCustomizer webSecurityCustomizer() {
	    return (web) -> web.ignoring()
	            .requestMatchers(new AntPathRequestMatcher("/h2-console/**"));
}
💻 접속 완료!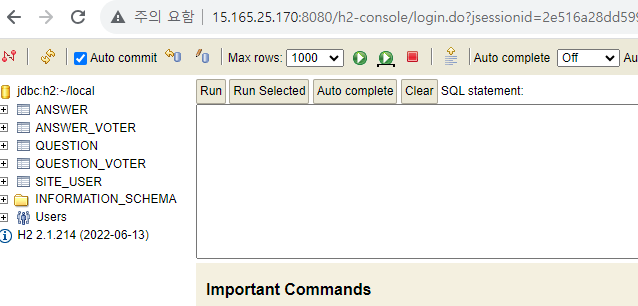
✨ 이번 챕터에서 배운 부분
✅ 환경 설정 파일 개발ver / 배포ver 나누는 법
📝 공부할 부분
✅ 시큐리티, 빈 공부 필요!!
