실제 화면을 구성하기 위한 스프링 MVC설정과 Thymeleaf라는 기술을 활용하는 방법배워본다. 설정을 통해서 JSP 등을
Thymeleaf를 사용하는 프로젝트 생성(initializr)
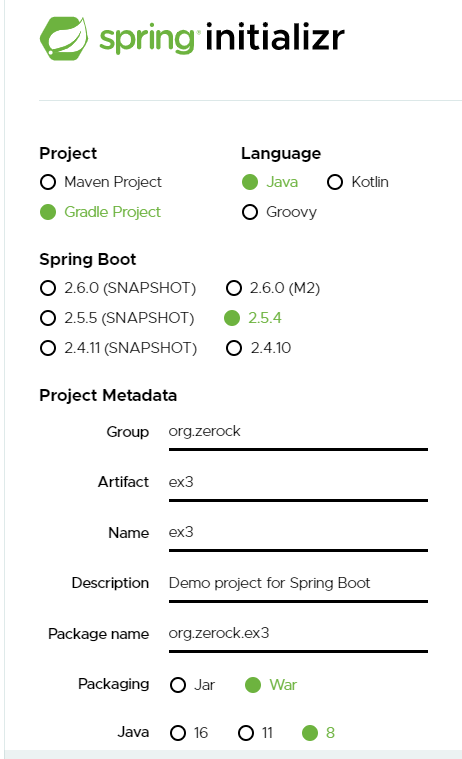
위와 같이 설정 후 Add Dependencies에서 Thymeleaf를 추가해준다.
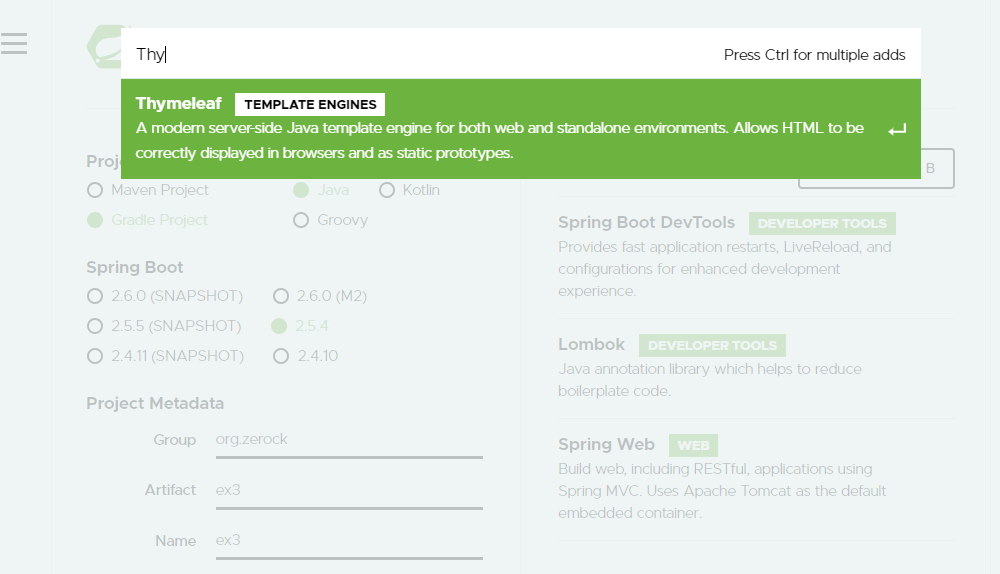
나머지 Spring dev tools와 lombok, spring web도 추가해줌
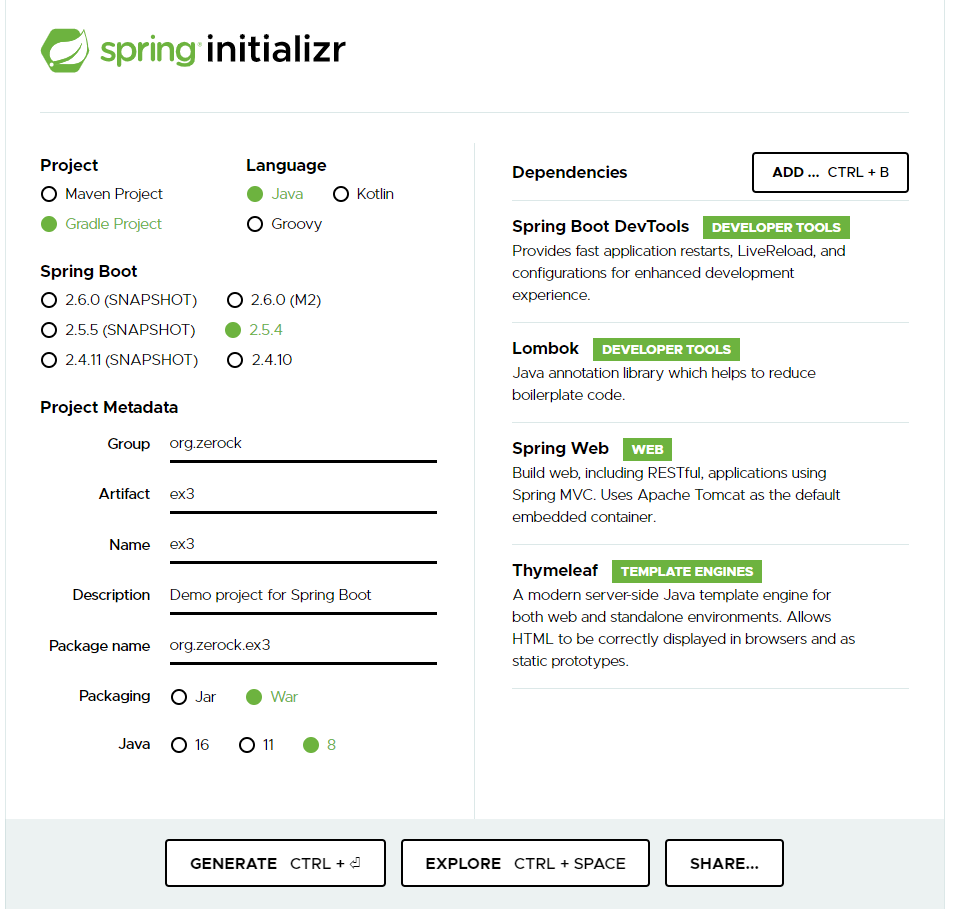
총 위와 같이 설정해주고 generate 해준다.
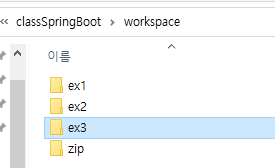
intellij에서 ex3을 열고
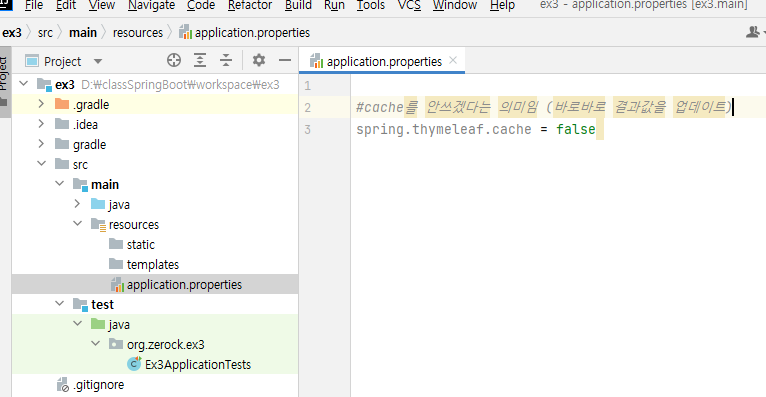
application.properties에 위와 같은 내용을 넣어준다.
spring.thymeleaf.cache = falsecache를 안쓰겠다는 의미임 (바로바로 결과값을 업데이트하기 위해서)
-> 이미 만들어진 결과를 서버에서 계속 보관할 것인지에 대한 설정으로 thymeleaf 파일을 수정하고 저장한 후에 브라우저에 변경된 결과를 확인하기 위한 설정이다.
이 때문에 자동으로 재시작이 가능하다!
controller패키지, samplecontroller 클래스를 생성

package org.zerock.ex3.controller;

import lombok.extern.log4j.Log4j2;
import org.springframework.stereotype.Controller;
import org.springframework.web.bind.annotation.GetMapping;
import org.springframework.web.bind.annotation.RequestMapping;

@Controller
@RequestMapping("/sample") //주소를 요청할 때
@Log4j2 //log에 대한 기록 남길 때 도움
public class SampleController {
        @GetMapping("/ex1")
        public void ex1(){
            log.info("ex1..........");
        }
}
위의 코드를 붙여준다.
SampleController에는 동작을 확인하기 위해 @Log4j2를 적용한다.
그 다음 templates에 sample이라는 이름의 directory를 만들어주는데
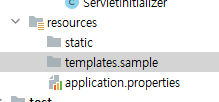
처음에 만들면 이렇게 templates.sample 라고 찍히는데
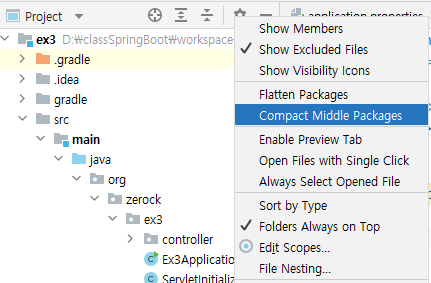
위의 설정에서 Compact Middle Packages를 선택 해제하면
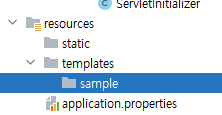
위와 같이 따로 분리가 된다.
sample안에 ex1.html파일 생성
<!DOCTYPE html>
<html lang="en" xmlns:th="http://www.thymeleaf.org">
<head>
    <meta charset="UTF-8">
    <title>Title</title>
</head>
<body>
<h1 th:text="${'Hello World'}"></h1>
</body>
</html>
위처럼 html태그와 h1태그에 th를 넣어준다.
ultimate는 Thymeleaf관련 플러그인이 기본적으로 설치되어있지만 xmlns 속성을 지정함에 따라 좀 더 코드완성을 도와준다.
Thymeleaf의 구조 및 장점 :
구조 :
기존의 속성 앞에 th:를 붙여주고 속성값을 지정한다.
th:text th:each th:class th:if th:unless 등..
장점:
JSP와 달리 별도의 태그를 이용하지 않고 html에서 그대로 유지한 상태에서 추가만 하면 되어 기존 html 구조를 훼손하는 일이 적음
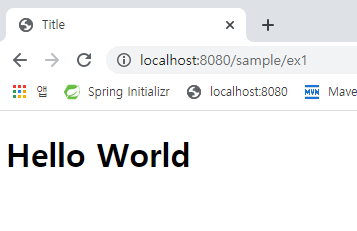
프로젝트를 실행하고 (run Ex3 Application) localhost:8080/sample/ex1을 브라우저로 확인한다.
실행 결과:
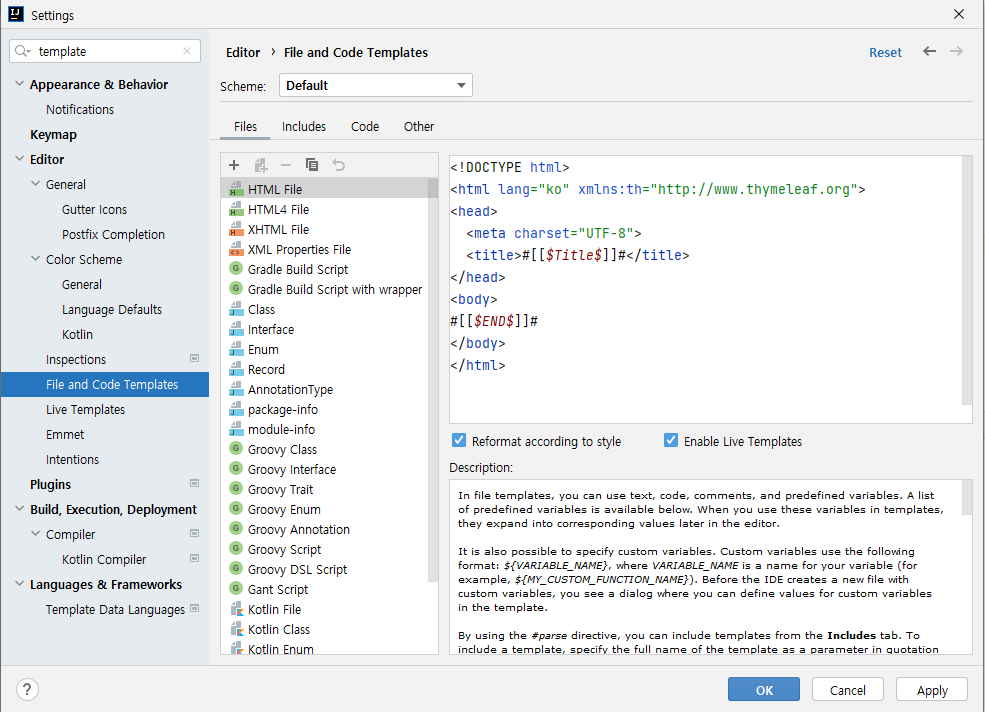
html template 기본설정 하기
우선 매번 저 코드를 치기 귀찮으니 settings에서 template을 검색해서 html file에 th코드를 추가해주고 적용해준다!
