명령어 모음 (주피터 - 가상환경 연결)
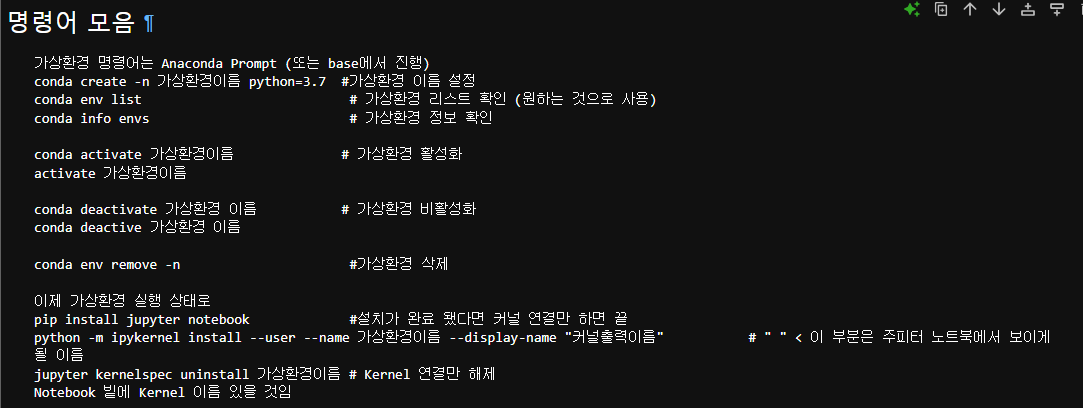
    가상환경 명령어는 Anaconda Prompt (또는 base에서 진행)
    conda create -n 가상환경이름 python=3.7  #가상환경 이름 설정
    conda env list                           # 가상환경 리스트 확인 (원하는 것으로 사용)
    conda info envs                          # 가상환경 정보 확인

    conda activate 가상환경이름              # 가상환경 활성화
    activate 가상환경이름

    conda deactivate 가상환경 이름           # 가상환경 비활성화
    conda deactive 가상환경 이름

    conda env remove -n                      #가상환경 삭제

    이제 가상환경 실행 상태로
    pip install jupyter notebook             #설치가 완료 됐다면 커널 연결만 하면 끝
    python -m ipykernel install --user --name 가상환경이름 --display-name 커널출력이름
    # 커널출력이름 < 이 부분은 주피터 노트북에서 보이게 될 이름
    jupyter kernelspec uninstall 가상환경이름 # Kernel 연결만 해제
    Notebook 밑에 Kernel 이름 있을 것임
위 그대로 진행한다면 Notebook: 부분에 Kernel 연결 시 원래는 Python 3 (ipykernel) 밖에 없었을텐데 새로 만든 "커널출력이름"으로 보이는 행이 생길 것임
또는 .yaml로 가상환경 생성을 file로 배포하고
.txt로 environment를 배포할 수 있습니다.
 #Conda Prompt (base)에서
 env create --file environment.yml
요런식으로 실행
(해당환경) 에서
pip install --no-deps -r requirements.txtno depends 의존성 없이 ㅋㅋ

안녕하세요! 강민수입니다.