
0. 개요
1. Rviz 에서 Path Planning 시각화하기
우선 rviz에 여러가지 토픽을 추가하자.
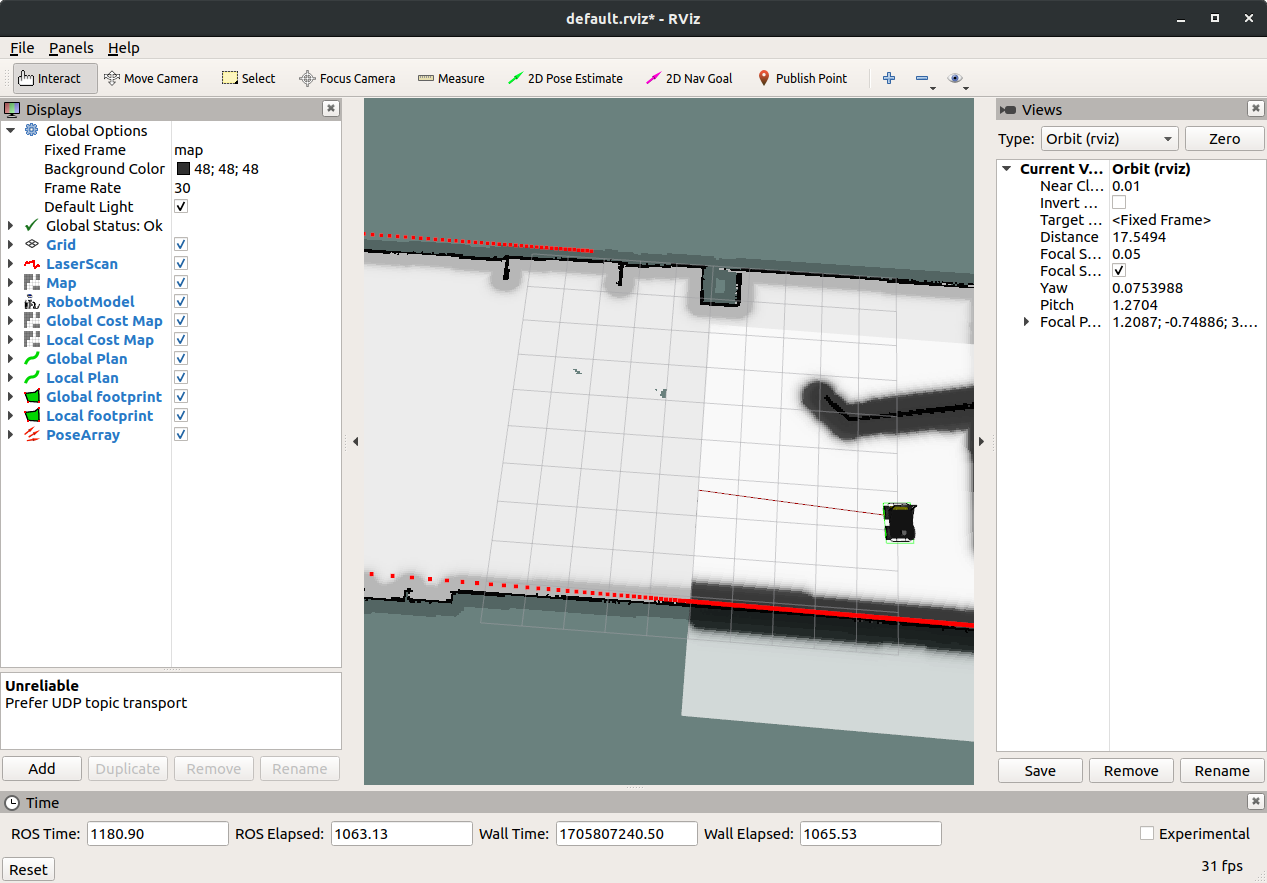
추가한 토픽에 대해서 설명하자면,
기존에 사용하였던 Map, LaserScan, RobotModel , PoseArray 을 제외하고
Global Cost Map, Local Cost Map, Global Plan, Local Plan 를 추가하였다.
Global footprint 및 Local footprint 는 로봇의 위치를 나타낸다.
각 토픽의 역할을 rviz 화면을 통해 알아보자.
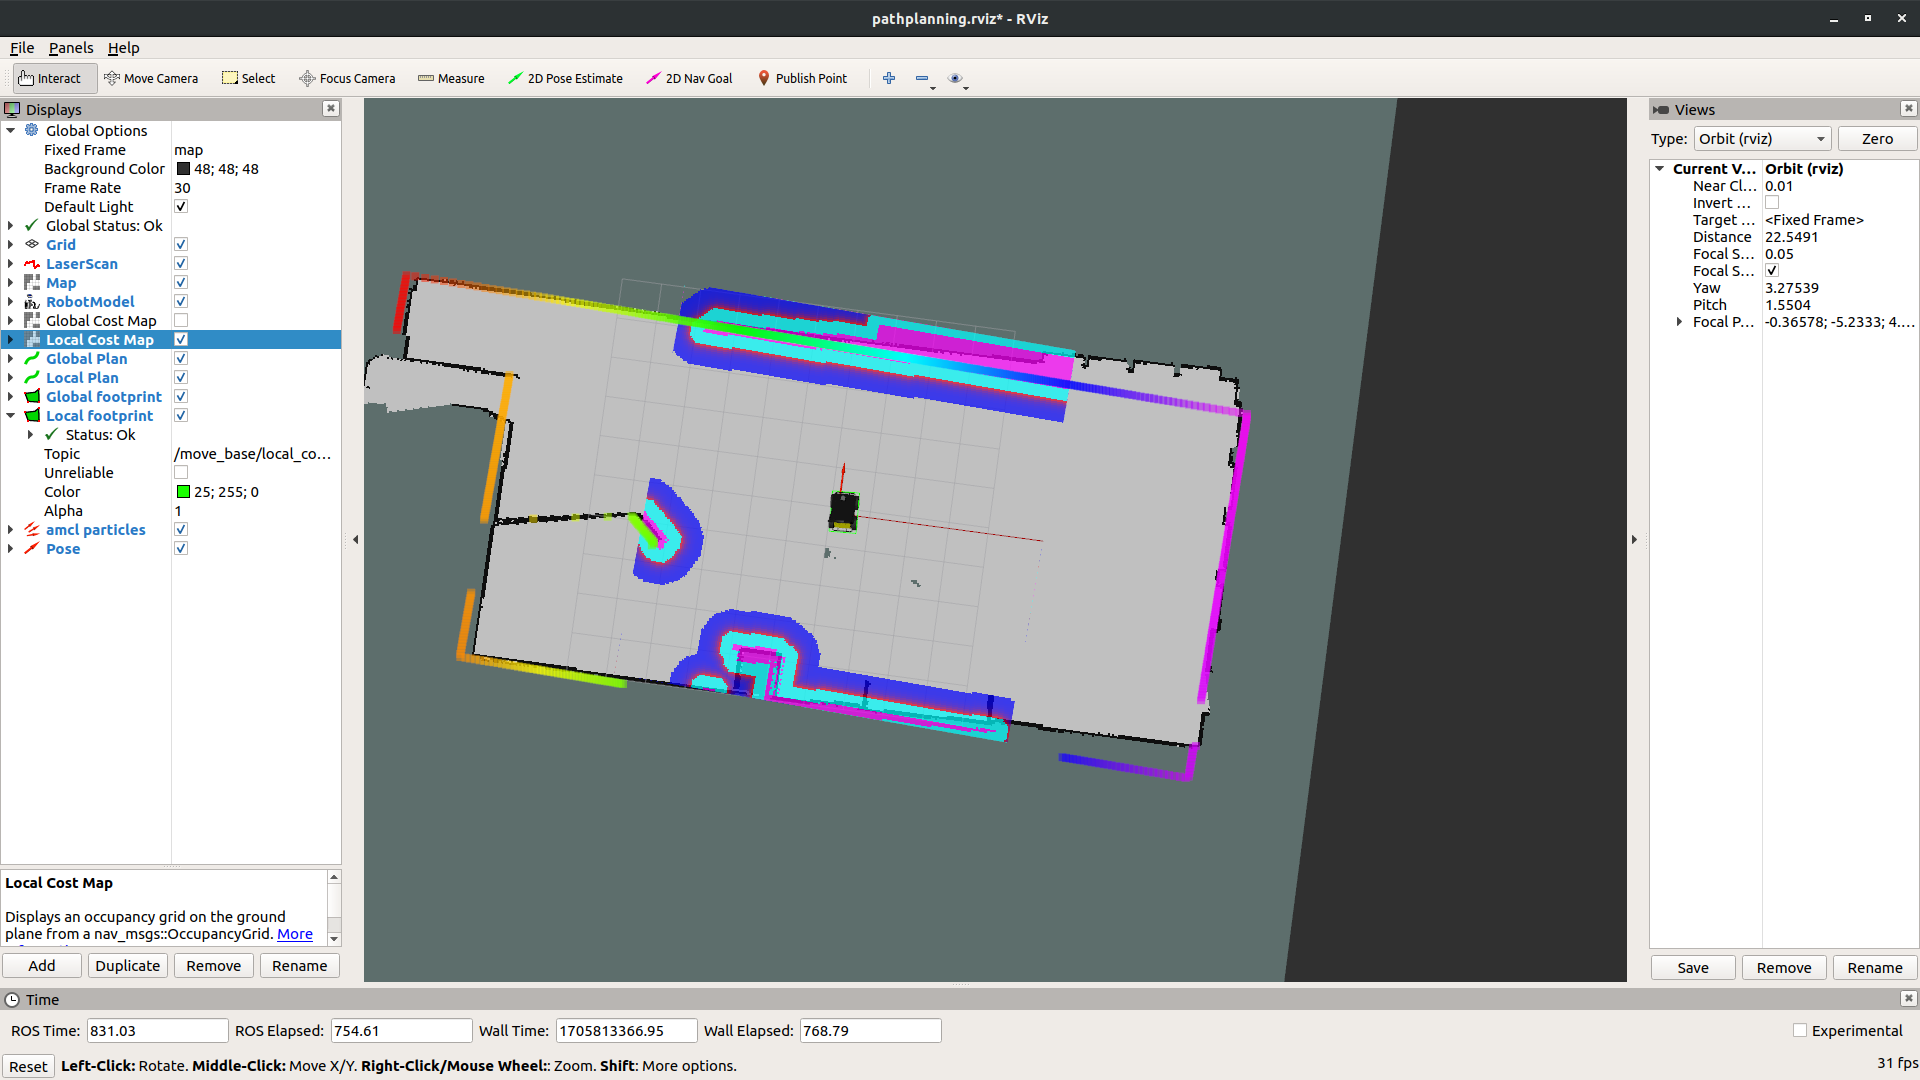
아래의 사진은 Local Cost Map 을 활성화 한 사진이다.
로봇의 주변의 환경을 인식하여 path planning에 효율적인 경로를 만드는데 사용된다.
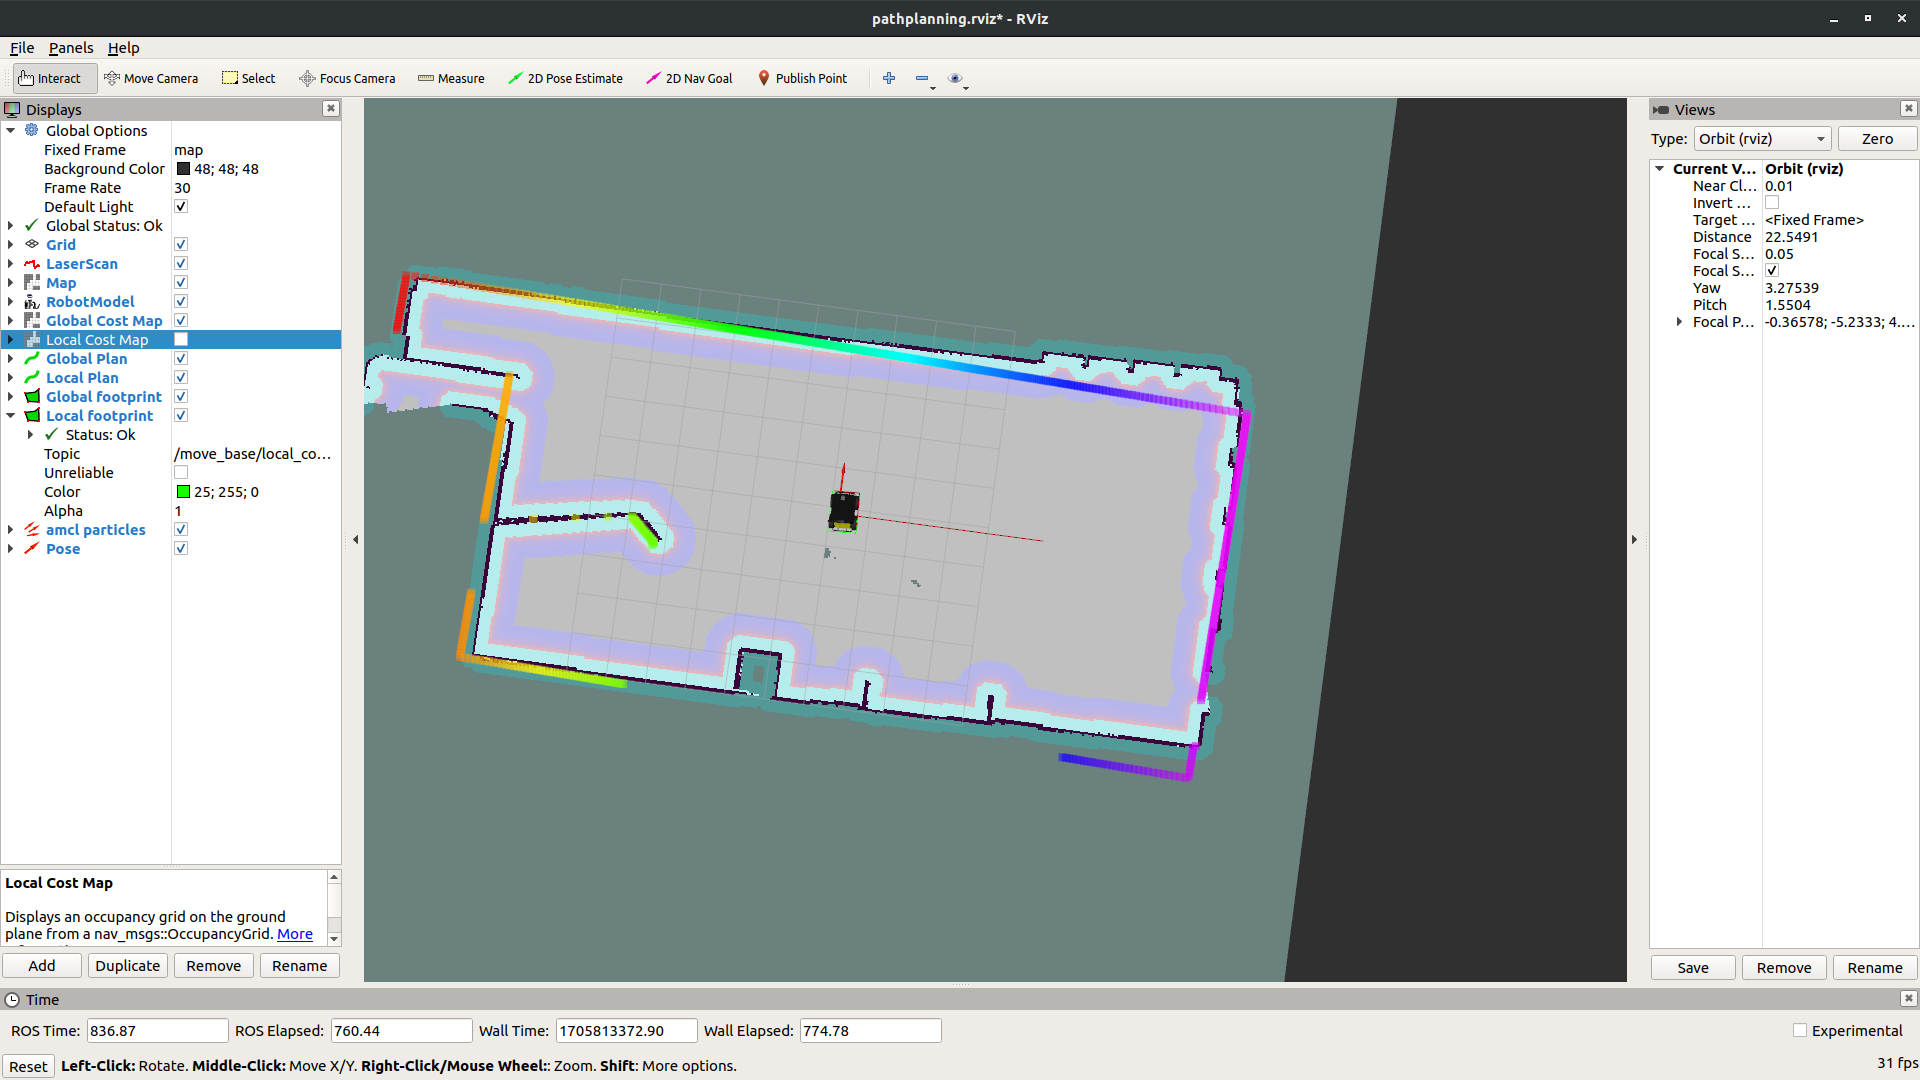
아래의 사진은 Global Cost Map으로 map data를 통해 만들어진 전체의 Cost Map이다.
마찬가지로 path planning에 효율적인 경로를 만드는 정보를 제공한다.
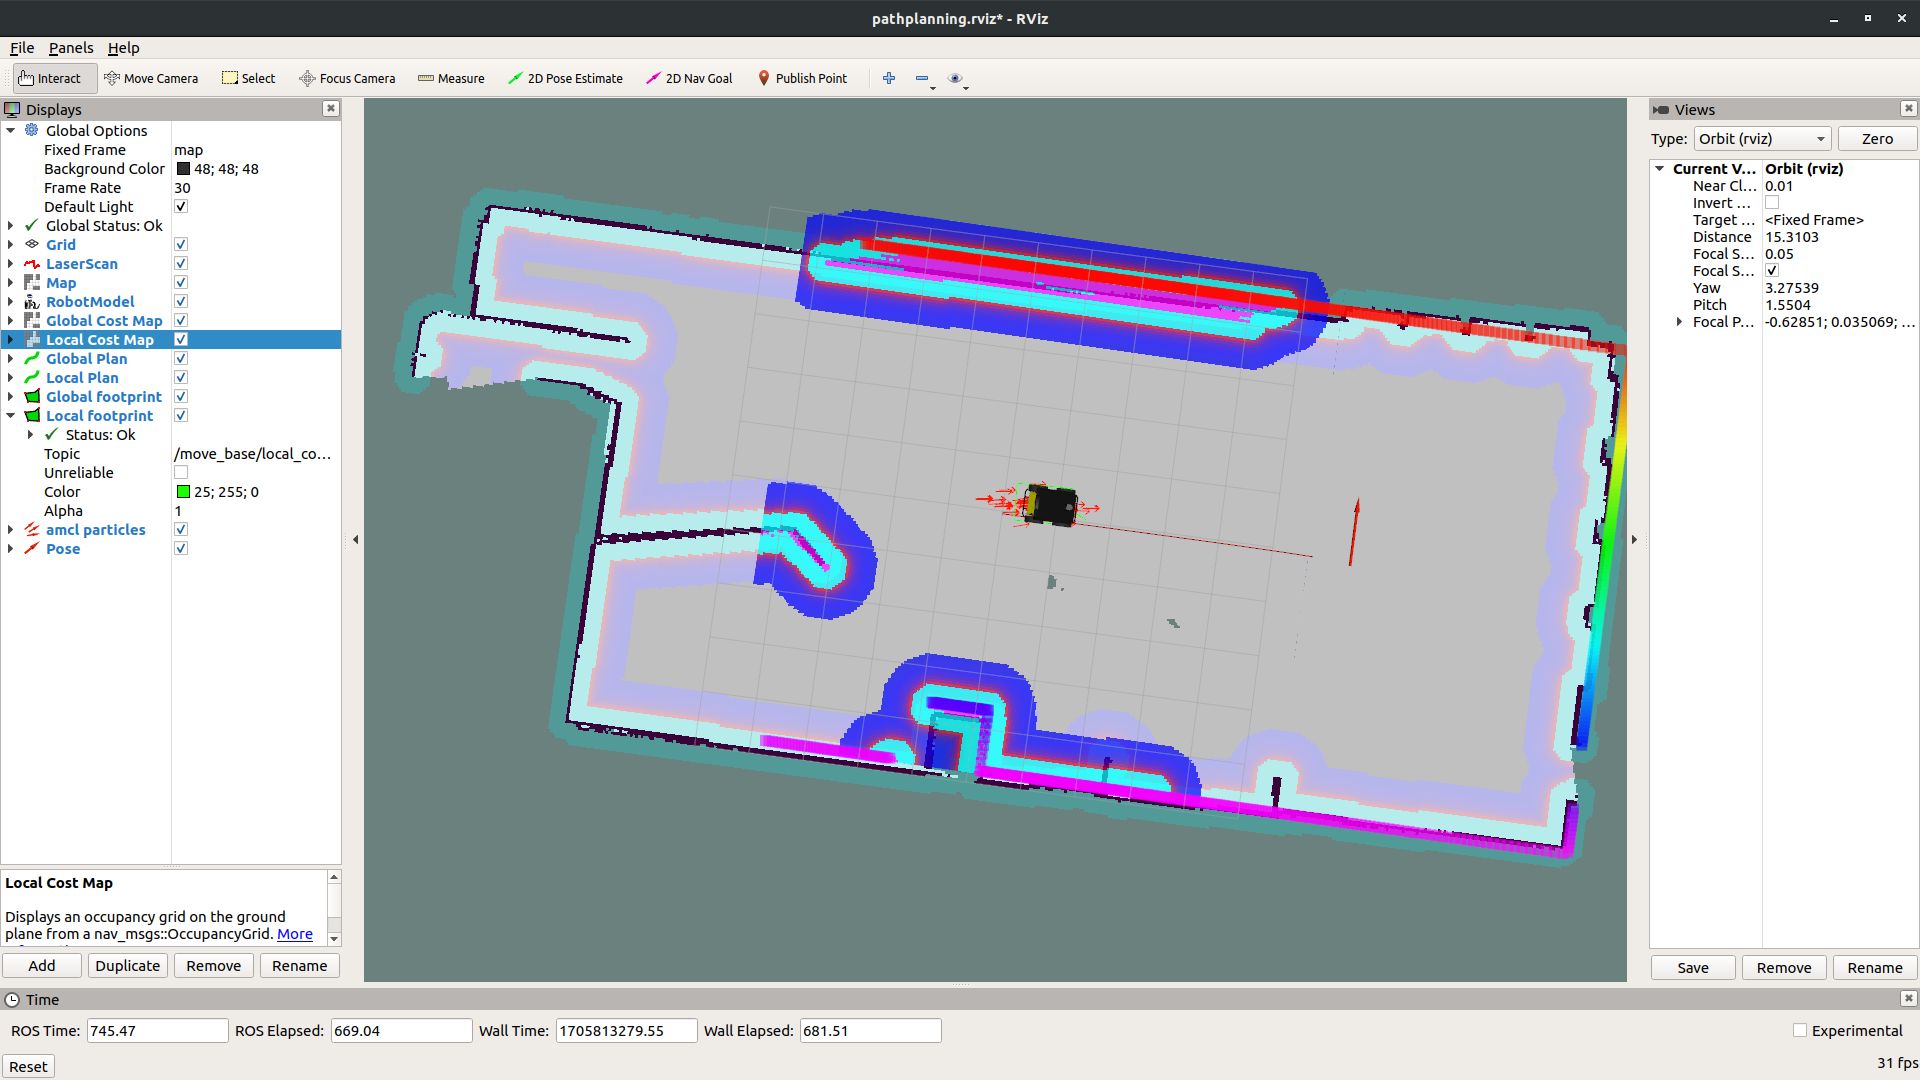
Plan 요소의 경우 로봇을 움직여야지 확인 할 수 있는데, rviz 의 2D NavGaol 버튼을 통해
로봇의 목적지를 설정해주면 아래의 화면과 같이 로봇의 진행방향에 선이 나타나는 것을 확인 할 수 있다.
첫번째 사진과 같이 빨간 선이 Global Plan으로 전체 경로를 나타내고,
두번째 사진과 같이 초록색 짧은 선은 Local Plan으로 단기적인 경로를 나타낸다.

2. 오픈소스 Path Planning 패키지
Move_base 노드에는 다양한 토픽들이 존재하고, 해당 토픽을 발행하여
로봇을 컨트롤 할 수 있다.
파이썬 코드를 작성하여 토픽을 발행하여 로봇을 컨트롤 해보자.
2.1 실행 코드
send_goal_client.py
#! /usr/bin/env python

import rospy
import time
import actionlib
from move_base_msgs.msg import MoveBaseAction, MoveBaseGoal, MoveBaseResult, MoveBaseFeedback

goal_list = [[1.0, 1.0, 0.0, 0.0, 0.0, 0.0, 1.0],
             [1.0, -1.0, 0.0, 0.0, 0.0, 0.0, 1.0],
             [-1.0, -1.0, 0.0, 0.0, 0.0, 0.0, 1.0]]

def feedback_callback(msg):
    """
    definition of the feedback callback. This will be called when feedback
    is received from the action server
    it just prints a message indicating a new message has been received
    """
    rospy.loginfo("[Feedback] Going to Goal Pose...")

# initializes the action client node
rospy.init_node('move_base_action_client')
# create the connection to the action server
client = actionlib.SimpleActionClient('move_base', MoveBaseAction)
# waits until the action server is up and running
client.wait_for_server()

while not rospy.is_shutdown():
    i = 1
    for goal in goal_list:
        # creates a goal to send to the action server
        goal_msg = MoveBaseGoal()
        goal_msg.target_pose.header.frame_id = 'map'
        goal_msg.target_pose.pose.position.x = goal[0]
        goal_msg.target_pose.pose.position.y = goal[1]
        goal_msg.target_pose.pose.position.z = goal[2]
        goal_msg.target_pose.pose.orientation.x = goal[3]
        goal_msg.target_pose.pose.orientation.y = goal[4]
        goal_msg.target_pose.pose.orientation.z = goal[5]
        goal_msg.target_pose.pose.orientation.w = goal[6]

        rospy.loginfo("Goal Target " + str(i))

        # sends the goal to the action server, specifying which feedback function
        # to call when feedback received
        client.send_goal(goal=goal_msg, feedback_cb=feedback_callback)
        client.wait_for_result()

        rospy.loginfo("[Result] State: %d"%(client.get_state()))
        i += 1
세 가지 목적지를 부여하고, 순서대로 목적지에 도달하면 다음목적지를 목적지로 설정하고, 이 과정을 반복하는 코드이다.
2.2 실행영상
용량이 커서 유튜부 영상으로 업로드하였다.
3. Global planner & Global Costmap
4. Local Planner & Local Costmap
5. Commom Costmap Parameters
