
이번에는 이미지를 불러와서 Gaussian Filtering을 수행해본다.
비트맵 읽기
비트맵은 윈도우에서 제공하는 Windows.h 헤더를 include하면 편하게 읽을 수 있다. 컬러 이미지를 읽기 때문에 width * heigth * 3 만큼 메모리 공간을 확보해준다.
BYTE* read_bitmap(const string file_name, BITMAPFILEHEADER* hf, BITMAPINFOHEADER* h_info, RGBQUAD* hRGB) noexcept(false) {
	ifstream imageFile(file_name, ios::binary);
	if (!imageFile.is_open()) {
		throw "Can't found image file";
	}

	imageFile.read((char*)hf, sizeof(BITMAPFILEHEADER));
	imageFile.read((char*)h_info, sizeof(BITMAPINFOHEADER));
	imageFile.read((char*)hRGB, sizeof(RGBQUAD) * 256);

	int w = h_info->biWidth;
	int h = h_info->biHeight;

	BYTE* image = new BYTE[w * h * 3];
	imageFile.read((char*)image, sizeof(BYTE) * w * h * 3);
	imageFile.close();

	return image;
}
Image2D
OpenCL은 이미지를 처리하는 객체인 Image2D객체가 있다. 우리가 읽은 비트맵을 Image2D객체로 변환해야한다.
BGR → BGRA
비트맵 이미지를 읽으면 기본적으로 BGR순서로 읽게된다. 하지만 OpenCL은 BGR형식을 지원하지 않기 때문에 형식을 바꿔주어야 한다. 여기서는 BGRA 형식으로 처리를 할 것이므로, 3채널 이미지를 4채널 이미지로 변환해주었다.
BYTE* cvtBGR2BGRA(const BYTE* image, int width, int height) {
	BYTE* output = new BYTE[width * height * 4];
	for (int i = 0; i < width * height; i++) {
		output[4*i] = image[3*i];
		output[4*i + 1] = image[3 * i+1];
		output[4 * i + 2] = image[3 * i+2];
		output[4*i + 3] = 1;
	}
	return output;
}
간단하게 네번째 체널인 A값을 1로 넣어서 확장해준다.
ImageFormat format;
format.image_channel_order = CL_BGRA;
format.image_channel_data_type = CL_UNORM_INT8;
Image2D image2D(context, CL_MEM_READ_ONLY | CL_MEM_COPY_HOST_PTR, format,
		h_info.biWidth, h_info.biHeight, 0, bgra_image, &err_num);
그 후에는 생성자를 통해 생성해주면 된다.
Sampler
입력은 준비가 끝났다. 하지만 생성해야 할 객체가 하나 더있는데, Sampler 객체이다. 이 객체는 필터링, 주소, 이미지로부터 읽히는 좌표 모드를 명세한다.
Sampler sampler(context, CL_FALSE,CL_ADDRESS_CLAMP_TO_EDGE,CL_FILTER_LINEAR,&err_num);좌표는 비정규형, 이미지의 좌표는 가장자리로 클리핑, 필터링은 선형으로 했다.
Kernel
Gaussian filtering을 수행하는 코드를 작성한다.
3*3, 9개의 픽셀을 이용하여 처리를 한다. 코드는 9개의 픽셀을 Gaussian 필터와 convolution을 수행하는 간단한 코드이다.
void kernel gaussian_filter(__read_only image2d_t src, __write_only image2d_t dst, sampler_t sampler, int width, int height){
	float kernel_weight[9] = {1.0f, 2.0f, 1.0f, 2.0f,4.0f,2.0f,1.0f,2.0f,1.0f};
	int2 start_image_coord = (int2)(get_global_id(0) -1 , get_global_id(1) - 1);
	int2 end_image_coord = (int2)(get_global_id(0)+1,get_global_id(1)+1);
	int2 out_image_coord = (int2)(get_global_id(0),get_global_id(1));

	if(out_image_coord.x < width && out_image_coord.y < height){
		int weight = 0;
		float4 out_color = (float4)(0.0f,0.0f,0.0f,0.0f);
		for(int y=start_image_coord.y; y<=end_image_coord.y; y++){
			for(int x = start_image_coord.x; x<=end_image_coord.x; x++){
				out_color += read_imagef(src,sampler,(int2)(x,y)) * (kernel_weight[weight] / 16.0f);
				weight +=1;
			}
		}
		write_imagef(dst,out_image_coord,out_color);
	}
}
매개변수를 입력하고 실행한다.
ImageFormat format;
format.image_channel_data_type = CL_UNORM_INT8;
format.image_channel_order = CL_BGRA;
Image2D out(context,CL_MEM_WRITE_ONLY, format, h_info.biWidth, h_info.biHeight,0,NULL, &err_num);

kernel.setArg(0, test);
kernel.setArg(1, out);
kernel.setArg(2, sampler);
kernel.setArg(3, h_info.biWidth);
kernel.setArg(4, h_info.biHeight);

NDRange local_work_size(3, 3);
NDRange global_work_size(h_info.biWidth, h_info.biHeight);
queue.enqueueNDRangeKernel(kernel, NullRange, global_work_size, local_work_size, 0, NULL);
이때 global_work_size는 이미지의 크기, local_work_size는 필터링이 처리되는 크기인 3*3으로 입력한다.
결과를 반환받을 때는 여러 방법이 있지만 여기서는 enqueueReadImage로 반환받는다.
BYTE* buffer = new BYTE[h_info.biWidth * h_info.biHeight * 4];
detail::size_t_array origin = { 0,0,0 };
detail::size_t_array region = { h_info.biWidth,h_info.biHeight,1 };

queue.enqueueReadImage(out, CL_TRUE, origin,region,0,0,buffer,NULL,NULL);
결과
결과는 다시 BGR 형식으로 바꾸어서 저장한다.
BYTE* cvtBGRA2BGR(const BYTE* image, int width, int height) {
	BYTE* output = new BYTE[width * height * 3];
	for (int i = 0; i < width * height; i++) {
		output[3*i] = image[4*i];
		output[3*i + 1] = image[4*i + 1];
		output[3*i + 2] = image[4*i + 2];
	}
	return output;
}

BYTE* bgr_image = cvtBGRA2BGR(buffer, h_info.biWidth, h_info.biHeight);
ofstream out_stream("gaussian.bmp",ios::binary);
out_stream.write((char *)&hf, sizeof(BITMAPFILEHEADER));
out_stream.write((char*)&h_info, sizeof(BITMAPINFOHEADER));
out_stream.write((char*)hRGB, sizeof(RGBQUAD)*256);
out_stream.write((char*)bgr_image, sizeof(BYTE)*3*h_info.biWidth*h_info.biHeight);
out_stream.close();
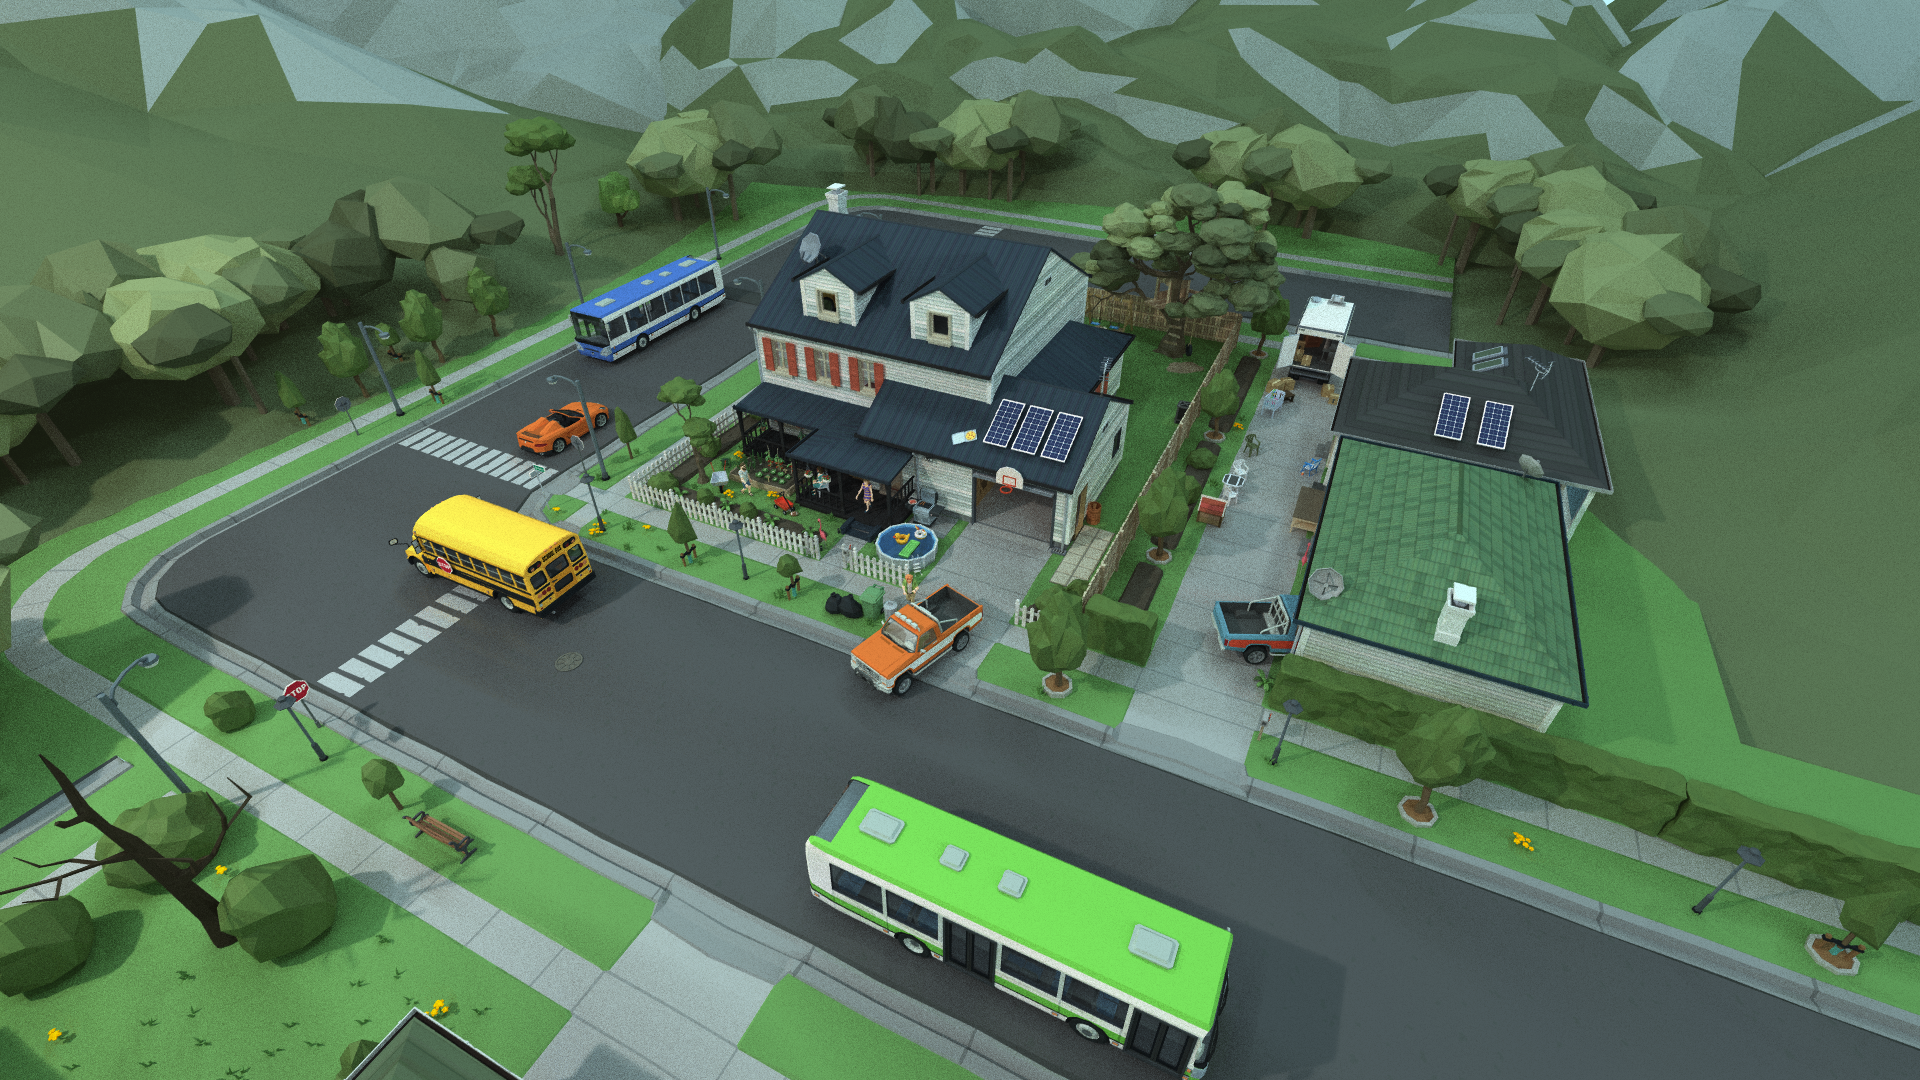
원본
Gaussian Filtering
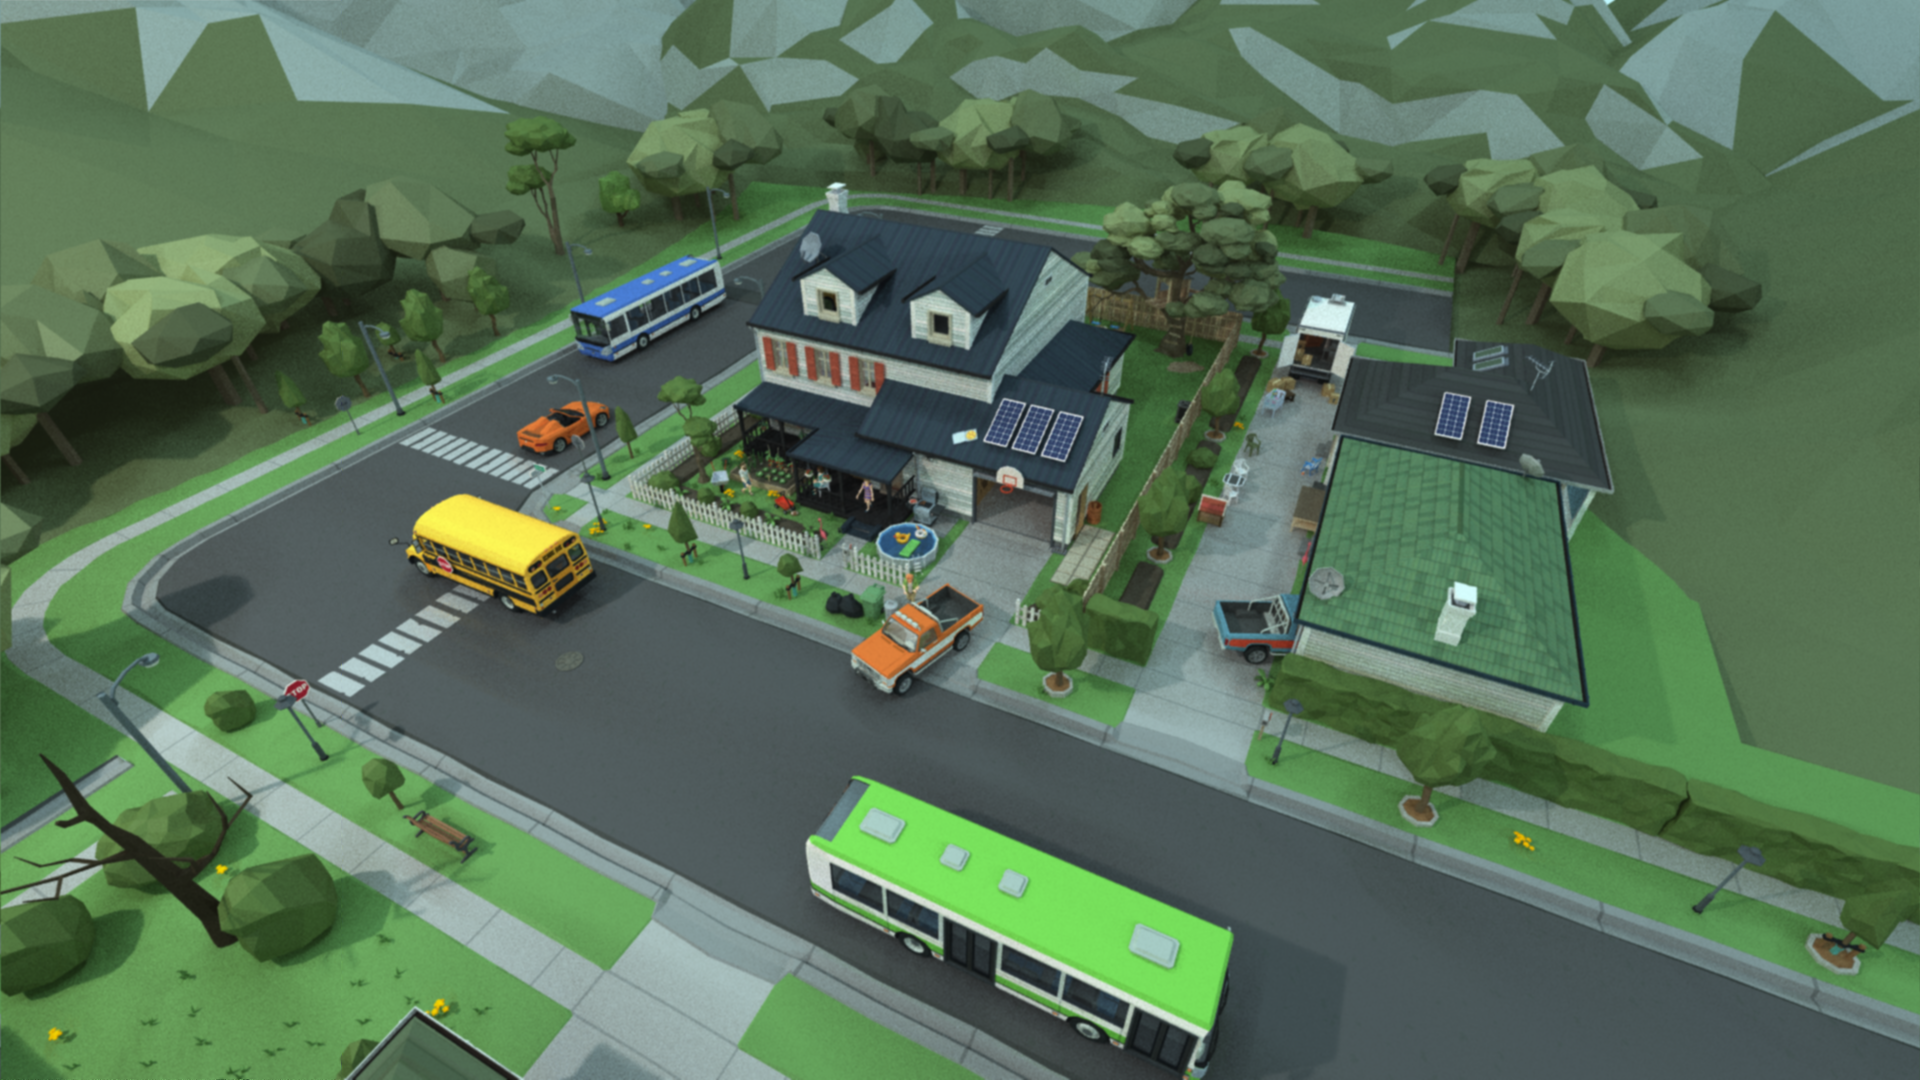
확실히 흐릿해진 모습을 확인할 수 있다.
참고
OpenCL 프로그래밍 가이드 - 아프탑 문시 외 4