0. config 기본 설정
SecurityConfig.java
- 일단 전문.
- JwtAuthorizationFilter에서 오류가 뜨면 일단 다 주석처리 해놓자.
package com.example.jwtvelog.config;

import com.example.jwtvelog.auth.jwt.JwtAuthorizationFilter;
import jakarta.servlet.http.HttpServletResponse;
import lombok.RequiredArgsConstructor;
import org.springframework.beans.factory.annotation.Autowired;
import org.springframework.beans.factory.annotation.Value;
import org.springframework.boot.autoconfigure.security.servlet.PathRequest;
import org.springframework.context.annotation.Bean;
import org.springframework.context.annotation.Configuration;
import org.springframework.security.config.annotation.web.builders.HttpSecurity;
import org.springframework.security.config.annotation.web.configuration.EnableWebSecurity;
import org.springframework.security.config.annotation.web.configurers.AbstractHttpConfigurer;
import org.springframework.security.config.http.SessionCreationPolicy;
import org.springframework.security.web.SecurityFilterChain;
import org.springframework.security.web.authentication.UsernamePasswordAuthenticationFilter;
import org.springframework.security.web.servlet.util.matcher.MvcRequestMatcher;
import org.springframework.web.cors.CorsConfiguration;
import org.springframework.web.cors.CorsConfigurationSource;
import org.springframework.web.cors.UrlBasedCorsConfigurationSource;
import org.springframework.web.servlet.handler.HandlerMappingIntrospector;

@Configuration
@EnableWebSecurity
@RequiredArgsConstructor
public class SecurityConfig {

    // DB 드라이버 클래스 이름 (h2 사용 시 security 충돌 해결 위해)
    @Value("${spring.datasource.driver-class-name}")
    private String springDatasourceDriverClassName;

    @Bean
    MvcRequestMatcher.Builder mvc(HandlerMappingIntrospector introspector) {
        return new MvcRequestMatcher.Builder(introspector);
    }

    // custom Security Filter Manager 적용
    // 추후 작성 예정
    public static class CustomSecurityFilterManager
            extends AbstractHttpConfigurer<CustomSecurityFilterManager, HttpSecurity> {

        private final JwtAuthorizationFilter jwtAuthorizationFilter;

        public CustomSecurityFilterManager(JwtAuthorizationFilter jwtAuthorizationFilter) {
            this.jwtAuthorizationFilter = jwtAuthorizationFilter;
        }

        // jwt 필터를 UsernamePasswordAuthenticationFilter 전에 등록
        @Override
        public void configure(HttpSecurity http) {
            http.addFilterBefore(jwtAuthorizationFilter, UsernamePasswordAuthenticationFilter.class);
        }
    }

    @Bean
    public SecurityFilterChain securityFilterChain(HttpSecurity httpSecurity, MvcRequestMatcher.Builder mvc,
                                                   JwtAuthorizationFilter jwtAuthorizationFilter)
            throws Exception {

        // api 서버로 사용하기 때문에 csrf 해제 (jwt로 대체)
        httpSecurity.csrf(config -> config.disable());

        // 로그인 인증창이 뜨지 않게 비활성화
        httpSecurity.httpBasic(config -> config.disable());

        // form 로그인 해제
        httpSecurity.formLogin(config -> config.disable());

        // jSessionId 사용 거부
        httpSecurity.sessionManagement(config -> config
                .sessionCreationPolicy(SessionCreationPolicy.STATELESS));

        // 커스텀 필터 적용 (시큐리티 필터 교환)
        // 추후 작성 예정
        httpSecurity.apply(new CustomSecurityFilterManager(jwtAuthorizationFilter));

        // 인증, 권한 필터 설정
        httpSecurity.authorizeHttpRequests(config -> config
                .requestMatchers(PathRequest.toH2Console()).permitAll()
                .requestMatchers(
                        mvc.pattern("/"),
                        mvc.pattern("/auth/**")
                ).permitAll()
                .requestMatchers(mvc.pattern("/api/v1/auth/**")).permitAll()
                .anyRequest().authenticated());

        // DB 드라이버 클래스 이름이 h2일 경우, h2 관련 옵션 추가
        if (springDatasourceDriverClassName.equals("org.h2.Driver")) {
            // h2 관련 옵션
            httpSecurity.headers(config -> config.frameOptions(frameOptionsConfig -> frameOptionsConfig.sameOrigin()));
        }

        return httpSecurity.getOrBuild();
    }
}
PasswordConfig.java - 패스워드 인코더 설정
package com.example.jwtvelog.config;

import org.springframework.context.annotation.Bean;
import org.springframework.context.annotation.Configuration;
import org.springframework.security.crypto.bcrypt.BCryptPasswordEncoder;
import org.springframework.security.crypto.password.PasswordEncoder;

@Configuration
public class PasswordConfig {

    // 비밀번호 암호화를 위한 PasswordEncoder Bean 등록
    @Bean
    public PasswordEncoder passwordEncoder() {
        // 암호화 방식을 BCrypt로 지정
        return new BCryptPasswordEncoder();
    }
}
1. 회원가입, 로그인 기능 구현
- 일단 Jwt를 구현하기 전 간단하게 회원가입 기능을 구현하자.
- 혹시 403에러가 뜨면 보통 securityConfig 설정이 잘못돼있다.
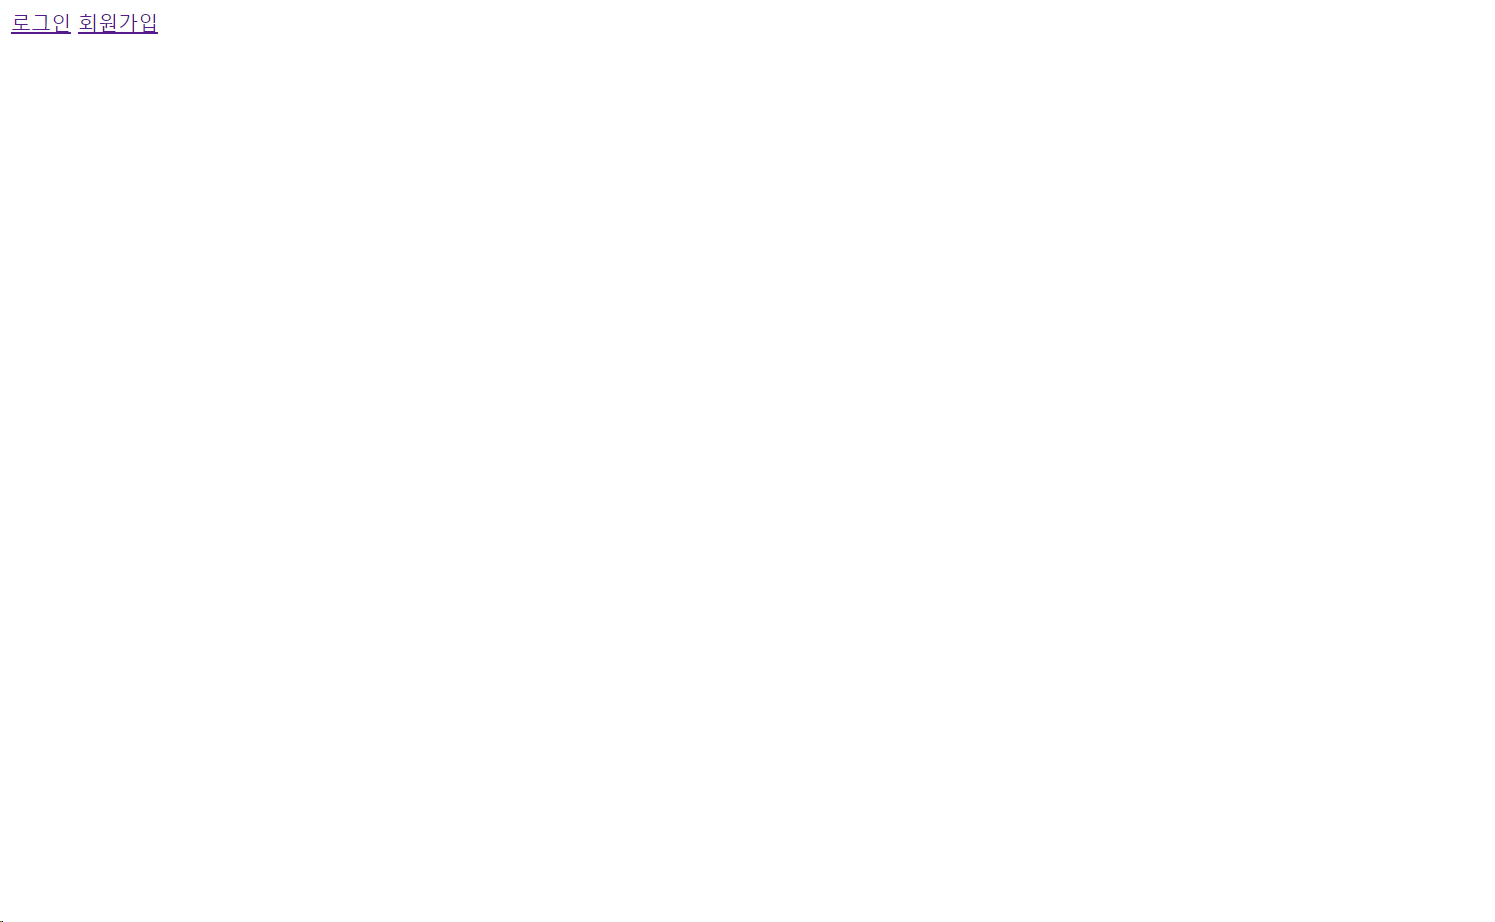
index.html - 회원가입, 로그인 이동
<!DOCTYPE html>
<html lang="en">
<head>
<meta charset="UTF-8">
<title>Title</title>
</head>
<body>
<a href="/auth/login">로그인</a>
<a href="/auth/sign-up">회원가입</a>
</body>
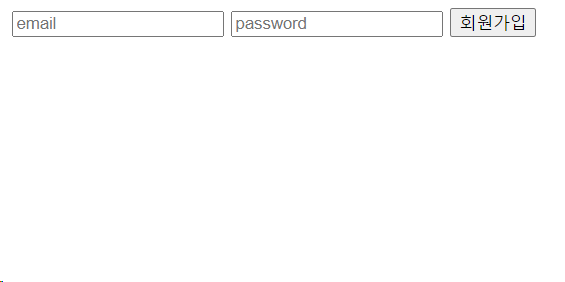
</html>sign-up.html - 회원가입 입력 폼
- 화면 구현
<!DOCTYPE html>
<html lang="en">
<head>
    <meta charset="UTF-8">
    <title>sign-up</title>
</head>
<body>
<input type="text" name="email" id="email" placeholder="email">
<input type="password" name="password" id="password" placeholder="password">
<button id="sign-up">회원가입</button>
</body>
</html>
AuthController.java - 페이지 이동
- Controller 구현
package com.example.jwtvelog.domain.auth.controller;

import org.springframework.stereotype.Controller;
import org.springframework.web.bind.annotation.GetMapping;
import org.springframework.web.bind.annotation.RequestMapping;

@Controller
@RequestMapping("/auth")
public class AuthController {

    // 회원가입 페이지
    @GetMapping("/sign-up")
    public String signUp() {
        return "sign-up";
    }
}
AuthControllerApiV1.java - 회원가입 요청 매핑
package com.example.jwtvelog.domain.auth.controller;

import com.example.jwtvelog.common.exception.BadRequestException;
import com.example.jwtvelog.domain.auth.dto.ReqLoginApiV1DTO;
import com.example.jwtvelog.domain.auth.dto.ReqReLoginApiV1DTO;
import com.example.jwtvelog.domain.auth.dto.ReqSignUpApiV1DTO;
import com.example.jwtvelog.domain.auth.service.AuthServiceApiV1;
import jakarta.validation.Valid;
import lombok.RequiredArgsConstructor;
import org.springframework.http.HttpEntity;
import org.springframework.validation.Errors;
import org.springframework.web.bind.annotation.*;

@RestController
@RequiredArgsConstructor
@RequestMapping("/api/v1/auth")
public class AuthControllerApiV1 {

    private final AuthServiceApiV1 authServiceApiV1;

    // 회원가입
    @PostMapping("/sign-up")
    public HttpEntity<?> signUp(@RequestBody @Valid ReqSignUpApiV1DTO reqSignUpApiV1DTO, Errors error) {
        // Validation 중 에러 발생 시, BadRequestException 발생
        if (error.hasErrors()) {
            throw new BadRequestException(error.getAllErrors().get(0).getDefaultMessage());
        }
        return authServiceApiV1.signUp(reqSignUpApiV1DTO);
    }
}
ReqSignUpApiV1DTO.java - 회원가입 시 받을 DTO
package com.example.jwtvelog.domain.auth.dto;

import jakarta.validation.constraints.Email;
import jakarta.validation.constraints.NotBlank;
import jakarta.validation.constraints.Pattern;
import lombok.AllArgsConstructor;
import lombok.Builder;
import lombok.Data;
import lombok.NoArgsConstructor;

@Data
@Builder
@NoArgsConstructor
@AllArgsConstructor
public class ReqSignUpApiV1DTO {
    @NotBlank(message = "이메일이 정확하지 않습니다.")
    @Email
    private String email;

    // 패스워드 규칙(영어 대/소문자, 숫자, 특수문자 모두 포함) 정규 표현식 설정
    @NotBlank(message = "패스워드가 정확하지 않습니다.")
    @Pattern(regexp ="^(?=.*[a-z])(?=.*[A-Z])(?=.*[0-9])(?=.*[!@#$%^&*_,.?~]).{8,15}$")
    private String password;

}
AuthServiceApiV1.java - 회원가입 로직 작성
package com.example.jwtvelog.domain.auth.service;

import com.auth0.jwt.interfaces.DecodedJWT;
import com.example.jwtvelog.auth.jwt.JwtProvider;
import com.example.jwtvelog.auth.jwt.JwtToken;
import com.example.jwtvelog.auth.jwt.JwtTokenType;
import com.example.jwtvelog.common.dto.ResDTO;
import com.example.jwtvelog.common.exception.UnauthorizedException;
import com.example.jwtvelog.domain.auth.dto.ReqLoginApiV1DTO;
import com.example.jwtvelog.domain.auth.dto.ReqReLoginApiV1DTO;
import com.example.jwtvelog.domain.auth.dto.ReqSignUpApiV1DTO;
import com.example.jwtvelog.model.member.entity.MemberEntity;
import com.example.jwtvelog.model.member.repository.MemberRepository;
import lombok.RequiredArgsConstructor;
import org.springframework.http.HttpEntity;
import org.springframework.http.HttpStatus;
import org.springframework.http.ResponseEntity;
import org.springframework.security.crypto.password.PasswordEncoder;
import org.springframework.stereotype.Service;
import org.springframework.transaction.annotation.Transactional;

import java.time.LocalDateTime;
import java.util.Optional;

@Service
@RequiredArgsConstructor
@Transactional(readOnly = true)
public class AuthServiceApiV1 {

        private final MemberRepository memberRepository;

		// 추후 구현, 사용 예정
        private final JwtProvider jwtProvider;
        private final PasswordEncoder passwordEncoder;

        @Transactional
        public HttpEntity<?> signUp(ReqSignUpApiV1DTO reqSignUpApiV1DTO) {

                // ReqDTO 기반으로 유저 정보 생성
                MemberEntity memberEntity = MemberEntity.builder()
                        .email(reqSignUpApiV1DTO.getEmail())
                        .password(passwordEncoder.encode(reqSignUpApiV1DTO.getPassword()))
                        .role("ROLE_MEMBER")
                        .build();

                // 유저 정보 저장
                memberRepository.save(memberEntity);

                // 회원가입 성공
                return new ResponseEntity<>(
                        ResDTO.builder()
                                .code(0)
                                .message("회원가입 성공")
                                .build(),
                        HttpStatus.OK);
        }
}
MemberEntity.java
package com.example.jwtvelog.model.member.entity;

import jakarta.persistence.*;
import lombok.*;
import org.hibernate.annotations.DynamicInsert;
import org.hibernate.annotations.DynamicUpdate;

@Getter
@Setter
@Builder
@AllArgsConstructor
@NoArgsConstructor
@EqualsAndHashCode(of = "idx", callSuper = false)
@Entity
@Table(name = "`MEMBER`")
@DynamicInsert
@DynamicUpdate
public class MemberEntity {

    // Idx
    @Id
    @GeneratedValue(strategy = GenerationType.IDENTITY)
    @Column(name = "idx", updatable = false)
    private Long idx;

    // 이메일
    @Column(name = "email", nullable = false)
    private String email;

    // 패스워드
    // 인코딩된 문자열
    @Column(name = "password", nullable = false)
    private String password;

    // role
    @Column(name = "role", nullable = false)
    private String role;

}
MemberRepository.java
package com.example.jwtvelog.model.member.repository;

import com.example.jwtvelog.model.member.entity.MemberEntity;
import org.springframework.data.jpa.repository.JpaRepository;

import java.util.Optional;

public interface MemberRepository extends JpaRepository<MemberEntity, Long> {

    // 이메일로 유저 정보를 찾아온다.
    Optional<MemberEntity> findByEmail(String email);
}
sign-up.html - 회원가입 요청
<script>
    document.querySelector("#sign-up").addEventListener("click", () => {
        // email, password를 가져온다.
        const email = document.querySelector("#email").value;
        const password = document.querySelector("#password").value;

        // email, password를 JSON으로 만든다.
        const reqDTO = {
            email: email,
            password: password
        };

        // ApiController에서 작성한 회원가입 API를 호출한다.
        fetch("/api/v1/auth/sign-up", {
            // 요청 메소드
            method: "POST",
            // 헤더 정보
            headers: {
                "Content-Type": "application/json"
            },
            // 요청 바디
            body: JSON.stringify(reqDTO)
        })  // 응답을 JSON으로 파싱한다.
            .then(response => response.json())
            // 파싱된 데이터 확인
            .then((result) => {
                    // 응답 코드가 0이 아니면 에러 메시지를 출력한다.
                    if (result.code !== 0) {
                        alert(result.message);
                        return;
                    }
                    // 응답 코드가 0이면 메시지를 출력하고 메인 페이지로 이동한다.
                    alert(result.message);
                    window.location.href = "/";
                }
            )
    });
</script>
회원가입 테스트
- localhost:8080 접속.
- 포트를 바꿔놓거나 SecurityConfig 설정을 잘못한 것이 아니라면 접속이 가능하다.
- 우측 콘솔의 403 에러는 SecurityConfig에서 favicon을 불러오지 못하기 때문. 없애고 싶다면 config를 바꾸면 된다.

- 회원가입 클릭 시 회원가입 입력 폼이 뜬다.
- 입력 후 버튼을 클릭하면
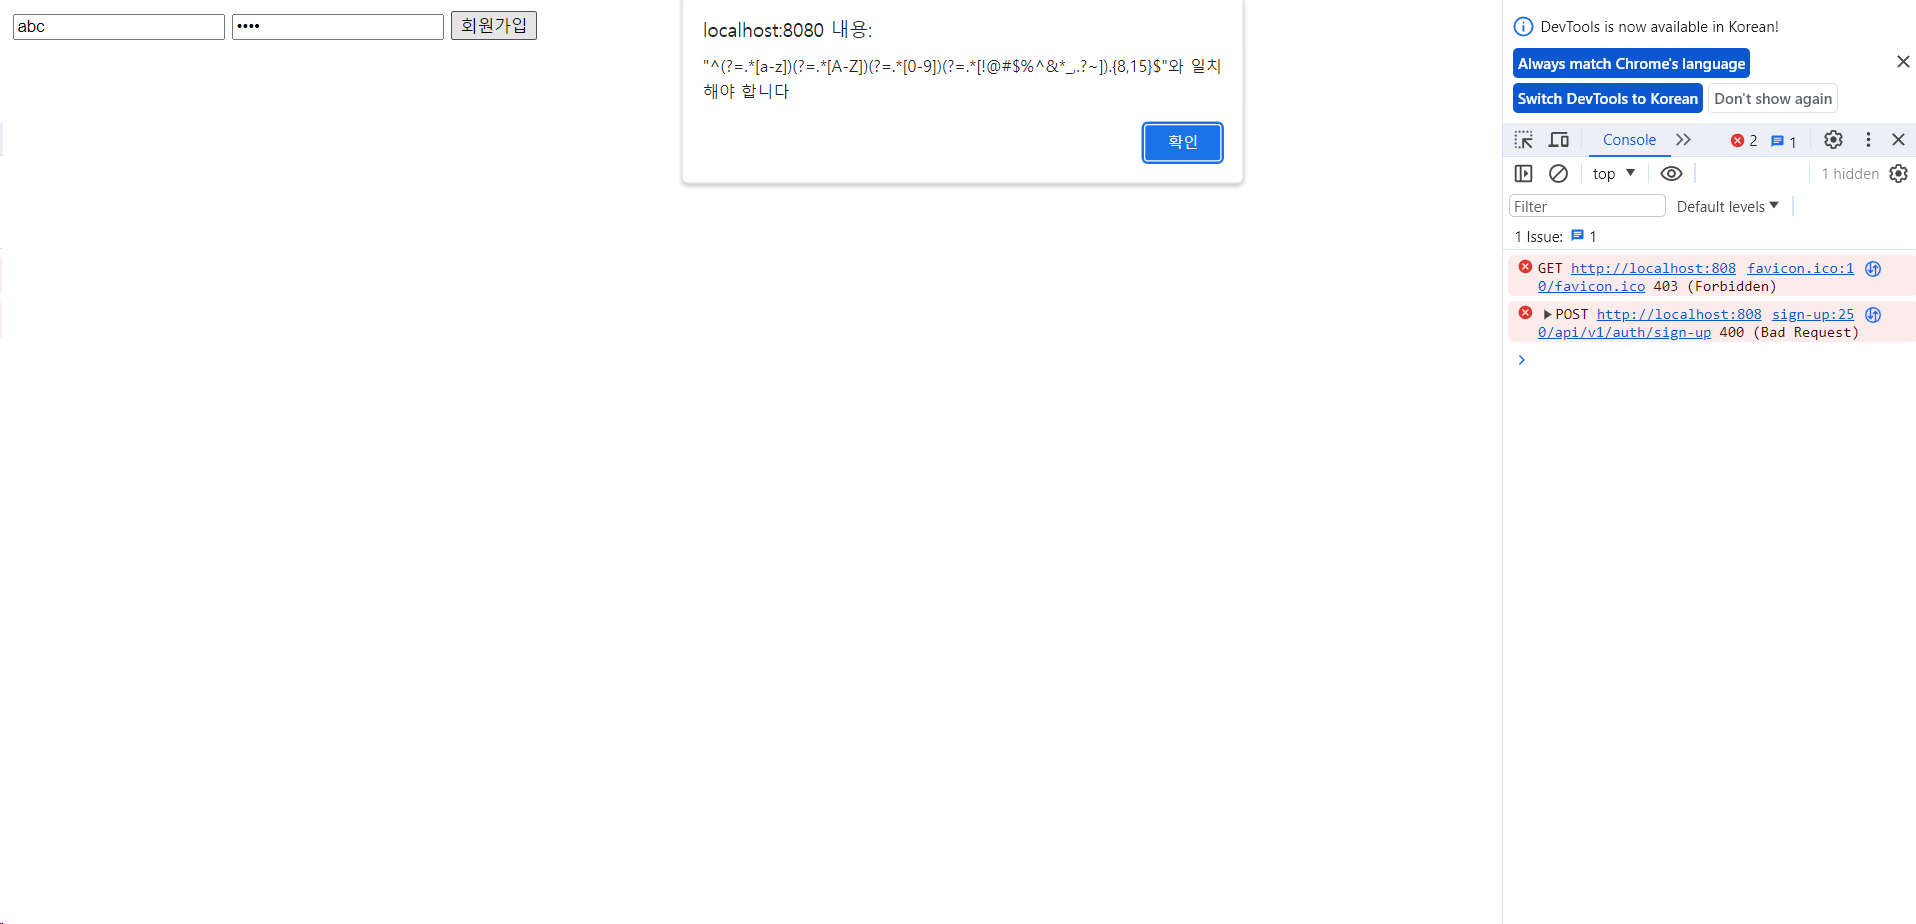
- 이런 오류가 뜨는데, 아까 DTO에서 validation을 꽤 귀찮게 해놨기 때문.
- email은 이메일 형식 맞춰서, password는 영어 대/소문자, 숫자, 특수문자가 전부 들어가야 한다.
- 맞춰서 넣어주면 성공. (우측 400에러는 새로고침해서 지웠습니다)
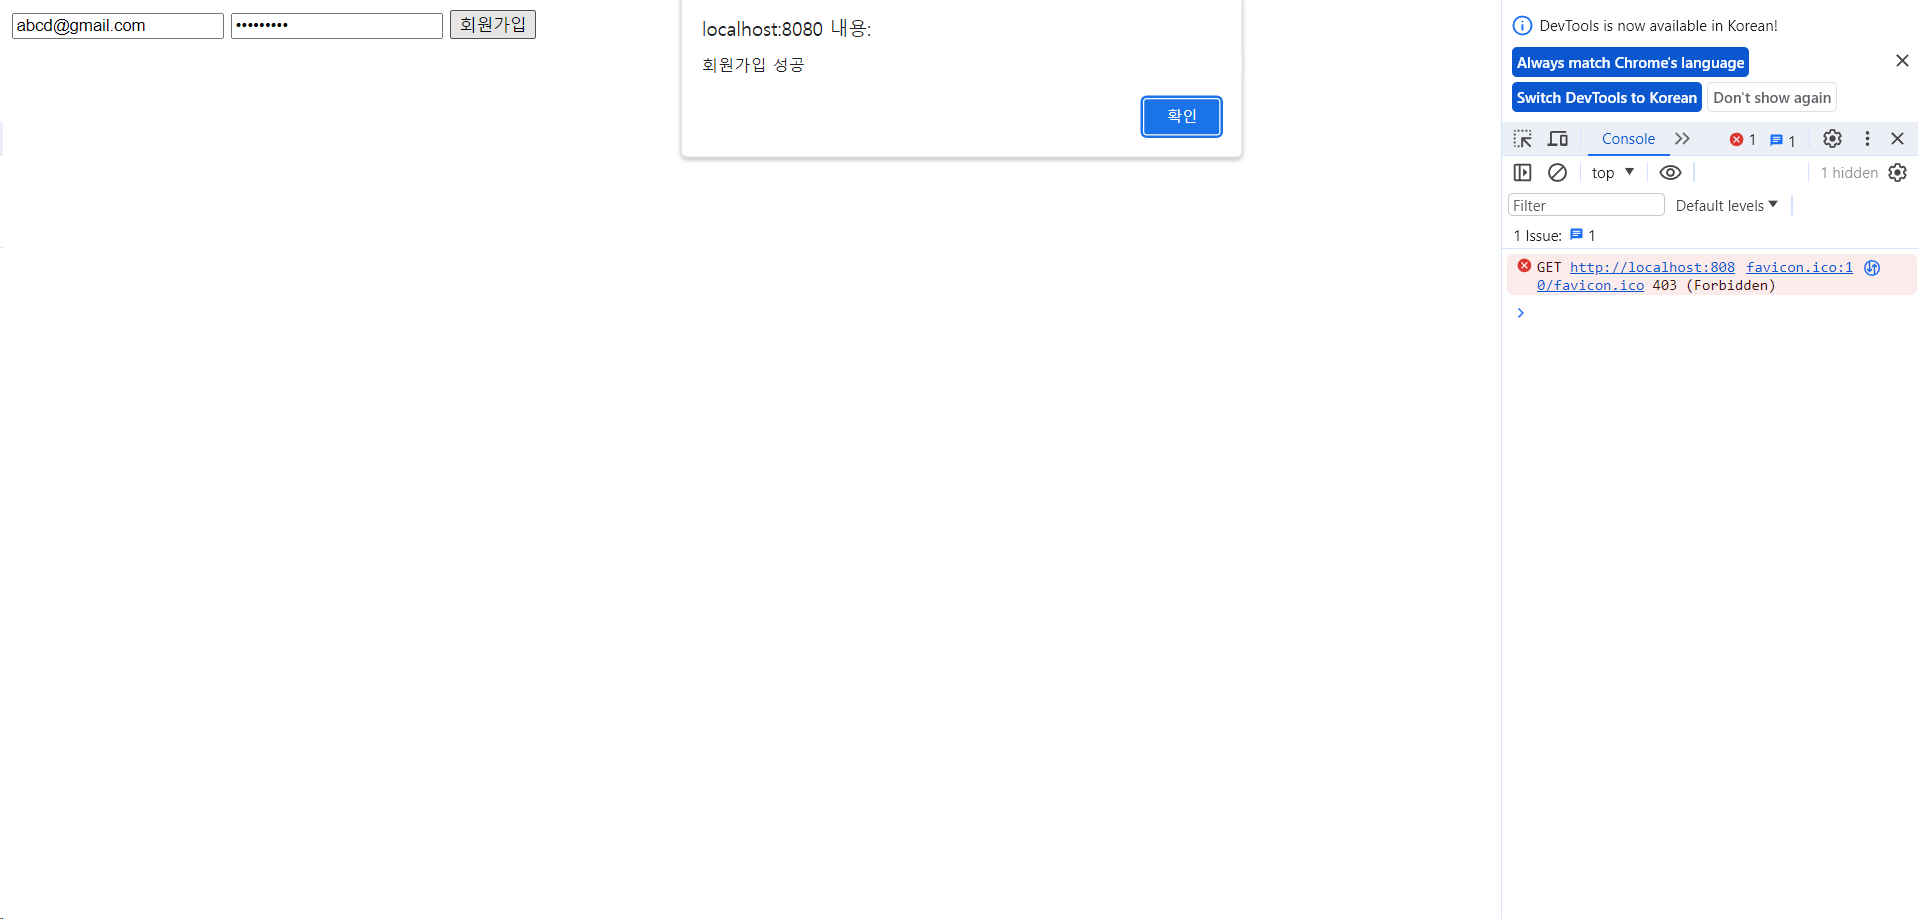
- 확인 버튼을 누르고 메인 페이지로 돌아가면 성공.
2. login 로직 구현 (jwt 발급)
- 이제 해당 아이디로 로그인 요청을 하고 검증 후 JWT를 발급하는 로직을 구현해보자.
login.html - 로그인 입력 폼
<!DOCTYPE html>
<html lang="en">
<head>
    <meta charset="UTF-8">
    <title>login</title>
</head>
<body>
<input type="text" name="email" id="email" placeholder="email">
<input type="password" name="password" id="password" placeholder="password">
<button id="login">로그인</button>
</body>
</html>
AuthController.java - 로그인 창 매핑
	// 로그인 페이지
    @GetMapping("/login")
    public String login() {
        return "login";
    }
AuthControllerApiV1.java - 로그인 요청 매핑
	// 로그인
    @PostMapping("/login")
    public HttpEntity<?> login(@RequestBody @Valid ReqLoginApiV1DTO reqLoginApiV1DTO, Errors error) {
        if (error.hasErrors()) {
            throw new BadRequestException(error.getAllErrors().get(0).getDefaultMessage());
        }
        return authServiceApiV1.login(reqLoginApiV1DTO);
    }
ReqLoginApiV1DTO.java - 로그인 요청 시 받을 DTO
- 회원가입 요청 DTO랑 완전히 똑같이 생겼는데, 같은 DTO를 사용해도 되지 않을까 싶다.
package com.example.jwtvelog.domain.auth.dto;

import jakarta.validation.constraints.Email;
import jakarta.validation.constraints.NotBlank;
import jakarta.validation.constraints.Pattern;
import lombok.AllArgsConstructor;
import lombok.Builder;
import lombok.Data;
import lombok.NoArgsConstructor;

@Data
@Builder
@NoArgsConstructor
@AllArgsConstructor
public class ReqLoginApiV1DTO {

    @NotBlank(message = "이메일이 정확하지 않습니다.")
    @Email
    private String email;

    @NotBlank(message = "패스워드가 정확하지 않습니다.")
    @Pattern(regexp = "^(?=.*[a-z])(?=.*[A-Z])(?=.*[0-9])(?=.*[!@#$%^&*_,.?~]).{8,15}$")
    private String password;
}
AuthServiceApiV1.java - 로그인 로직 구현 (Jwt 발급)
		@Transactional
        public HttpEntity<?> login(ReqLoginApiV1DTO reqLoginApiV1DTO) {

                // 존재 여부 검사를 필수로 하기 위해 Optional로 감싸준다.
                // 이메일로 DB에서 유저를 찾은 후
                Optional<MemberEntity> memberEntityOptional = memberRepository.findByEmail(reqLoginApiV1DTO.getEmail());

                // 유저가 존재하지 않으면 BadRequestException 발생
                if (memberEntityOptional.isEmpty()) {
                        throw new BadRequestException("존재하지 않는 유저입니다.");
                }

                // 유저가 존재하면 memberEntity 추출 후
                MemberEntity memberEntity = memberEntityOptional.get();

                // passwordEncoder를 사용하여 패스워드가 일치하지 않는지 검사
                if (!passwordEncoder.matches(reqLoginApiV1DTO.getPassword(), memberEntity.getPassword())) {
                        // 패스워드가 일치하지 않으면 BadRequestException 발생
                        throw new BadRequestException("패스워드가 일치하지 않습니다.");
                }

                // 패스워드가 일치하면 jwtProvider를 사용하여 accessToken, refreshToken 생성
                String accessToken = jwtProvider.createToken(memberEntity, JwtTokenType.ACCESS_TOKEN);
                        String refreshToken = jwtProvider.createToken(memberEntity, JwtTokenType.REFRESH_TOKEN);

                // accessToken, refreshToken 을 JwtToken 객체에 담아서 반환
                return new ResponseEntity<>(
                        ResDTO.builder()
                                .code(0)
                                .message("로그인에 성공하였습니다.")
                                .data(JwtToken.builder().accessToken(accessToken)
                                        .refreshToken(refreshToken).build())
                                .build(),
                        HttpStatus.OK);

			}
JwtToken.java - access, refresh토큰을 담을 객체 생성
package com.example.jwtvelog.auth.jwt;

import lombok.AllArgsConstructor;
import lombok.Builder;
import lombok.Data;

@Data
@Builder
@AllArgsConstructor
public class JwtToken {
   private String accessToken;
   private String refreshToken;
}
JwtTokenType.java - 토큰 타입 Enum
- Type은 AccessToken과 RefreshToken 딱 두 가지만 존재하고 다른 값이 들어오면 안되기 때문에 enum으로 설정해준다.
package com.example.jwtvelog.auth.jwt;

public enum JwtTokenType {
    ACCESS_TOKEN, REFRESH_TOKEN
}
JwtProvider.java - jwt 생성, 검증
- 생성 방식은 타 코드에서 가져왔고, 좋은 코드는 아니라고 한다.
- 추후 더 좋은 방법으로 바꿔야 할 필요가 있을 듯 하다.
package com.example.jwtvelog.auth.jwt;

import com.auth0.jwt.JWT;
import com.auth0.jwt.algorithms.Algorithm;
import com.auth0.jwt.interfaces.DecodedJWT;
import com.example.jwtvelog.common.exception.UnauthorizedException;
import com.example.jwtvelog.model.member.entity.MemberEntity;
import org.springframework.stereotype.Component;

import java.util.Date;

@Component
public class JwtProvider {

    // 엑세스 토큰 유효기간 1일 설정
    private static final int EXP_ACCESS = 1000 * 60 * 60 * 24;
    // 리프레시 토큰 유효기간 7일 설정
    private static final int EXP_REFRESH = 1000 * 60 * 60 * 24 * 7;
    // 토큰 prefix 설정
    public static final String TOKEN_PREFIX = "Bearer ";
    // 토큰이 담길 헤더
    public static final String HEADER = "Authorization";

    // 토큰 암호화를 위한 시크릿 값 (테스트, 실제로는 이 값은 노출되면 안됨)
    private String SECRET = "24fb2557fad0be76049e6677c3d7fcdb5ebe3cc4483f86751cfd7d4478a6ce6e";

    // login 시 MemberEntity를 입력받아 AccessToken 생성
    public String createToken(MemberEntity member, JwtTokenType tokenType) {
        // 입력된 토큰 타입에 따라 유효기간 설정
        int exp = tokenType.compareTo(JwtTokenType.ACCESS_TOKEN) == 0 ? EXP_ACCESS : EXP_REFRESH;

        // 토큰 생성 후 반환
        return JWT.create()
                .withSubject(member.getIdx().toString()) // 고유값 (주제)
                .withExpiresAt(new Date(System.currentTimeMillis() + exp)) // 만료 시간 설정 (현재 시간 + 유효기간)
                // name을 따로 빼는 게 좋긴 함
                .withClaim("role", member.getRole()) // 역할 claim 설정
                .withClaim("token-type", tokenType.name()) // token-type claim 설정
                .sign(Algorithm.HMAC512(SECRET)); // 시크릿 키를 이용한 암호화(서명)
    }

    // 토큰 검증 함수 (지금은 사용하지 않음, 추후 Filter 작성 시 사용)
    // 토큰이 유효하면 DecodedJWT 객체를 반환하고, 유효하지 않으면 UnauthorizedException 발생
    public DecodedJWT verify(String jwt) throws UnauthorizedException {
        try {
            // 시크릿 키를 이용해 토큰을 검증한다.
            return JWT.require(Algorithm.HMAC512(SECRET))
                    .build().verify(jwt);
        } catch (Exception e) {
            // 검증 실패 시 예외 발생
            throw new UnauthorizedException("token 값이 잘못되었습니다. " + e.getMessage());
        }
    }
}
+참고 JWT verify Exception 종류
AlgorithmMismatchException: 토큰 헤더에 명시된 알고리즘이 JWTVerifier에서 정의한 알고리즘과 다를 경우 발생합니다.
SignatureVerificationException: 서명이 유효하지 않을 경우 발생합니다.
TokenExpiredException: 토큰이 만료된 경우 발생합니다.
MissingClaimException: 검증해야 할 클레임이 누락되었을 경우 발생합니다.
IncorrectClaimException: 클레임이 예상과 다른 값을 가지고 있을 경우 발생합니다.
login.html - 로그인 요청, 쿠키 저장
- 회원가입 요청 시의 코드와 거의 동일, Cookie에 저장하는 코드만 추가.
<script>
    document.querySelector("#login").addEventListener("click", () => {
        const email = document.querySelector("#email").value;
        const password = document.querySelector("#password").value;

        const reqDTO = {
            email: email,
            password: password
        };

        fetch("/api/v1/auth/login", {
            method: "POST",
            headers: {
                "Content-Type": "application/json"
            },
            body: JSON.stringify(reqDTO)
        }).then(response => response.json())
            .then((result) => {
                    if (result.code !== 0) {

                        alert(result.message);
                        window.location.href = "/";
                        return;
                    }

                    // result.code가 0일 시 로그인 성공
                    // 쿠키에 토큰 저장 (path 지정 하지 않을 시 '/'경로, 즉 localhost:8080/ 에서는 쿠키가 보이지 않음)
                    document.cookie = `ACCESS-TOKEN=${result.data.accessToken}; path=/`;
                    document.cookie = `REFRESH-TOKEN=${result.data.refreshToken}; path=/`;

                    alert(result.message);
                    window.location.href = "/";
                }
            )
    });
</script>
로그인 테스트
- index 페이지로 들어가서 로그인 클릭.(회원가입이 되어 있다고 가정, h2 사용 시 서버 재시작하였으면 데이터가 날아감)

- 들어가서 로그인 하면,
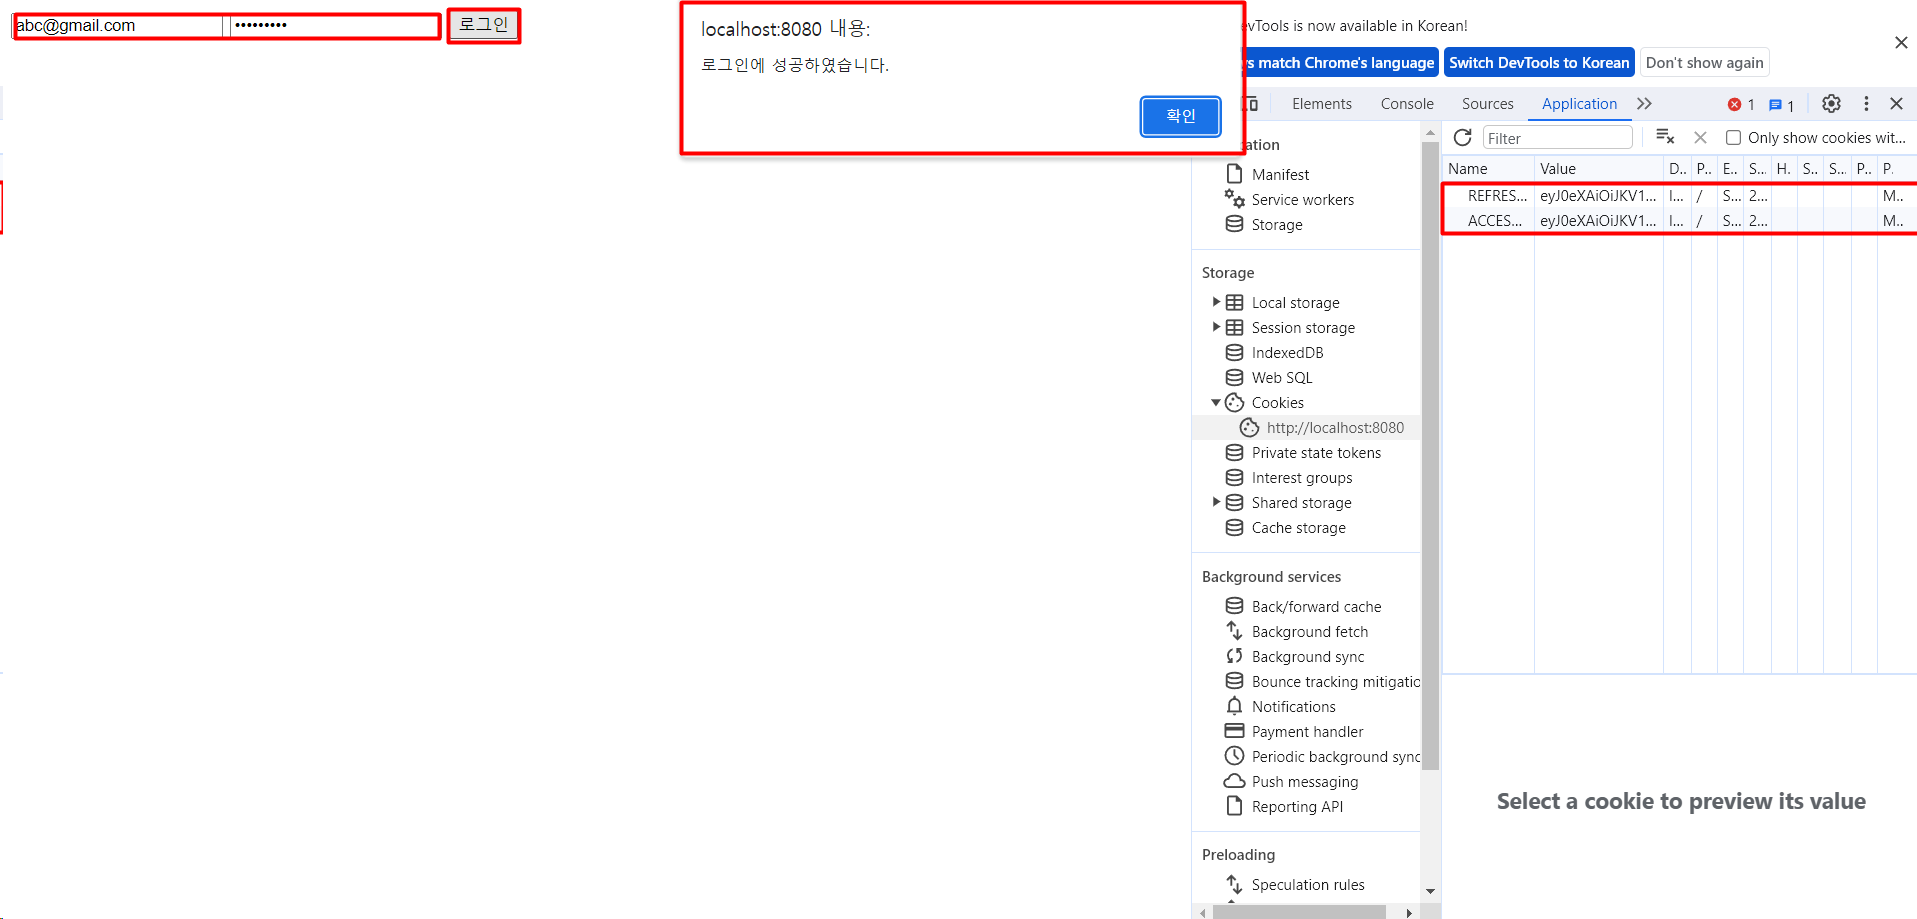
- 팝업창이 뜨고 Cookie에 accessToken과 refreshToken이 들어간 걸 확인할 수 있다.
- 확인을 누르면 메인에도 잘 들어가 있다.

정리
- 회원가입은 별다른 추가 로직이 없었고, 로그인 시에만 JwtToken을 발급해줬다.
다음 포스트에서
- 해당 토큰으로 요청을 날리고, JwtFilter를 만들어 SecurityConfig에서 적용하여 검증하는 로직
- AccessToken이 만료되었을 시 RefreshToken을 검증하여 jwt 재발급 로직
을 구현할 것이다.

유승한