1. 인증 번호 전송
index.html - 입력창 생성
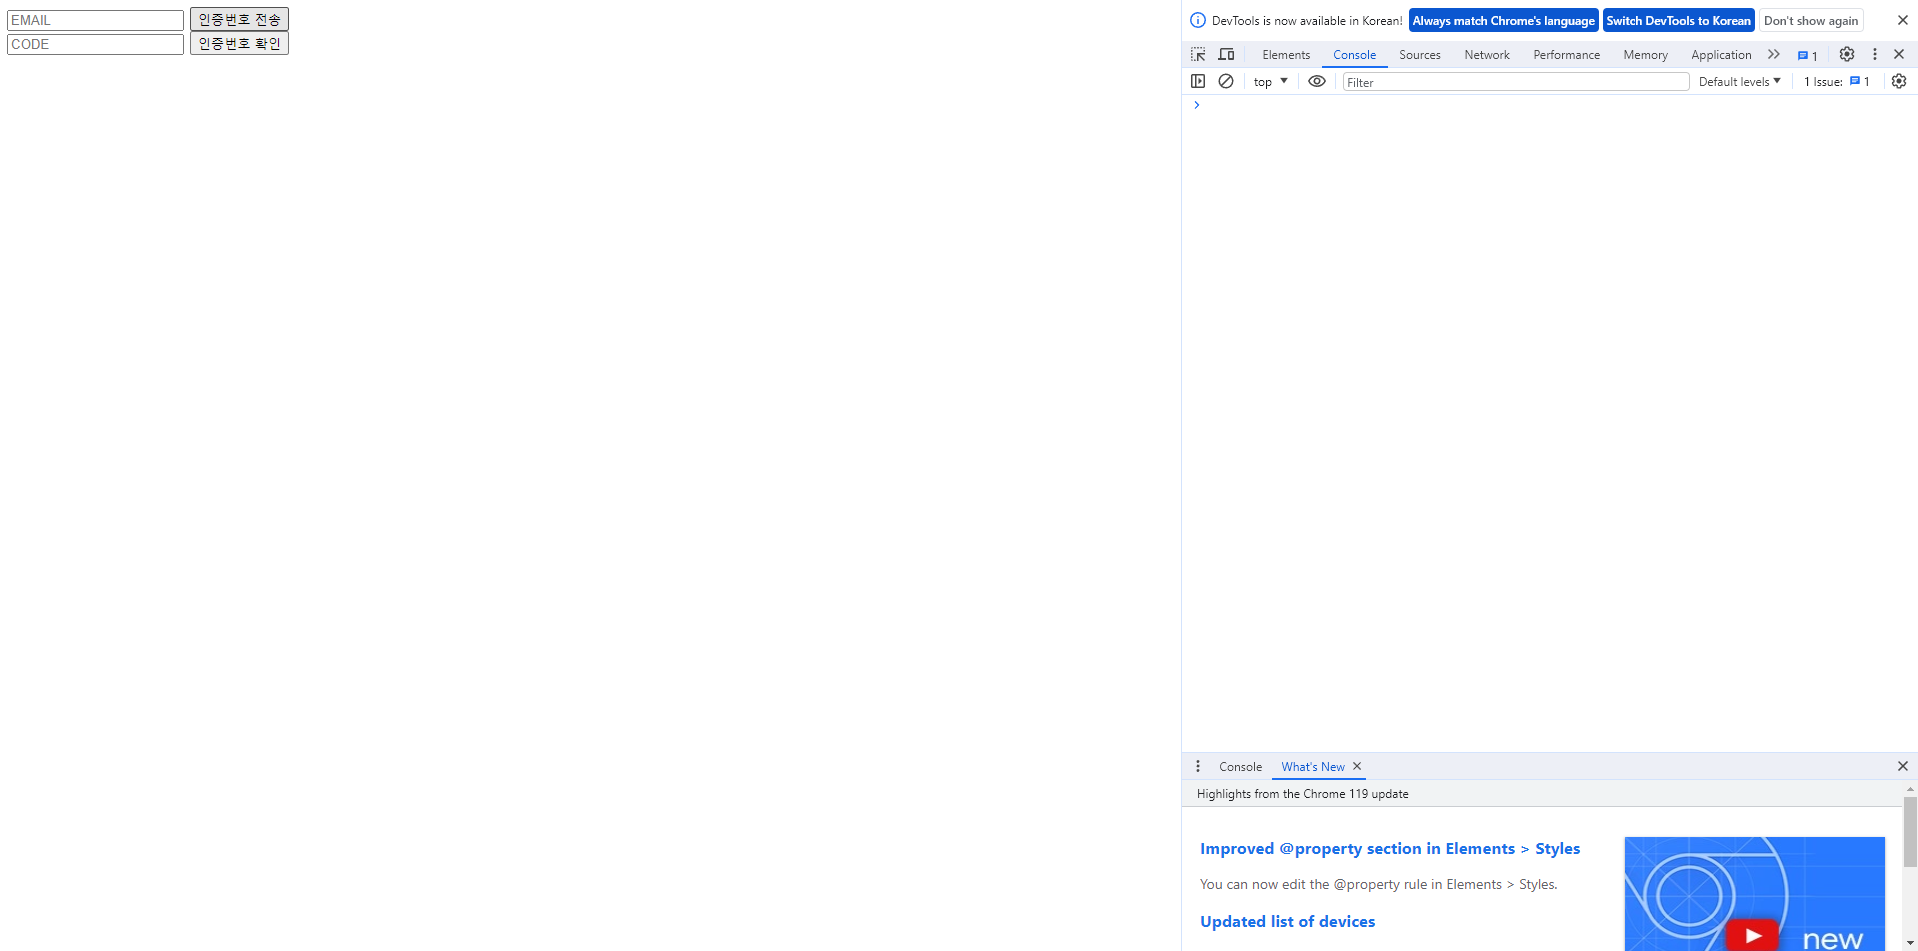
간단하게 이메일, 인증 번호 입력 창을 만든다.
<body>
    <!-- 이메일 입력 창-->
    <input type="text" id="email" name="email" placeholder="EMAIL">
    <!-- 인증번호 전송 버튼 -->
    <button type="button" id="sendEmail">인증번호 전송</button>
    <br />
    <!-- 인증번호 입력 창 -->
    <input type="text" id="authCode" name="authCode" placeholder="CODE">
    <!-- 인증번호 확인 버튼 -->
    <button type="button" id="confirmEmail">인증번호 확인</button>
</body>- 화면
인증번호 전송
인증번호 확인
MemberAuthenticationCodeEntity.java - 인증 코드 저장 엔티티 생성
package com.example.emailAuthenticationvelog.model.member.entity;


import jakarta.persistence.*;
import lombok.*;
import org.hibernate.annotations.DynamicInsert;
import org.hibernate.annotations.DynamicUpdate;

import java.time.LocalDateTime;

@Getter
@Setter
@Builder
@AllArgsConstructor
@NoArgsConstructor
@EqualsAndHashCode(of = "idx", callSuper = false)
@Entity
@Table(name = "`MEMBER_AUTHENTICATION_CODE`")
@DynamicInsert
@DynamicUpdate
public class MemberAuthenticationCodeEntity {

    @Id
    @GeneratedValue(strategy = GenerationType.IDENTITY)
    @Column(name = "idx", updatable = false)
    private Long idx;

    // 이메일
    @Column(name = "email", nullable = false)
    private String email;

    // 인증 코드
    @Column(name = "code", unique = true, nullable = false)
    private String code;

    // 인증 여부
    @Column(name = "is_verified", nullable = false)
    private boolean isVerified;

    // 인증 유효 기간 설정
    @Column(name = "end_date", nullable = false)
    private LocalDateTime endDate;

    @Column(name = "create_date", updatable = false, nullable = false)
    private LocalDateTime createDate;

    @Column(name = "update_date")
    private LocalDateTime updateDate;

    @Column(name = "delete_date")
    private LocalDateTime deleteDate;
}
MemberAuthenticationCodeRepository.java
package com.example.emailAuthenticationvelog.model.member.repository;

import com.example.emailAuthenticationvelog.model.member.entity.MemberAuthenticationCodeEntity;
import org.springframework.data.jpa.repository.JpaRepository;

import java.time.LocalDateTime;
import java.util.Optional;

public interface MemberAuthenticationCodeRepository extends JpaRepository<MemberAuthenticationCodeEntity, Long> {

    // 이메일로 end_date가 지금 이후고, delete_date가 null인 데이터 찾아오기
    Optional<MemberAuthenticationCodeEntity> findByEmailAndEndDateAfterAndDeleteDateIsNull(String email, LocalDateTime currentDateTime);

}
ReqSendEmailAuthenticationApiV1DTO - 이메일 입력 받을 DTO
굳이 DTO로 만들어야 하나 싶긴 하지만 더 입력받을 데이터가 있을 수도 있으니 추가하기 편하게 일단 DTO로 만들어 놓았다.
package com.example.emailAuthenticationvelog.domain.auth.dto;


import lombok.AllArgsConstructor;
import lombok.Builder;
import lombok.Data;
import lombok.NoArgsConstructor;

@Data
@Builder
@NoArgsConstructor
@AllArgsConstructor
public class ReqSendEmailAuthenticationApiV1DTO {

    private String email;

}
AuthControllerApiV1.java - 이메일 입력 받기
- email을 입력 받아 인증 메일을 보낼 API를 생성한다.
package com.example.emailAuthenticationvelog.domain.auth.controller;


import com.example.emailAuthenticationvelog.domain.auth.dto.ReqSendEmailAuthenticationApiV1DTO;
import com.example.emailAuthenticationvelog.domain.auth.service.AuthServiceApiV1;
import lombok.RequiredArgsConstructor;
import org.springframework.http.HttpEntity;
import org.springframework.web.bind.annotation.PostMapping;
import org.springframework.web.bind.annotation.RequestBody;
import org.springframework.web.bind.annotation.RequestMapping;
import org.springframework.web.bind.annotation.RestController;

@RestController
@RequiredArgsConstructor
@RequestMapping("/api/v1/auth")
public class AuthControllerApiV1 {

    private final AuthServiceApiV1 authServiceApiV1;
    // 이메일 인증 번호 요청
    @PostMapping("/email-authentication")
    public HttpEntity<?> sendEmailAuthentication(
            @RequestBody ReqSendEmailAuthenticationApiV1DTO reqSendEmailAuthenticationApiV1DTO) {
        return authServiceApiV1.sendEmailAuthentication(reqSendEmailAuthenticationApiV1DTO);
    }
}
ResDTO.java - 응답 데이터 구조화
package com.example.emailAuthenticationvelog.common.dto;

import lombok.AllArgsConstructor;
import lombok.Builder;
import lombok.Getter;
import lombok.NoArgsConstructor;

@Getter
@NoArgsConstructor
@AllArgsConstructor
@Builder
public class ResDTO<T> {
    private Integer code;
    private String message;
    private T data;
}
AuthServiceApiV1.java - 인증 코드 생성 및 발송 호출 로직
- 인증 번호를 생성하고, 메일을 발송한다.
- 메일 발송 성공 시 DB에서 유효한 인증 코드가 있는 지 검색 후, 만약 있다면 무효화 한 후 새로운 인증 코드를 저장한다.
package com.example.emailAuthenticationvelog.domain.auth.service;

import com.example.emailAuthenticationvelog.common.dto.ResDTO;
import com.example.emailAuthenticationvelog.domain.auth.dto.ReqSendEmailAuthenticationApiV1DTO;
import com.example.emailAuthenticationvelog.domain.email.service.EmailService;
import com.example.emailAuthenticationvelog.model.member.entity.MemberAuthenticationCodeEntity;
import com.example.emailAuthenticationvelog.model.member.repository.MemberAuthenticationCodeRepository;
import lombok.RequiredArgsConstructor;
import org.apache.commons.lang3.RandomStringUtils;
import org.springframework.http.HttpEntity;
import org.springframework.http.HttpStatus;
import org.springframework.http.ResponseEntity;
import org.springframework.stereotype.Service;
import org.springframework.transaction.annotation.Transactional;

import java.time.LocalDateTime;
import java.time.temporal.ChronoUnit;
import java.util.Optional;

@Service
@RequiredArgsConstructor
@Transactional(readOnly = true)
public class AuthServiceApiV1 {

    private final MemberAuthenticationCodeRepository memberAuthenticationCodeRepository;

    private final EmailService emailService;

    @Transactional
    public HttpEntity<?> sendEmailAuthentication(
            ReqSendEmailAuthenticationApiV1DTO reqSendEmailAuthenticationApiV1DTO) {

        // 랜덤 인증 코드 생성해서
        String authenticationCode = createAuthenticationCode();

        // emailService의 sendEmailAuthenticationCode함수로 메일을 발송하고, 성공 여부에 따라 true / false 반환
        if (!emailService.sendEmailAuthentication(reqSendEmailAuthenticationApiV1DTO, authenticationCode)) {
            // 메일 발송 실패 시 BAD_REQUEST 반환
            return new ResponseEntity<>(
                    ResDTO.builder()
                            .code(-1)
                            .message("인증 번호 발송 실패")
                            .build(),
                    HttpStatus.BAD_REQUEST);
        }

        // 메일 발송 성공 시
        // 아직 유효한 인증 코드 데이터를 찾아서
        Optional<MemberAuthenticationCodeEntity> beforeMemberAuthenticationCodeEntityOptional = memberAuthenticationCodeRepository
                .findByEmailAndEndDateAfterAndDeleteDateIsNull(
                        reqSendEmailAuthenticationApiV1DTO.getEmail(),
                        LocalDateTime.now());

        // 있으면 무효화 (delete_date 설정)
        if (beforeMemberAuthenticationCodeEntityOptional.isPresent()) {
            MemberAuthenticationCodeEntity beforeMemberAuthenticationCodeEntity = beforeMemberAuthenticationCodeEntityOptional
                    .get();
            beforeMemberAuthenticationCodeEntity.setDeleteDate(LocalDateTime.now());
            memberAuthenticationCodeRepository.save(beforeMemberAuthenticationCodeEntity);
        }

        // 인증 코드 데이터를 저장하기 위해 새 엔티티를 작성하여
        MemberAuthenticationCodeEntity memberAuthenticationCodeEntity = MemberAuthenticationCodeEntity
                .builder()
                .email(reqSendEmailAuthenticationApiV1DTO.getEmail())
                .code(authenticationCode)
                .isVerified(false)
                .endDate(LocalDateTime.now().plus(5, ChronoUnit.MINUTES))
                .createDate(LocalDateTime.now())
                .build();

        // 저장
        memberAuthenticationCodeRepository.save(memberAuthenticationCodeEntity);

        return new ResponseEntity<>(
                ResDTO.builder()
                        .code(0)
                        .message("인증 번호 발송 성공")
                        .build(),
                HttpStatus.OK);
    }

    // 랜덤 인증번호 생성 함수
    public String createAuthenticationCode() {
        // 8자리, 문자, 숫자 포함 문자열 생성
        return RandomStringUtils.random(8, true, true);
    }
}
email-authentication.html - 전송할 이메일 형태(모양) 만들기
- 그냥 텍스트만 보낼 수도 있긴 하지만, 일단은 꾸며봤다.
- 테스트 시 css 적용이 잘 안돼서 전부 인라인으로 했다. 다른 css 적용 방법을 찾아봐야 할 듯 하다.
- 코드는 GPT한테 부탁했다.
<!DOCTYPE html>
<html xmlns:th="http://www.thymeleaf.org">
<head>
    <title>인증 페이지</title>
</head>
<body style="font-family: 'Arial', sans-serif; background-color: #2C3E50; color: white; text-align: center; margin: 0; padding: 0; height: 100%; width: 100%;">
<table align="center" role="presentation" cellspacing="0" cellpadding="0" border="0" style="margin: auto; max-width: 600px; background-color: #AED6F1; border-radius: 5px;">
    <tr>
        <td style="padding: 40px; text-align: center;">
            <div style="margin-bottom: 30px;">
                <!-- 여기에 로고 이미지를 삽입하거나 로고 텍스트를 사용하세요 -->
                YOUR LOGO
            </div>
            <h1 style="color: white; font-size: 24px; margin: 0 0 10px 0;">안녕하세요!</h1>
            <p style="margin: 0 0 20px 0; color: white; line-height: 1.5; font-size: 16px; ">회원가입 이메일 인증 코드 보내드립니다.</p>
            <!-- Thymeleaf로 동적 값 바인딩 -->
            <div style="background-color: #ffffff; color: black; padding: 10px 20px; display: inline-block; border-radius: 4px;" th:text="${authenticationCode}">
                [인증 코드]
            </div>
        </td>
    </tr>
</table>
</body>
</html>
EmailService.java - 실제 이메일 전송 로직
package com.example.emailAuthenticationvelog.domain.email.service;

import com.example.emailAuthenticationvelog.domain.auth.dto.ReqSendEmailAuthenticationApiV1DTO;
import jakarta.mail.Message;
import jakarta.mail.MessagingException;
import jakarta.mail.internet.InternetAddress;
import jakarta.mail.internet.MimeMessage;
import lombok.RequiredArgsConstructor;
import org.springframework.mail.javamail.JavaMailSender;
import org.springframework.stereotype.Service;
import org.springframework.transaction.annotation.Transactional;
import org.thymeleaf.TemplateEngine;
import org.thymeleaf.context.Context;

import java.io.UnsupportedEncodingException;

@Service
@RequiredArgsConstructor
@Transactional(readOnly = true)
public class EmailService {
    private final JavaMailSender javaMailSender;

    private final TemplateEngine templateEngine;

    public Boolean sendEmailAuthentication(ReqSendEmailAuthenticationApiV1DTO reqEmailAuthenticationApiV1DTO, String authenticationCode) {
        // 메시지 객체를 생성하고
        MimeMessage message = javaMailSender.createMimeMessage();

        try {
            // 이메일 제목 설정
            message.setSubject("사이트 회원가입 인증번호 입니다.");

            // 이메일 수신자 설정
            message.addRecipient(Message.RecipientType.TO, new InternetAddress(reqEmailAuthenticationApiV1DTO.getEmail(), "", "UTF-8"));

            // 이메일 내용 설정
            message.setText(setContext(authenticationCode), "UTF-8", "html");

            // 송신
            javaMailSender.send(message);
        } catch (MessagingException e) {
            e.printStackTrace();
            return false;
        } catch (UnsupportedEncodingException e) {
            e.printStackTrace();
            return false;
        }
        // 다 성공했다면
        return true;
    }

    // 생성해놓은 html에 인증 코드를 넣어서 반환
    private String setContext(String authenticationCode) {
        Context context = new Context();
        context.setVariable("authenticationCode", authenticationCode);
        return templateEngine.process("email-authentication", context);
    }
}
index.html - 버튼 이벤트 넣기
<script>
    document.querySelector("#sendEmail").addEventListener("click", function () {
        // 이메일 입력 창에서 이메일 주소를 가져온다.
        var email = document.querySelector("#email").value;
        // 이메일 주소가 비어있는지 확인한다.
        if (email === "") {
            alert("이메일을 입력해주세요.");
            return;
        }
        // 이메일 주소를 JSON 형태로 만든다.
        var data = {"email": email};
        // POST /email-authentication 요청을 보낸다.
        fetch("/api/v1/auth/email-authentication", {
            method: "POST",
            headers: {
                "Content-Type": "application/json"
            },
            body: JSON.stringify(data)
        }).then((response) => response.json())
            .then((result) => {
                if(result.code === 0){
                    console.log("err" ,result);
                    // 응답 결과를 alert로 보여준다.
                    alert(result.message);
                }
                if(result.code === 1){
                    // 응답 결과를 alert로 보여준다.
                    console.log("err" ,result);
                    alert(result.message);
                }
            });
    });
</script>
전송 테스트
-
실제로 전송해보자.
-
html 이름을 index.html로 설정해놨기 때문에 localhost:8080으로 진입시 포트 변경 설정을 해놓지 않은 이상 만들어 놓은 index 페이지로 들어갈 것이다.
-
이메일을 작성하고 전송 버튼을 클릭한다.
-
2초 정도 기다리면, 팝업창이 뜬다.
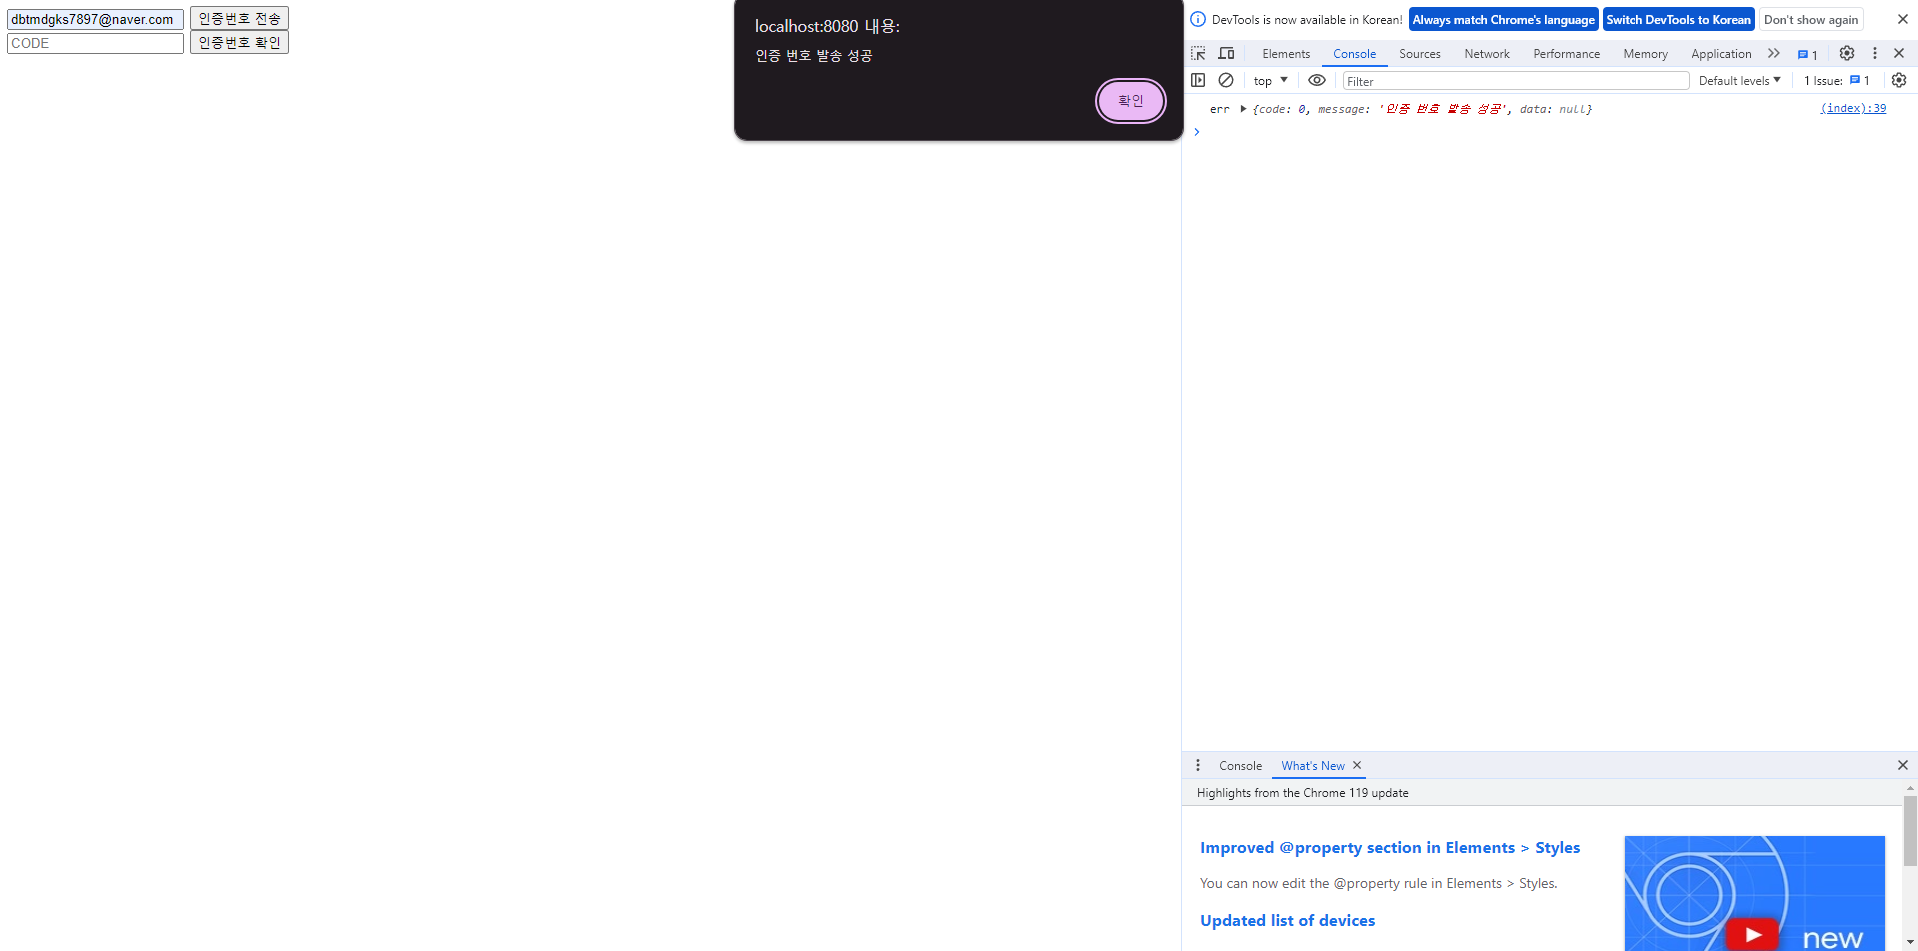
-
이제 작성한 이메일로 들어가 확인해보면 이메일이 수신된 것을 확인할 수 있다.
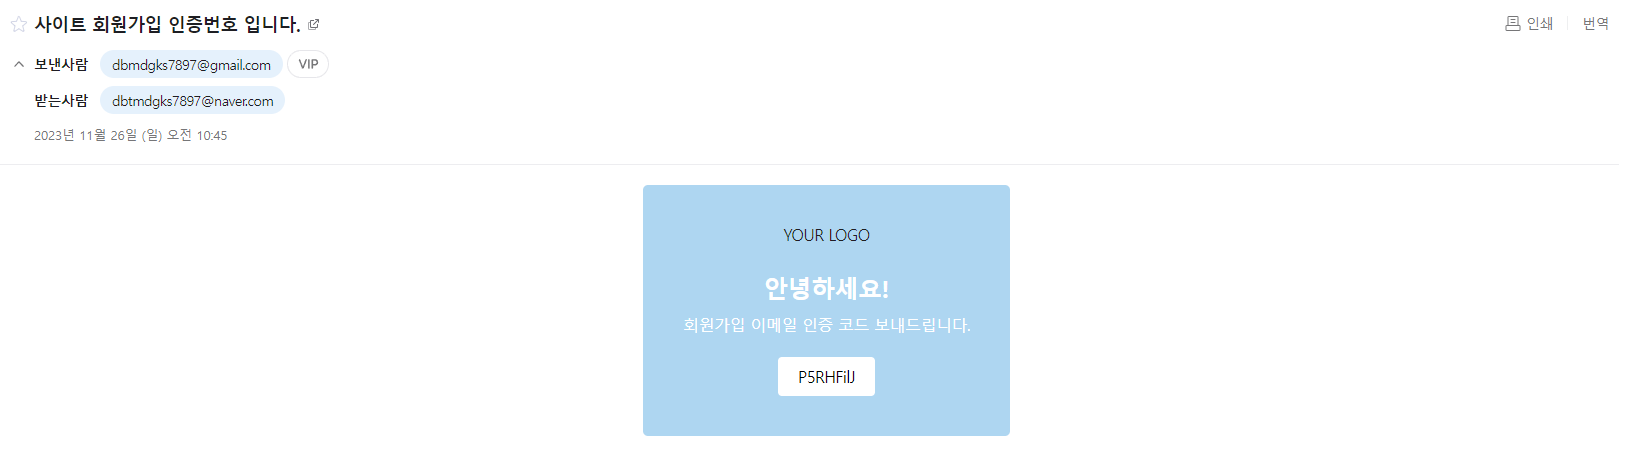
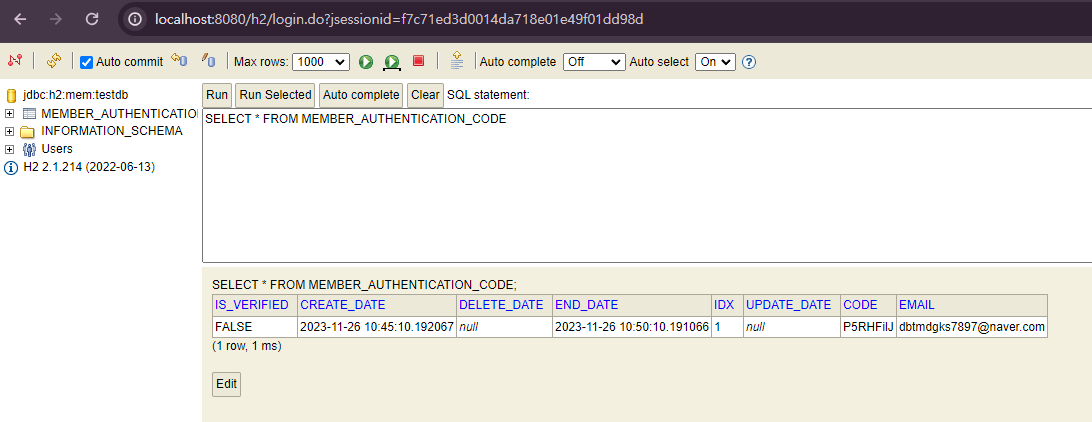
-
DB에도 잘 들어가있다.

유승한