적용
gradle dependency 추가
https://docs.spring.io/spring-security/reference/getting-spring-security.html
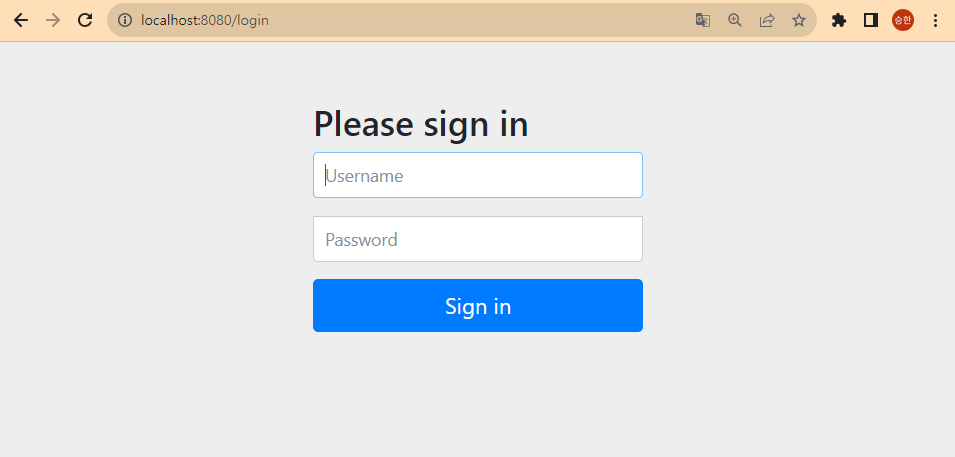
추가 시 아무 설정 안돼있어도 시큐리티 적용이 되어
페이지 접근 시 Security 로그인 창이 뜬다.
기본 아이디 : user
기본 패스워드 : 콘솔창에 뜨는 문자열

시큐리티의 로그인은 우리가 프로젝트에 설정해 준 로그인과 별도
프로젝트의 세션과 시큐리티의 세션은 저장 위치가 다름
config 파일 추가
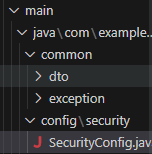
@Bean으로 따로 설정하여 자동 생성된 시큐리티 필터체인을 덮어씀
package com.example.my.config.security;

import org.springframework.context.annotation.Bean;
import org.springframework.context.annotation.Configuration;
import org.springframework.security.config.annotation.web.builders.HttpSecurity;
import org.springframework.security.config.annotation.web.configuration.EnableWebSecurity;
import org.springframework.security.web.SecurityFilterChain;

@Configuration
@EnableWebSecurity
public class SecurityConfig {

    @Bean
    // throws Exception : 오류를 함수 밖으로 내보내 바깥에서 오류 처리하도록 함
    public SecurityFilterChain securityFilterChain(HttpSecurity httpSecurity) throws Exception {

        // httpSecurity.csrf(config -> config.disable());

        return httpSecurity.getOrBuild();
    }
}
서버에서 csrf 토큰을 만들어서 페이지에 넣어주고,
  <meta name="_csrf" th:content="${_csrf.token}">
  <meta name="_csrf_header" th:content="${_csrf.headerName}"/>
페이지에 있는 토큰 정보 불러와서 header에 넣고 보냄
  const csrfHeader = document.querySelector(
        'meta[name="_csrf_header"]'
      ).content;
const csrfToken = document.querySelector('meta[name="_csrf"]').content;

const jsonHeaders = {
        "Content-Type": "application/json;charset=utf-8"
      }
jsonHeaders[csrfHeader] = csrfToken

fetch("/api/v1/auth/login", {
        method: "POST",
        headers: jsonHeaders,
        body: JSON.stringify(dto),
      })
후에 페이지마다 csrf 토큰 설정을 해놓으면 설정이 안돼있는 페이지에서는 접근 불가

유승한