참고로 코드는 https://tjdans.tistory.com/21 여기서 거의 다 따옴.
1. index.html - 토큰 얻어오기
firebase-messaging을 cdn으로 import 시킨다.
버전 최신화가 필요할 수 있다.
<script src="https://www.gstatic.com/firebasejs/5.9.2/firebase.js"></script>
<script src="https://www.gstatic.com/firebasejs/5.9.2/firebase-app.js"></script>
<script src="https://www.gstatic.com/firebasejs/5.9.2/firebase-messaging.js"></script>
페이지 첫 접속 시에 알람 활성화 여부를 묻는다.
<script>
    let firebaseConfig = {
        // 아까 SDK에 적혀있던 그 코드
    };
    // Initialize Firebase
    firebase.initializeApp(firebaseConfig);

    // Show Notification
    // 메시지 기능 활성화를 알림
    const messaging = firebase.messaging();
    // RequestPermission 첫 어플 시작 시 알림 허용 or 불허를 사용자에게 안내합니다.
    // 허용하지 않을 시 알람 메시지는 가지 않습니다.
    messaging.requestPermission()
        .then(function () {
            // 알람이 허용되었을 때 토큰을 반환합니다.
            // 해당 토큰을 통해 FCM 특정 사용자에게 메시지를 보낼 수 있습니다.
            return messaging.getToken();
        })
        .then(async function (token) {
            userToken = token;
            console.log(token)

            // 해당 onMessage는 데이터메시지로, 포그라운드인 상태에서
            // FCM 메시지를 전송하는 경우 콘솔에 표기하도록 작성된 코드입니다.
            messaging.onMessage(payload => {
                console.log(payload);
            })
        })
</script>- 위 상태로 실행 시 크롬에서 알림 허용 창이 떠야한다.
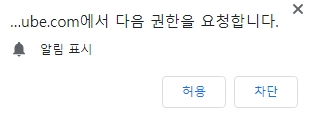
(대충 이런 식)
안 뜬다면 알림이 자동 차단되어 있거나 이미 허용되어 있을 수 있다.
또는 더 진행하다 보면 뜰 수도 있다.자동 차단 푸는 법
크롬 우상단 햄버거(?) 버튼 (프로필 옆에) - 설정 - 개인 정보 보호 및 보안 - 사이트 설정 에서 각 사이트 별 권한 열람, 수정 가능
-
허용 한 후 콘솔 창을 보면
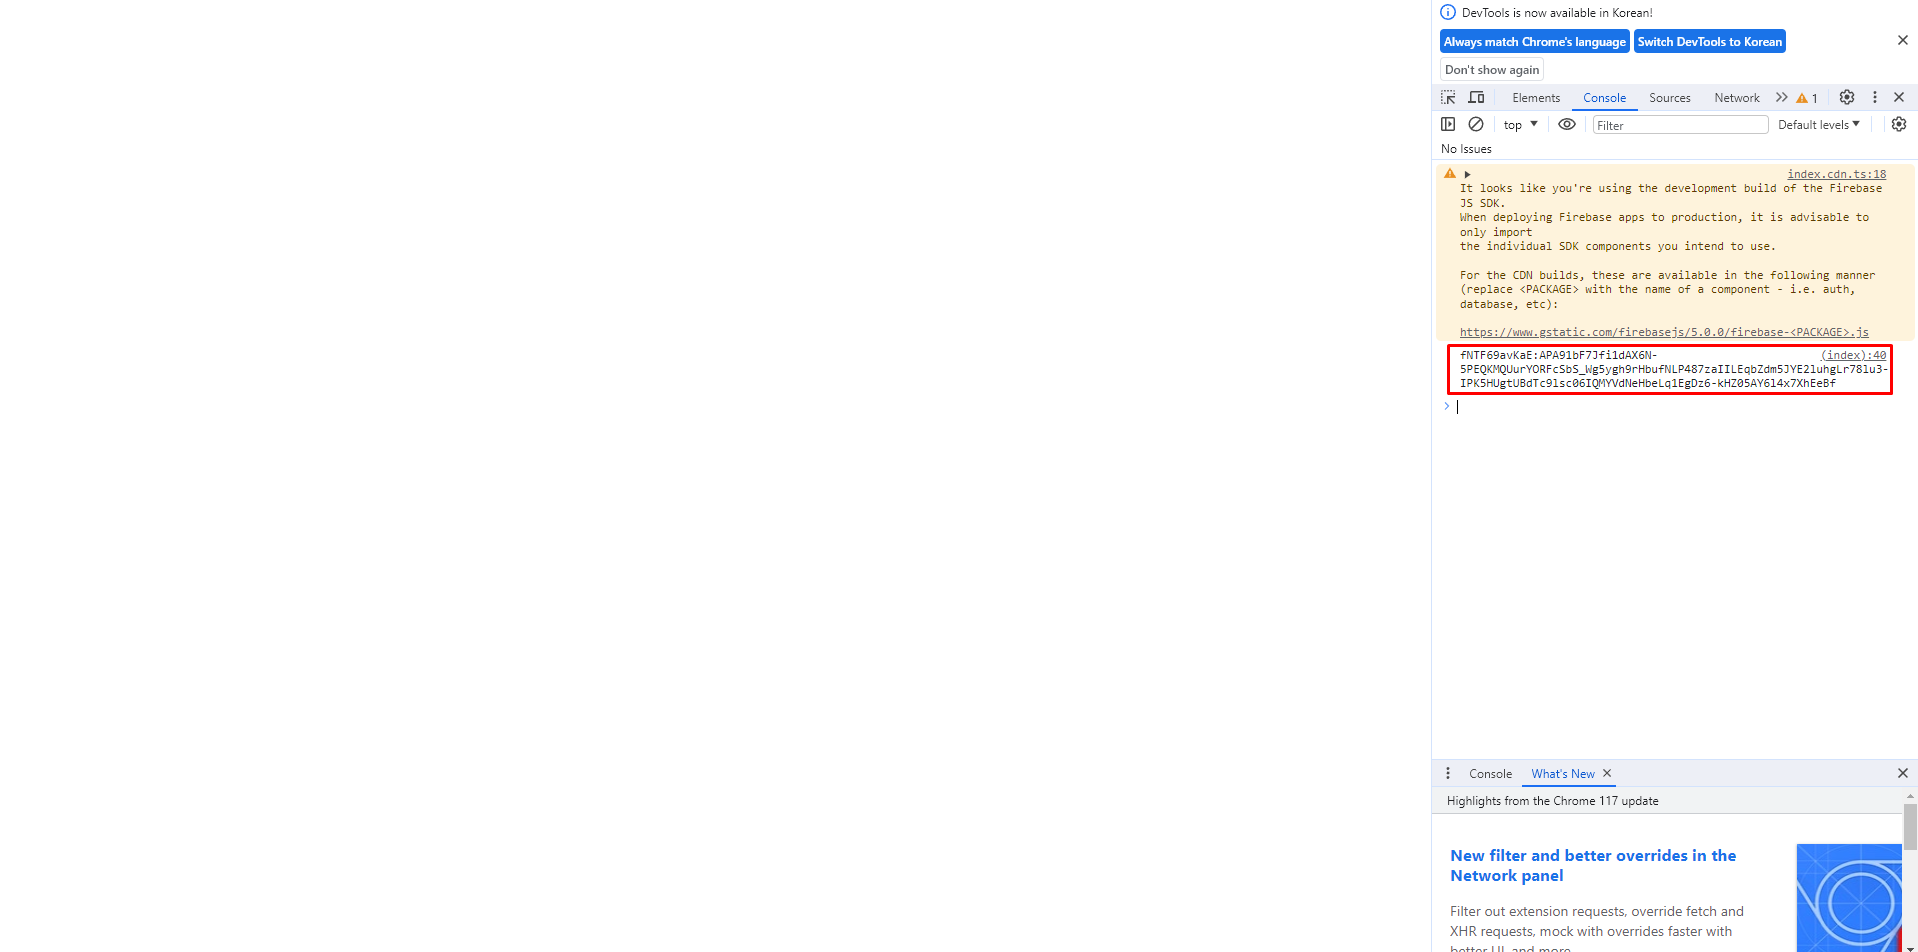
이런 식으로 디바이스 토큰이 떠있다. -
이제 이 디바이스 토큰을 메시지와 함께 FCM 백엔드 서버로 넘겨야 한다.
2. main.html - 메시지 입력 폼 (토큰도 포함)
현재 별다른 DB 저장이 없고 토큰을 그대로 백엔드로 보내는 형식이지만,
토큰은 당연히 노출되면 안 될테고 DB 저장이나 여러가지 작업도 추가로 필요할 테니
추후에 필요에 따라 기능을 추가하길 바람.
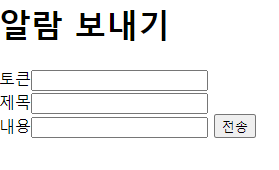
간단한 입력 폼을 만든다.
<body>
    <h1>알람 보내기</h1>
    <span>토큰</span><input type="text" id="token" /><br />
    <span>제목</span><input type="text" id="title" /><br />
    <span>내용</span><input type="text" id="body" />
    <button onclick="sendNotification()">전송</button>
</body>
sendNotification 함수를 정의해준다 (script에)
const sendNotification = () => {
      const reqFcmNotificationDTO = {
        // input에서 값을 가져와
        notification: {
          token: document.querySelector("#token").value,
          title: document.querySelector("#title").value,
          body: document.querySelector("#body").value,
        },
      };

      // 잘 들어왔는 지 콘솔에 한 번 찍어보고
      console.log(reqFcmNotificationDTO.notification);

      // sendNotification으로 api 요청을 보낸다(구현 예정)
      fetch("/api/v1/fcm/sendNotification", {
        method: "POST",
        headers: {
          "Content-Type": "application/json",
        },
        body: JSON.stringify(reqFcmNotificationDTO),
      })
        .then((response) => response.json())
        .then((data) => {
          console.log(data);
          alert(data.message);
          if (data.code == 0) {
            location.reload();
          }
        })
        .catch((error) => {
          // 오류 처리
          console.error("Error:", error);
        });
};-
입력 폼이 만들어졌다.
-
이제 api 요청을 보냈으니, 해당 uri를 controller에서 매핑하여 데이터를 반환해야 한다.
3. FirebaseInit.java - 파이어 베이스 초기화
프론트에서도 initialize를 하는데 이거랑 뭐가 다른지 정확히 모르겠다.
package com.example.fcmbeloging.common.util;

import com.google.auth.oauth2.GoogleCredentials;
import com.google.firebase.FirebaseApp;
import com.google.firebase.FirebaseOptions;
import org.springframework.core.io.ClassPathResource;
import org.springframework.stereotype.Service;

import javax.annotation.PostConstruct;
import java.io.IOException;

@Service
public class FirebaseInit {
    // 패스에 firebase 콘솔에서 발급받은 비공개 키 파일 이름을 적어준다.
    // 비공개 키 파일이 resources에 바로 밑에 있어야 정상 작동 하는 걸로 알고있다.
    private static final String path = "belog-b82dd-firebase-adminsdk-eidoh-d5db6f1507.json";
    private boolean initialized = false;

    @PostConstruct
    public void init(){
        try {
            if (!initialized) {
                // 위에서 입력한 path를 기반으로 인증 정보 세팅
                // 여기서 deprecated가 뜨지만, 실행은 된다.
                FirebaseOptions options = new FirebaseOptions.Builder()
                        .setCredentials(GoogleCredentials.fromStream(new ClassPathResource(path).getInputStream()))
                        .build();

                // 이미 초기화가 되어있는 지 확인 후
                if (FirebaseApp.getApps().isEmpty()) {

                    // 비어있다면 초기화
                    FirebaseApp.initializeApp(options);
                    initialized = true;
                }
            }
        } catch (IOException e) {
            e.printStackTrace();
        }
    }

}
4. FcmControllerApiV1.java - api 요청 매핑
아까 프론트에서 보낸 post 요청을 받을 controller를 작성한다.
package com.example.fcmfinal.domain.fcm.controller;

import org.springframework.beans.factory.annotation.Autowired;
import org.springframework.http.ResponseEntity;
import org.springframework.web.bind.annotation.PostMapping;
import org.springframework.web.bind.annotation.RequestBody;
import org.springframework.web.bind.annotation.RequestMapping;
import org.springframework.web.bind.annotation.RestController;

import com.example.fcmfinal.domain.fcm.dto.ReqFcmNotificationDTO;
import com.example.fcmfinal.domain.fcm.service.FcmServiceApiV1;

@RestController
@RequestMapping("/api/v1/fcm")
public class FcmControllerApiV1 {

    @Autowired
    private FcmServiceApiV1 fcmServiceApiV1;

    @PostMapping("/sendNotification")
    public ResponseEntity<?> post(@RequestBody ReqFcmNotificationDTO dto){

        System.out.println("테스트 : "+dto.getNotification().getUserIdx());
        System.out.println("테스트 : "+dto.getNotification().getTitle());
        System.out.println("테스트 : "+dto.getNotification().getBody());

        return fcmServiceApiV1.sendNotification(dto);
    }
}
5. ReqFcmNotificationDTO.java - 요청 받을 때 데이터를 받기 위한 DTO 설정
package com.example.fcmbeloging.fcm.dto;


import jakarta.validation.Valid;
import jakarta.validation.constraints.NotNull;
import lombok.AllArgsConstructor;
import lombok.Builder;
import lombok.Getter;
import lombok.NoArgsConstructor;

@NoArgsConstructor
@AllArgsConstructor
@Builder
@Getter
public class ReqFcmNotificationDTO {

    private Notification notification;

    @Valid
    @NoArgsConstructor
    @AllArgsConstructor
    @Builder
    @Getter
    public static class Notification {
        // 각각 벨리데이션으로 유효성 검사.
        @NotNull(message = "토큰을 정확히 입력해주세요.")
        private String token;
        @NotNull(message = "제목을 정확히 입력해주세요.")
        private String title;
        @NotNull(message = "내용을 정확히 입력해주세요.")
        private String body;
    }
}
6. FcmServiceApiV1.java - 메인 로직. 서버에서 FCM 백엔드로 메시지 송신
아까 만든 FirebaseInit 클래스의 init 함수로 초기화 후, Message 클래스(firebase에서 제공)로 메시지 생성 후, 알림을 보낸다.
package com.example.fcmbeloging.fcm.service;

import org.springframework.beans.factory.annotation.Autowired;
import org.springframework.http.HttpStatus;
import org.springframework.http.ResponseEntity;
import org.springframework.stereotype.Service;

import com.example.fcmbeloging.common.dto.ResponseDTO;
import com.example.fcmbeloging.common.util.FirebaseInit;
import com.example.fcmbeloging.fcm.dto.ReqFcmNotificationDTO;
import com.google.firebase.messaging.FirebaseMessaging;
import com.google.firebase.messaging.Message;
import com.google.firebase.messaging.Notification;

@Service
public class FcmServiceApiV1 {
    @Autowired
    FirebaseInit init;

    public ResponseEntity<?> sendNotification(ReqFcmNotificationDTO dto) {
        try {
            // Firebase Admin SDK 초기화
            init.init();

            // 메시지 생성
            Message message = Message.builder()
                    .setToken(dto.getNotification().getToken()) // 수신자의 FCM 토큰
                    .setNotification(Notification.builder()
                            .setTitle(dto.getNotification().getTitle()) // 알림 제목
                            .setBody(dto.getNotification().getBody()) // 알림 내용
                            .build())
                    .build();

            // 알림 보내기
            FirebaseMessaging.getInstance().send(message);

            // 성공 시 성공 메시지 반환
            // 반환 시 ResponseEntity로 데이터와 같이 HttpStatus로 응답 상황도 같이 설정
            // 데이터도 DTO로 만들어서 보냄.(추후 구현 예정)
            return new ResponseEntity<>(
                    ResponseDTO.builder()
                            .code(0)
                            .message("메시지 송신 성공")
                            .build(),
                    HttpStatus.OK);
        } catch (Exception e) {

            // 실패 시 오류 로그 찍고
            e.printStackTrace();
            // 메시지 송신 실패 메시지 반환
            return new ResponseEntity<>(
                    ResponseDTO.builder()
                            .code(1)
                            .message("Failed to send message: " + e.getMessage())
                            .build(),
                    HttpStatus.BAD_REQUEST);
        }
    }
}
7. ResponseDTO.java - 반환 데이터 구조화
package com.example.fcmbeloging.common.dto;

import lombok.AllArgsConstructor;
import lombok.Builder;
import lombok.Getter;
import lombok.NoArgsConstructor;

@NoArgsConstructor
@AllArgsConstructor
@Builder
@Getter
// 메세지와 코드를 같이 보내기 위해 사용
public class ResponseDTO<T> {
    private Integer code;
    private String message;
    private T data;
}-
여기까지 하면 FCM 백엔드로 메시지가 보내지고, 요청 승인 후 디바이스 토큰을 기준으로 메시지를 송신함.
-
이제 이 메시지를 프론트에서 수신 시 'push'라는 이벤트가 발생하고, 이 안에서 알람을 띄워주면 됨.
8. firebase-messaging-sw.js - 메시지 수신 처리
push 이벤트를 처리해준다.
index.html의 스크립트 안에 넣어도 실행이 되어야 할 듯 싶은데 안된다.
importScripts("https://www.gstatic.com/firebasejs/5.9.2/firebase-app.js");
importScripts(
  "https://www.gstatic.com/firebasejs/5.9.2/firebase-messaging.js"
);

// Initialize Firebase
const firebaseConfig = {
  // SDK에서 발급 받은 그거
};

firebase.initializeApp(firebaseConfig);

self.addEventListener('push', (event) => {
  const options = {
    body: event.data.json(),
  };
  const title = options.body.notification.title;
  const body = options.body.notification.body;
  console.log(title);
//   console.log(body);

  event.waitUntil(
      self.registration.showNotification(title, options.body.notification)
  );
});

const messaging = firebase.messaging();
- 토큰과 제목, 내용을 입력한 후 전송 버튼을 누르면 알람이 오는 것을 알 수 있다.
마무리
- 세세한 기능들은 거의 아예 안 들어갔다.
- 전체 코드 https://github.com/dbtmdgks7897/fcm-velog (apikey, 비공개 키 내용 등 삭제되어 있음 추가 필요)
