Prologue
현재 Tistory 정상화 문제가 있어, 아마 개발 블로그를 이전하게 될 것 같습니다.
10월 1주차 Progress Bar 구현, 10월 2주차 todoList에 기능 추가하여 UI 구현하기에 이어서, 이번 주에는 Carousel을 어떻게 구현할 수 있는지 배우고, 배운 내용을 응용해서 새로운 UI를 구현하였습니다.
Carousel
Carousel의 기능적인 정의로는 다음과 같습니다.
이미지나 텍스트의 슬라이드를 가로로 슬라이드시켜 여러 개를 표시하는 컴포넌트이다.
대부분의 사이트를 들어가면, 페이지의 상단에 광고 또는 홍보 위주의 글을 버튼을 누르지 않더라도, 정해진 주기에 따라 이미지가 넘어가는 것을 확인할 수 있습니다. 이 컴포넌트는 도대체 어떻게 구현하는 것일까 매 번 궁금하였는데, CSS Transform과 약간의 Javascript를 이용하면, 충분히 구현할 수 있다는 것을 알게 되어, 이번 기회에 구현하게 되었습니다.
아래의 이미지는 구현한 캐러셀의 UI입니다.
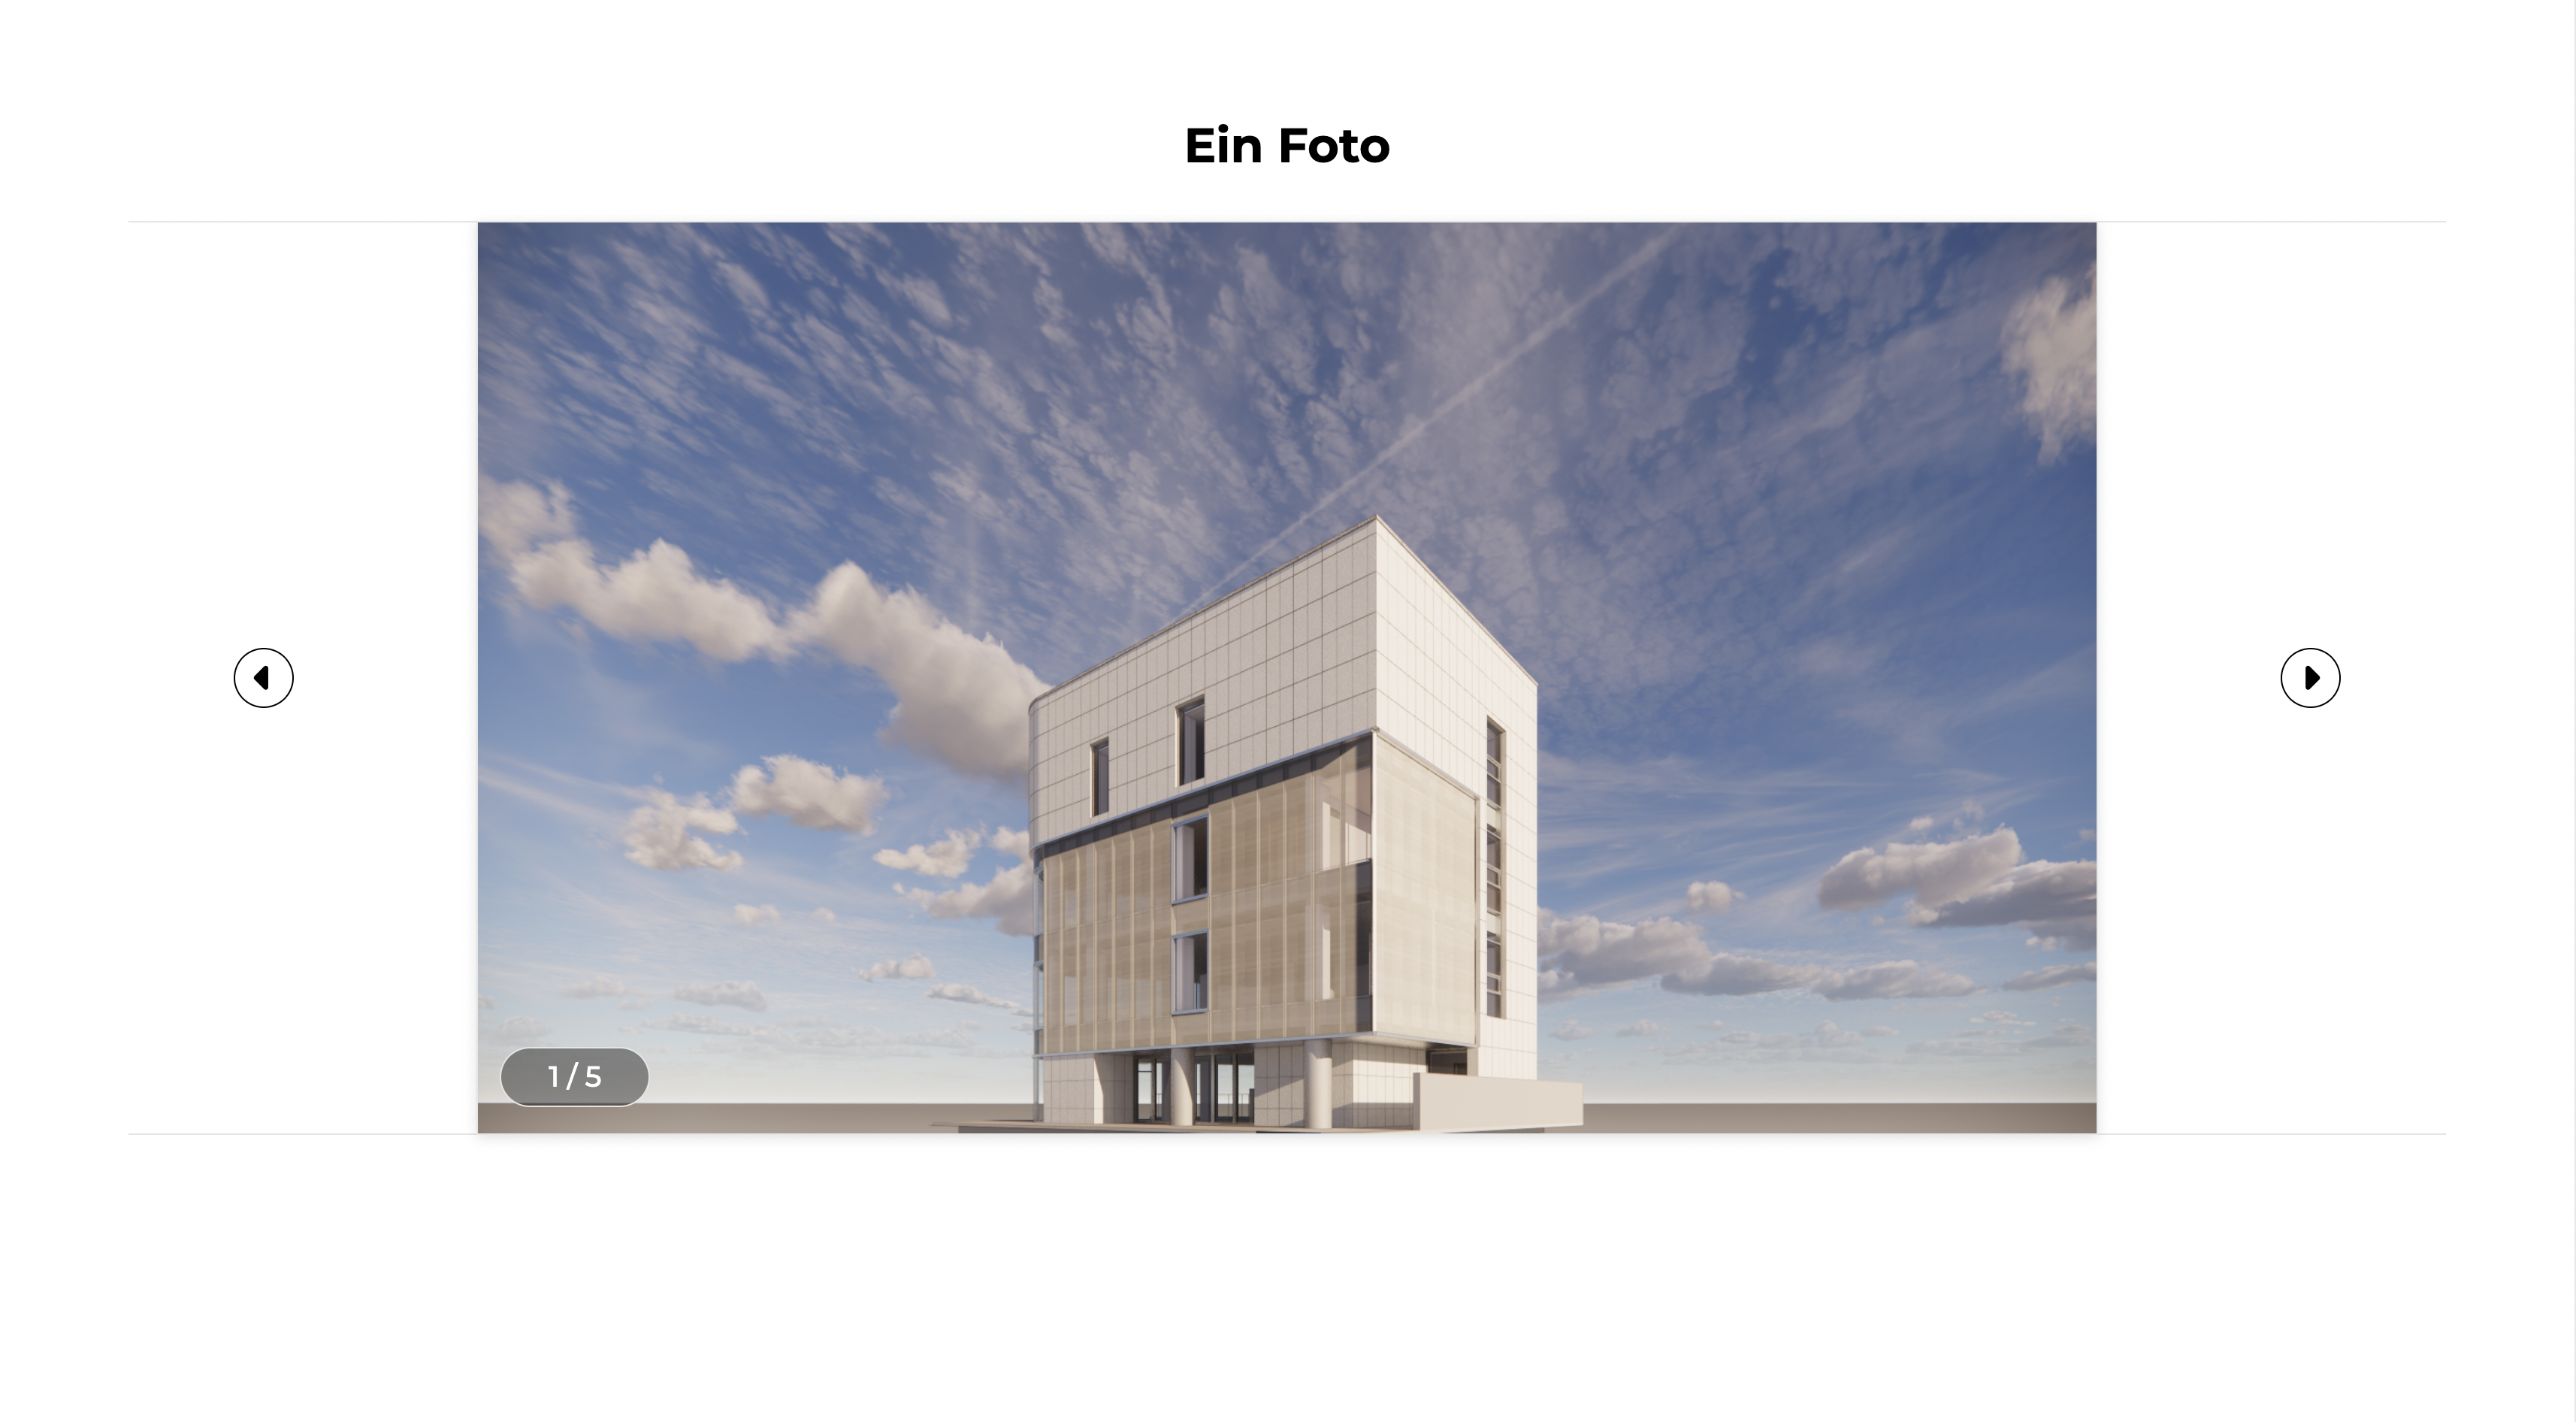
정말 간단한 UI 입니다. 상단의 제목, 이전 사진 또는 다음 사진을 볼 수 있게 하는 버튼이 있고, 이미지의 좌측 하단에는 몇 번째 사진인지 알려주는 텍스트가 있습니다.
HTML
HTML 구조는 다음과 같습니다.
<body>
    <div id="app">
        <header class="header">
            <h1>Ein Foto</h1>
        </header>
        <section class="section carousel">
            <div class="carousel-item">
                <img src="./assets/1.png" alt="perspective" class="photo-image">
            </div>
            <div class="carousel-item">
                <img src="./assets/2.png" alt="interior-1" class="photo-image">
            </div>
            <div class="carousel-item">
                <img src="./assets/3.png" alt="interior-2" class="photo-image">
            </div>
            <div class="carousel-item">
                <img src="./assets/5.png" alt="interior-3" class="photo-image">
            </div>
            <div class="carousel-item">
                <img src="./assets/6.jpeg" alt="detail" class="photo-image">
            </div>
            <button class="carousel-btn-prev">
                <i class="fa-solid fa-caret-left"></i>
            </button>
            <button class="carousel-btn-next">
                <i class="fa-solid fa-caret-right"></i>
            </button>
            <span class="current-item"></span>
        </section>
    </div>
</body>
CSS
CSS에서 눈여겨 볼 코드만 다음과 같이 확인하겠습니다.
.carousel{
    position: relative;
    display: flex;
    justify-content: center;
    margin: 0 auto;
    width: 90%;
    height: auto;
    -webkit-transform-style: preserve-3d;
    -moz-transform-style: preserve-3d;
    transform-style: preserve-3d;
    background-color: #fff;
}

.carousel-item{
    position: absolute;
    top: 0;
    width: 70%;
    height: 100%;
    border: 1px solid #e5e5e5;
    box-shadow: rgba(99, 99, 99, 0.2) 0px 2px 8px 0px;
    z-index: 100;
    transition: transform 0.5s, opacity 0.5s, z-index 0.5s;
    opacity: 0;
}

.carousel-item.active{
    position: relative;
    opacity: 1;
    z-index: 700;
}

.carousel-item.prev{
    transform: translateX(-100%);
    z-index: 500;
}

.carousel-item.next{
    transform: translateX(100%);
    z-index: 500;
}

.carousel-btn-next,
.carousel-btn-prev{
    position: absolute;
    top: 50%;
    width: 40px;
    height: 40px;
    border-radius: 50%;
    border : 1px solid #000;
    background-color: #fff;
    cursor: pointer;
    transform: translateY(-50%);
    z-index: 1000;
}
CSS에서 중점 사항은 다음과 같습니다.
-
carousel이라는 컨테이너를 기준으로 내부의 item, 즉 이미지와 이전 & 다음 버튼의 z-index를 이용한 구분
-
이전 다음 버튼을 클릭했을 때, 다음 이미지 또는 이전 이미지가 보이도록, transform - translateX를 이용해서 이미지를 carousel이라는 컨테이너로부터 보이지 않도록 구현
👩🏻🚀 JavaScript
그러면, 대망의 자바스크립트 코드를 확인해 보겠습니다.
먼저, 구조는 Class 컴포넌트로 만들어서 구현했습니다. 함수형 컴포넌트로 만드는 것을 선호하긴 하지만, this에 대한 이해도를 높이고자, 이번에는 Class를 이용해서 구현해 보았습니다.
클래스 내부의 메서드는 다음과 같습니다.
- initCarousel() : 캐러셀의 상태를 초기화하는 메서드
- moveNext() : 다음 버튼을 클릭할 때 작동하는 메서드
- movePrev() : 이전 버튼을 클릭할 때 작동하는 메서드
- moveCarousel() - 캐러셀을 움직일 조건에 해당하는 쿼리를 담고 있는 메서드
- handleBtnEvent() - 이전 또는 다음 버튼에 해당하는 DOM 요소를 가져와, 클릭 이벤트가 발생했을 때, movePrev 또는 moveNext 실행하는 메서드
class Carousel {
    constructor(carouselEl) {
        this.carouselEl = carouselEl;
        this.itemClassName = 'carousel-item';
        this.items = getAll('.carousel-item');
        this.totalItems = this.items.length;
        this.current = 0;
        this.state = false;
    }

    initCarousel(){
        if(this.state) return;
        this.items[0].classList.add('active');
        this.items[1].classList.add('next');
        this.items[this.totalItems - 1].classList.add('prev');
        this.showCurrentPage();
    }

    showCurrentPage(){
        get('.current-item').innerHTML = `${this.current+1} / ${this.totalItems}`
    }

    disableInteraction(){
        this.state = true;
        setTimeout(() => {
            this.state = false;
        }, 500)
    }

    handleBtnEvent(){
        this.prevBtn = get('.carousel-btn-prev');
        this.nextBtn = get('.carousel-btn-next');

        this.prevBtn.addEventListener('click', () => {
            this.movePrev();
        })
        this.nextBtn.addEventListener('click', () => {
            this.moveNext();
        })
    }

    moveCarousel(){
        this.disableInteraction()
        let prev = this.current - 1;
        let next = this.current + 1;

        if(this.current === 0){
            prev = this.totalItems - 1;
        }else if (this.current === this.totalItems - 1){
            next = 0;
        }
        this.items.forEach((item,idx) => {
            if(idx === this.current){
                this.items[idx].className = `${this.itemClassName} active`;
            } else if (idx === prev){
                this.items[idx].className = `${this.itemClassName} prev`;
            } else if (idx === next){
                this.items[idx].className = `${this.itemClassName} next`;
            } else{
                this.items[idx].className = this.itemClassName;
            }
        })
    }

    moveNext(){
        if(this.state) return;
        if(this.current === this.totalItems - 1){
            this.current = 0;
        } else{
            this.current++;
        }
        this.showCurrentPage();
        this.moveCarousel()
    }

    movePrev(){
        if(this.state) return;
        if(this.current === 0){
            this.current = this.totalItems - 1;
        }else{
            this.current--;
        }
        this.showCurrentPage();
        this.moveCarousel()
    }
}


const init = () => {
    const carouselEl = get('.carousel');
    const $carousel = new Carousel(carouselEl);
    $carousel.initCarousel();
    $carousel.handleBtnEvent();
}

document.addEventListener('DOMContentLoaded', () => {
    init();
});this.current라는 현재의 이미지를 가리키는 index를 이용해서, 현재 이미지에는 'active'라는 클래스를, 이전 이미지에는 'prev', 다음 이미지에는 'next'를 붙여줍니다.
그리고 이전 또는 다음 버튼을 여러 번 클릭했을 때 과도한 동작을 방지하기 위해서, 추가적으로 disableInteraction이라는 메서드를 만들어, 500ms 주기로 버튼 클릭에 의한 이전 또는 다음 이미지가 보여지도록 제한을 두었습니다. 단, this.state라는 일종의 상태값을 이용하여, 이 값이 false일 때만 동작하도록 하게 조건을 두었습니다.
마치며
이번에는 어떻게 만드는 지에 따라 간단할 수도 있고, 복잡해질 수도 있는 Carousel을 만들어보는 시도를 하였습니다. 다음에는 조금 더 복잡한 UI 기능을 더 담아서 만들어 보는 기회를 가져보도록 하겠습니다.
감사합니다.