
https://strapi.io/blog/integrate-shopify-into-your-strapi-website
💡
해당 글을 참고했으나, strapi v3을 기준으로 작성된 글이라 v4에서는 적용되지 않는 코드 이슈가 종종 있어 완전히 따라하는데는 무리가 있음.
또, 해당 글에서 제시한 방법은shopify에 물건 등록-물건에 대한 id 생성-strapi에 수동으로 물건 데이터와 shopify id 저장의 방식을 따르고 있어 데이터를 유저가 두 프로그램에서 모두 수동으로 입출력해야한다는 단점이 있음.
현재까지는 별다른 방법이 없는 듯 함
일단 strapi 프로젝트 설치
yarn create strapi-app strapi-shopify --quickstart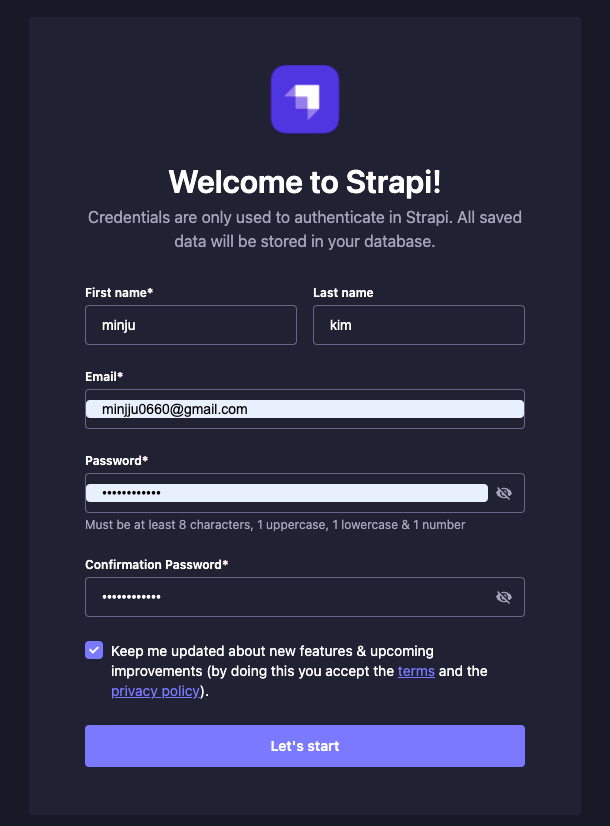
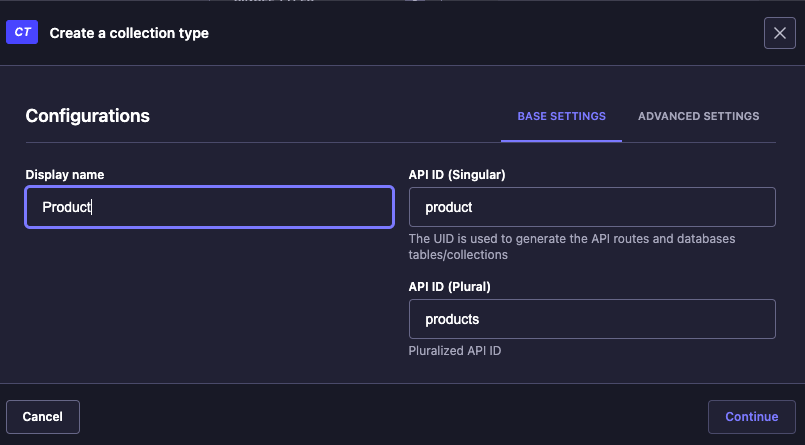
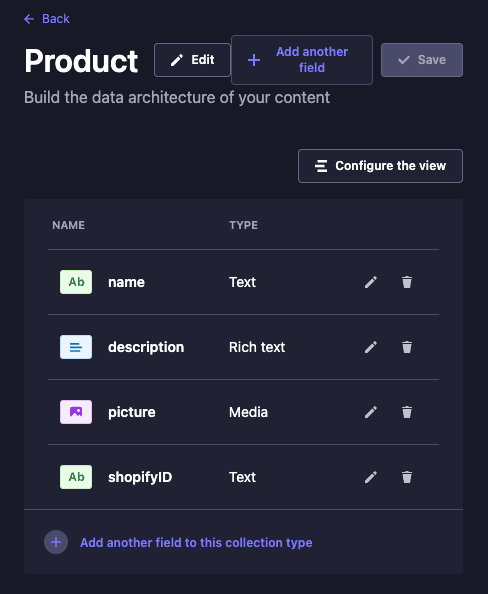
콜렉션 타입에 Product 추가 후, 각각의 필요한 필드 추가
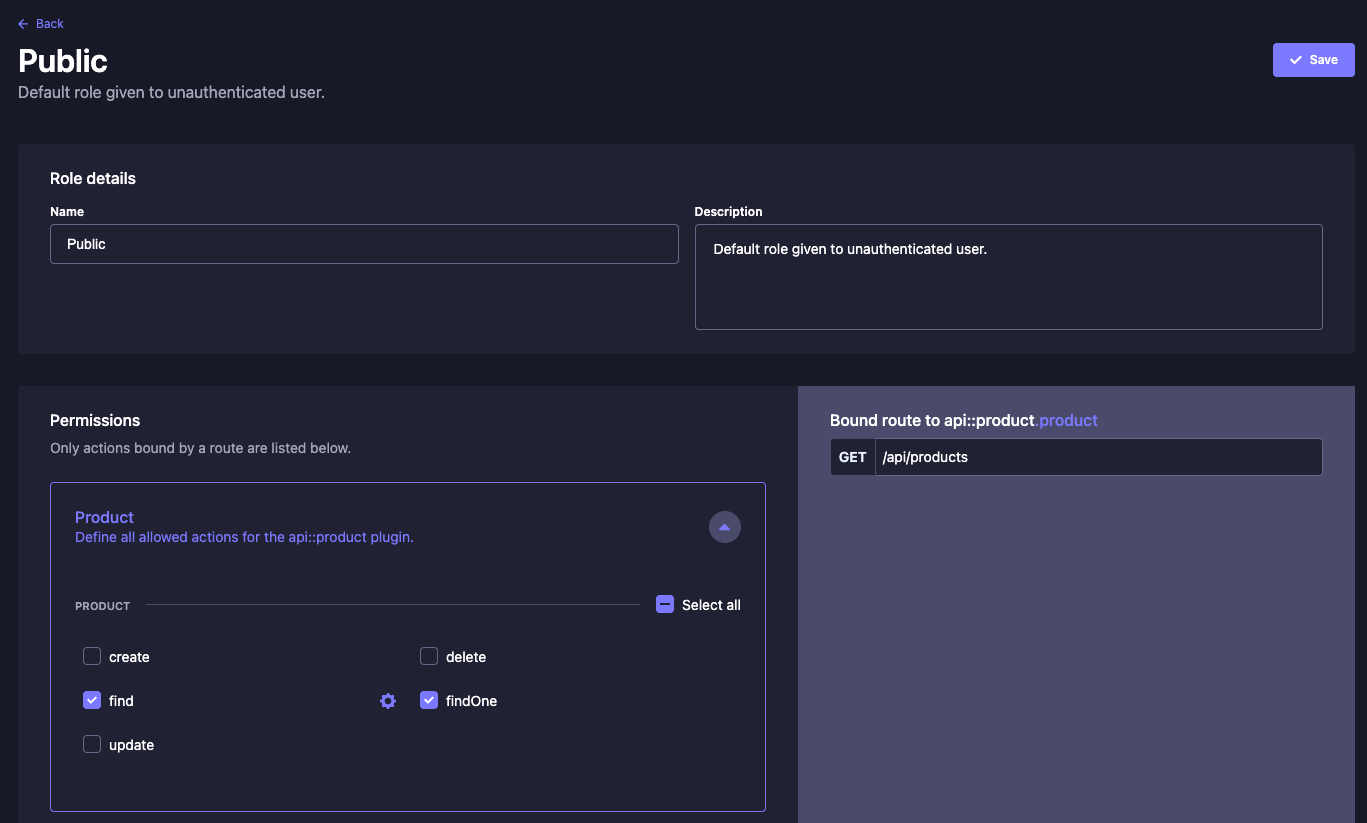
User permissions
유저의 로그인 유무 상태에 관계없이 유저가 상품을 확인할 수 있어야 함.
Settings > Users & Permissions Plugin > Public 으로 들어가서
Public의 Product에 대한 권한을 다음과 같이 변경해줌
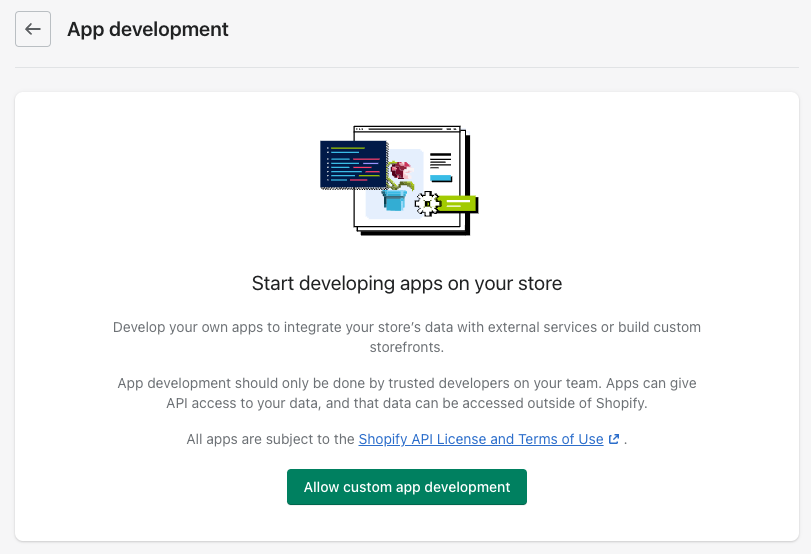
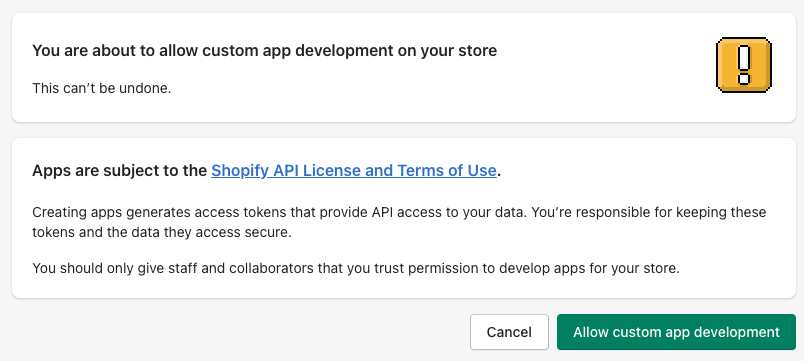
Setup Shopify
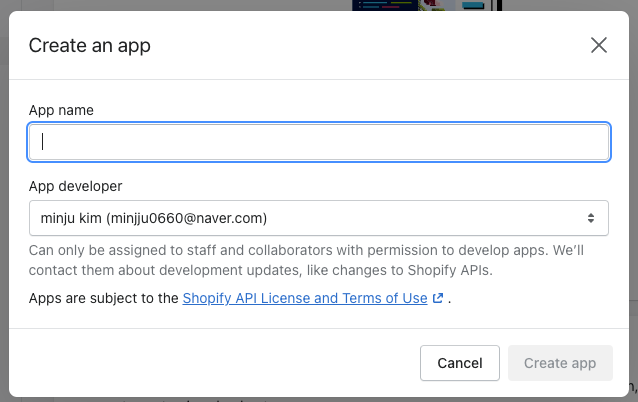
shopity account 생성
www.shopify.com 에 접속 해 무료 trial로 가입
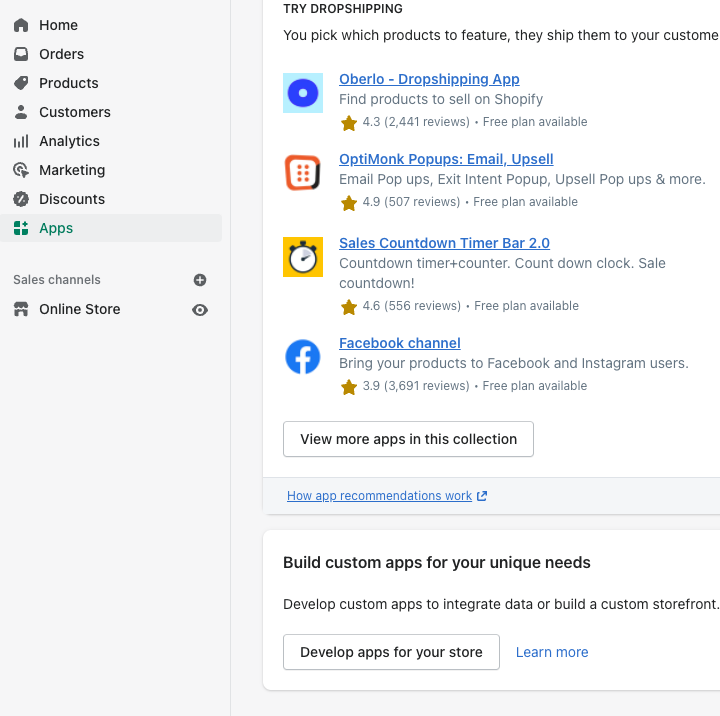
shopify app은 스토어에 새로운 기능을 추가하고 admin capabilities를 향상시키기 위해 사용됨.
세 가지 타입의 메인 app이 존재
- public
- custom
- private
public의 경우, Shopify's app store 나 a Shopify developer's website 에서 다운 가능
custom은 개발자들을 위해 특별하게 설치 되며, 스토어에 API나 접근 권한이 필요 없음
private은 스토어를 통해서만 접근 가능하며 api와 스토어 접근 권한이 필요함.
private 앱 사용 불가

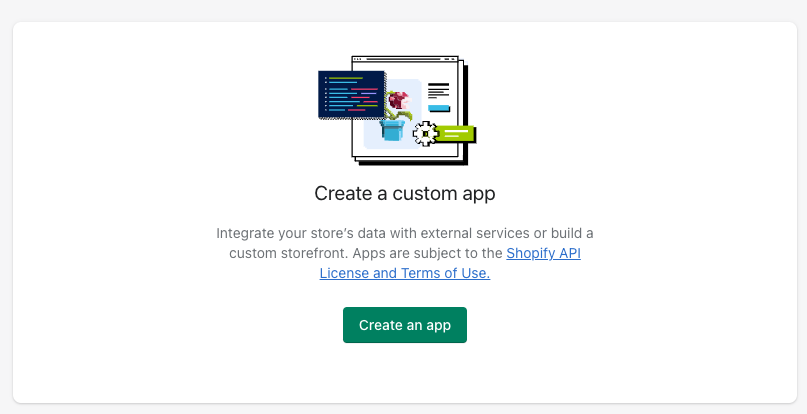
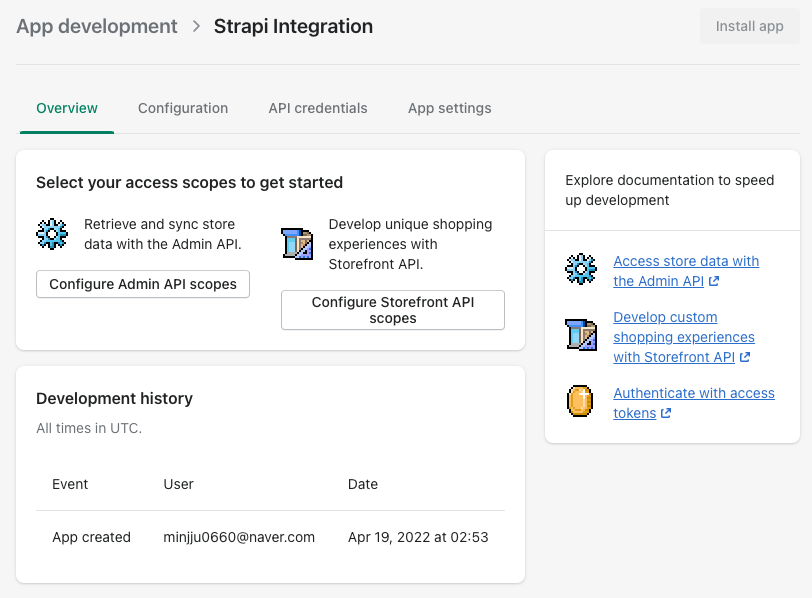
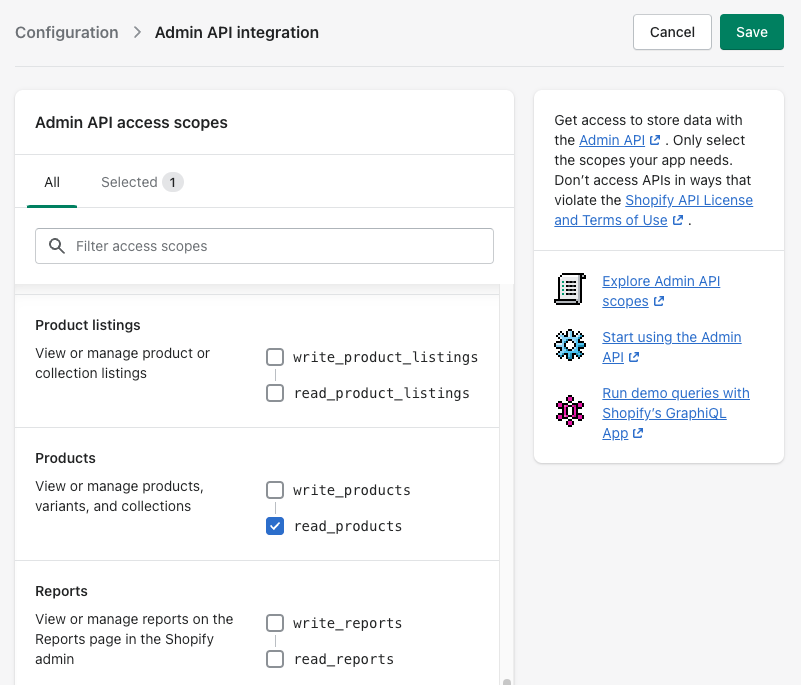
Configure Admin API scopes 클릭
read 권한 주기 체크
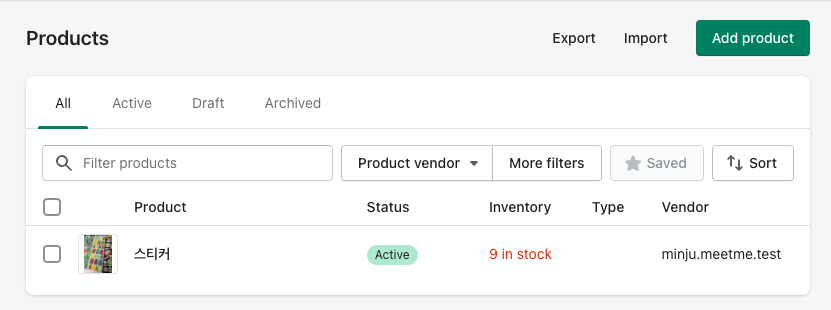
프로덕트에 제품 추가
- Draft에서 Save로 상태 변경
Integrate Shopify with Strapi
Back-end customization - Strapi Developer Docs
api/product/controllers/products.js파일을 다음과 같이 수정
이 때, 작성했던 collection type의 이름에 따라 주황색으로 체크된 product부분이 변경됨.
const { sanitizeEntity } = require("strapi-utils");
    module.exports = {
      /**
       * Retrieve records.
       *
       * @return {Object}
       */

      // Find Product by ID
      async findOne(ctx) {
        const { id } = ctx.params;
        const entity = await strapi.services.product.findOne({ id });
        return sanitizeEntity(entity, { model: strapi.models.product });
      },
    };

// 템플릿
const { sanitizeEntity } = require("strapi-utils");
    module.exports = {
      /**
       * Retrieve records.
       *
       * @return {Object}
       */

      // Find Product by ID
      async findOne(ctx) {
        const { id } = ctx.params;
        const entity = await strapi.services.[테이블이름].findOne({ id });
        return sanitizeEntity(entity, { model: strapi.models.[테이블이름] });
      },
    };
Add Shopify constant with API details
shopify 사이트에서 보일러 플레이트 가져와서 코드 추가해주기
GitHub - MONEI/Shopify-api-node: Node Shopify connector sponsored by MONEI
const { sanitizeEntity } = require("strapi-utils");

// 🔥 코드 추가 시작
const Shopify = require("shopify-api-node");

const shopify = new Shopify({
  shopName: "your-shop-name",
  apiKey: "your-api-key",
  password: "your-app-password",
});
//🔥 코드 추가 종료

module.exports = {
  /**
   * Retrieve records.
   *
   * @return {Object}
   */

  // Find Product by ID
  async findOne(ctx) {
    const { id } = ctx.params;
    const entity = await strapi.services.product.findOne({ id });
    return sanitizeEntity(entity, { model: strapi.models.product });
  },
};
여기서 “your-shop-name” 부분을 내 url에 적힌 이름으로 바꿔주기

https://minju-meetme-test.myshopify.com/admin/products?selectedView=all
이라면 shopName: "minju-meetme-test" 로 변경
비밀번호를 입력해야하는데 어떤 비밀번호를 입력해야할 지 모르겠어서 일단 지움
strapi-utils는 호환 문제로 사용 불가능하기 때문에 sanitizeEntity를 변경해주어야 함.
해당 기능을 사용하기 위해 strapi/utils로 변경해야 함. → 다음 코드 참조
async findOne(ctx)
{
	const { id } = ctx.params;
	const { query } = ctx;
	const entity = await strapi.service('api::customer.customer').findOne(id, query);
	const sanitizedEntity = await this.sanitizeOutput(entity, ctx);
	return this.transformResponse(sanitizedEntity);
}
위에 저런식으로 findOne 만 달랑 집어넣게 되면 기존함수에서 오버라이딩 되는게 아니라 findone 함수만 정의된 상태가 되어 find, update, delete 등 따로 추가해줘야 함.
기존 코드에서 오버라이딩되도록 하기 위해선, 다음과 같이 코드를 작성해주어야함.
"use strict";

const { createCoreController } = require("@strapi/strapi").factories;

const Shopify = require("shopify-api-node");

const shopify = new Shopify({
  shopName: "minju-meetme-test",
  apiKey: "74ade3672d87f45531787575caef1711",
  password: "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",
});

module.exports = createCoreController("api::product.product", ({ strapi }) => ({
  // Find Product by ID
  async findOne(ctx) {
    const { id } = ctx.params;
    const entity = await strapi.service("api::product.product").findOne({ id });

    // 아이디에 따라 값을 shopify에서 값을 가져오도록 설정
    entity.shopify = await shopify.product.get(entity.shopifyID);

    const sanitizedEntity = await this.sanitizeOutput(entity, ctx);
    return this.transformResponse(sanitizedEntity);
  },
}));
💡 findOne 이외의 다른 함수를 오버라이딩 하고 싶다면 이 페이지를 참고해서 코드를 변환
Get metadata from Shopify
strapi에 shopify와 똑같은 데이터를 넣어줌.
이 때 중요한건 strapi product의 필드에 shopify ID를 만들고 실제 shopify에서 해당 제품에 할당된 ID를 넣어주어야 함.
해당 제품에 대한 아이디는 제품 상세보기를 클릭했을 때 링크에서 확인할 수 있음.

에러 발생 : Undefined attribute level operator id

ctx에 param이라는 전달값이 존재하지 않아 id 값을 찾을 수 없어 발생하는 문제
따라서 코드를 다음과 같이 변경함.
"use strict";

const { createCoreController } = require("@strapi/strapi").factories;

const Shopify = require("shopify-api-node");

const shopify = new Shopify({
  shopName: "minju-meetme-test",
  apiKey: "74ade3672d87f45531787575caef1711",
  password: "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",
});

module.exports = createCoreController("api::product.product", ({ strapi }) => ({
  // Find Product by ID
  async findOne(ctx) {
    const entity = await super.findOne(ctx);

    // 아이디에 따라 값을 shopify에서 값을 가져오도록 설정
    entity.shopify = await shopify.product.get(
      entity.data.attributes.shopifyID
    );

    const sanitizedEntity = await this.sanitizeOutput(entity, ctx);
    return this.transformResponse(sanitizedEntity);
  },
}));
결과는 잘 출력됨.

문제는 별도의 연동 체계가 있는게 아니라 해당 노드를 사용해 데이터를 가져오는 정도
왜 두 프로그램을 연결해야하는지?
→ 유저가 strapi를 통해 로그인 하기 때문에 계정을 서로 연동하기 위해


결국...해내셨군요 !!