처음에 토큰을 어떻게 내가 만든 사이트에서 관리하고 불러오고 쓸수 있는지 확실하지가 않아서 강의에서 준 파일에서 프론트쪽을 까봤다. 둘러보니 로그인후 localstorage에 토큰을 주머니마냥 유저가 들고 다니게끔 해놨다. 그런 시스템으로 한번 로그인 api구현을 해봤다.
-------🖥️ Frontend-------
📂로그인
일단 로그인을 하면 로그인을 할수있는 버튼을 없애는게 베스트이긴 하지만 과제 기본 요구사항에서 로그인페이지를 들어갔을때 이미 로그인이 되있으면 다른페이지로 넘겨주라고 해서 안없애고 남겨뒀다.
if (localStorage.getItem('token')) {
  getSelf(function () {
    alert('이미 로그인이 되어있습니다. 채널페이지로 이동합니다.');
    window.location.replace('/');
  });
}

function getSelf(callback) {
  $.ajax({
    type: 'GET',
    url: '/users/info',
    headers: {
      authorization: `Bearer ${localStorage.getItem('token')}`,
    },
    success: function (response) {
      callback(response.user);
    },
  });
}

function signIn() {
  let id = $('#id').val();
  let password = $('#password').val();
  $.ajax({
    type: 'POST',
    url: '/users/auth',
    data: {
      id: id,
      password: password,
    },
    success: function (response) { 	//클라이언트가 로그인을 하면 token을 localStorage에 넣는다.
      localStorage.setItem('token', response.token);
      window.location.replace('/');
    },
    error: function (error) {
      alert(error.responseJSON.errorMessage);
    },
  });
}
Bearer는 사용자망 인터페이스 상호 간에 정보를 실시간으로 내용 변경없이 전달하는 방법을 제공하는 서비스이다. 하지만 실제에선 일반적으로 많이 쓰지않는다고 들었다. 하지만 개인 프로젝트에는 지장은 없는거같다.
getSelf함수는 사용자가 가지고 있는 토큰을 데이터베이스에 있는 회원정보이랑 비교를해서 있는 id이면 그 사용자의 정보를 가져오는 함수다. 그래서 만약 토큰이 있고 그 토큰을 풀어서 유저정보가 DB에 있으면 다른페이지로 돌려주게 해놨다.
📂글쓰기
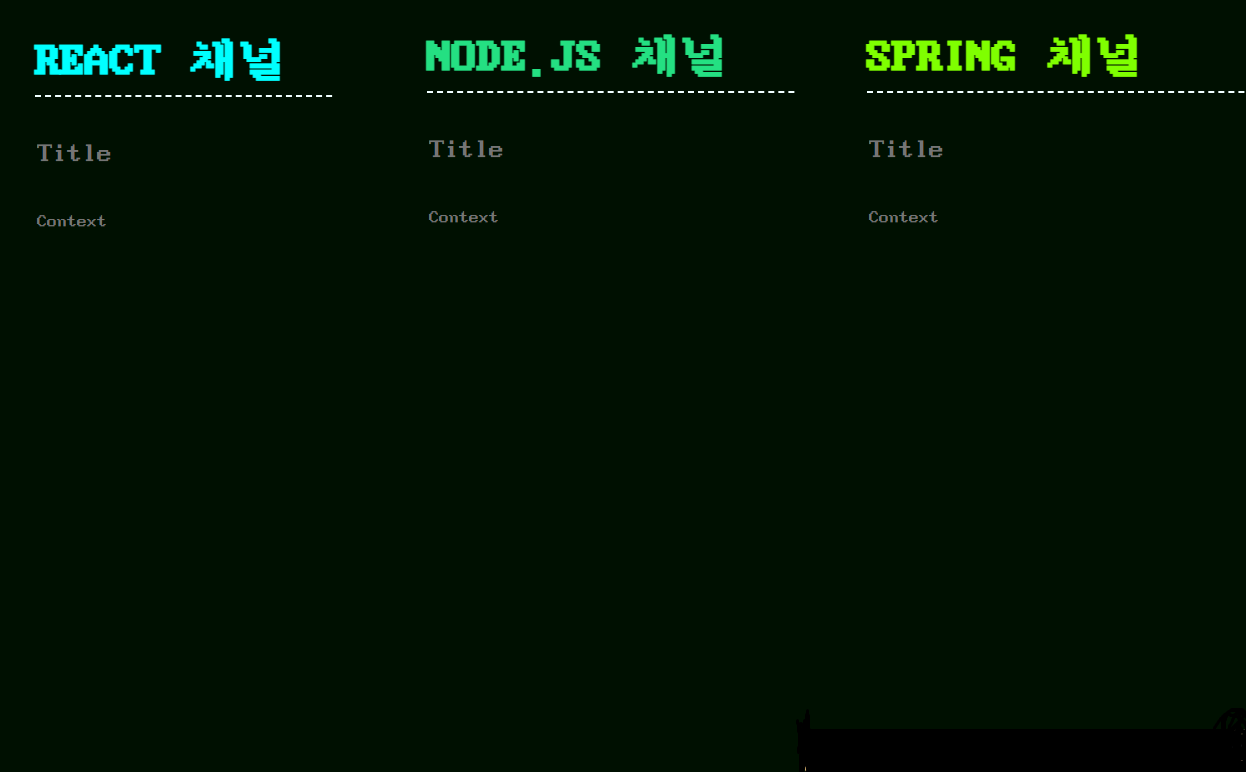
일단 Create부터 다 만들자 생각해서 글쓰는 API부터 만들었다. 일단 게시판에 3채널을 만들어놨다. React채널, Node.js채널, Spring채널 그럼 여기서 복잡해지는게 세개 다 다른 channel.html과 write.html과 나중에 쓴글 보기 postRead.html들을 하나씩 다 만들어야되나? 그러면 하나 고쳐줄때마다 다 고쳐줘야하니 채널페이지만 따로 만들어두고 url에 path variable로 채널 이름들을 줘서 사용자가 어디 채널에서 왔는지만 알아와서 그 채널에 맞는 css를 주기로 했다. ( html들은 너무 길어서 api만 올려야겠다..)

$(document).ready(function () {
  channelHead();
});

const queryString = window.location.search;
const urlParams = new URLSearchParams(queryString);
const channelName = urlParams.get('channel');

let user;
getSelf(function (u) {
  user = u;
});

function channelHead() {
  if (channelName === 'node') {  //node는 이름에 .이 들어가서 따로 만들어줬다.
    name = 'NODE.JS';
  } else {
    name = channelName.toUpperCase();
  }
  $('#channelHeader').empty();
  let headTempHtml = `<h1
                          class = "${channelName}writeHead"
                         token interpolation">${channelName}'"
                        >
                        ${name} 채널
                        </h1>`;
  $('#channelHeader').append(headTempHtml);
}

function getSelf(callback) {
  $.ajax({
    type: 'GET',
    url: '/users/info',			//write할때 사용자 닉네임이 필요해서 token을 가지고
    headers: {				// 이 글을 적는 사용자정보를 가져온다.
      authorization: `Bearer ${localStorage.getItem('token')}`,
    },
    success: function (response) {
      callback(response.user);
    },
  });
}

function writePost() {
  let title = $('#title').val();
  let context = $('#context').val();
  let userId = user.id;
  let nickname = user.nickname;
  $.ajax({
    type: 'POST',
    url: '/posts/write',
    data: {
      title: title,
      context: context,
      channel: channelName,
      userId: userId,
      nickname: nickname,
    },
    success: function (response) {
      alert('쓰기완료');
      window.location.href = `/${channelName}`;
    },
    error: function (error) {
      alert(error.responseJSON.errorMessage);
    },
  });
}
솔직히 말해서 getSelf 함수들을 한 js파일에 몰아서 어느 html에서 다 쓸수있게끔 script로 연결해서 쓰면 더 깔끔하고 쉬웠을텐데 그걸 코드 까보면서 따라하다보니 알게됐다.. 다음부턴 하나로 묶어주자.
-------⚙️ Backend-------
📂로그인
router.post('/auth', async (req, res) => {
  const { id, password } = req.body;

  const user = await User.findOne({ id, password }).exec();

  if (!user) {
    res.status(400).send({
      errorMessage: '닉네임 또는 패스워드를 확인해주세요.',
    });
    return;
  }

  const token = jwt.sign({ userId: user.userId }, '암호화할 키');
  res.send({
    token,		//로그인을 성공하면 userId를 jwt로 암호화해서 토큰으로 넘겨준다.
  });
});

router.get('/info', authMiddleware, async (req, res) => {
  const { user } = res.locals;
  res.send({
    user: {		//getSelf 함수와 연결되어 있는 API authMiddleware를 사용한다.
      id: user.id,
      nickname: user.nickname,
    },
  });
});
📂로그인 auth-middleware
미들웨어는 보통 비동기 작업들을 처리할때 사용한다. 토큰을 jwt로 다시 까고 그에 해당하는 유저 정보를 불러오는 작업이다. 불러오는데 성공을 하면 response로 프론트의 localStorage랑 비슷한 locals라는 주머니(?)에 user 정보를 담아서 준다. 갔다주면 위에서 보이듯이 주머니에서 무슨 정보를 꺼내서 줄껀지 설정도 가능하다. 나는 비밀번호를 빼고 유저 id와 nickname만 주게 해놨다.
const jwt = require('jsonwebtoken');
const User = require('../models/user');

module.exports = (req, res, next) => {
  const { authorization } = req.headers;
  const [tokenType, tokenValue] = authorization.split(' ');

  if (tokenType !== 'Bearer') {
    return;
  }

  try {
    const { userId } = jwt.verify(tokenValue, 'tlzmfltzl');

    User.findById(userId).then((user) => {
      res.locals.user = user;
      next();
    });
  } catch (error) {
    res.status(401).send({
      errorMessage: '에러',
    });
    return;
  }
};
📂글쓰기
date 빼고는 딱히 설명 할게 없다. 초보라서 너무 기본적이게 써놓은거라 보이는 내용 그대로다..
router.post('/write', async (req, res) => {
  const { title, context, channel, userId, nickname } = req.body;

  if (title === '') {
    res.status(400).send({
      errorMessage: '제목을 작성해주세요.',
    });
    return;
  }

  if (context === '') {
    res.status(400).send({
      errorMessage: '내용을 작성해주세요.',
    });
    return;
  }

  const maxOrder = await Post.findOne({ channel }).sort('-order').exec();
  let order = 1;	//그 채널에 있는 포스트들중 가장 큰 order값을 가져온다.
			// 없으면 1
  if (maxOrder) {	// 있으면 가장 큰값 +1 해서 저장.
    order = maxOrder.order + 1;
  }
  const view = 0;
  const date = moment().format('YYYY-MM-DD HH:mm:ss');

  const post = new Post({
    title,
    context,
    order,
    channel,
    userId,
    nickname,
    view,
    date,
  });
  await post.save();
  res.status(201).send();
});
이번에 date를 어떻게 저장할까 하다가 찾아보니 moment라는 모듈이라는 것을 알게됐다. 아주 간단하게 지금 현재 시간을 불러올수있다.
npm i moment -snpm으로 깔아주고
const moment = require('moment');
require('moment-timezone');
moment.tz.setDefault('Asia/Seoul');
맨위에 moment를 불러와서 timezone만 설정해주면 된다. 근데 나는 timezone에서 에러나서 timezone을 따로 다시 깔아주면 해결된다.
npm moment-timezone -s그러고 어떤 format으로 시간을 나타낼지만 정해주면 된다.
moment().format('YYYY-MM-DD HH:mm:ss');
