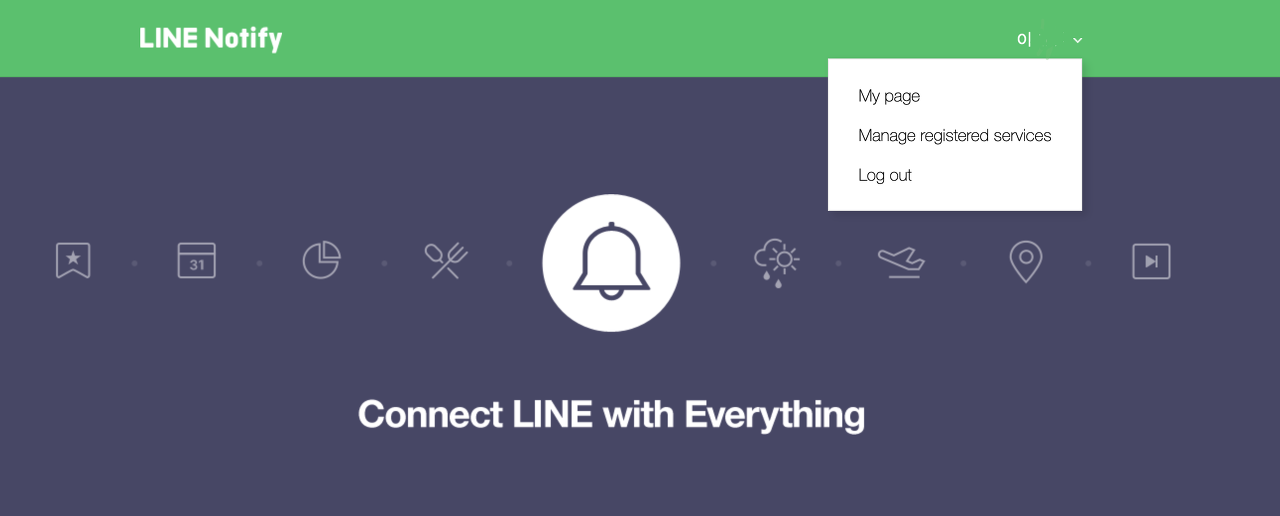
1. 라인 Notify 접속 및 로그인
라인 Notify 접속 > 로그인
https://notify-bot.line.me/en/
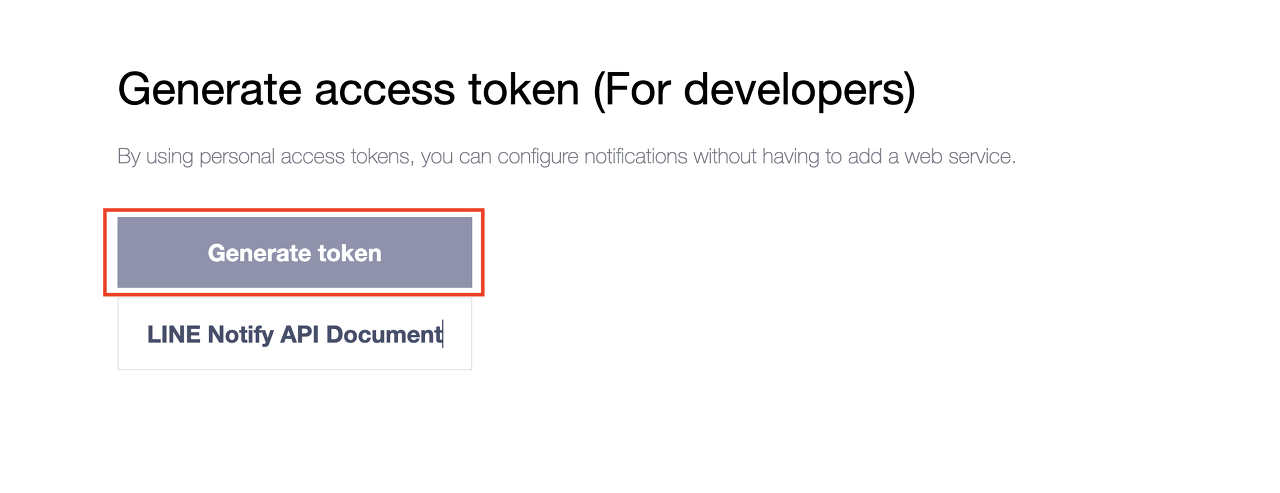
2. 액세스 토큰 생성
2-1. My page > Generate Access Token
2.2 채팅 방 선택 > Generate Token > Token 복사
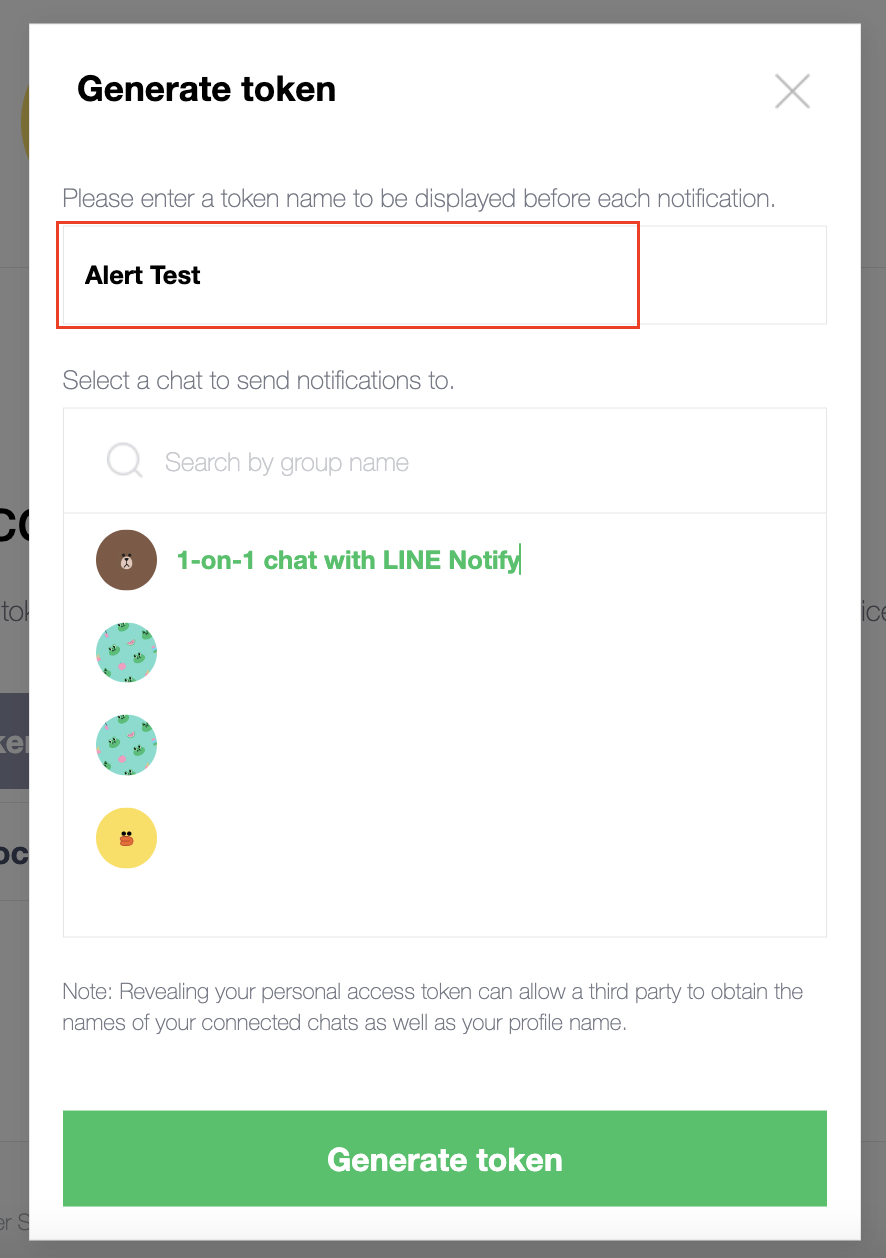
My Page에서 Generate Token 을 클릭하면 Token Name 을 입력하는데, 라인 메세지가 입력한 "Token Name : "으로 시작하게된다.
채팅방 목록은 LINE Notify가 초대된 방들만 표시된다.
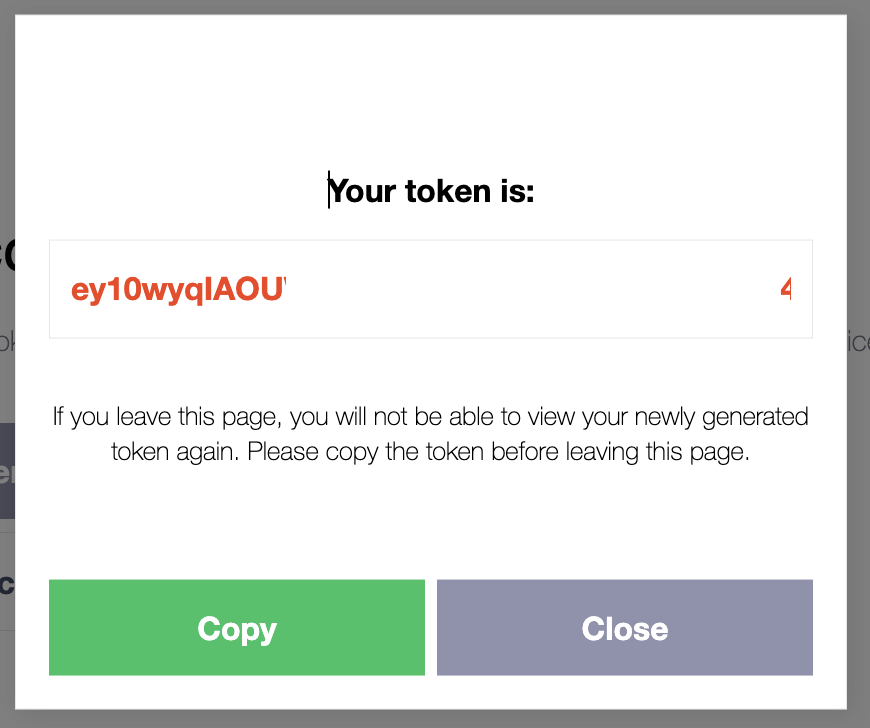
토큰은 창을 나가면 다시 볼 수 없다. 복사해서 다른 곳에 저장해놔야한다.

Connected services에 토큰이 생성된 채팅방 목록을 볼 수 있다.
3. 메세지 보내기
curl 혹은 python으로 메세지를 보낼 수 있다.
3-1. Curl
curl -X POST -H 'Authorization: Bearer <ACCESSTOKEN>' -F 'message=<MESSAGE>' https://notify-api.line.me/api/notify
3-2. Python
curlconverter를 사용하면 간단하게 curl 커맨드를 코드로 바꿀 수 있다.
https://curlconverter.com/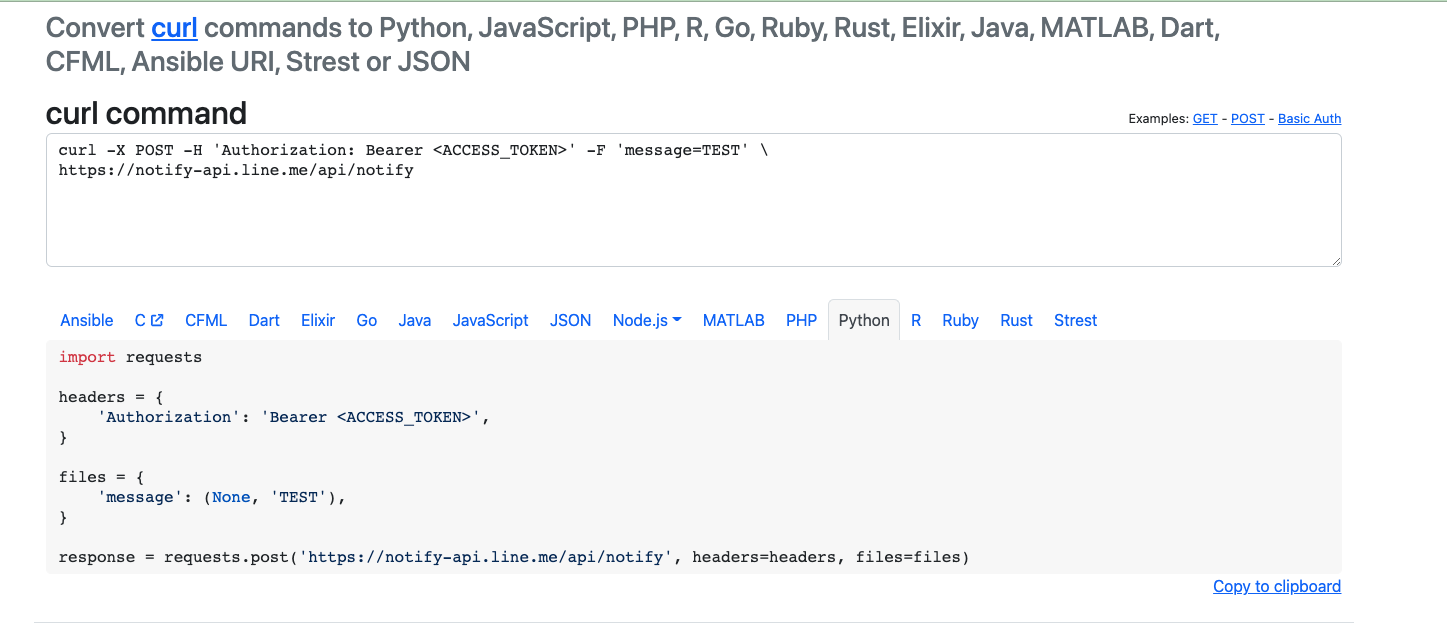
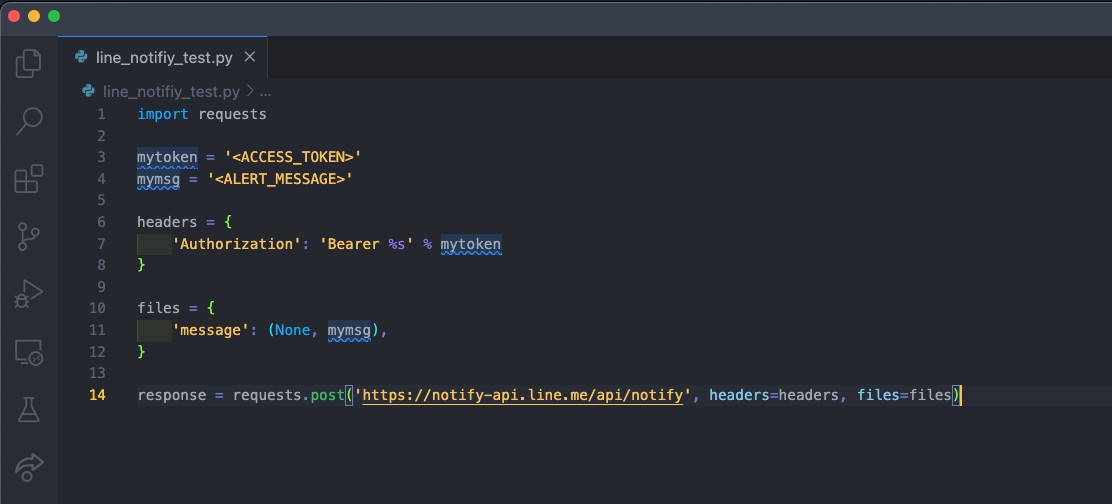
import requests

mytoken = '<ACCESS_TOKEN>'
mymsg = '<ALERT_MESSAGE>'

headers = {
    'Authorization': 'Bearer %s' % mytoken
    }

files = {
    'message': (None, mymsg),
    }

response = requests.post('https://notify-api.line.me/api/notify', headers=headers, files=files)
+ 스티커 보내기
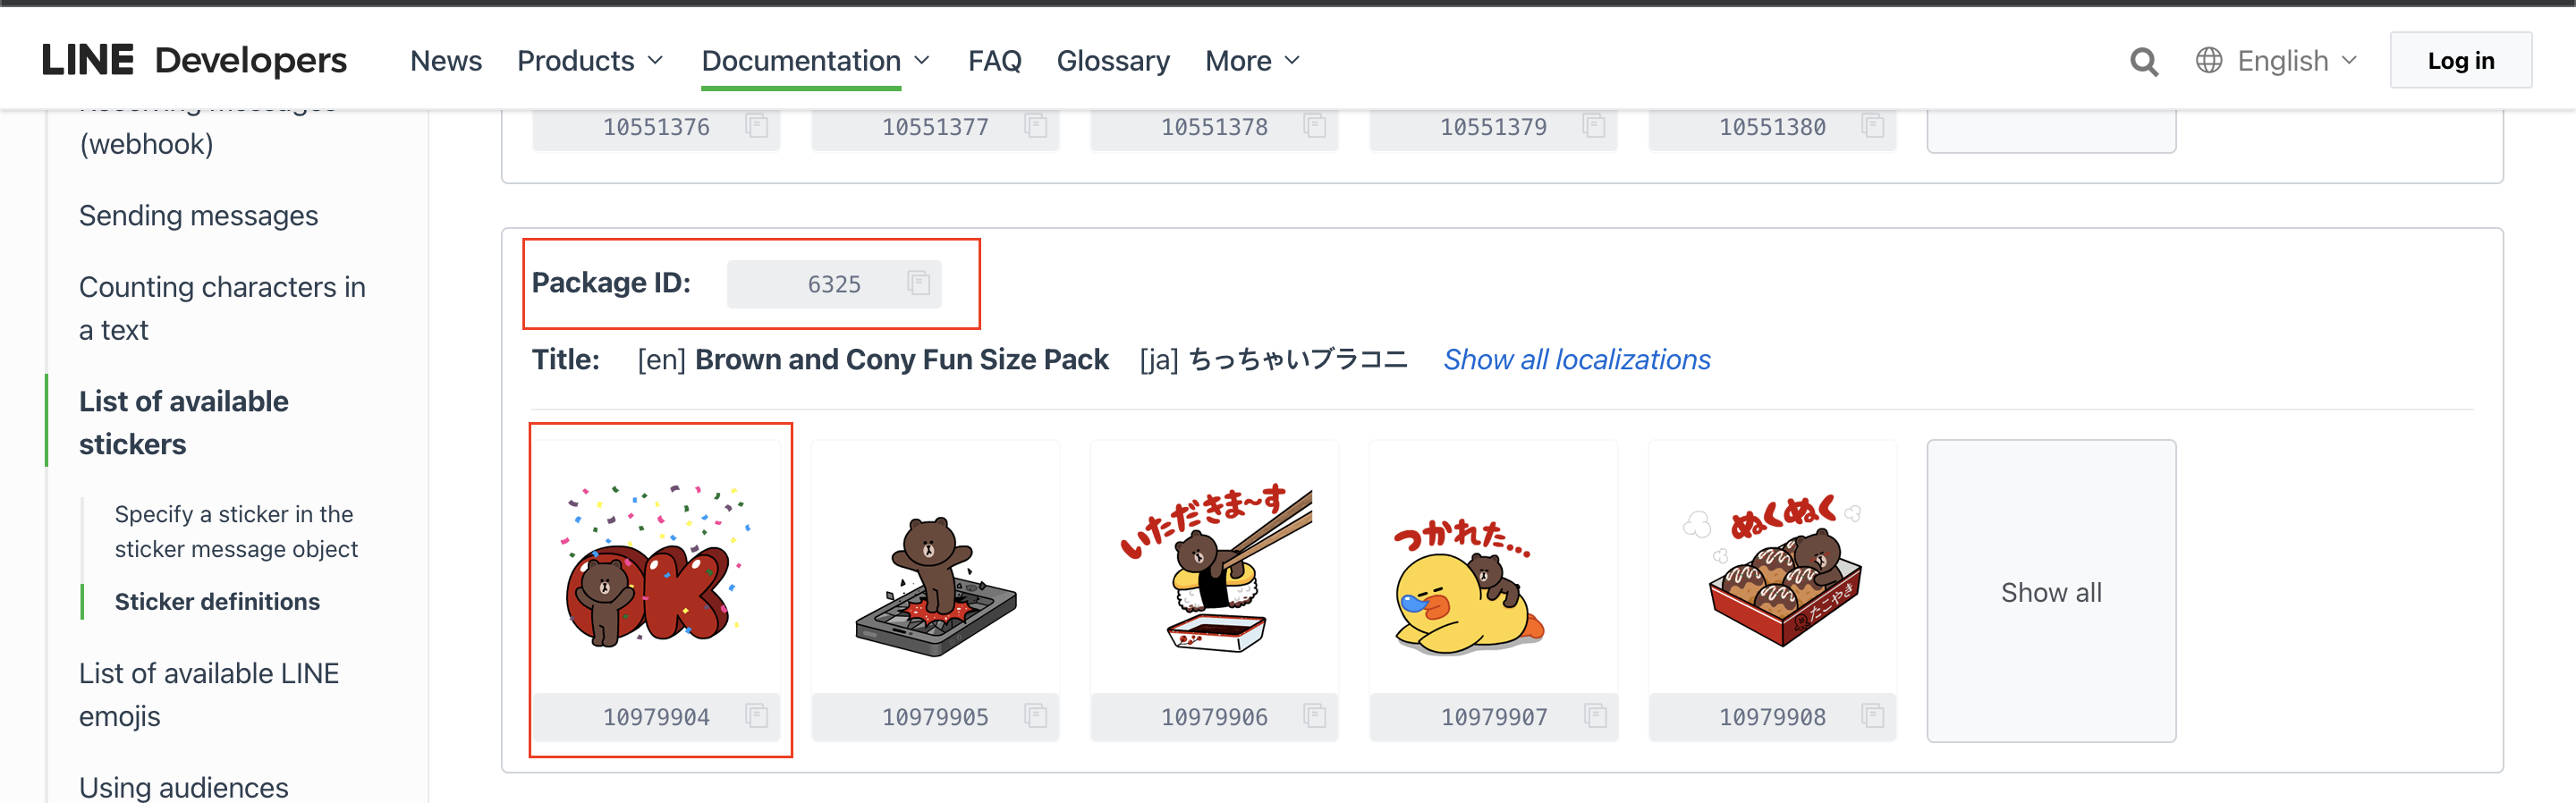
stickerPackageId, stickerId 파라미터로 라인 스티커를 보낼 수 있다.
curl -X POST -H 'Authorization: Bearer <ACCESS_TOKEN>'
-F 'message=<ALERT_MESSAGE>' -F 'stickerPackageId=<STICKER_PACKAGE_ID>'
-F 'stickerId=<STICKER_ID>' https://notify-api.line.me/api/notify
스티커 리스트에서 패키지 아이디와 스티커 아이디를 아래 파라미터에 넣어서 사용하면 된다.
-F 'stickerPackageId=<Sticker_Package_ID>' -F 'stickerId=<Sticker_ID>' Sticker ID는 아래 LINE Developers Documentation에서 확인 할 수 있다.
https://developers.line.biz/en/docs/messaging-api/sticker-list/#sticker-definitions

참고 사이트
Line Notify Docs
https://notify-bot.line.me/doc/en/
Line Sticker ID
https://developers.line.biz/en/docs/messaging-api/sticker-list/#sticker-definitions