Modal 및 Drawer는 무엇인가?
개인 프로젝트 작업을 진행하던 도중 페이지에 Drawer 및 Modal 컴포넌트를 제작해야 한다. 우선, Drawer 같은 경우 아래와 같이 서랍을 여는 듯한 아이템창이 나와서 사용자가 빠른 액션 혹은 이동(Navigation)을 취할 수 있도록 하는 인터페이스라고 한다.

Material UI에서 기본으로 제공해주는 Drawer
Modal 같은 경우 표현 방식이 워낙 다양하고 여러 가지 용도로 사용하지만 사용자가 페이지를 이용하고 있는 도중 특정 정보에 시선을 집중할 수 있도록 보여주는 방식이다.

어느 분이 React로 간단하게 구현한 Modal 기능
기존에 구현했던 방식
사실 여러 방법으로 생각하여 구현했던 기억이 있었지만, Portal을 알기 전까지는 아래 처럼 구현했을 것이다.
// index.js

const root = createRoot(document.getElementById('root'));
root.render(<App />);

// App.js

const App = () => {
	return (
		<>
			<Main />
			<Modal />
		</>
	);
}

// Modal.js

const Modal = () => {
	const { type, isOpen, closeModal } = useRecoilState(ModalStore);

	if(!isOpen) {
		return <></>;
	}

	return (
		<div className="modal__container">
			<div className="modal__header">
				...
				<button onClick={closeModal}>Close</button>
			</div>
			<div className="modal__body">
				{/*
						type에 따라 다르게 Body 생성
				*/}
				...
			</div>
			...
		</div>
	);
}
최상단(Root)에 있는 React 코드에서 Modal이라는 컴포넌트를 구현하고 전역 상태 라이브러리(Redux, Recoil 등)으로 컴포넌트 상태를 제어한다. 기능 상에서는 크게 불편함을 못 느낀다고 생각하지만 React를 점점 배우게 되면서 한 가지 문제점을 찾을 수 있었다.
스타일링 속성에 때문에 알다시피, 수 많은 컴포넌트가 띄워진 상태에서 Alert 창과 같은 Modal 스타일링 같은 경우 z-index과 같은 속성들을 이용해서 번거로운 후처리를 해야 한다. 꼭 z-index 이외에 부모 엘리먼트 CSS 상속에 의해서 Modal의 스타일링이 뜻대로 적용되지 않을 수 있다.

Portal
부모 컴포넌트의 DOM 계층 바깥에 있는 DOM 노드로 자식을 렌더링 하는 기능으로 외부에 존재하는 DOM 노드의 자식으로 존재하는 것처럼 연결해주는 역할을 한다. 자식 컴포넌트에서 상위 컴포넌트의 노드를 제어 및 생성에 대해 어렵다고 생각했지만 Portal를 이용하면 쉬워질 수 있다.

만약 Portal로 전달하려는 이벤트가 존재하면 부모 컴포넌트에서 전파되는 이벤트나 Context도 자식한테 잘 전달되는 모습을 볼 수 있고 이벤트 버블링 현상도 상위 컴포넌트가 아닌 React 트리의 Portal의 상위 컴포넌트로 전달된다.
createPortal
import { createPortal } from 'react-dom';

createPortal(children, domNode, key?)children: 전달하려는 컴포넌트, Fragment, 문자열, 숫자, 배열 등domNode: 마운트 이후에 전달하려는 DOM 노드 위치, ex) document.getElementById(), ref().current 등
구현 방식
// index.html

<div id="root"></div>
<div id="root-two">
  <h2>This is other root node</h2>
</div>

// index.js

const Parent = () => {
  return (
    <div>
      <h2>Hello Parent</h2>
      <Children />
    </div>
  )
}

const Children = () => {
  return (
    <div>
      <h2>Hello Children</h2>
      {
        ReactDOM.createPortal(<div>Component from children</div>, document.getElementById('root-two'))
      }
    </div>
  )
}

const App = () => {
  return(
    <div className="box">
      <h2>Hello App</h2>
      <Parent />
    </div>
  );
}

ReactDOM.render(<App />,
document.getElementById("root"))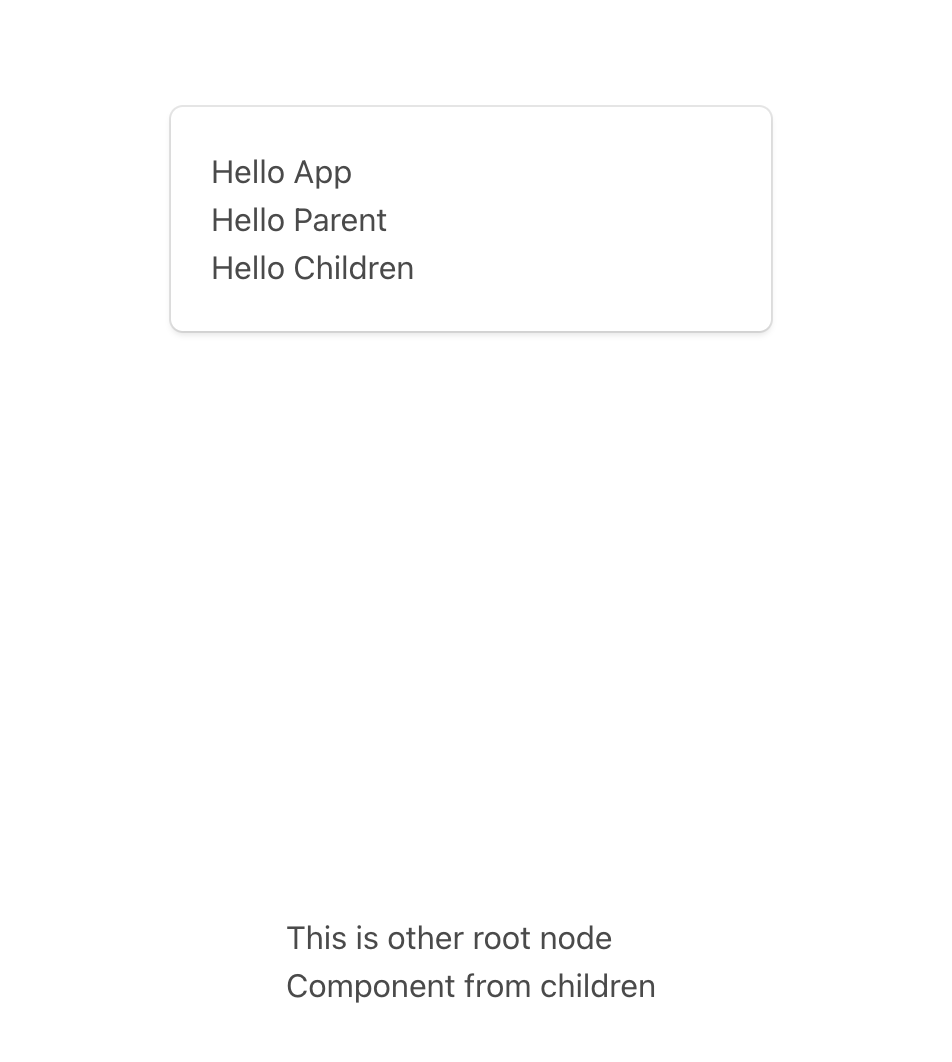
결과
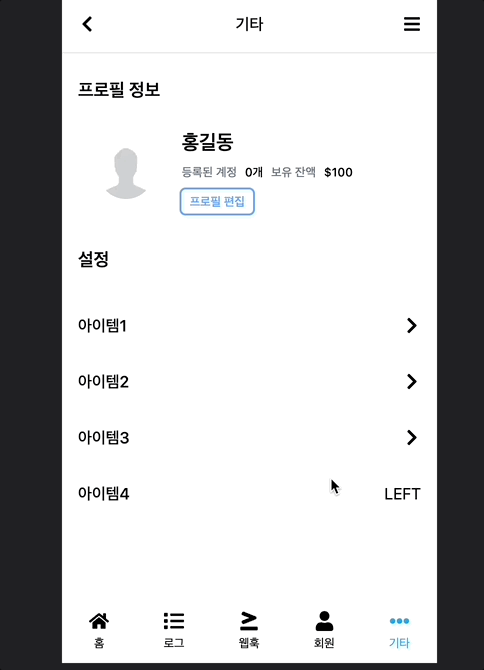
이런 원리를 이용해 현재 프로젝트에 Drawer 컴포넌트도 Portal를 이용해 추가적인 CSS 속성 필요 없이 쉽게 구현이 가능했다.
// Header.tsx

export type HeaderButtonType = 'GOBACK' | 'SHOWDRAWER';

interface HeaderProps {
  children: React.ReactNode;
}

export const HeaderContext = createContext({
  isDrawerShown: false,
  goBack: () => {},
  showDrawer: () => {},
});

const HeaderMain = ({ children }: HeaderProps) => {
  const [isDrawerShown, setIsDrawerShown] = useState<boolean>(false);

  const goBack = () => {
    console.log('go back');
  };
  const showDrawer = () => {
    setIsDrawerShown(!isDrawerShown);
  };

  return (
    <HeaderContext.Provider value={{ isDrawerShown, goBack, showDrawer }}>
      {isDrawerShown ? (
        <Portal type="DRAWER">
          <Drawer>
            <Drawer.Item title="홈" value="home" />
            <Drawer.Item title="로그" value="history" />
            <Drawer.Item title="웹훅" value="webhook" />
            <Drawer.Item title="회원" value="membeship" />
            <Drawer.Item title="기타" value="settings" />
          </Drawer>
        </Portal>
      ) : null}
      <div className="fixed top-0 left-0 w-screen h-14 p-4 flex justify-between shadow bg-white">
        {children}
      </div>
    </HeaderContext.Provider>
  );
};

export const Header = Object.assign(HeaderMain, {
  Title: HeaderTitle,
  Button: HeaderButton,
});
결과