
server.java
client.java
이 두 파일을 각각 실행하려면 어떻게 해야할까?
1) 터미널 환경
해당 코드가 위치한 디렉토리로 이동 후

javac server.java
javac client.java

java server
java client
이렇게 하면 실행될 것이다.
2) IntelliJ에서는??
Run/debug configuration에서 두 개의 Application을 만들어 각각 실행하면 된다.복잡하지 않은 수준에서는 위와 같은 방법으로 해결되지만,,
Gradle을 활용하면 더 쉽게(?) 가능하다. 장기적으로 보면 더 쉽단 말이다.
3) Gradle을 활용
그래들을 간단히 요약하면, 빌드(java로 내가 작성한 코드를 컴퓨터가 이해할 수 있는 0과 1의 조합으로 변경하는 과정)를 자동화해주는 툴이다.
socket1이란 이름의 자바 프로젝트를 하나 만들고 아래 코드를 main폴더에 복붙한다.
server.java
import java.io.*;
import java.net.*;

public class server {
    public static void main (String argv[]) throws Exception {
        String clientSentence;
        String capitalizedSentence;

        int port = 6789;
        ServerSocket welcomeSocket = new ServerSocket(port);

        while (true) {
            Socket connectionSocket = welcomeSocket.accept();
            BufferedReader inFromClient = new BufferedReader(new InputStreamReader(connectionSocket.getInputStream()));
            DataOutputStream outToClient = new DataOutputStream(connectionSocket.getOutputStream());
            clientSentence = inFromClient.readLine();
            System.out.println("Received: " + clientSentence);
            capitalizedSentence = clientSentence.toUpperCase() + '\n';
            outToClient.writeBytes(capitalizedSentence);
        }
    }
}
client.java
import java.io.*;
import java.net.*;

/**
 * Usage:input a string, server will return a value.
 **/

public class client {
    public static void main(String argv[]) throws Exception {
        String sentence;
        String modifiedSentence;

        BufferedReader inFromUser = new BufferedReader(new InputStreamReader(System.in));
        Socket clientSocket = new Socket("localhost", 6789);

        DataOutputStream outToServer = new DataOutputStream(clientSocket.getOutputStream());
        BufferedReader inFromServer = new BufferedReader(new InputStreamReader(clientSocket.getInputStream()));

        sentence = inFromUser.readLine();
        outToServer.writeBytes(sentence + '\n');
        modifiedSentence = inFromServer.readLine();

        System.out.println("FROM SERVER: " + modifiedSentence);
        clientSocket.close();
    }
}
build.gradle
plugins {
    id 'application' //아래서 applicationDistribution을 사용하기 위해 플러그인에 id 'application'을 추가해야한다.
  // application은 내가 실행할 것을 의미하는데, 아래서 사용되는 task 중 하나를 run하면, 그 태스크가 곧 application이 된다.
    id 'java' // 그래들에 자바 환경임을 알린다
    id 'idea' // 그래들에 인텔리제이 환경임을 알린다
}

group 'org.example'
version '1.0-SNAPSHOT'

repositories {
    mavenCentral()
}

dependencies {
    testImplementation 'org.junit.jupiter:junit-jupiter-api:5.7.0'
    testRuntimeOnly 'org.junit.jupiter:junit-jupiter-engine:5.7.0'
}

test {
    useJUnitPlatform()
}


task Server(type: CreateStartScripts) {
    mainClass = 'server'
    applicationName = 'server'
    outputDir = new File(project.buildDir, 'tmp')
    classpath = startScripts.classpath
} // Server를 task로 등록

task Client(type: CreateStartScripts) {
    mainClass = 'client'
    applicationName = 'client'
    outputDir = new File(project.buildDir, 'tmp')
    classpath = startScripts.classpath
} // Client를 task로 등록

applicationDistribution.into('bin') {
  // application을 분배한다.

  from(Server) // Server task를 bin폴더로
  from(Client) // Client task를 bin폴더로

  fileMode = 0755	// 신경 안써도 됨. https://chmodcommand.com/chmod-0755/
}
팁 : 프로그래밍에서 bin이란건 대개 binary 실행 파일 혹은 폴더를 의미한다. 공식 문서 보다가 bin이 보이면 '아,, 여기가 실행 관련 파트겠구나'라고 떠올리자
빌드방법
프로젝트 디렉토리로 이동
gradle clean
// 그래들 초기화
gradle wrapper
// 그래들을 실행할 gradlew 생성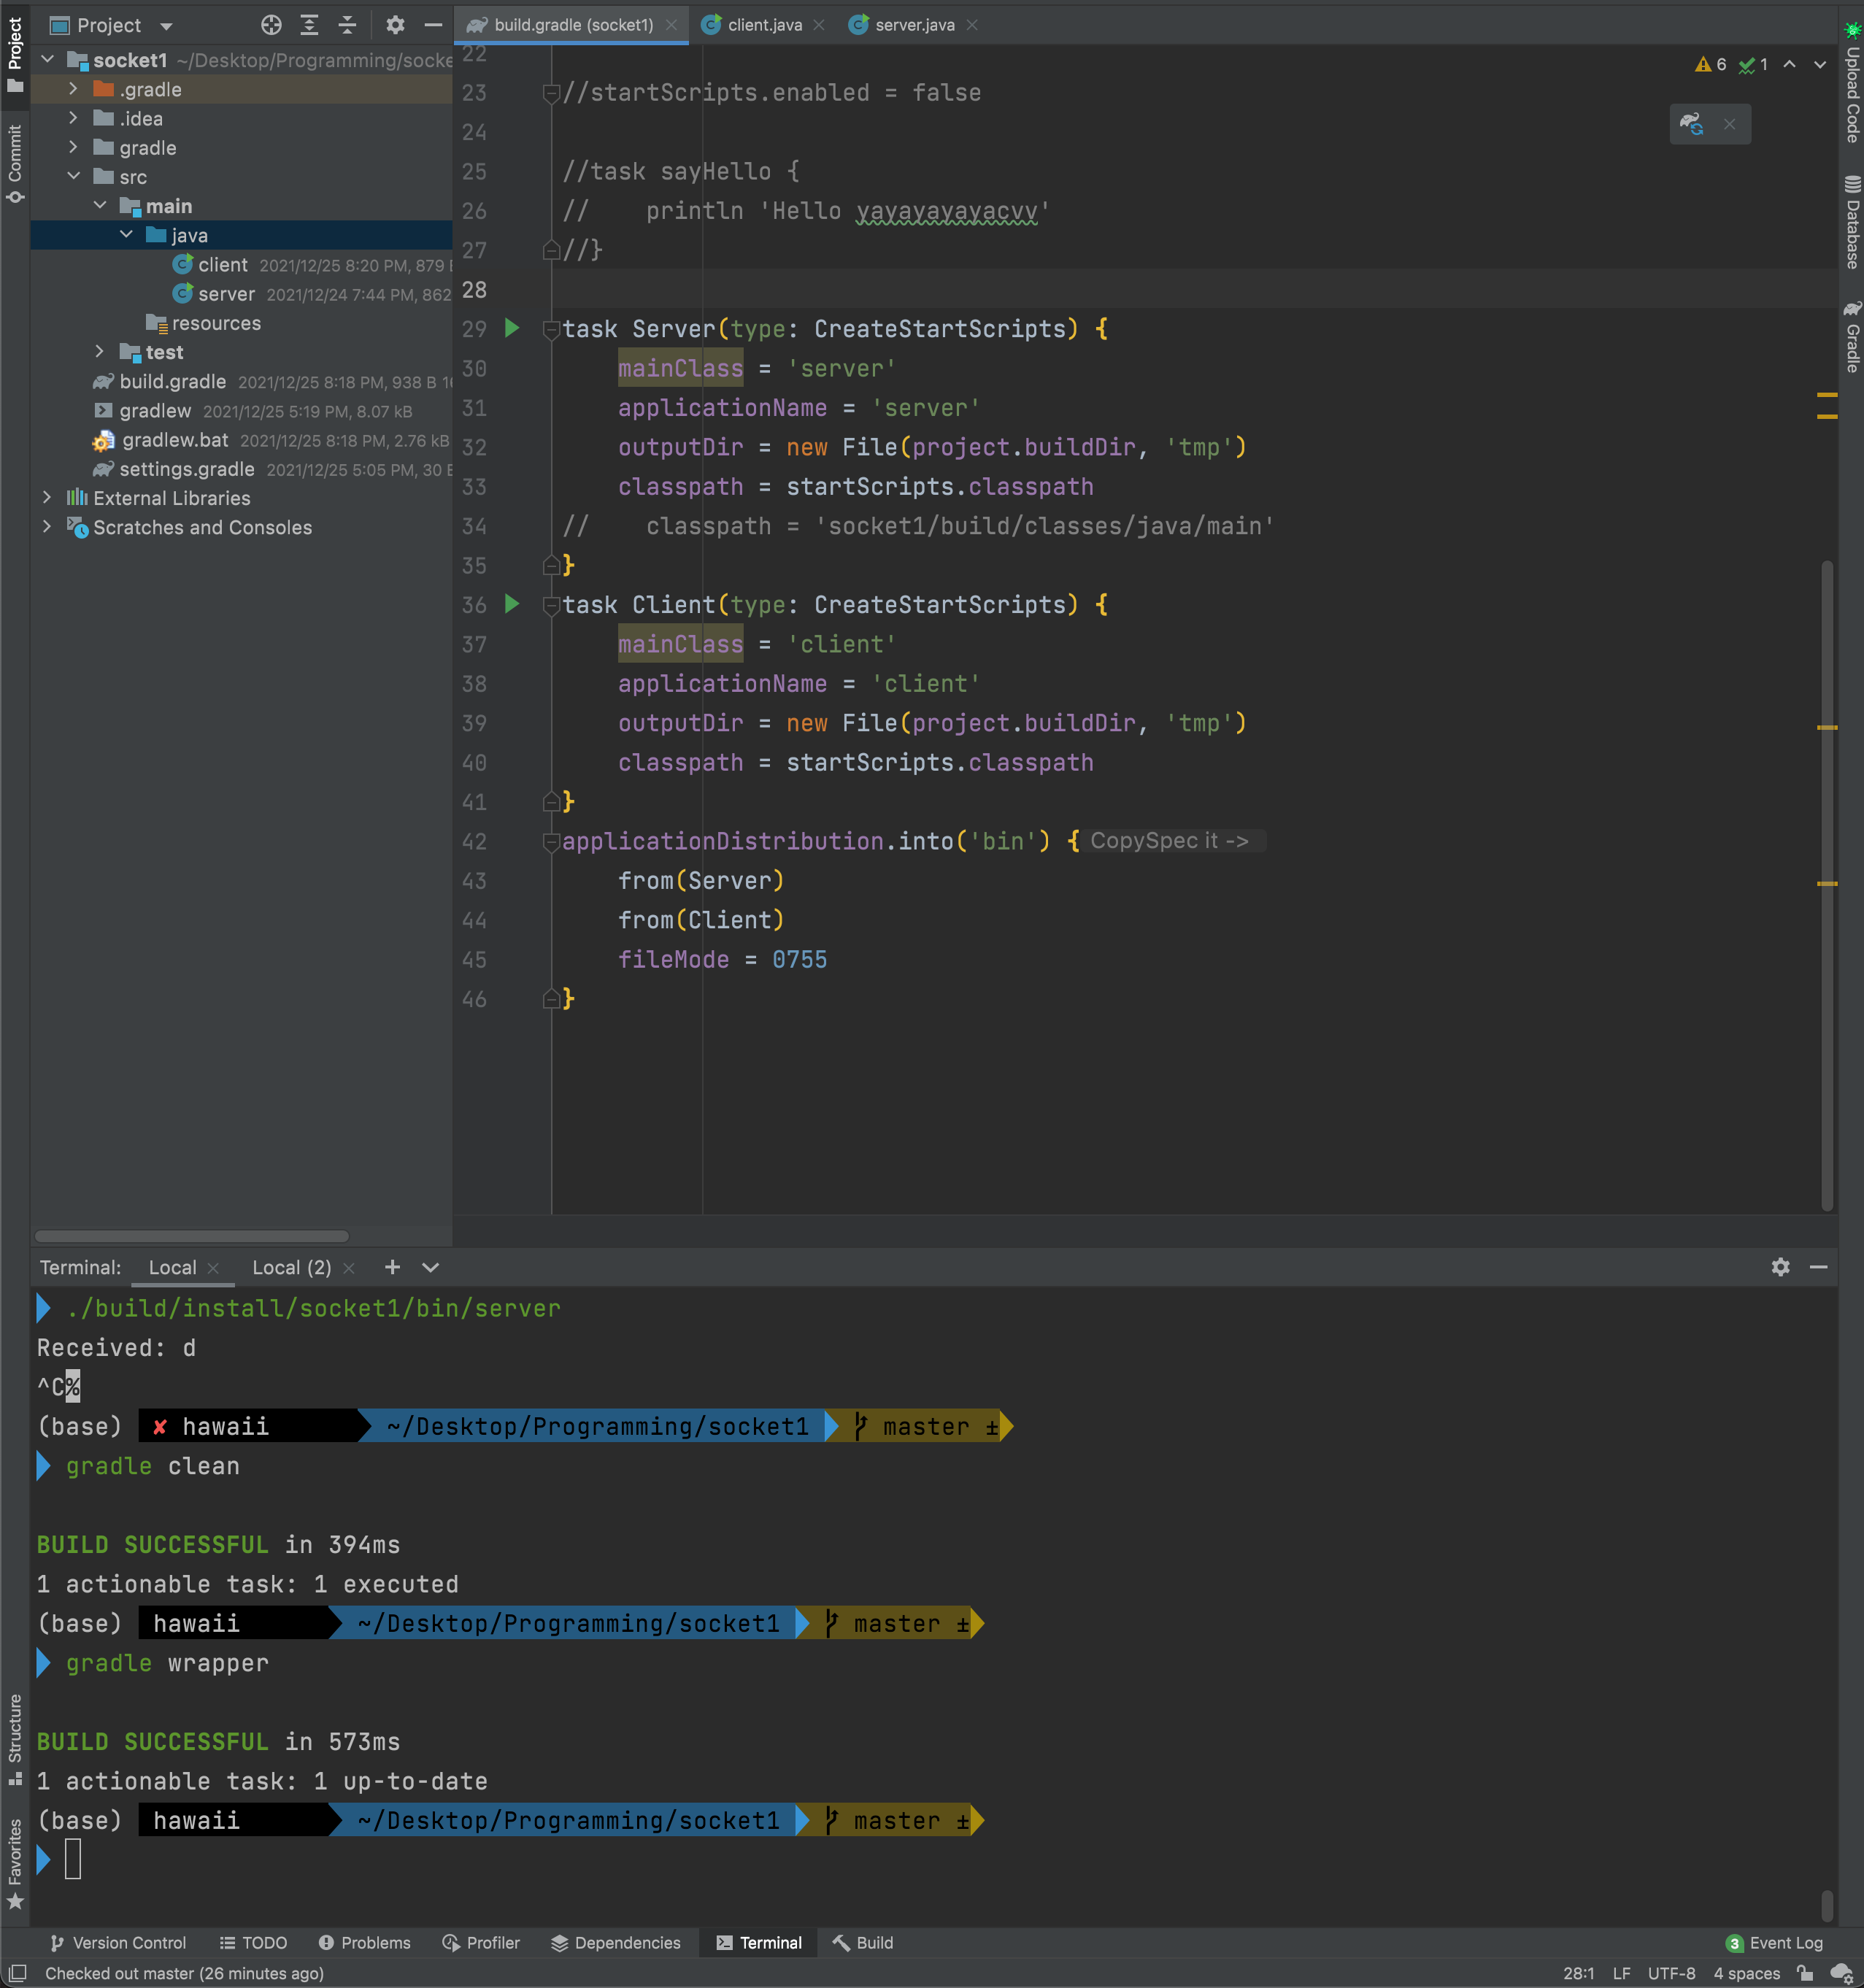 여기서 아직 bin폴더가 생성되지 않은 것을 알 수 있다.
./gradlew installDist
// 그래들 반영 + 빌드! (install을 빌드의 의미로 받아들여도 될 것 같다)
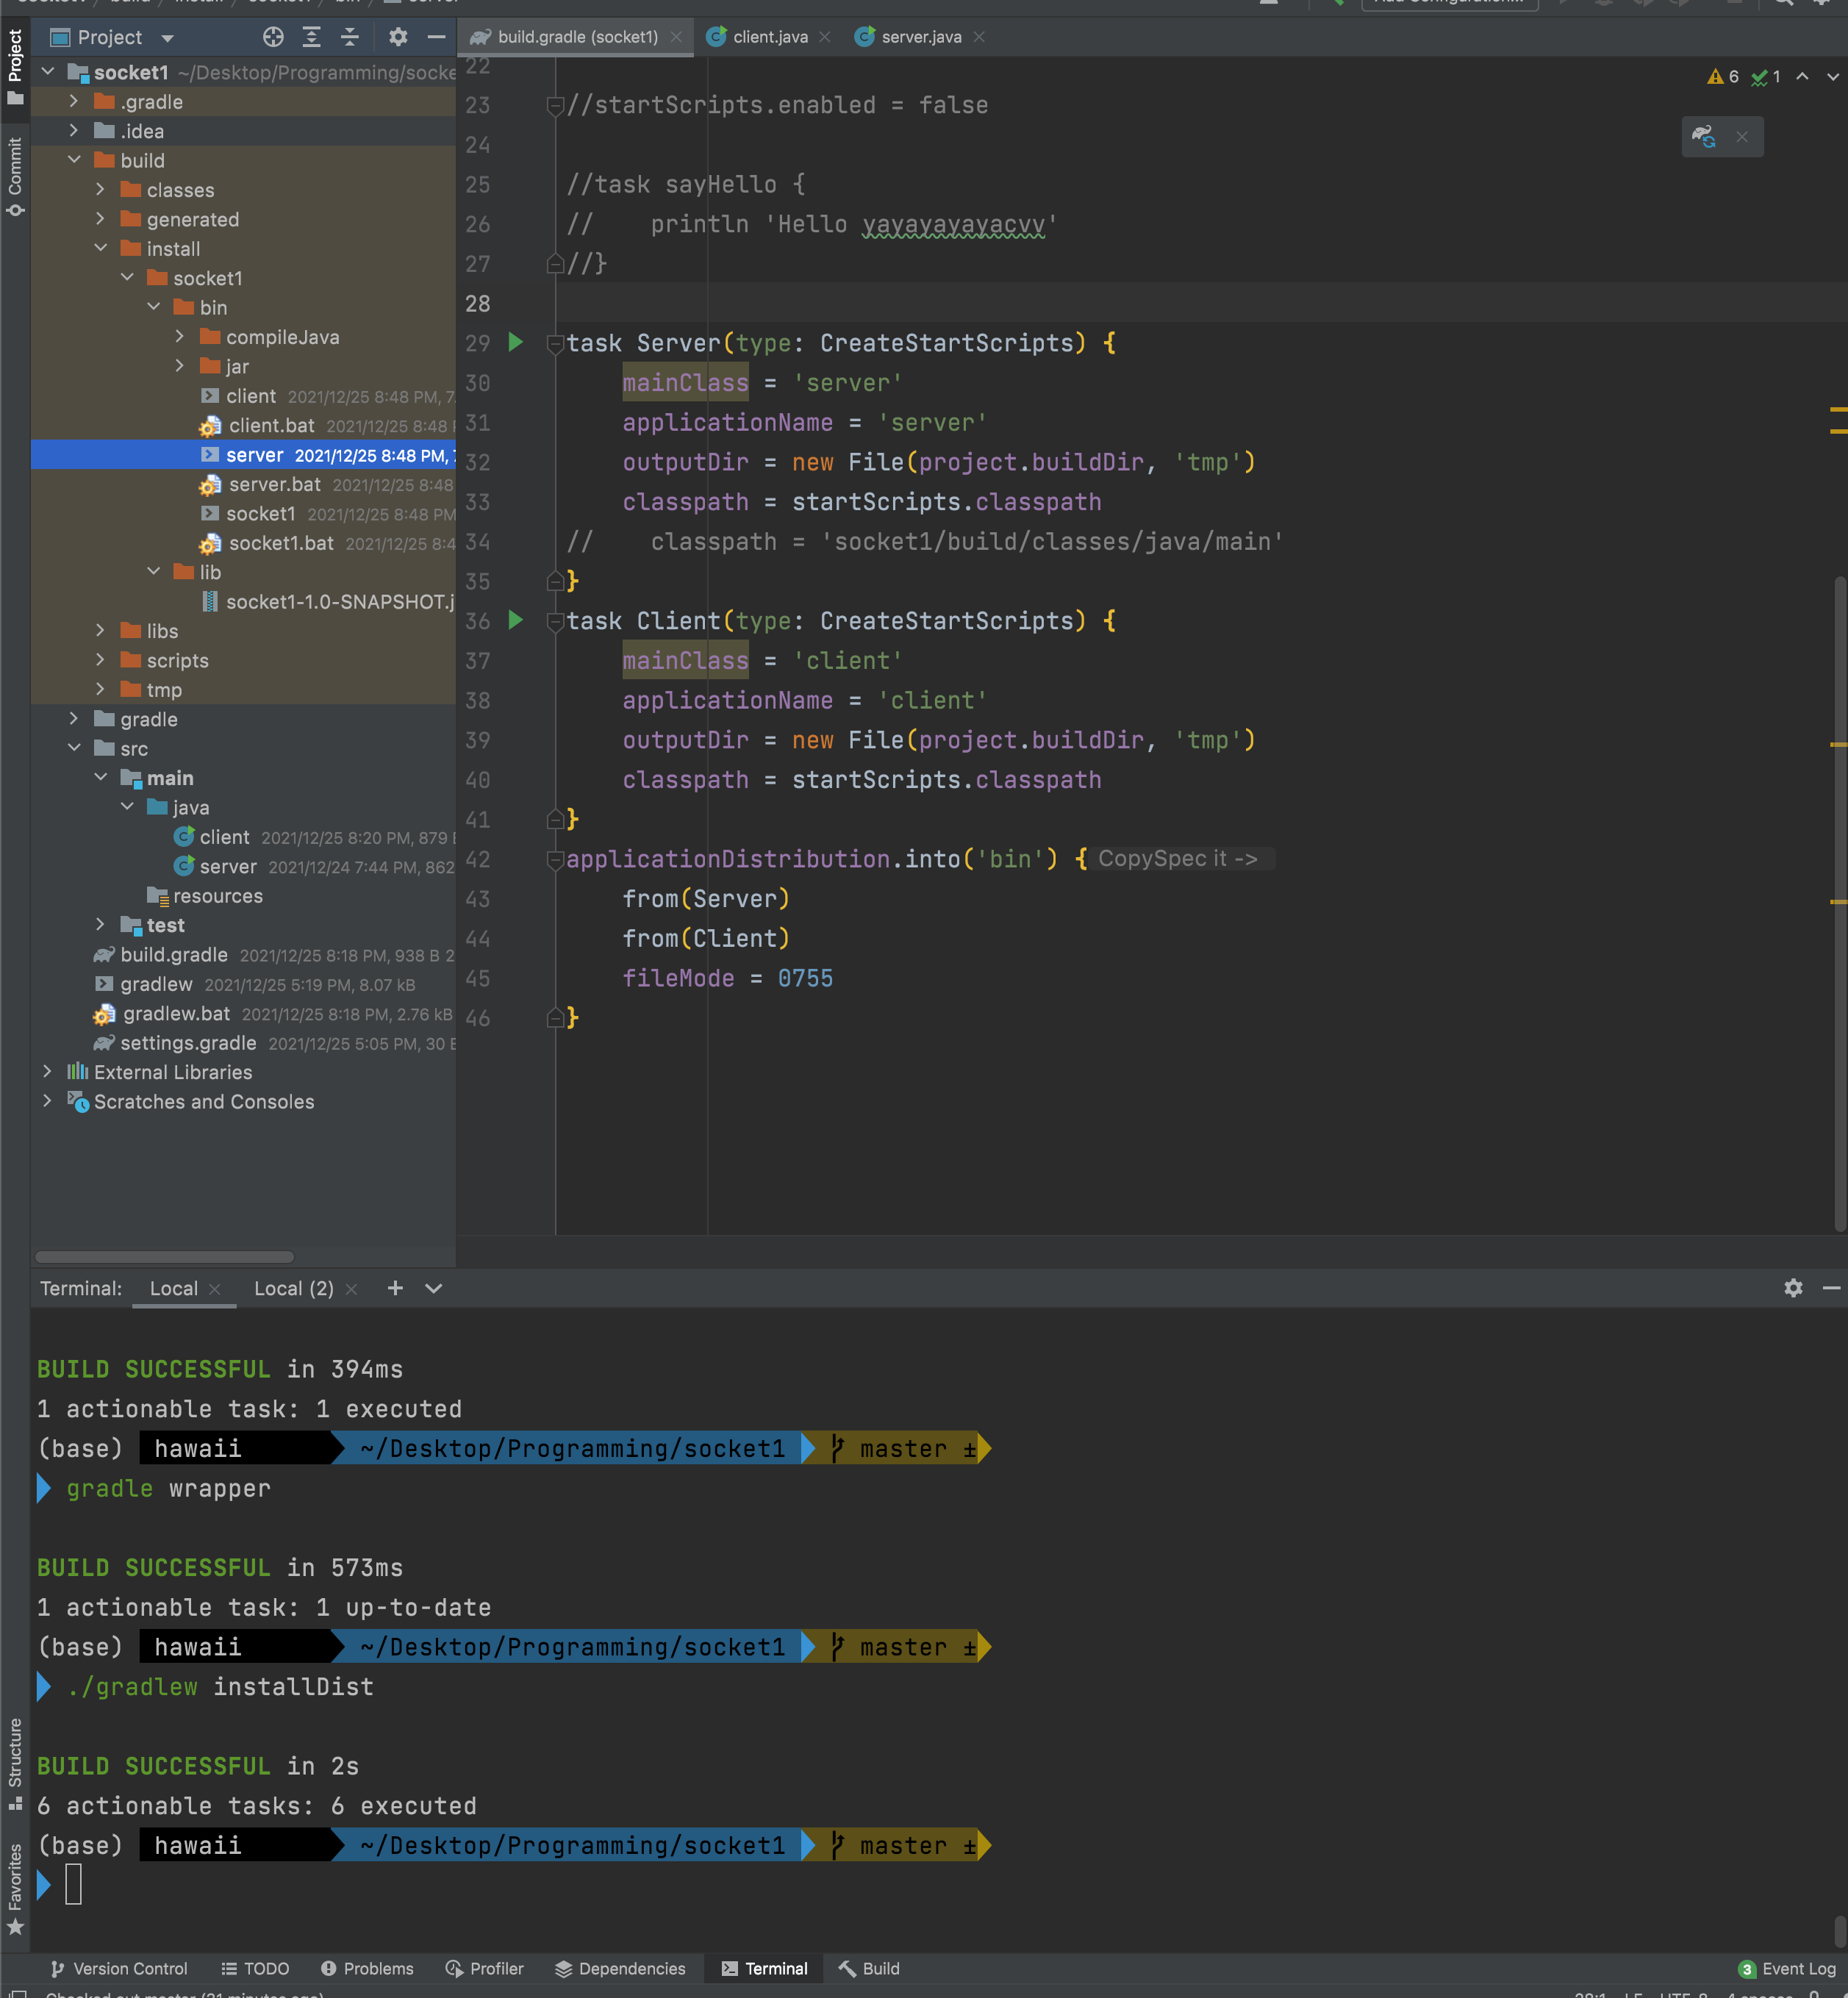 짜라란! bin폴더가 생성되었고, server와 client도 보인다! 이제 저 둘을 터미널에서 실행하면 된다.
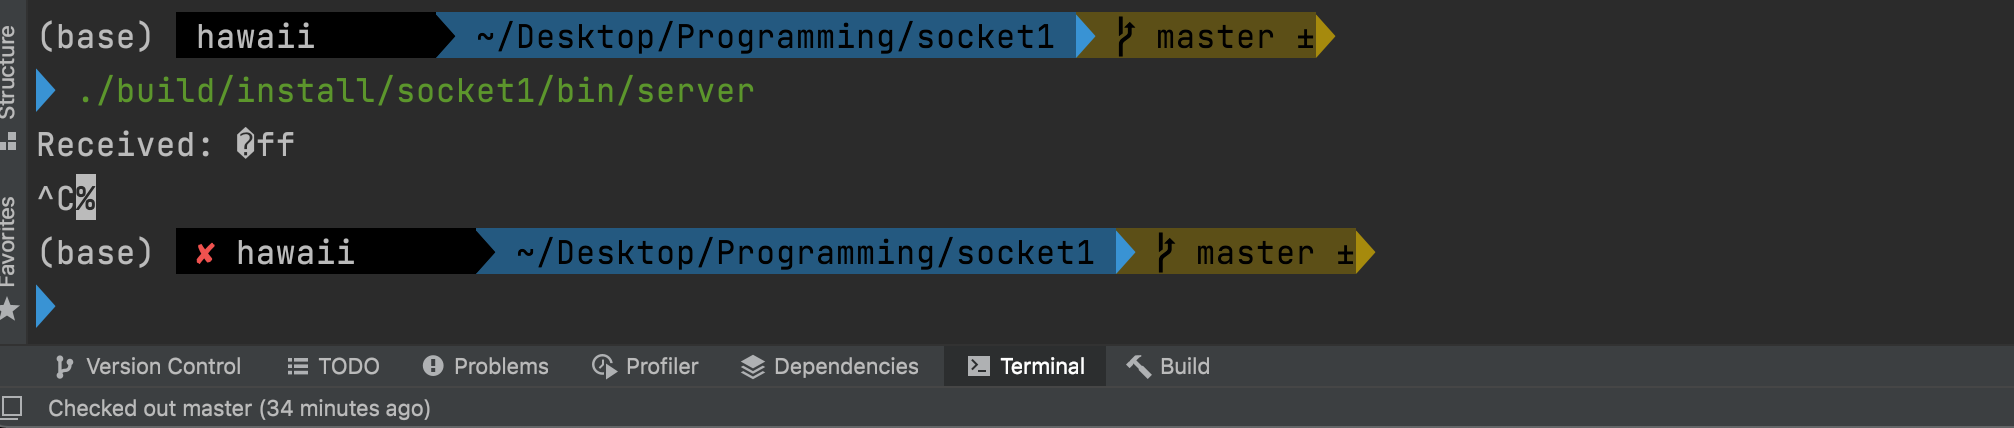
실행방법
// 터미널을 2개 열고 각각 한 줄씩 넣어주면 실행된다.
// 단, server를 먼저 넣을 것!
 ./build/install/socket1/bin/server
 ./build/install/socket1/bin/client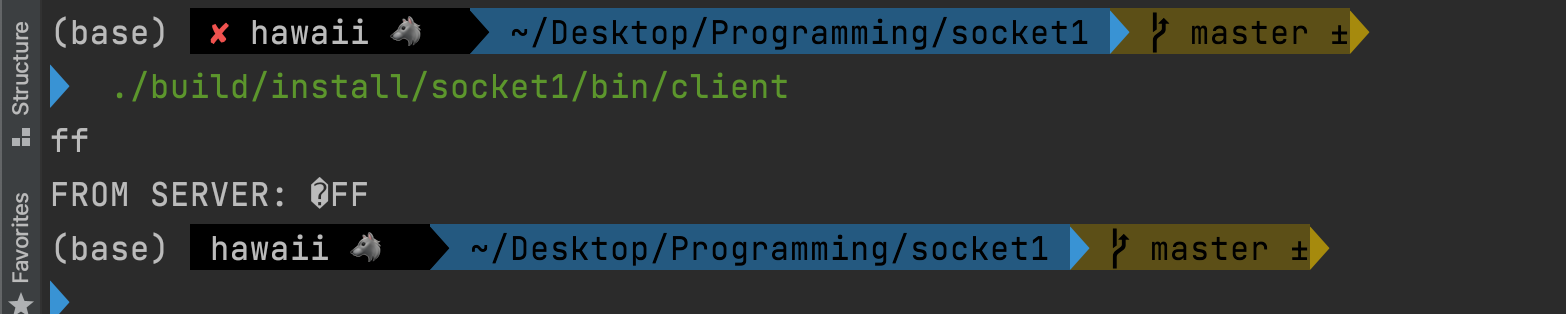
클라이언트가 서버에게 잘 보냈고 서버도 응답을 잘 해줌을 알 수 있다 ㅎㅎ

참을 수 없는 괴짜의 가벼움