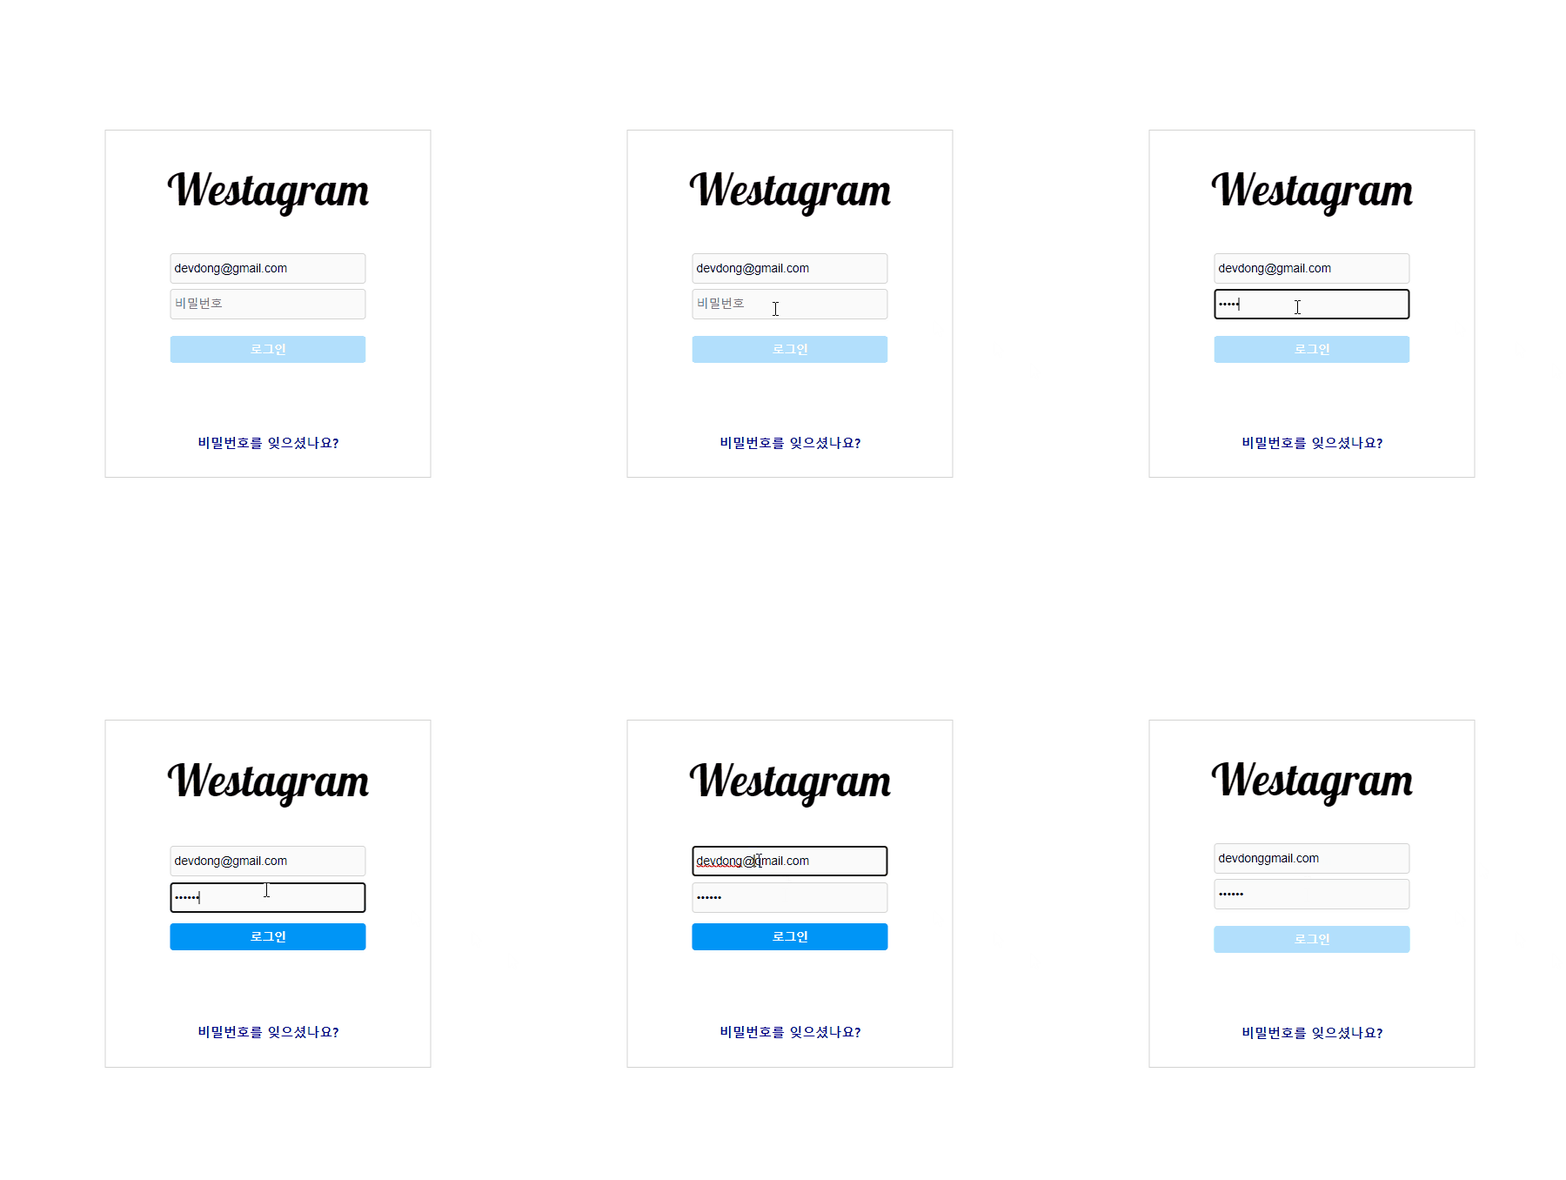
현재 email창엔 '@'가 포함되어야 하고, password는 5자리 이상이어야 버튼이 활성화되는 초기상태에서 회원가입을 진행해보고자 한다.
Step.1 : state 설정
최상위 컴포넌트의 state/fetch 함수 부분 (중요 부분만 발췌)
// state 부분
constructor(props) {
    super(props);
    this.state = {
      first_name: 'Donghee',
      last_name: 'Kim',
      email: '',
      password: '',
      phone_number: '01011111111',
      gender: 'w',
      birth: '1995-12-27',
    };
  }

//fetch 함수 부분 (then 함수 부분은 생략)
    fetch('API주소', {
      method: 'POST',
      body: JSON.stringify({
        first_name: 'Donghee',
        last_name: 'Kim',
        email: this.state.email,
        password: this.state.password,
        phone_number: '010-1111-1111',
        gender: 'w',
        birth: '1995-12-27',
      }),
    }
최상위 컴포넌트의 state에 빈 문자열로 email, password를 주고,
fetch함수를 통해 API주소가 들어올 경우 각각의 state값은 현 state의 email, password값으로 업데이트 되도록 했다.
Step.2 : input값을 저장하는 함수 활용
email, password input에 준 속성들
          <input
            type="text"
            className="id loginInput"
            placeholder="전화번호, 사용자 이름 또는 이메일"
            name="email"
            onChange={this.handleInput}
          />
          <input
            type="password"
            className="password loginInput"
            placeholder="비밀번호"
            name="password"
            onChange={this.handleInput}
          />
input의 값을 저장하는 handleInput 함수
  handleInput = e => {
    const { value, name } = e.target;
    this.setState({ [name]: value });
  };
email, password input에 각각 email, password로 name 속성 을 주고,
onChange이벤트로 handleInput 함수를 주었다. (원래 handleId, handlePw으로 나뉘어져있었는데 리팩토링하는 과정에서 하나로 합쳤다.)
handleInput함수에선 구조분해할당 활용!
input의 name 값(email, password)에 input에 입력된 값이 할당되도록 했다. 결과적으로 state의 email, password에 input에 입력된 값이 할당되는 셈이다. 아직 구조분해할당이 익숙치않아서 그런지 조금 힘들었던 구간.
Step.3 : API로 받아온 데이터와 비교
  handleJoin = () => {
    fetch('API주소', {
      method: 'POST',
      body: JSON.stringify({
        first_name: 'Donghee',
        last_name: 'Kim',
        email: this.state.email,
        password: this.state.password,
        phone_number: '010-1111-1111',
        gender: 'w',
        birth: '1995-12-27',
      }),
    })
      .then(response => response.json())
      .then(response => {
        if (response.MESSAGE === 'SUCCESS') {
          return alert('회원가입 성공!');
        }

        if (response.MESSAGE === 'EMAIL ALREADY EXISTS') {
          alert('이미 존재하는 이메일입니다');
        }
      });
  };
외부 데이터의 응답메세지를 활용해 성공할 경우 '회원가입 성공!' 창을, 이메일이 이미 존재할 경우 '이미 존재하는 이메일입니다' 창이 뜨도록 했다. 이 때 백엔드 측과 사전에 아래 사항을 꼭 확인해보아야한다.
➕ 프론트-백엔드 사전 확인사항
1. 각각의 데이터에 걸어둔 조건
(ex. 이메일엔 '@'가 포함되어야 한다 등)
2. key값
(실습 요건 상 이미 완성된 작업물을 가지고 다시 맞추어봤는데, key값이 달라 변경하느라 애를 먹었다.)
3. 프론트-백엔드 측이 같은 와이파이를 사용하고 있는지
4. 백엔드 측의 서버가 올바른 branch에서 잘 열려있는지
이렇게 회원가입 기능 마무리! 실제로 백엔드 페어의 데이터를 가지고 회원가입-로그인 실습까지 완료했다.
코드 전문
전체적인 흐름을 보기 위한, 해당 회원가입을 진행한 페이지의 코드 전문은 아래와 같다.
class LoginDonghee extends Component {
  constructor(props) {
    super(props);
    this.state = {
      first_name: 'Donghee',
      last_name: 'Kim',
      email: '',
      password: '',
      phone_number: '01011111111',
      gender: 'w',
      birth: '1995-12-27',
    };
  }

  handleJoin = () => {
    fetch('API주소', {
      method: 'POST',
      body: JSON.stringify({
        first_name: 'Donghee',
        last_name: 'Kim',
        email: this.state.email,
        password: this.state.password,
        phone_number: '010-1111-1111',
        gender: 'w',
        birth: '1995-12-27',
      }),
    })
      .then(response => response.json())
      .then(response => {
        if (response.MESSAGE === 'SUCCESS') {
          return alert('회원가입 성공!');
        }

        if (response.MESSAGE === 'EMAIL ALREADY EXISTS') {
          alert('이미 존재하는 이메일입니다');
        }
      });
  };

  handleInput = e => {
    const { value, name } = e.target;
    this.setState({ [name]: value });
  };

  render() {
    return (
      <div class="LoginDonghee">
        <span className="logo">Westagram</span>
        <form class="loginBox">
          <input
            type="text"
            className="id loginInput"
            placeholder="전화번호, 사용자 이름 또는 이메일"
            name="email"
            onChange={this.handleInput}
          />
          <input
            type="password"
            className="password loginInput"
            placeholder="비밀번호"
            name="password"
            onChange={this.handleInput}
          />
          <button
            type="button"
            onClick={this.handleJoin}
            className={
              this.state.email.includes('@') && this.state.password.length > 5
                ? 'activeBtn'
                : 'inactiveBtn'
            }
          >
            로그인
          </button>
        </form>
        <a href="#">비밀번호를 잊으셨나요?</a>
      </div>
    );
  }
}

export default withRouter(LoginDonghee);
