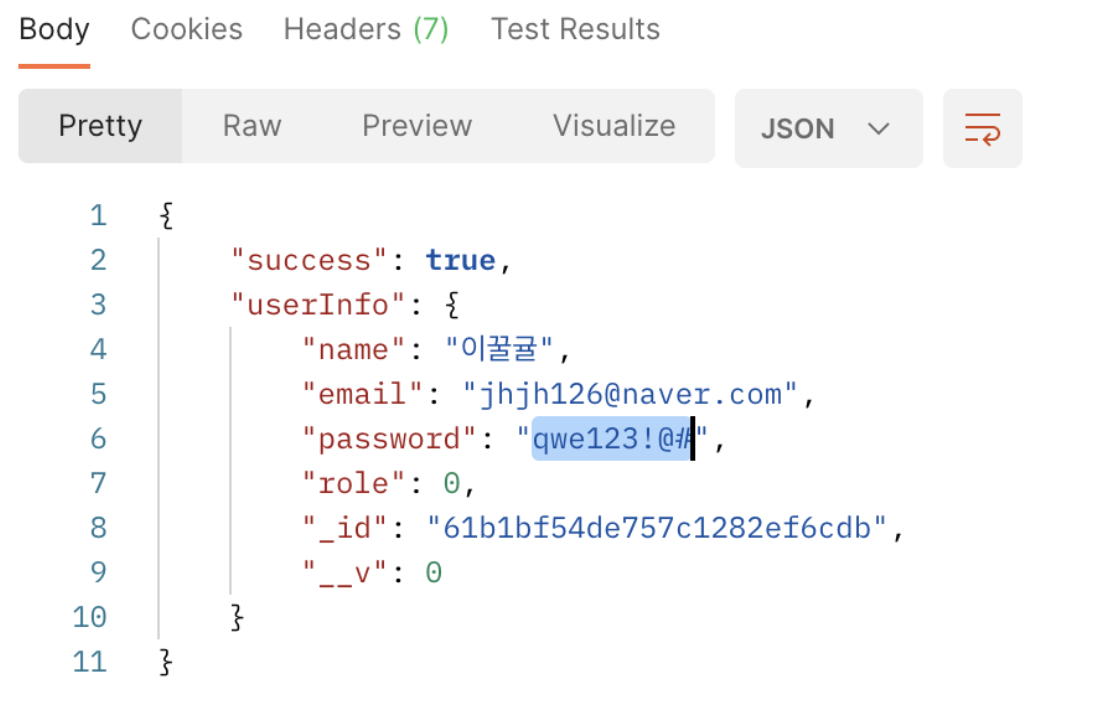
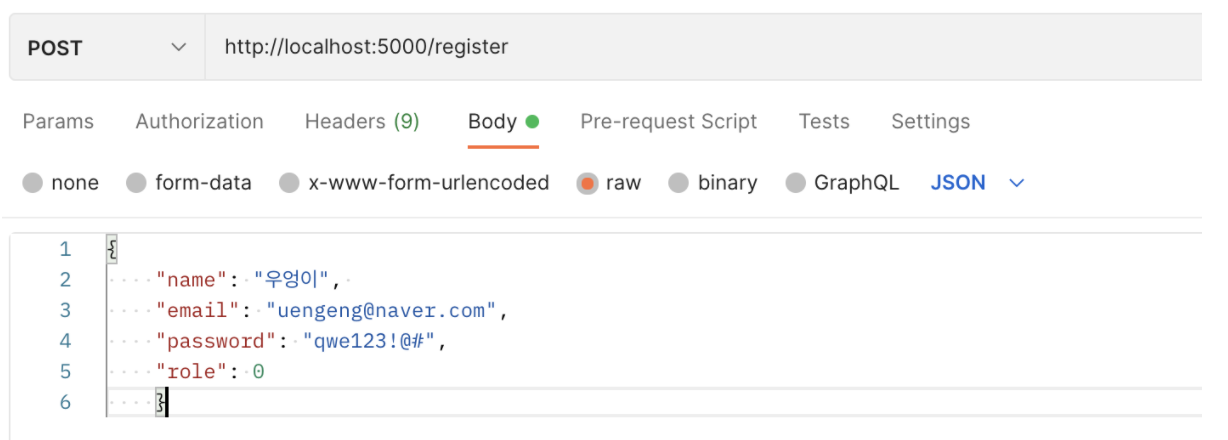
앞서 회원가입 api를 만들었을때 비밀번호를 qwe123!@#으로 입력해주면 return 값과 MongoDB에 qwe123!@#라는 비밀번호의 값이 그대로 찍혔다. 이말은 즉, 어떤 웹 사이트에서 내가 회원가입을 하면 내 비밀번호를 DB를 통해 확인 가능하다는 말이다. 아주 위험하다!! 그래서 오늘은 Bcrypt라는 암호화 해시 함수를 통해 비밀번호를 암호화해서 저장해 줄 것이다.

bcrypt 설치하고 적용해보자
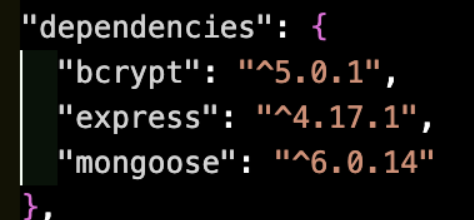
먼저, bcrypt 설치해보자. package.json의 dependencies에 예쁘게 들어온걸 확인 할 수있다.
npm install bcrypt

이번에는 설치해준 bcrypt를 사용해 비밀번호를 암호화해주는 함수를 작성해보자.
const mongoose = require('mongoose');
const bcrypt = require('bcrypt'); // bcrypt 임포트

const saltRounds = 10; // salt값을 10으로 정해주었다.

const userSchema = mongoose.Schema({
  name: {
    type: String,
    maxLength: 50,
  },
  email: {
    type: String,
    maxLength: 50,
    trim: true, // space를 없애준다.
    // unique: 1, // 같은값은 하나만 존재할 수 있다.
  },
  password: {
    type: String,
    maxLength: 50,
  },
  role: {
    type: Number,
    default: 0, // 값이 정해지지 않았다면 디폴트로 0!
  },
  token: {
    type: String,
  },
  tokenExp: {
    type: Number,
  },
});

userSchema.pre('save', function (next) {  // userSchema가 save 되기 전에(pre) 실행할 함수function은~

  const user = this; //  this는 userSchema를 가르킨다.

  if (user.isModified('password')) {   // password가 수정될때만 아래 코드 실행!
    bcrypt.genSalt(saltRounds, function (err, salt) {  //  saltRounds가 10인 salt를 generate 해주자.
      if (err) return next(err); // 에러처리

      bcrypt.hash(user.password, salt, function (err, hash) {  // user.password를 salt로 변경해서 hash로 return하는 함수~
        if (err) return next(err); // 에러처리
        user.password = hash; // user.password 자리에 hash를 할당!
        next(); // pre에서 나가 다음 코드 실행!
      });
    });
   else {
       next(); // password 변경이 아닌 경우 바로 save코드 실행
   }
  }
});

const User = mongoose.model('User', userSchema); // userSchema를 model로 만들어준다.

module.exports = { User };
위 처럼 코드를 비밀번호를 암호화해주는 코드를 작성 한 뒤, 포스트맨에서 비밀번호 입력하고 register api 호출해보자.

return 값의 password를확인해보니 암호화된 값이 잘들어왔다👍🏻
참고
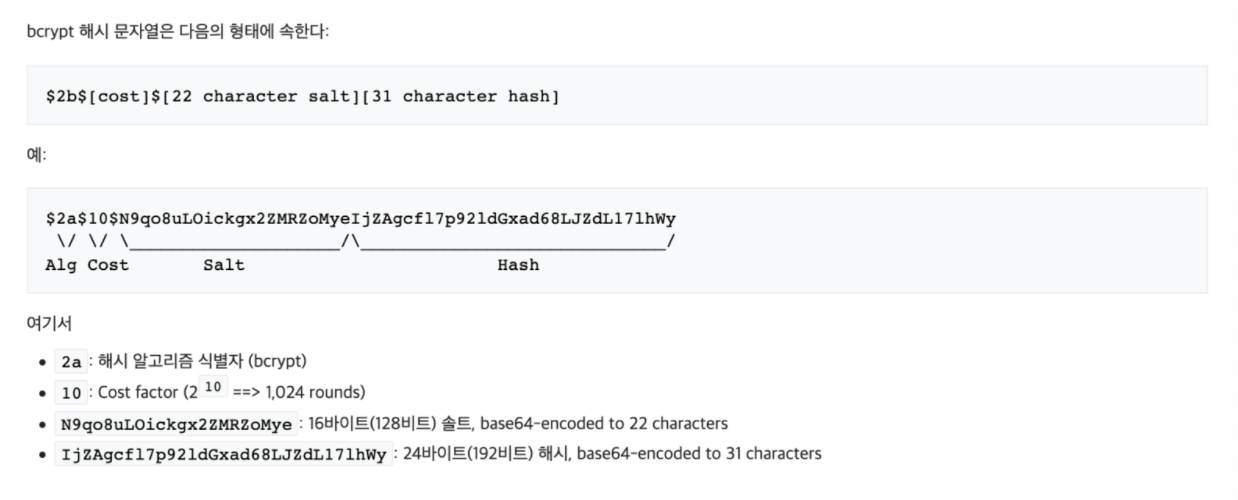
처음에는 salt가 10자리 인줄 알았는데 리턴값을 보니 그렇지 않았다. 그래서 위키트리에서 암호화된 비밀번호의 구조를 찾아보았다. 아직 Cost가 무엇인지 왜 Salt와 Hash로 나눠 주는지 모르겠지만 이렇게 보니 구조는 눈에 들어온다.

John Ahn님의 유튜브 강의를 통해 공부하며 글을 작성했습니다😊
