기본환경 구축
- 설치
$ npm i -g @nestjs/cli
$ nest new [name]

# swagger 설치
$ npm install --save @nestjs/swagger swagger-ui-express
# nestjs(fastify)를 사용하는 사람이라면
$ npm install --save @nestjs/swagger swagger-fastify-swagger- 설치된 환경에서 main.ts 파일 수정
import { NestFactory } from '@nestjs/core';
import { SwaggerModule, DocumentBuilder } from '@nestjs/swagger';
import { AppModule } from './app.module';
async function bootstrap() {
const app = await NestFactory.create(AppModule);
// api 문서이름, 부가설명, 버전설정
const config = new DocumentBuilder()
.setTitle('User example')
.setDescription('The user API description')
.setVersion('1.0')
.build();
// 도메인/swagger로 api문서 접근 가능
const document = SwaggerModule.createDocument(app, config);
SwaggerModule.setup('api-doc', app, document);
await app.listen(3000);
}
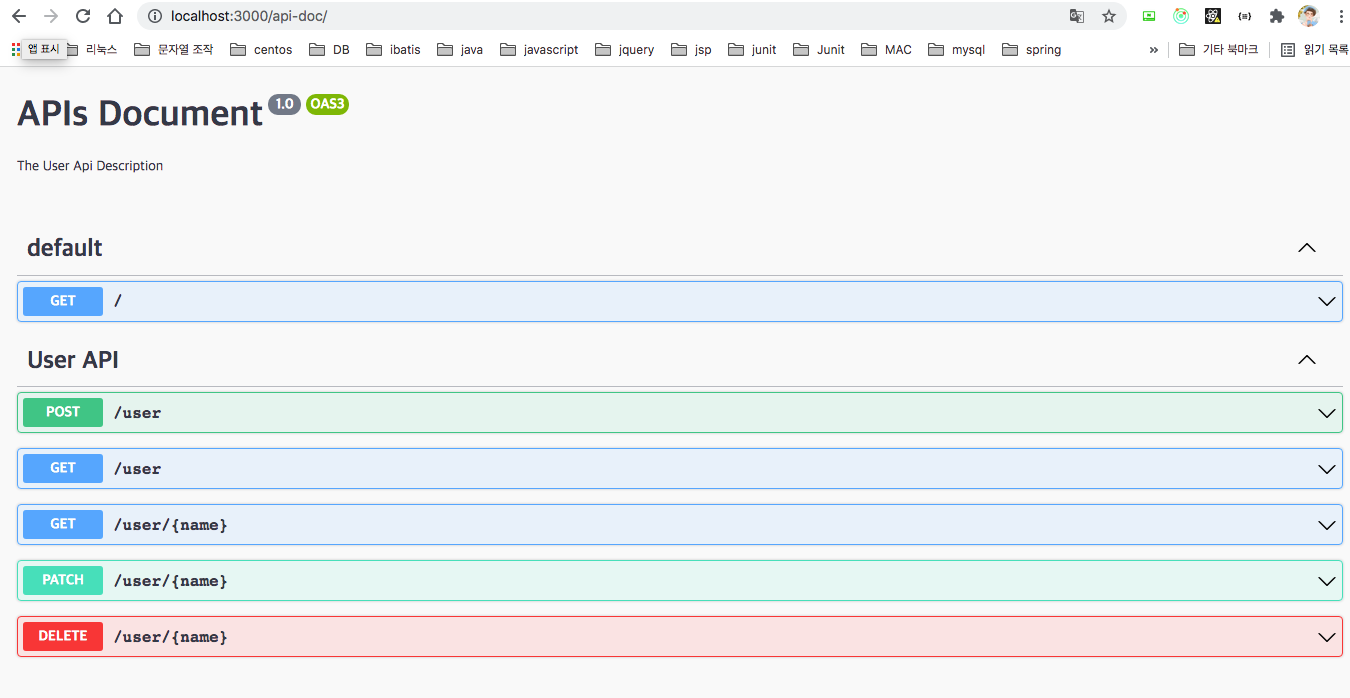
bootstrap();서버실행
$ npm run start:dev- 실행화면(localhost:3000/api-doc)
데코레이터 추가
- create-user.dto.ts
import { IsString, IsNumber } from "class-validator";
import { ApiProperty } from "@nestjs/swagger";

export class CreateUserDto {
  @ApiProperty({ description: "이름" }) // api문서에 부가설명 추가
  @IsString()
  name: string;
  @ApiProperty({ description: "나이" })
  @IsNumber()
  age: number;
}
'하루를 참고 인내하면 열흘을 벌 수 있고 사흘을 참고 견디면 30일을, 30일을 견디면 3년을 벌 수 있다.'