velog에 글을 작성하면 gitHub에 자동으로 커밋되게 만들고 싶었다.
찾아보니 연동하는 방법이 있어서 연동해봄!
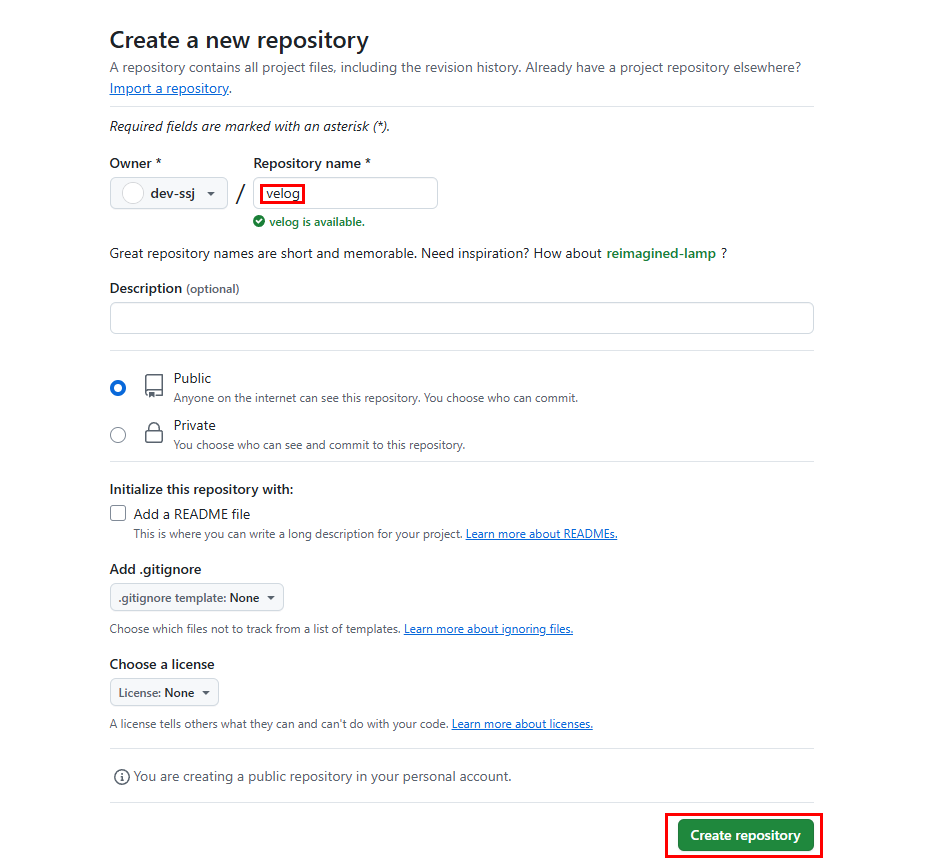
1. Git Repository 생성
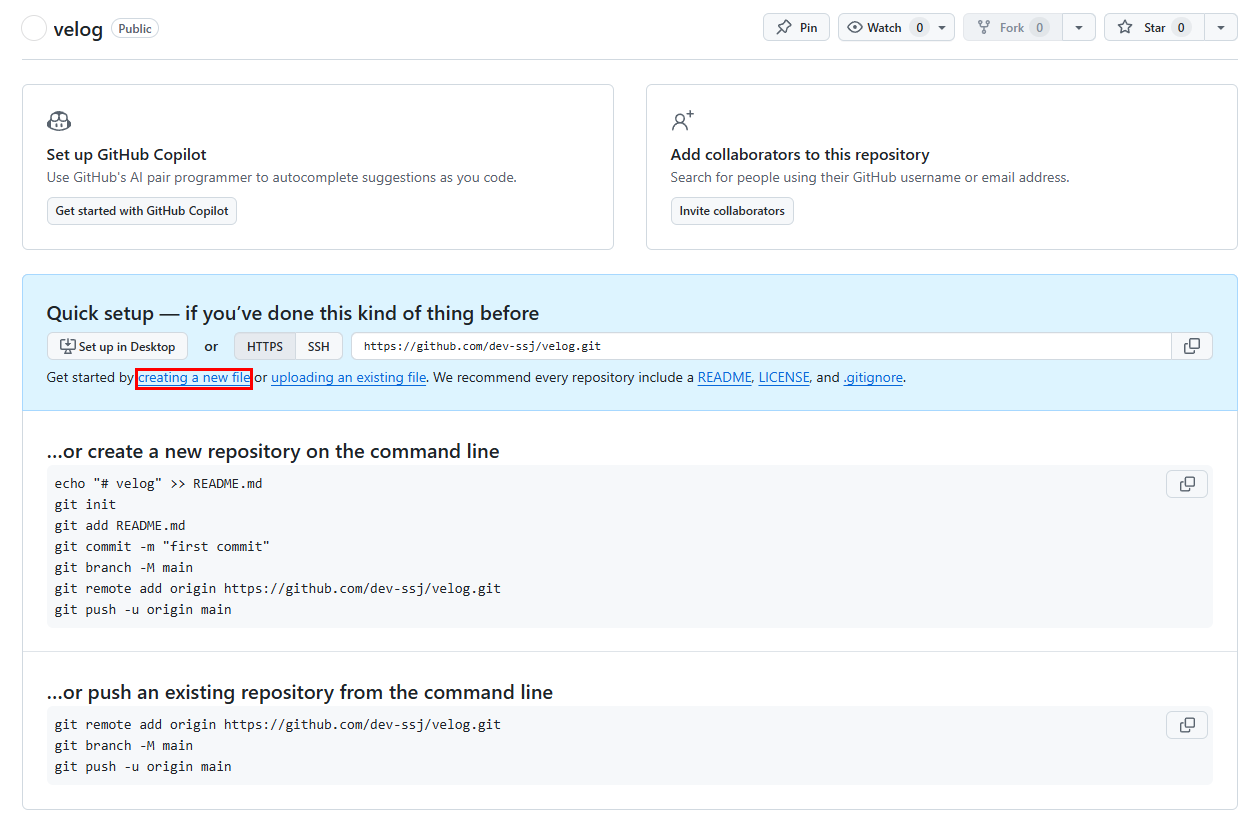
2. update_blog.yml 파일 생성
1) createing a new file 클릭
- 파일경로 :
.github/workflows/update_blog.yml update_blog.yml파일 작성
name: Update Blog Posts


on:
  push:
      branches:
        - [브랜치명] # 또는 워크플로우를 트리거하고 싶은 브랜치 이름
  workflow_dispatch:	# 수동 실행 트리거 추가
  schedule:
    - cron: '0 0 * * *' # 매일 자정에 실행

jobs:
  update_blog:
    runs-on: ubuntu-latest

    steps:
    - name: Checkout
      uses: actions/checkout@v2

    - name: Set time zone
      run: |
        sudo ln -sf /usr/share/zoneinfo/Asia/Seoul /etc/localtime
        echo "Asia/Seoul" | sudo tee /etc/timezone
        date

    - name: Push changes
      run: |
        git config --global user.name 'github-actions[bot]'
        git config --global user.email 'github-actions[bot]@users.noreply.github.com'
        git push https://${{ secrets.GH_PAT }}@github.com/[연동할깃허브아이디]/velog.git

    - name: Set up Python
      uses: actions/setup-python@v2
      with:
        python-version: '3.x'

    - name: Install dependencies
      run: |
        pip install feedparser gitpython

    - name: Run script
      run: python scripts/update_blog.py
📌 수동 실행 트리거 추가
위 코드대로 파일을 추가하면 매일 자정에 자동 커밋이 되는데,workflow_dispatch:를 추가하게 되면 필요할 때마다 수동으로 커밋이 가능하다.
2) commit하기

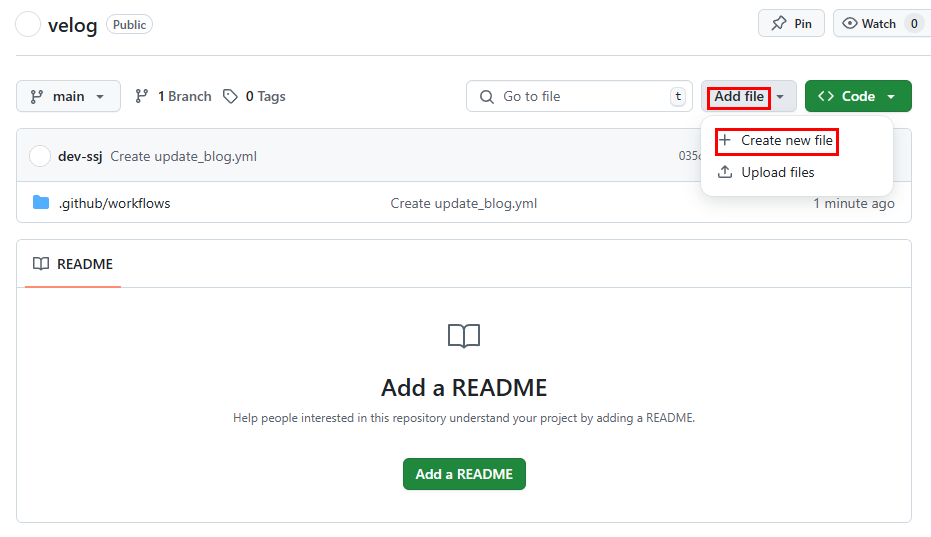
3. update_blog.py 파일 생성
1) velog 리포지토리 -> Add file -> Create new file
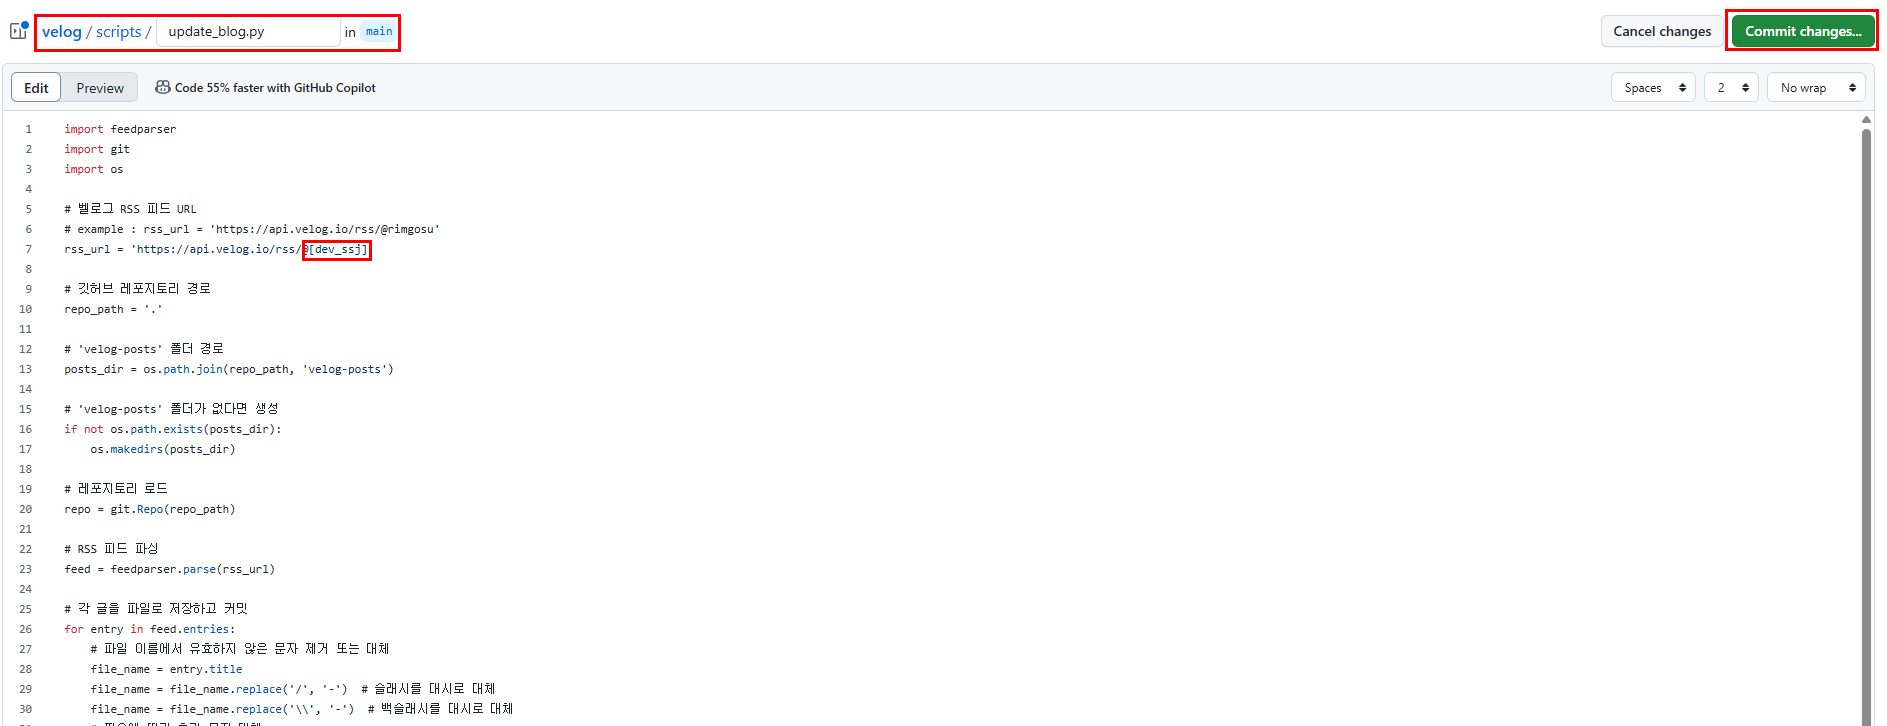
- 파일 경로 :
scripts/update_blog.py update_blog.py파일 작성
import feedparser
import git
import os

# 벨로그 RSS 피드 URL
# example : rss_url = 'https://api.velog.io/rss/@rimgosu'
rss_url = 'https://api.velog.io/rss/@[벨로그아이디]'

# 깃허브 레포지토리 경로
repo_path = '.'

# 'velog-posts' 폴더 경로
posts_dir = os.path.join(repo_path, 'velog-posts')

# 'velog-posts' 폴더가 없다면 생성
if not os.path.exists(posts_dir):
    os.makedirs(posts_dir)

# 레포지토리 로드
repo = git.Repo(repo_path)

# RSS 피드 파싱
feed = feedparser.parse(rss_url)

# 각 글을 파일로 저장하고 커밋
for entry in feed.entries:
    # 파일 이름에서 유효하지 않은 문자 제거 또는 대체
    file_name = entry.title
    file_name = file_name.replace('/', '-')  # 슬래시를 대시로 대체
    file_name = file_name.replace('\\', '-')  # 백슬래시를 대시로 대체
    # 필요에 따라 추가 문자 대체
    file_name += '.md'
    file_path = os.path.join(posts_dir, file_name)

    # 파일이 이미 존재하지 않으면 생성
    if not os.path.exists(file_path):
        with open(file_path, 'w', encoding='utf-8') as file:
            file.write(entry.description)  # 글 내용을 파일에 작성

        # 깃허브 커밋
        repo.git.add(file_path)
        repo.git.commit('-m', f'Add post: {entry.title}')

# 변경 사항을 깃허브에 푸시
repo.git.push()
2) commit 하기
4. Personal access tokens 생성하기
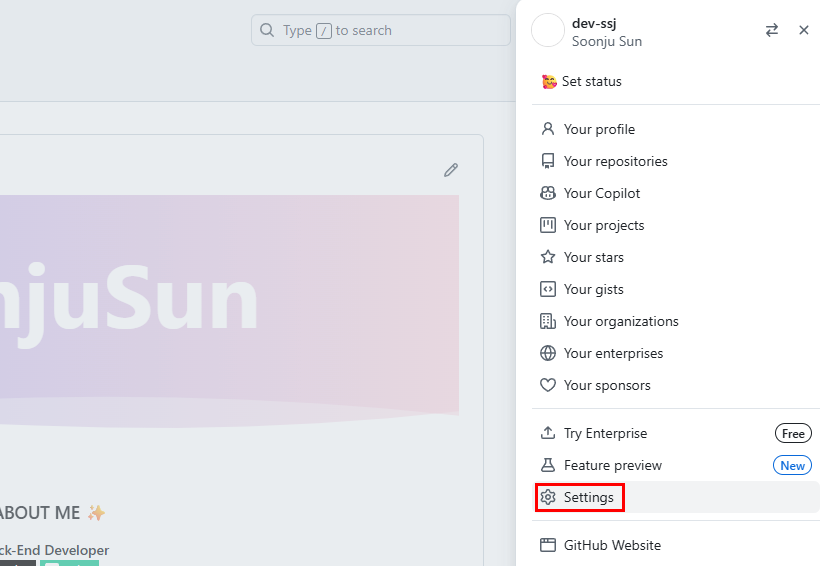
1) gitHub 계정 -> Setting 클릭
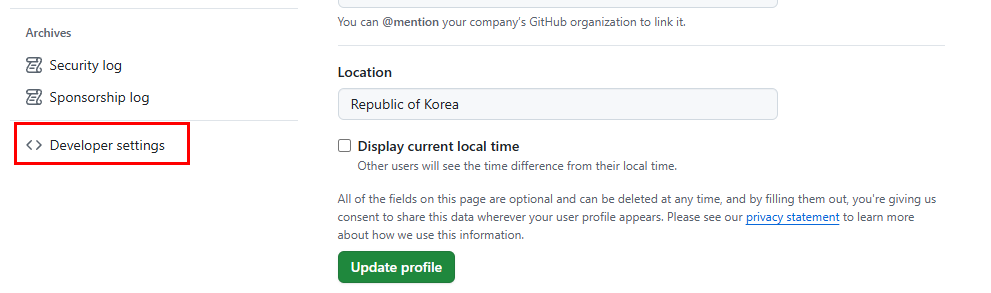
2) 왼쪽 메뉴 하단 Developer settings 클릭
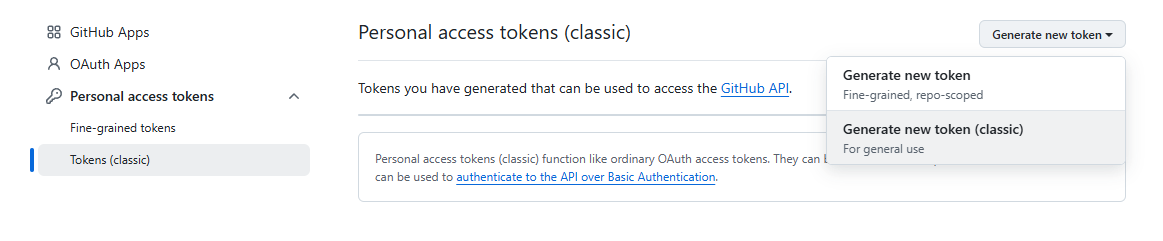
3) Personal access tokens -> Tokens(classic) -> Generate new Token -> Generate new token(classic)
4) 토큰 이름 작성과 유효기간 설정 & repo, workflow 체크 후 Generate Token 클릭
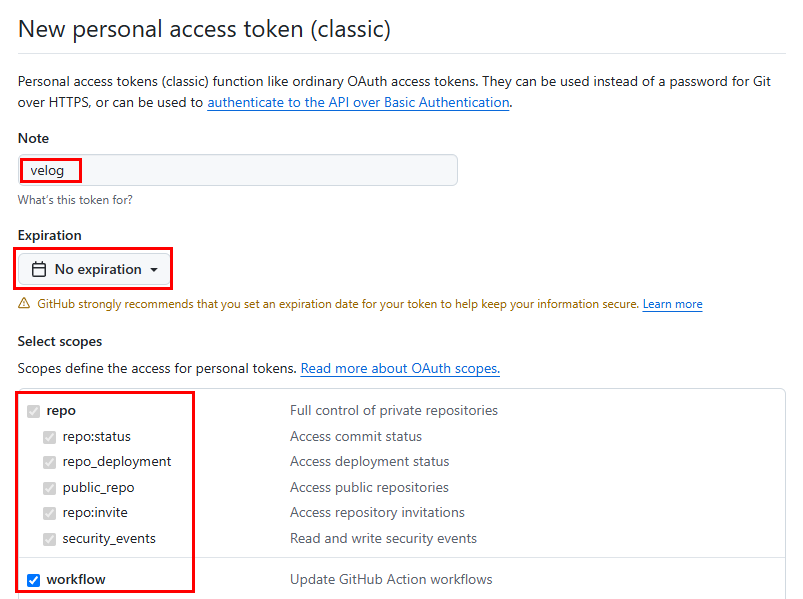
Expiration은 해당 토큰의 유효기간을 뜻하는데, 기본으로 30일이 선택되어있다.
필자는 No expiration로 변경했다.
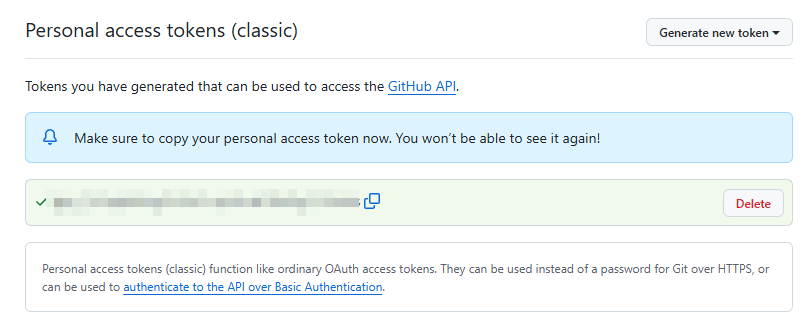
5) 토큰 복사
- 이 창을 벗어나면 이후에는 토큰 확인이 불가능하다. 꼭! 토큰 복사해두기!
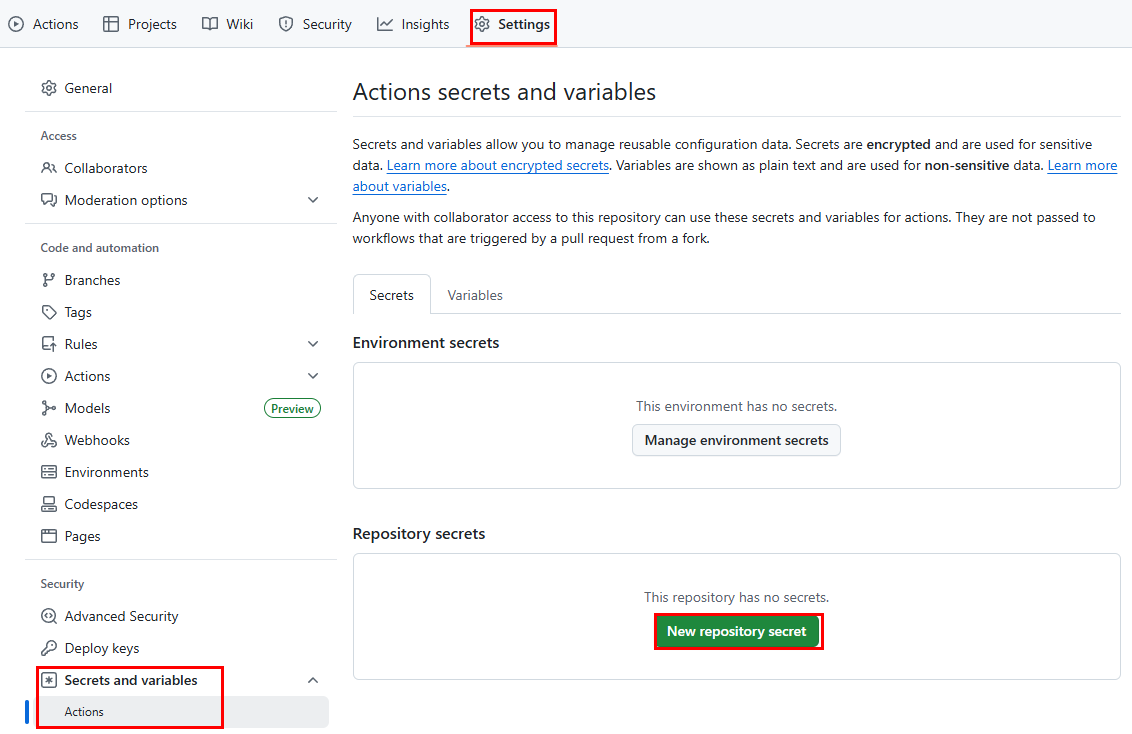
6) velog 리포지토리 -> setting -> secrets and variables -> Actions -> new Repository secret
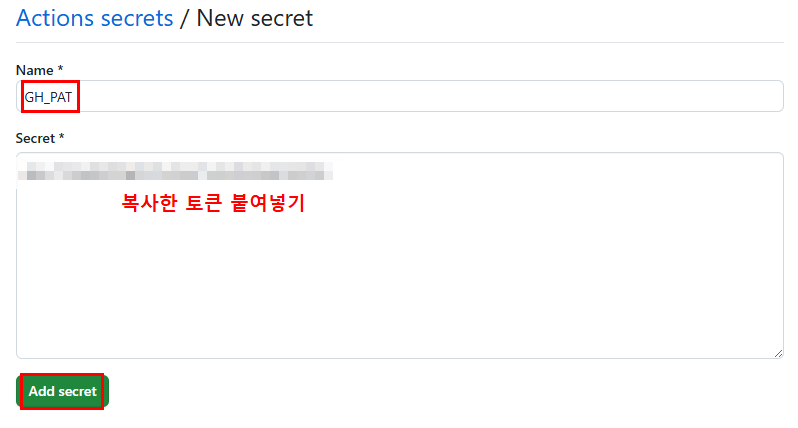
7) name과 복사한 토큰 붙여넣고 Add secret 클릭
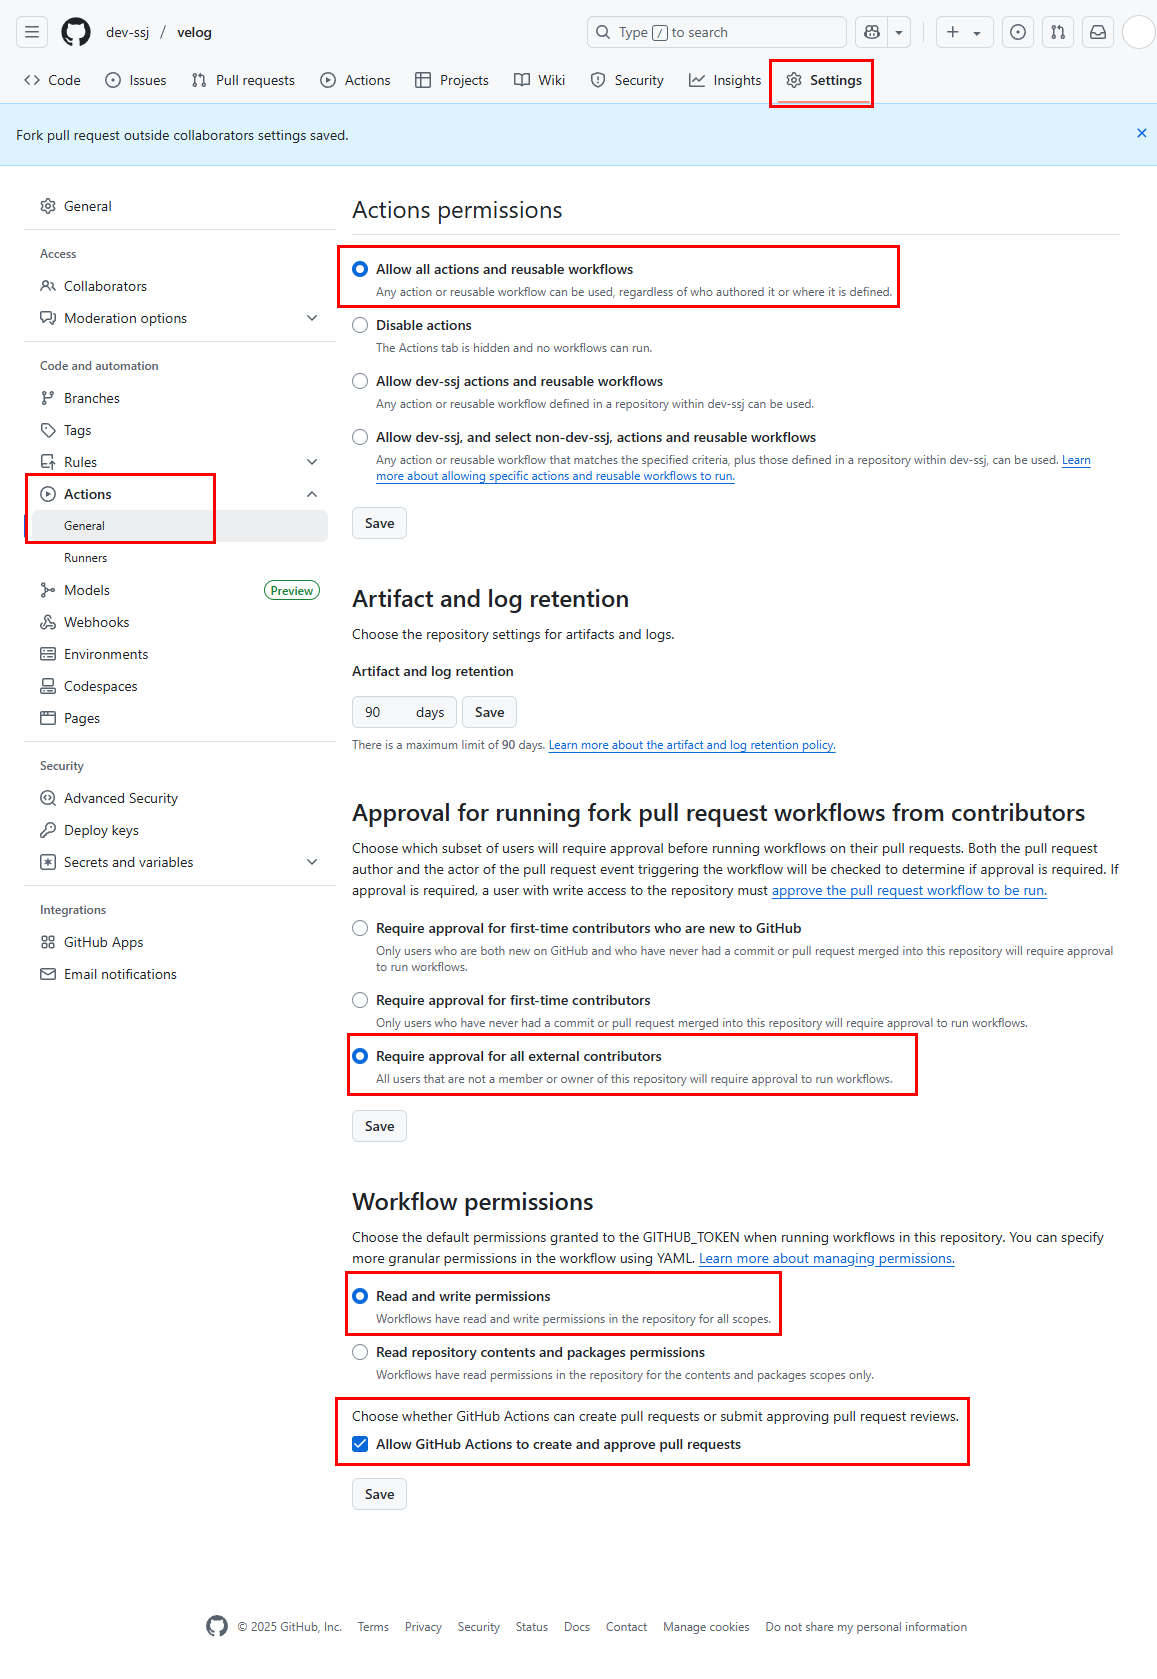
5. 리포지토리에 외부 권한 부여하기
1) git 리포지토리 -> Setting -> Actions -> General에서 체크된 4가지 항목 선택
6. 연동 확인
자정이 될 때까지 기다릴수도 있지만
update_blog.yml에 수동 실행 트리거를 추가했으므로 수동으로 확인해 보도록 하자.
1) git 리포지토리 -> Action -> Update Blog Posts -> Run workflow 클릭
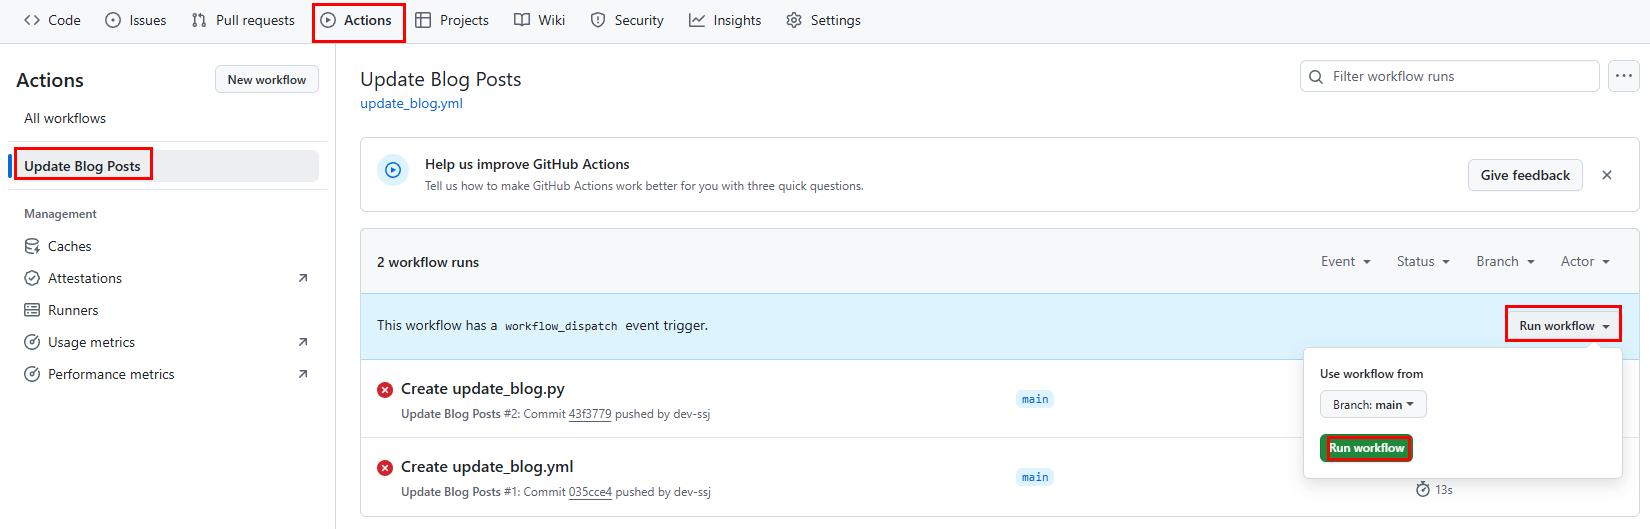
- 연동이 잘 된걸 확인할 수 있다.


배우고 기록하며 성장하는 백엔드 개발자입니다!
포스트에 올린 이미지의 경우에는 깃허브에 어떤 식으로 올라가나요?