
준비물
- VMware fushion : 가상 머신 실행 프로그램(Mac OS 전용)
- 리눅스 ISO 이미지
VMware 설치
- VMware 다운로드
- 공식 사이트: https://www.vmware.com
- 개인용 무료: VMware fusion (Mac OS)
- 설치 시 기본값으로 진행하면 됨
- 설치 완료 후 실행
리눅스 ISO 파일 준비
- 원하는 리눅스 배포판의 ISO 다운로드
- Ubuntu Server: https://ubuntu.com/download/server
- Rocky Linux (RHEL 계열): https://rockylinux.org
- CentOS (이전 버전): https://vault.centos.org
- Fedora: https://getfedora.org
💡 리눅스 마스터 시험용 실습은 보통 CentOS 또는 Rocky Linux 기준으로 많이 하기 때문에 저는 Rocky Linux를 설치하였습니다.
VMware 가상 머신 생성
- VMware 우측 상단에 + 버튼 클릭 후 New 클릭
- Install from disc or image 클릭
- 위에 다운받은 Linux 이미지 iso 파일 드래그
- 위 과정으로 리눅스 배포판 가상 머신에 설치 완료.
필요 패키지 설치
1. EPEL 리포지터리 추가
Rocky Linux는 Red Hat 계열이므로, EPEL 을 활성화해야 gnome-tweaks 같은 유틸리티 설치 가능
- 터미널에 진입 후 아래와 같은 명령어 입력
sudo dnf install epel-release -y2. GNOME Tweaks 설치
이 패키지를 설치 하는 이유는 디테일한 커스터마이징을 하기 위해.
dnf -y install gnome-tweaks고정 IP 주소 설정
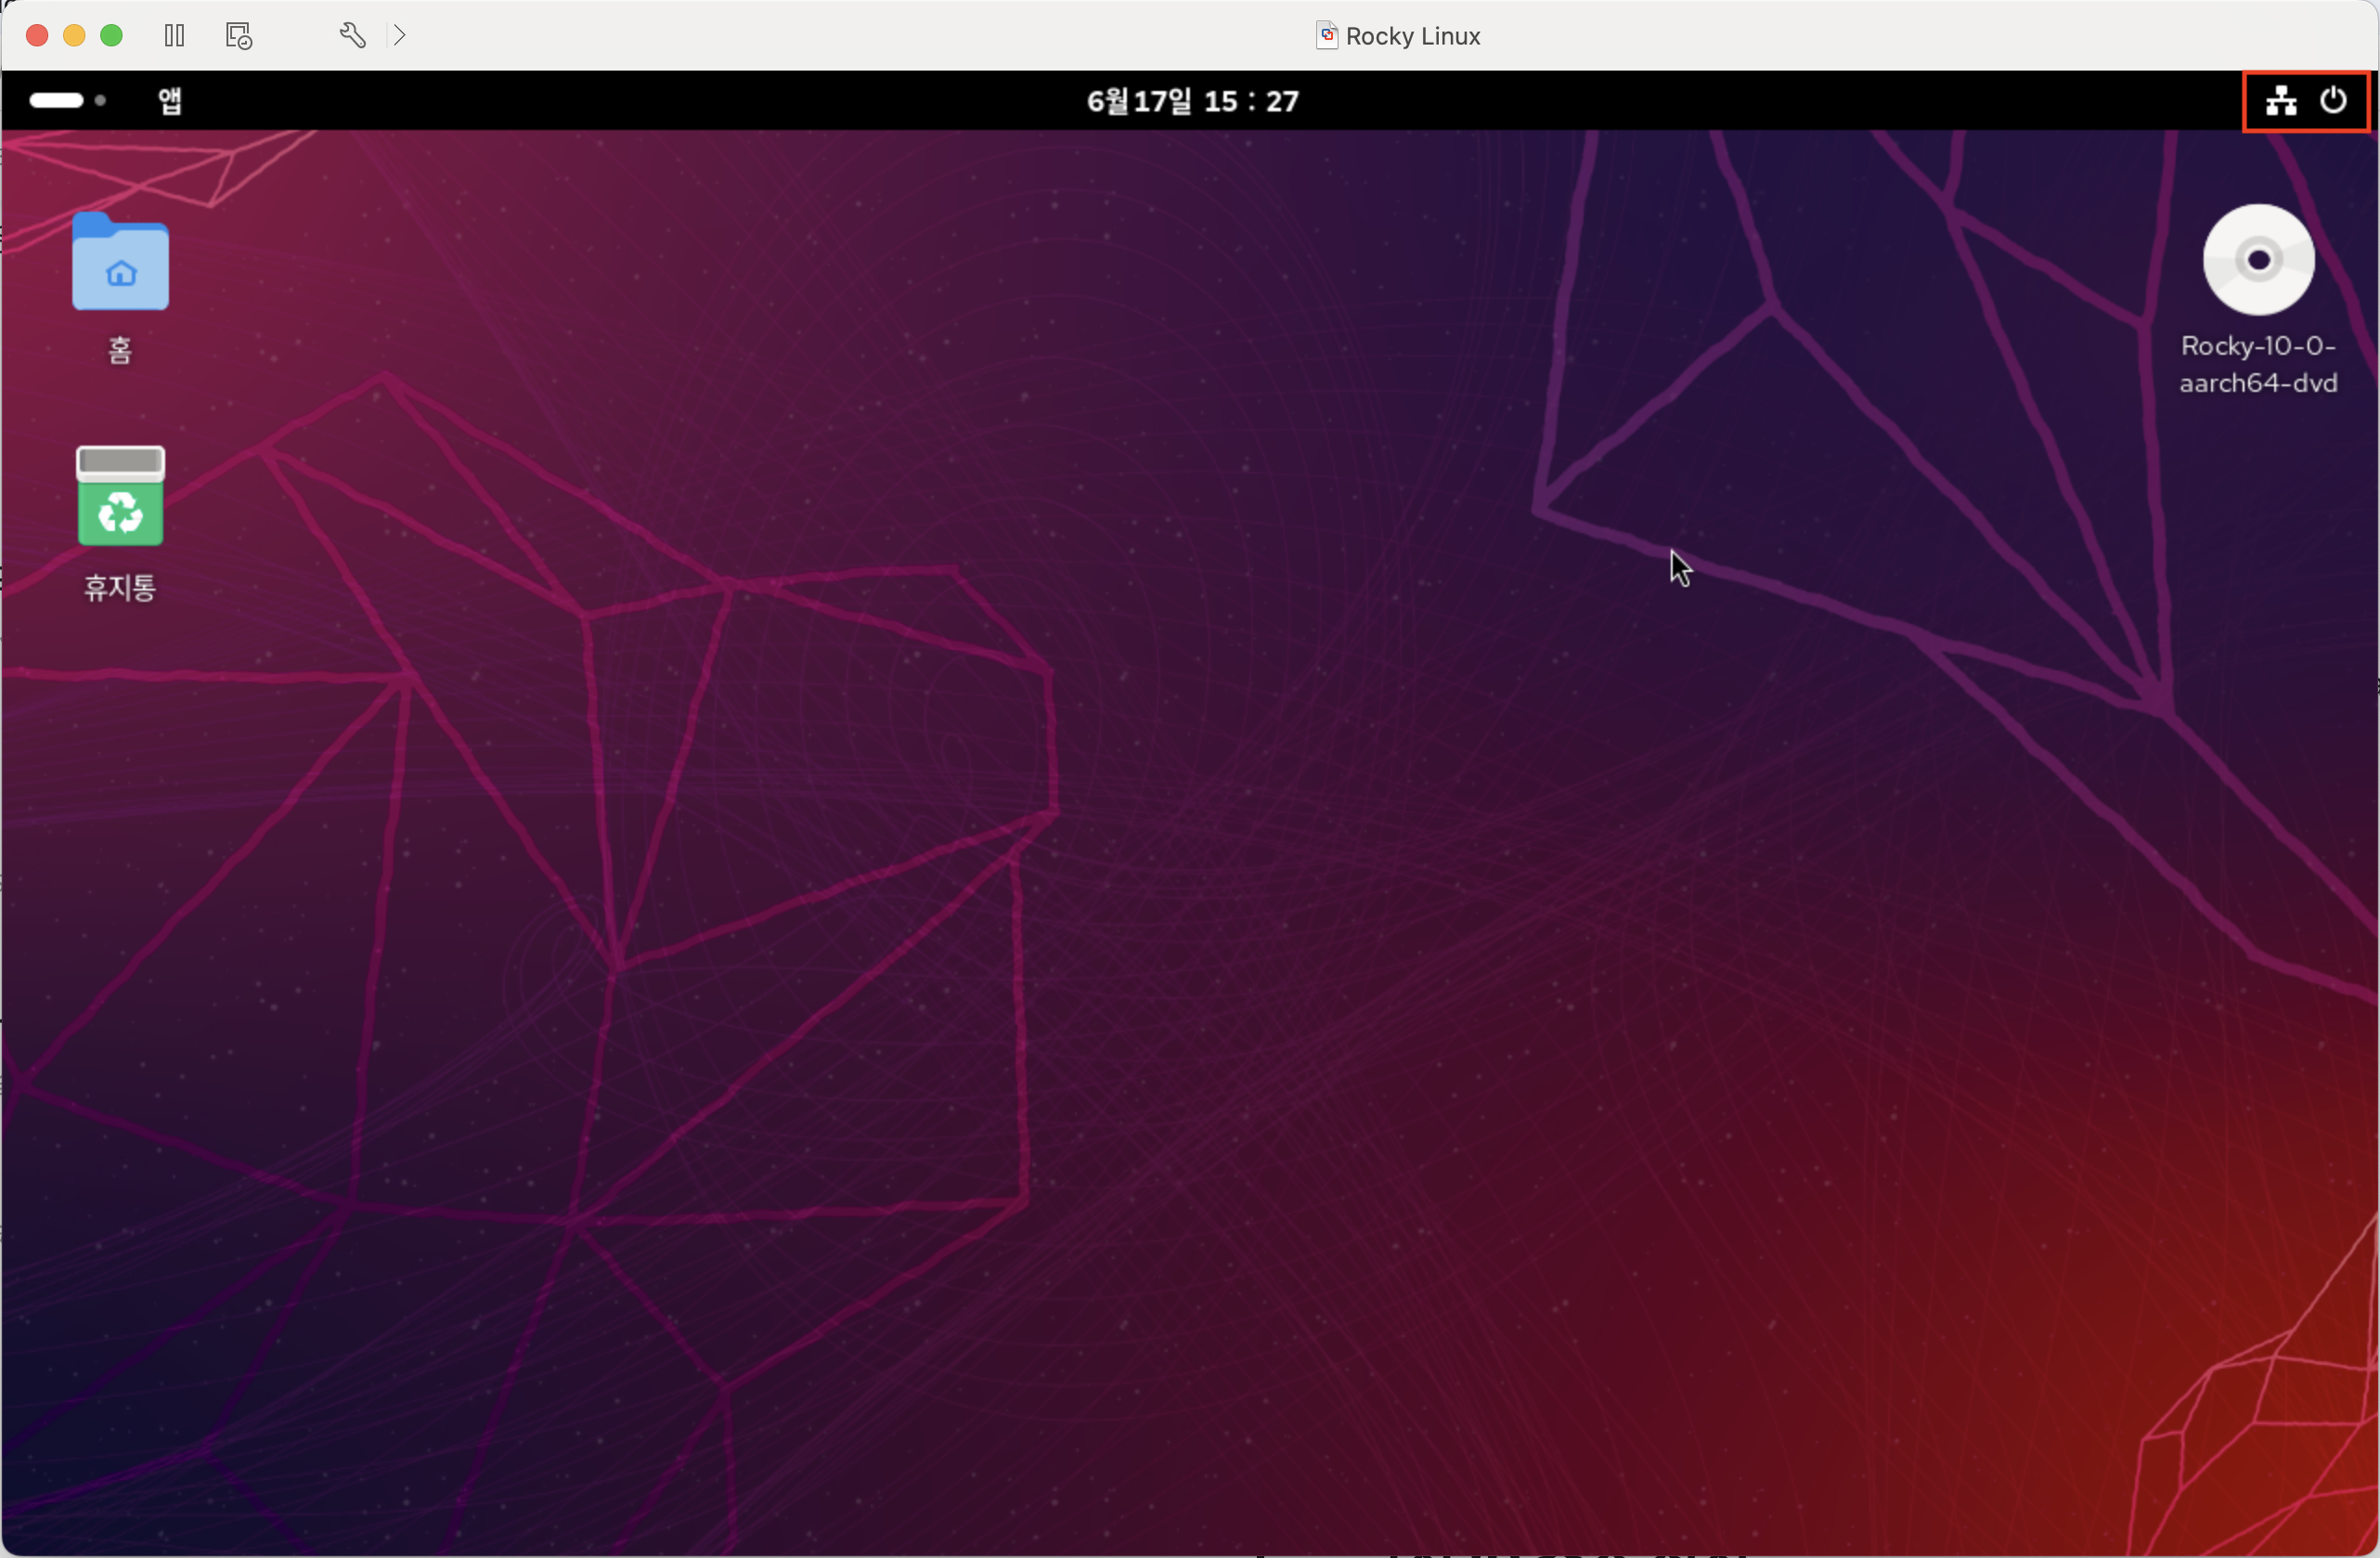
우측 상단에 네트워크 연결 클릭

유선 클릭 -> 유선 네트워크 설정 클릭하면 네트워크 설정할 수 있는 것이 나오는데
유선쪽 우측에 톱니바퀴를 클릭하면 아래와 같은 이미지가 나온다.
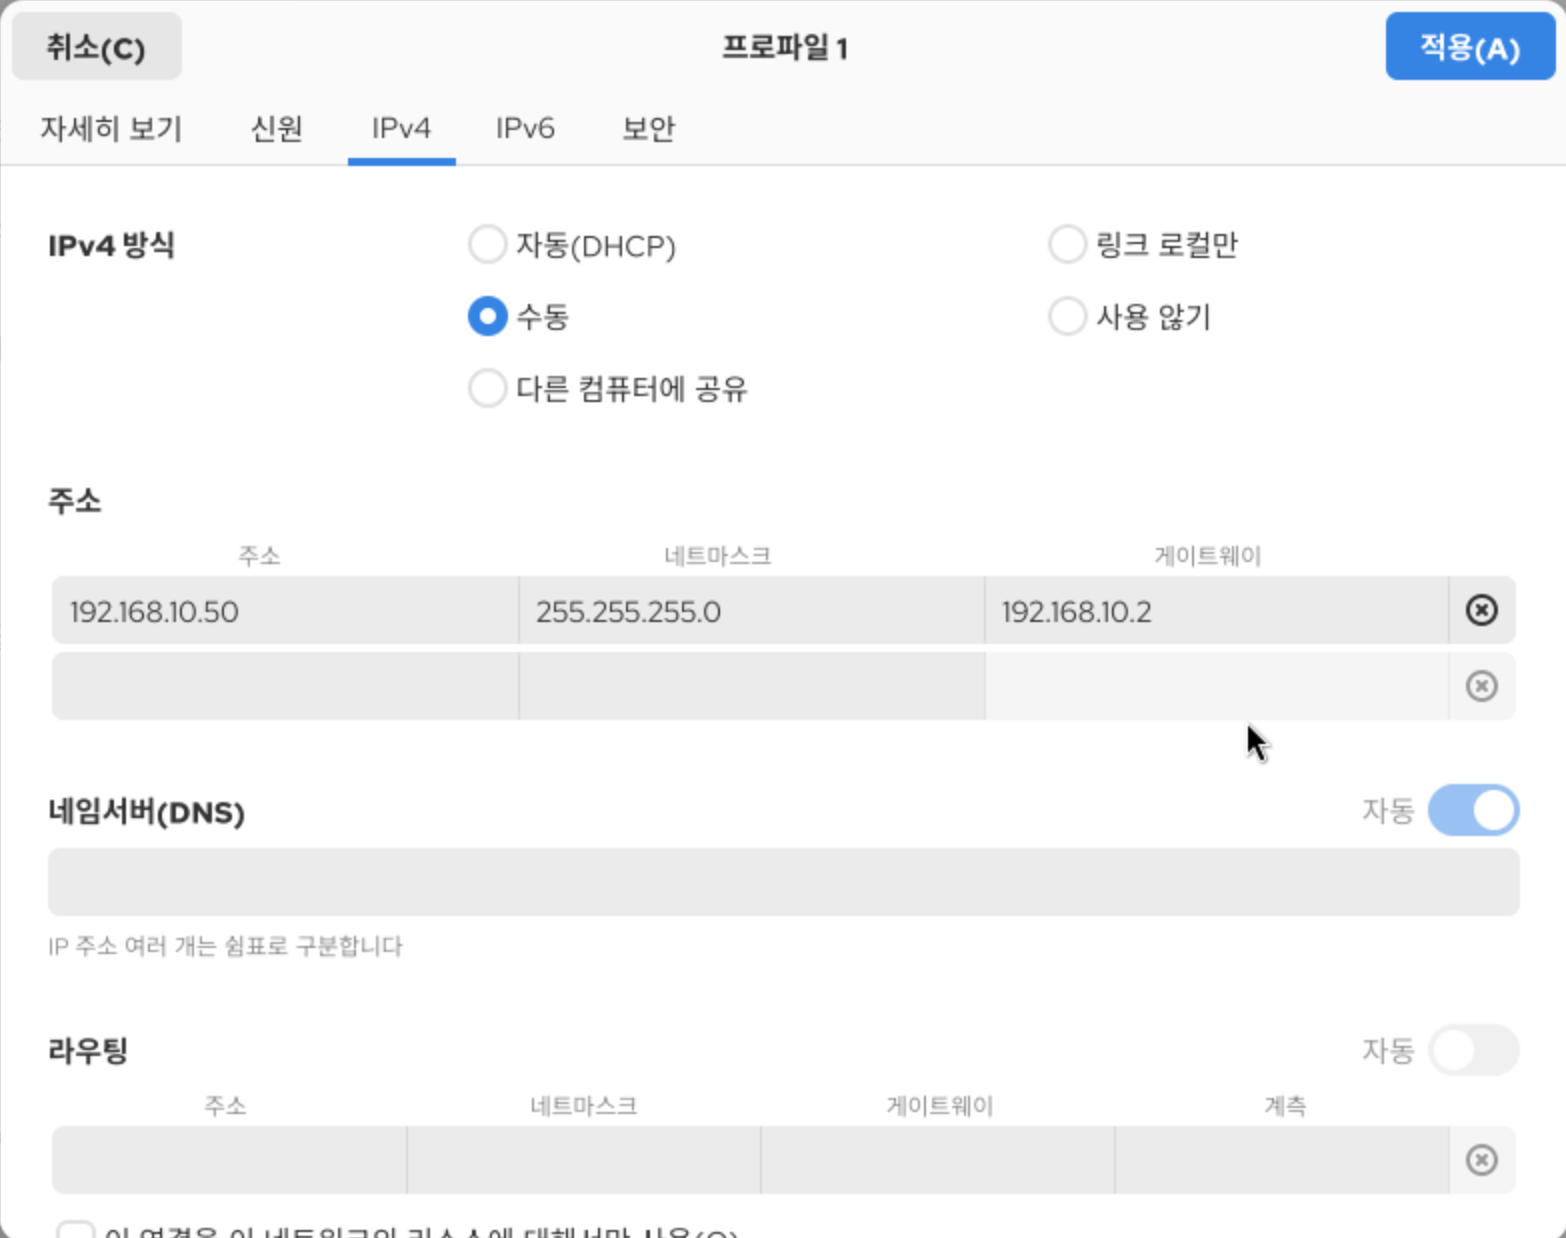
위 이미지에서 IPv4에 들어가 수동으로 본인이 원하는 IP, 서브넷마스크, 게이트웨이를 설정 할 수 있다.
vmnet IP & DNS 주소 변경
위 처럼 Rocky Linux의 고정 IP를 설정 한 후 Mac OS 자체의 vmnet 8( Nat ) IP 주소도 위 리눅스 서버의 IP와 동일하게 변경 해야만 한다.
1. Mac OS에서 vmnet8 설정 파일 경로
/Library/Preferences/VMware\ Fusion/vmnet8/nat.conf
cat /Library/Preferences/VMware\ Fusion/vmnet8/dhcpd.conf- 특별한 변동사항이 없는 한 기본적인 vmnet 8 설정 파일은 위 경로에 위치해 있다.
2. Mac OS 터미널에서 nat.conf 수정
sudo nano /Library/Preferences/VMware\ Fusion/vmnet8/nat.conf위 명령어를 입력하면 아래와 같이 nat.conf 파일을 수정 할 수 있다.
# VMware NAT configuration file
# Manual editing of this file is not recommended. Using UI is preferred.

[host]

# Use MacOS network virtualization API
useMacosVmnetVirtApi = 1

# NAT gateway address
ip = 192.168.10.2
netmask = 255.255.255.0

# VMnet device if not specified on command line
device = vmnet8

# Allow PORT/EPRT FTP commands (they need incoming TCP stream ...)
activeFTP = 1

# Allows the source to have any OUI.  Turn this on if you change the OUI
# in the MAC address of your virtual machines.- 위 설정 파일에서 Nat gateway address/ netmask를 Rocky Linux에서 설정한 고정 IP와 서브넷 마스크로 변경
3. Mac OS 터미널에서 dhcpd.conf 수정
sudo nano /Library/Preferences/VMware\ Fusion/vmnet8/dhcpd.conf위 명령어를 입력하고 키보드 방향키를 아래로 쭉 내리다보면 subnet/ vmnet 8 설정을 수정할 수 있다.
subnet 192.168.10.0 netmask 255.255.255.0 {
        range 192.168.10.128 192.168.10.254;
        option broadcast-address 192.168.10.255;
        option domain-name-servers 192.168.10.2;
        option domain-name localdomain;
        default-lease-time 1800;                # default is 30 minutes
        max-lease-time 7200;                    # default is 2 hours
        option netbios-name-servers 192.168.10.2;
        option routers 192.168.10.2;
}
host vmnet8 {
hardware ethernet 00:50:56:C0:00:08;
fixed-address 192.168.10.1;
option domain-name-servers 0.0.0.0;- 위 설정 파일에서 IP를 Rinux의 고정 IP로 변경 한다
4. nat.conf/ dhcpd.conf 변경한 설정 저장 후 VMware 네트워크 재시작
- 위 과정으로 설정 변경을 저장 한 후 VMware 네트워크를 아래의 명령어를 차례로 입력 하여 재시작한다.
sudo /Applications/VMware\ Fusion.app/Contents/Library/vmnet-cli --stop
sudo /Applications/VMware\ Fusion.app/Contents/Library/vmnet-cli --start
이제 Rocky Linux의 네트워크가 제대로 연결이 되었는지 확인 하는 절차를 가져보자!
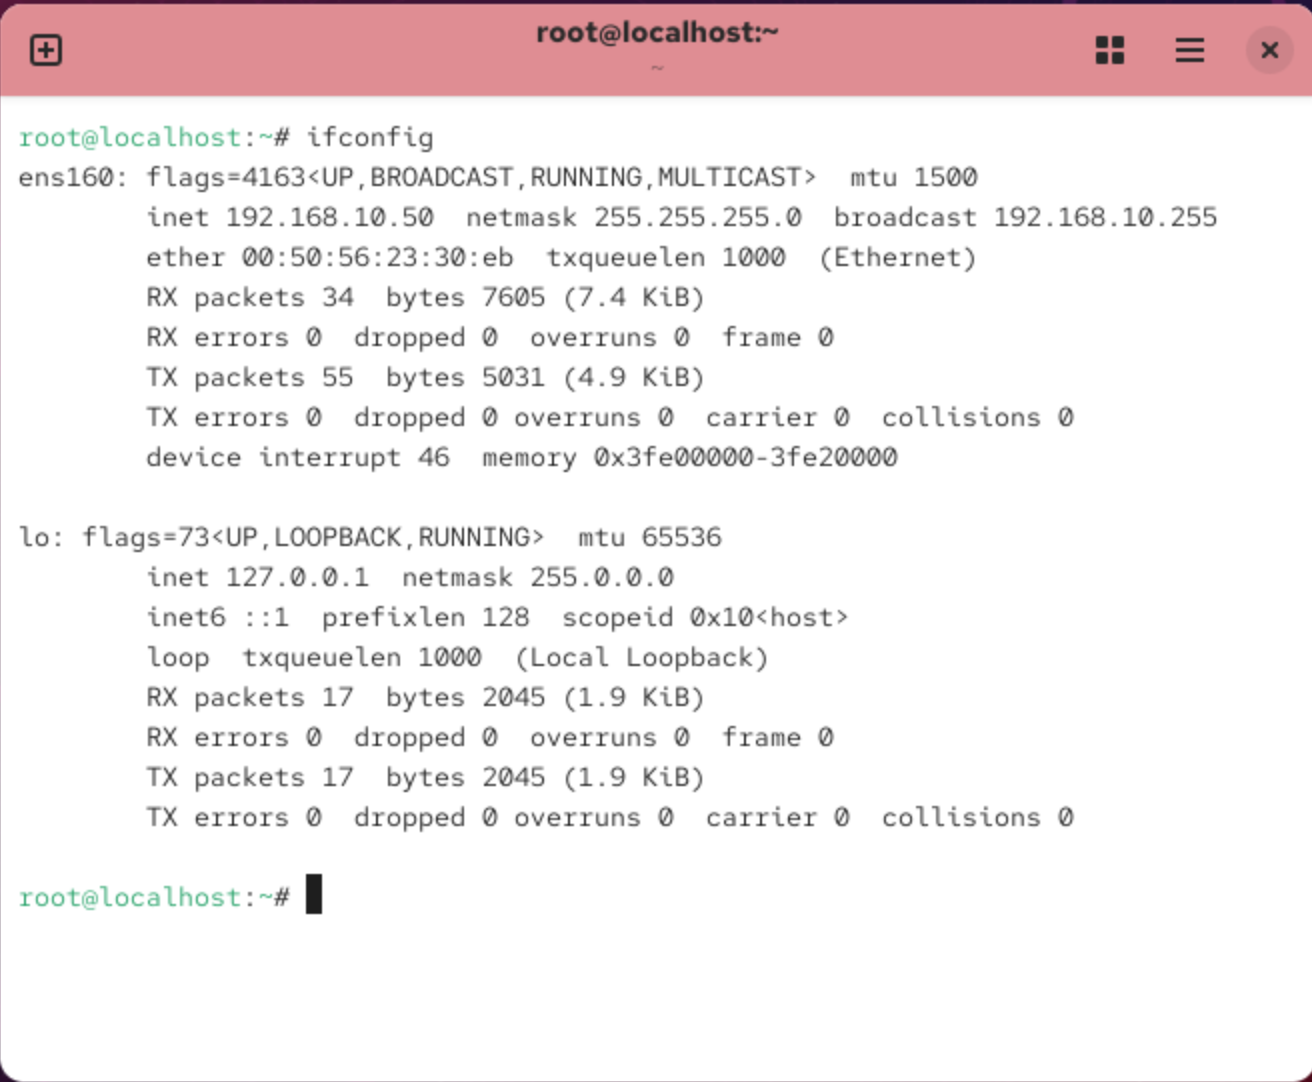
일단 VMware에서 Rocky Linux 서버를 부팅 후 ip를 변경한 고정 IP로 설정 되어있는지 확인해보자
ifconfig위 명령어를 입력하면 아래와 같이 ens160에 inet, netmask가 내가 설정한 고정 ip로 변경된것을 확인 할 수 있다.
이제 ping을 찍어 네트워크 연결이 원할하게 잘 되는지 확인해보자!
ping -c 4 8.8.8.8 //DNS 서버로 ping을 네번 찍어 보내기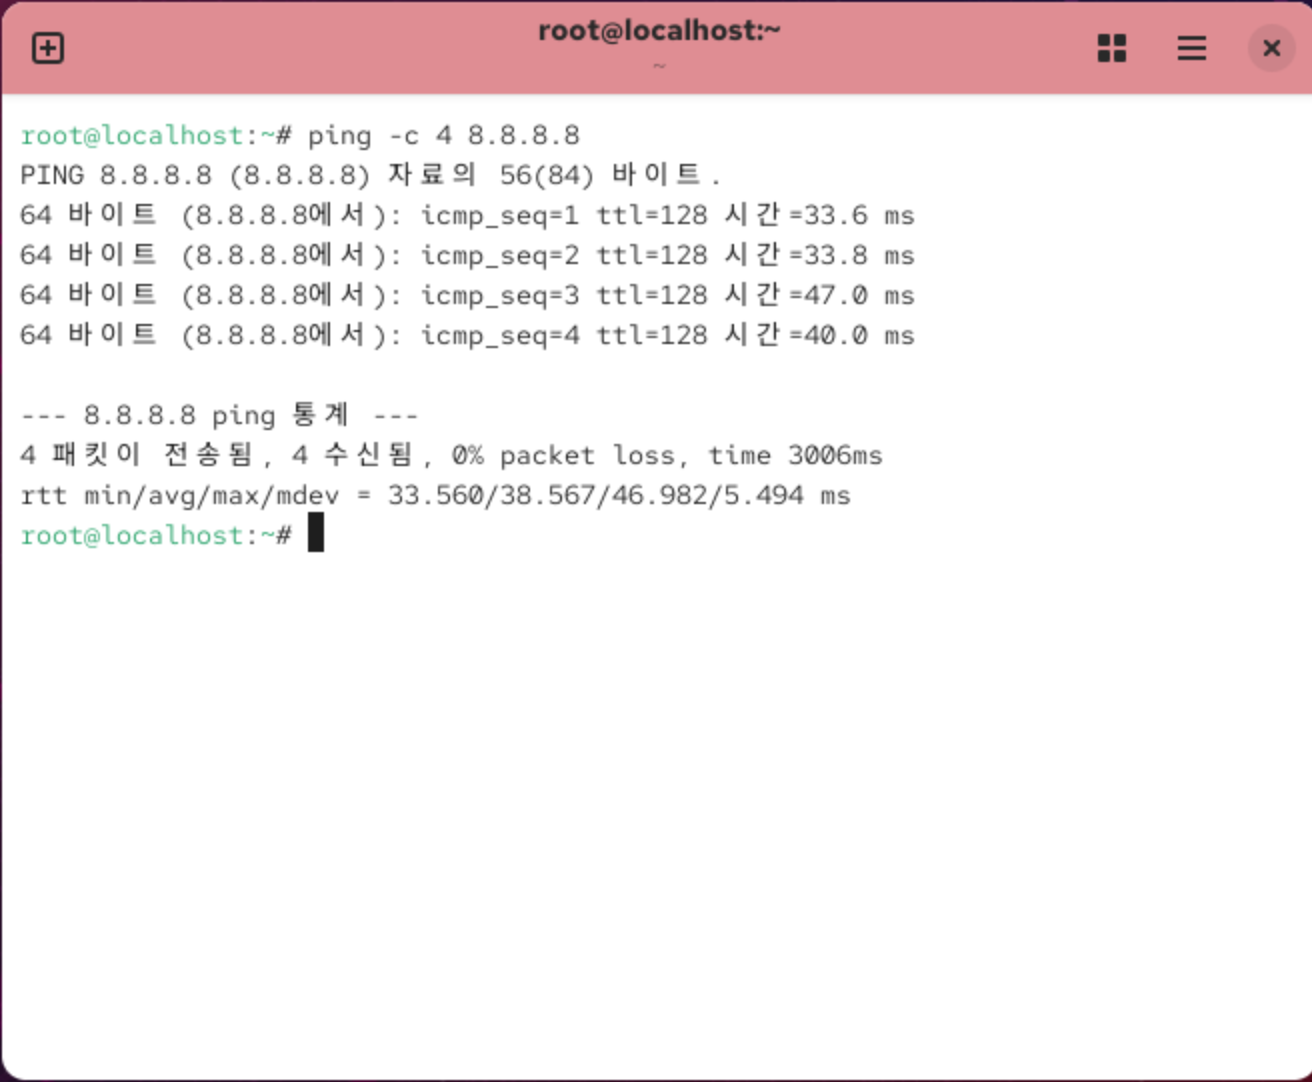
ping도 제대로 찍히는 것을 볼 수 있다.
이제 Linux 환경 네트워크 구성은 완료 하였다.