
CI/CD란?
단어의 뜻은 코드에 대한 지속적인 통합(Continous Integration) 및 지속적인 배포(Continous Delivery)이다.
나눠서 보자면 CI는 빌드 및 테스트 자동화하는 것, CD는 배포를 자동화하는 것이라고 볼 수 있다.
큰 틀에서는 앱 출시를 위한 과정을 자동화하는 과정이다.
사용 툴
- Github Actions
- Fastlane
전체 그림

- main(master) push
- Fastlane으로 각 스토어에 자동 배포
- development, release push
- Test
- Firebase 앱 배포 등 개인 또는 회사의 상황에 맞춰서 진행
Github Actions
사용량에 따라 비용이 있어서 self-hosted 환경으로 진행했다.

self-hosted
https://danawalab.github.io/common/2022/08/24/Self-Hosted-Runner.html
코드 (Github Actions)
project/.github/workflows/test.yaml
테스트 부분 코드
name: Test development branch

on:
  push:
  	branches:
      - development

jobs:
  checkot:
    runs-on: macOS
    steps:
     - uses: actions/checkout@v4
- run: ls -al- 아직 안채움
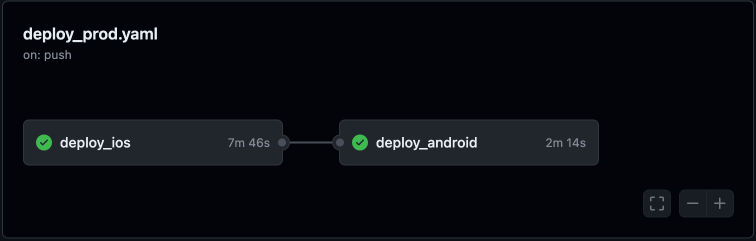
project/.github/workflows/deploy_prod.yaml
스토어 배포 부분 코드
name: deploy project to testFlight, playstore internal track

on:
  push:
    branches:
      - main

jobs:
  # IOS
  deploy_ios:
    runs-on: macOS
    steps:
      - uses: actions/checkout@v4

      - name: Install fastlane
        run: brew install fastlane

      # 빌드 및 배포
      - name: Deploy Product to Store
        run: fastlane build_deploy_prod
        working-directory: ios
        env:
          FASTLANE_TEAM_ID: ${{ secrets.FASTLANE_TEAM_ID }}
          FASTLANE_APPLE_APPLICATION_SPECIFIC_PASSWORD: ${{ secrets.FASTLANE_APPLE_APPLICATION_SPECIFIC_PASSWORD }}

  # AOS
  deploy_android:
    runs-on: macOS
    needs: [ deploy_ios ]
    steps:
      - uses: actions/checkout@v4

      - name: Install fastlane
        run: brew install fastlane

      # upload key 복호화
      - name: Generate Android keystore
        id: android_keystore
        uses: timheuer/base64-to-file@v1.1
        with:
          fileName: key.jks
          encodedString: ${{ secrets.ANDROID_KEYSTORE_BASE64 }}

      # key.properties 생성
      - name: Create key properties
        run: |
          echo "storeFile=${{ steps.android_keystore.outputs.filePath }}" >> android/key.properties
          echo "storePassword=${{ secrets.ANDROID_KEYSTORE_PASSWORD }}" >> android/key.properties
          echo "keyPassword=${{ secrets.ANDROID_KEY_PASSWORD }}" >> android/key.properties
          echo "keyAlias=${{ secrets.ANDROID_KEY_ALIAS }}" >> android/key.properties

      # 빌드 및 배포
      - name: Deploy Product to Store
        run: fastlane build_deploy_prod
working-directory: android- gitHub Secrets 이용해서 필요한 값들 저장
- FASTLANE_APPLE_APPLICATION_SPECIFIC_PASSWORD -> https://appleid.apple.com/ 에서 만든 앱 비밀번호
- ios는 match를 통해 인증 후 빌드 진행
- android는 keystore와 key properties로 서명 후 빌드 진행
Fastlane
fastlane init
https://velog.io/@sangwoo24/Flutter-Fastlane-%EC%9C%BC%EB%A1%9C-CICD-%EA%B5%AC%EC%B6%95-Android
match
https://velog.io/@parkgyurim/iOS-fastlane-match
App Store Connect API
- 공식 문서에서 가장 추천하는 방법
- 2FA(이중 인증)같은 귀찮은 절차를 피하기 위해 사용
- 성능 상에도 좋다고 함
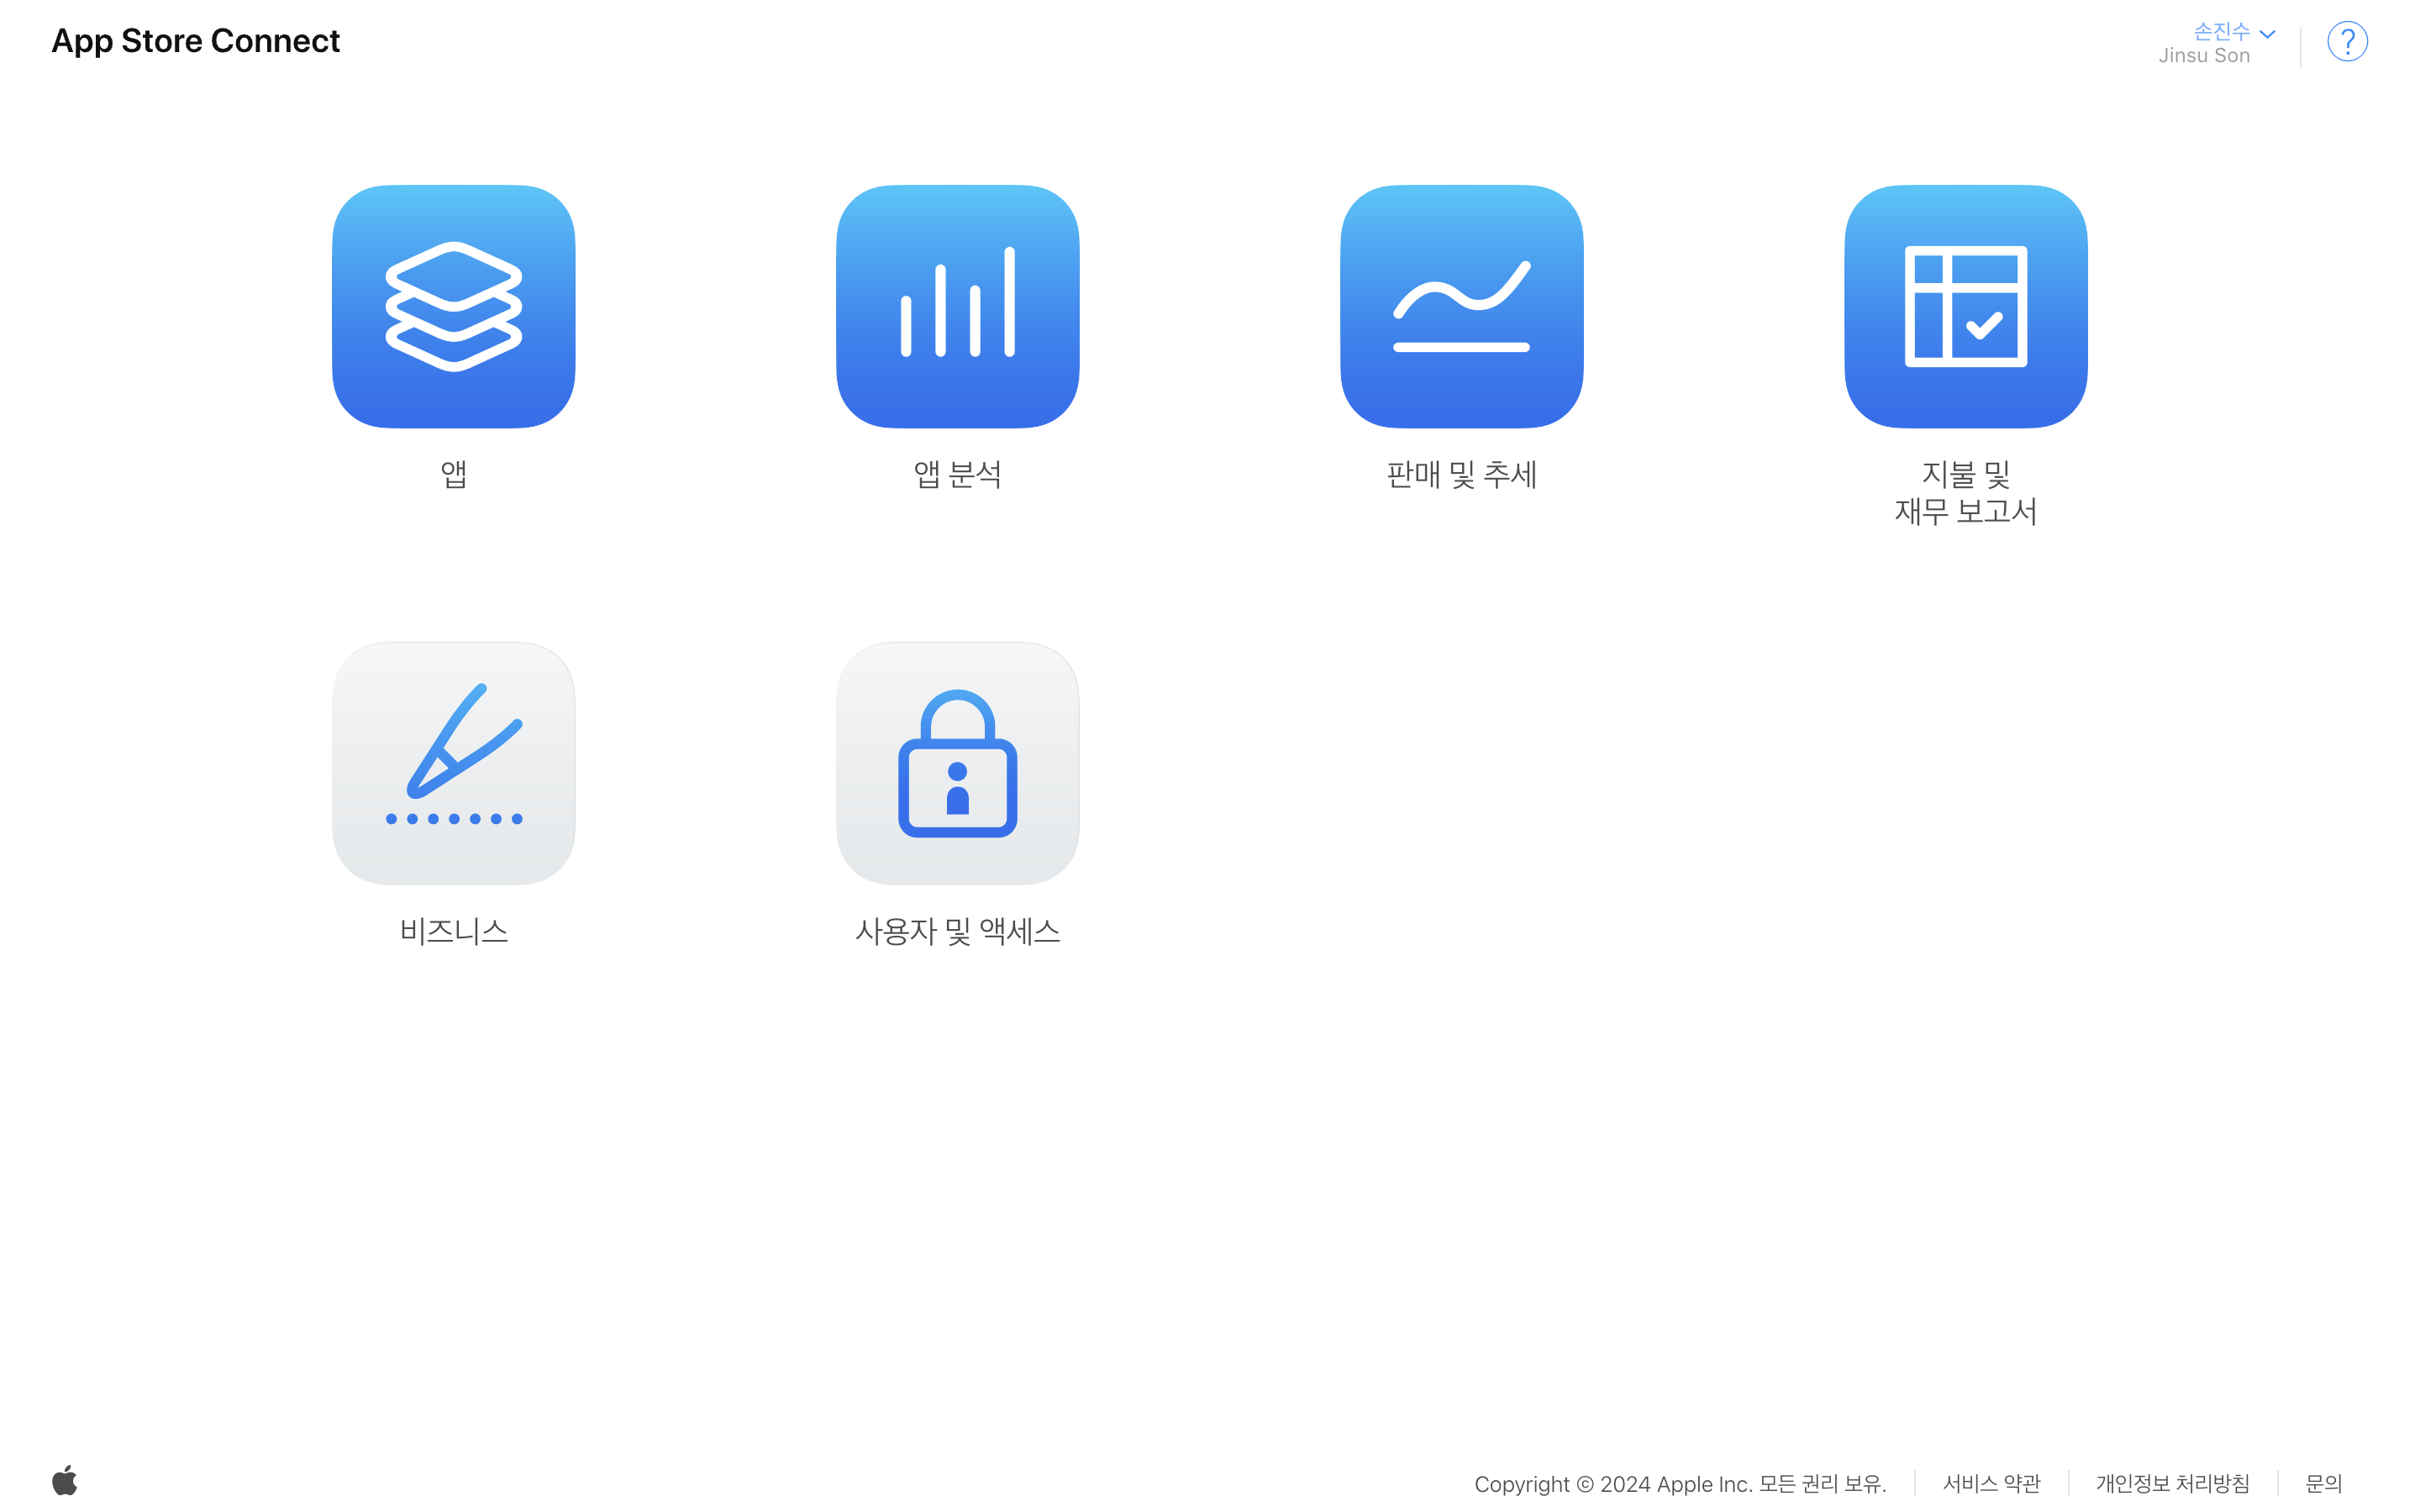
- 사용자 및 엑세스 -> 통합 -> 팀 키에서 생성
- key id, iuuser id, p8 키 파일(한 번만 다운로드 가능)
- ios/fastlane/${keyId}.json 으로 파일 만든 후 upload_to_testflight에 api_key_path 등록
ios/fastlane/${keyId}.json
{
    "key_id": keyID,
    "issuer_id": issuerID,
    "key": "-----BEGIN PRIVATE KEY-----\nkey Conetent\n-----END PRIVATE KEY-----",
    "duration": 1200,
    "in_house": false
}
코드 (IOS)
project/ios/fastlane/Appfile
app_identifier "com.foopolog" # The bundle identifier of your app
apple_id "apple@gmail.com"  # Your Apple email address

# You can uncomment the lines below and add your own
# team selection in case you're in multiple teams
# team_name "Felix Krause"
team_id "ZZZZZZZZZZ"

# To select a team for App Store Connect use
# itc_team_name "Company Name"
# itc_team_id "18742801"- 관리자로 초대되어 있는 team이 많아서 추후에 에러가 나기 때문에 team_id 명시
project/ios/fastlane/Matchfile
git_url("git@github.com:git_id/Fastlane_Cert.git")

storage_mode("git")

type("appstore") # The default type, can be: appstore, adhoc, enterprise or development

app_identifier(["com.foopolog"])
username("apple@gmail.com") # Your Apple Developer Portal username

# For all available options run `fastlane match --help`
# Remove the # in the beginning of the line to enable the other options

# The docs are available on https://docs.fastlane.tools/actions/match- match를 통해 생성한 Certificate 와 Provisioning profile의 git_url 명시
project/ios/fastlane/Fastfile
default_platform(:ios)

desc "Deploy a product version to Apple App Store"
lane :build_deploy_prod do
    ## match
    match(readonly: true)

    ## flutter init
    sh('flutter pub get')
    cocoapods(
        repo_update: true,
        use_bundle_exec: false,
    )

    ## build App
    build_app(
        clean: true,
        scheme: "Runner",
        workspace: "Runner.xcworkspace",
    )

    ## deploy App
    upload_to_testflight(
	    api_key_path: "fastlane/${keyId}.json",
        team_id: ENV["FASTLANE_TEAM_ID"],
        skip_waiting_for_build_processing: true,
    )
end- Matchfile 정보로 match 진행
- 앱 빌드 후 테스트 플라이트에 배포
코드 (Android)
project/andorid/fastlane/Appfile
json_key_file("경로/serviceAccount.json")
package_name("com.foopolog")- json_key_file -> 구글클라우드콘솔에서 서비스 계정을 만들고 다운받은 키 파일이다. github Secrets에 저장 후 사용하려 했지만 파일을 못읽어서 일단 원격 저장소에 업로드해서 진행했다.
project/andorid/fastlane/Fastfile
desc "Deploy a Product version to Google Play Store"
lane :build_deploy_prod do
    ## build APP
    sh("flutter build appbundle")

    ## deploy APP
    upload_to_play_store(
        aab: "../build/app/outputs/bundle/release/app-release.aab",
        track: 'internal',
        skip_upload_metadata: true,
    )
end- 앱 번들 생성 후 스토어에 내부 테스트로 배포
성과
- 배포 및 테스트 자동화
- 테스트로 앱 품질 유지
- Github Actions, Fastlane 사용법
- 반복적인 작업에 들어가는 리소스 감소
참조
- 공식문서
- https://medium.com/athenaslab/%ED%95%98%EB%A3%A8%EC%97%90%EB%8F%84-10%EB%B2%88-%EB%B0%B0%ED%8F%AC%ED%95%98%EB%8A%94-flutter-%EC%95%B1-ci-cd-%EA%B5%AC%EC%B6%95%ED%95%98%EA%B8%B0-9f2fbe080c2b
- https://velog.io/@parkgyurim/iOS-fastlane-match
- https://velog.io/@sangwoo24/Flutter-Fastlane-%EC%9C%BC%EB%A1%9C-CICD-%EA%B5%AC%EC%B6%95-Android
- https://www.youtube.com/watch?v=dRKuDu9c1So&t=1104s
- https://danawalab.github.io/common/2022/08/24/Self-Hosted-Runner.html

Flutter Specialist