
⚠️ 주의사항 ⚠️
- .eslintrc 기준으로 작성되었습니다.(현재 deprecated).
- CJS 기준으로 작성되어 있습니다.
최신 문법(eslint9 flat config)은 다음 글에서 다룰 예정입니다.
서론
eslint rule 을 직접 만들려면 어떻게 해야 할까요? 이전 글에서 다루었다시피 eslint plugin 을 생성하고 그 안에서 rule 을 정의할 수 있습니다. (eslint 9 flat config 는 다릅니다.)
AST
eslint 는 정적 분석기로 코드를 Abstract Syntax Tree (AST) 로 만들어서 코드의 구조를 분석하는 도구입니다. 코드를 순회하며 트리 구조로 정의합니다.
기본적으로는 Espree 라는 parser 를 사용해서 javascript 파일 형태를 AST 로 만들게 되지만, javascript 가 아닌 다른 형태의 코드는 Espree 가 분석할 수 없어 다른 parser 를 사용합니다. 예를 들어 typescript 를 사용한다면 @typescript-eslint/parser 를 , vue 파일은 vue-eslint-parser 를 사용하여 내부의 코드를 분석합니다.
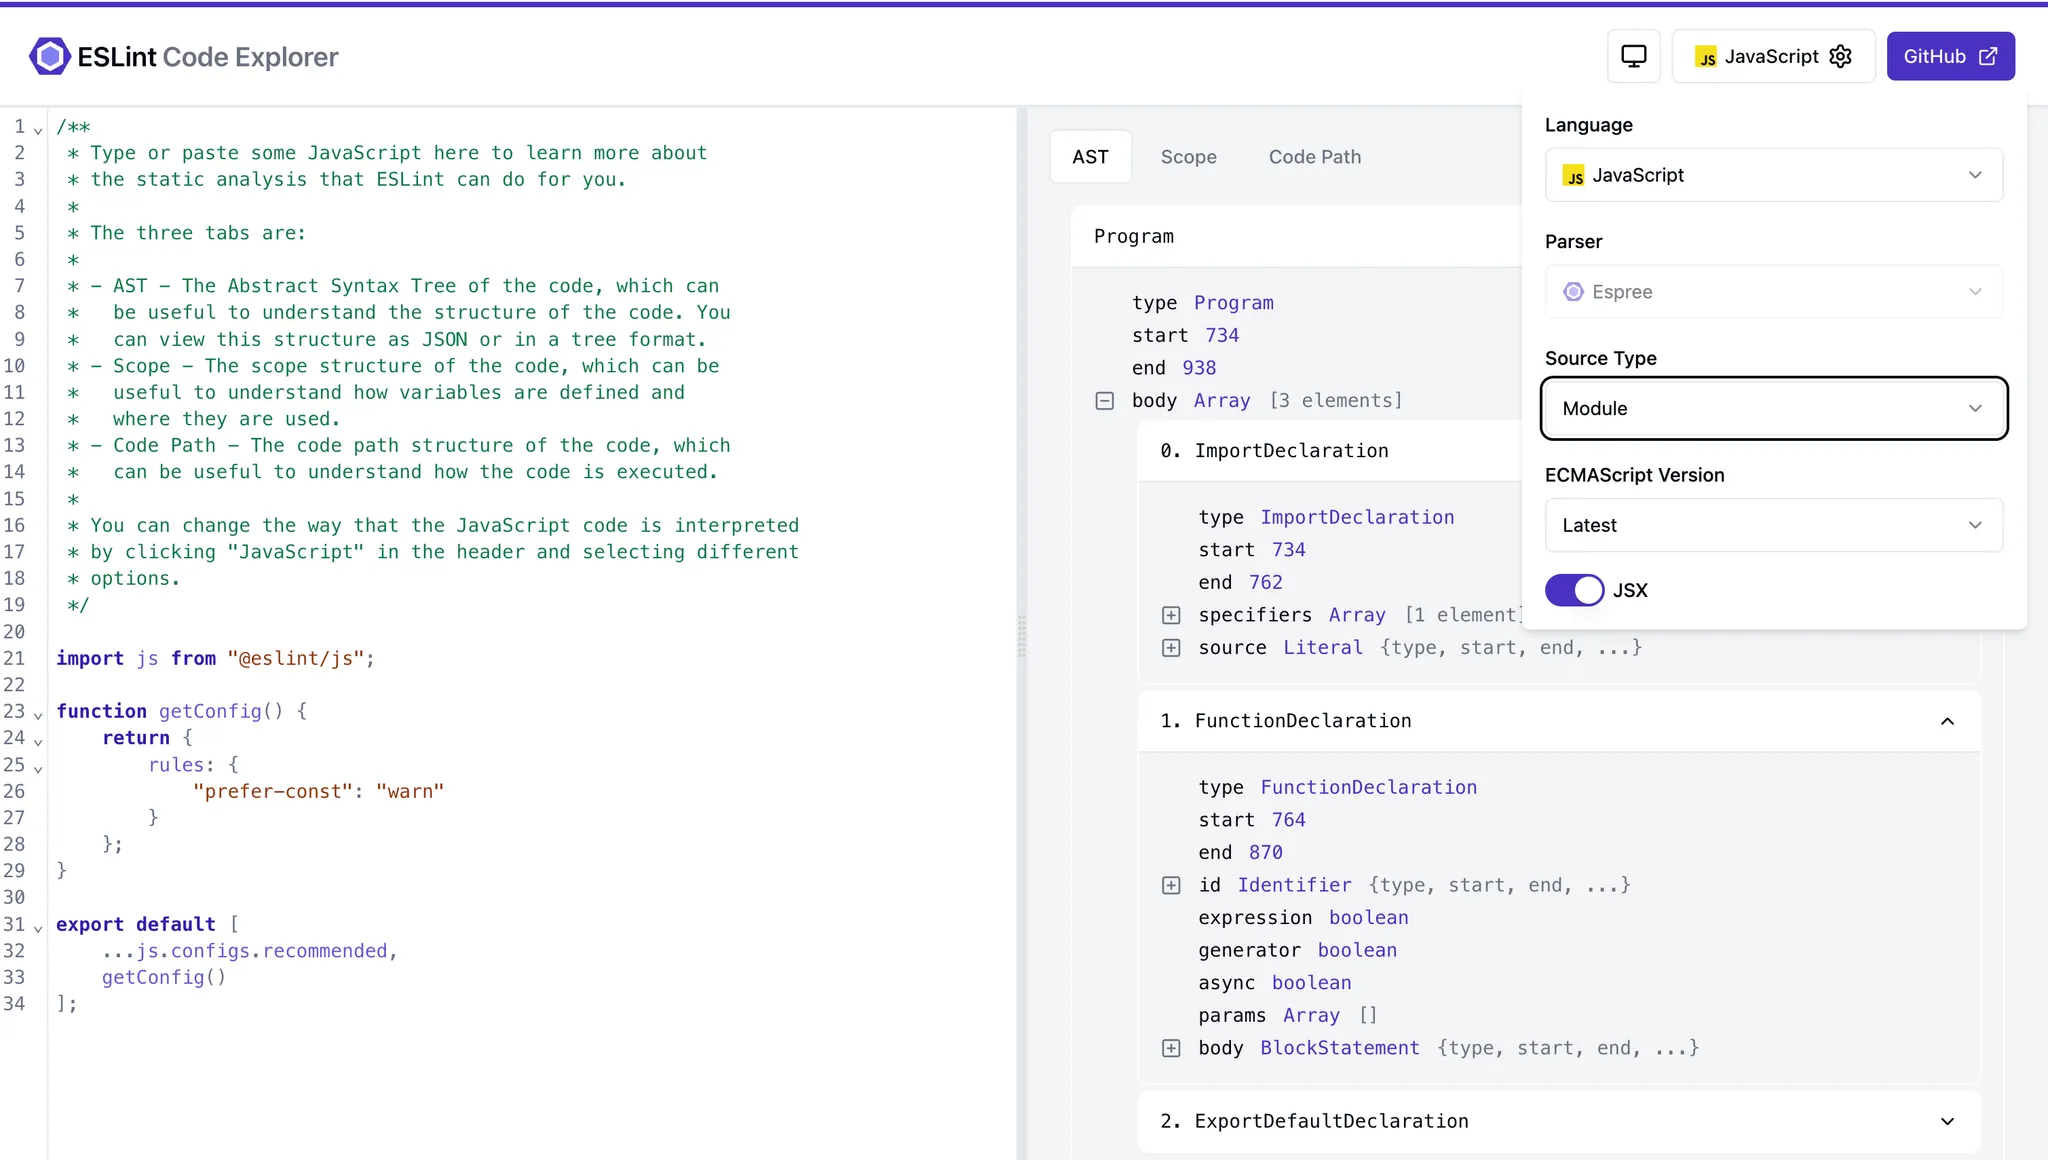
javascript, typescript, vue나 그 외 여러가지 파서들이 AST 변환한 결과를 UI 로 보여주는 사이트를 활용하여 각 요소들이 어떤 타입과 데이터로 변환되는지 확인해볼 수 있습니다.
vue-eslint-parser
vue 는 한 파일에 template 과 script (js 또는 ts)를 모두 포함하고 있습니다. 이 때 template/script 를 분리할 수 있도록 분석하는 것은 vue-eslint-parser 가 진행하며, vue-eslint-parser 의 내부적으로 parserOptions.parser 를 사용하여 확장자마다 다른 parser 를 사용하도록 지정하고 있습니다.
// vue-eslint-parser/src/index.ts

// vue 파일이 아닌 경우 script 로 파싱
if (!isVueFile(code, options)) {
    result = parseAsScript(code, options)
    document = null
    locationCalculator = null
} else {
// vue 파일이라면 SFC 로 파싱
    ;({ result, document, locationCalculator } = parseAsSFC(code, options))
}
parseAsSFC 와 parseAsScript 함수 내부에서 사용하고 있는 getScriptParser 을 보면 parserOptions.parser 에서 받은 옵션을 사용해서 parser 를 반환하는 것을 확인할 수 있습니다.
export function getScriptParser(
    parser:
        | boolean
        | string
        | ParserObject
        | Record<string, string | ParserObject | undefined>
        | undefined,
    getParserLang: () => string | null | Iterable<string | null>,
): string | ParserObject | undefined {
    if (isParserObject(parser)) {
        return parser
    }

    if (parser && typeof parser === "object") {
        const parserLang = getParserLang()
        const parserLangs =
            parserLang == null
                ? []
                : typeof parserLang === "string"
                  ? [parserLang]
                  : parserLang
        for (const lang of parserLangs) {
            const parserForLang = lang && parser[lang]
            if (
                typeof parserForLang === "string" ||
                isParserObject(parserForLang)
            ) {
                return parserForLang
            }
        }
        return parser.js
    }
    return typeof parser === "string" ? parser : undefined
}
따라서 eslintrc 에 다음과 같이 parserOptions.parser 를 설정하면 script 의 언어에 따라 지정한 parser 가 파싱을 합니다.
// .eslintrc
{
    "parser": "vue-eslint-parser",
    "parserOptions": {
        "parser": {
             // Script parser for `<script>`
            "js": "espree",

             // Script parser for `<script lang="ts">`
            "ts": "@typescript-eslint/parser",

             // Script parser for vue directives (e.g. `v-if=` or `:attribute=`)
             // and vue interpolations (e.g. `{{variable}}`).
             // If not specified, the parser determined by `<script lang ="...">` is used.
            "<template>": "espree",
        }
    }
}
plugin / config
또는 플러그인에서 제공해주는 설정을 사용하여 eslintrc 에 따로 정의하지 않고도 parser/parserOptions 를 자동으로 세팅해줄 수 있습니다.
eslint-plugin-vue/recommended
eslint-plugin-vue 에서 parser 를 지정한 config 를 export 하고 있으므로 eslintrc 의 extends 에 ‘plugin:vue/recommended’ 를 기입하면 추가적인 설정 없이 parser 가 적용이 됩니다.
module.exports = {
  parser: require.resolve('vue-eslint-parser'),
  parserOptions: {
    ecmaVersion: 2020,
    sourceType: 'module'
  },
  ...
}
// .eslintrc
extends: [
...
'plugin:vue/recommended',
],@vue/eslint-config-typescript
eslint-config-typescript 에는 각 파일의 확장자마다 parser 가 정의되어 있습니다.
languageOptions: {
	  parser: vueParser,
	  parserOptions: {
	    parser: {
	      // Fallback to espree for js/jsx scripts, as well as SFCs without scripts
	      // for better performance.
	      js: 'espree',
	      jsx: 'espree',

	      ts: tseslint.parser,
	      tsx: tseslint.parser,

	      // Leave the template parser unspecified,
	      // so that it could be determined by `<script lang="...">`
	    },
    },
    ...
}
따라서 config 설정을 extends 만 해도 parser / parserOptions.parser 세팅을 적용할 수 있습니다.
// eslintrc 최종

extends: [
  ...
  // vue 용 custom rule 중 recommended 룰
  // parser: eslint-parser-vue
	'plugin:vue/recommended',
	...

	// typescript recommended 룰
	// parser: eslint-parser-vue
	// typescript 에 맞는 parserOptions.parser 설정
	'@vue/typescript/recommended',
	...
],
eslint custom plugin 만들기
rule 정의하기
foo 변수에는 “bar” 만 할당할 수 있도록 제한하는 custom rule 를 만들어보겠습니다.
간단한 선언문을 AST 로 변환해보겠습니다.
const foo = 'bar';결과는 다음과 같습니다.
{
  "type": "VariableDeclaration",
  "start": 0,
  "end": 18,
  "declarations": [
    {
      "type": "VariableDeclarator",
      "start": 6,
      "end": 17,
      "id": {
        "type": "Identifier",
        "start": 6,
        "end": 9,
        "name": "foo"
      },
      "init": {
        "type": "Literal",
        "start": 12,
        "end": 17,
        "value": "bar",
        "raw": "'bar'"
      }
    }
  ],
  "kind": "const"
}
분석한 AST 구조를 사용하여 변수가 foo 일 때는 bar 텍스트만 할당할 수 있도록 강제하는 규칙을 정의했습니다. 또한 meta.fixable: ‘code’ 옵션과 report의 fix 옵션을 통해 자동으로 코드를 수정하게 할 수 있습니다.
// rules/enforce-foo-bar.cjs
module.exports = {
	meta: {
		type: 'problem',
		docs: {
			description:
				"Enforce that a variable named `foo` can only be assigned a value of 'bar'.",
		},
		fixable: 'code',
		schema: [],
	},
	create(context) {
		return {
			// Performs action in the function on every variable declarator
			VariableDeclarator(node) {
				// Check if a `const` variable declaration
				if (node.parent.kind === 'const') {
					// Check if variable name is `foo`
					if (node.id.type === 'Identifier' && node.id.name === 'foo') {
						// Check if value of variable is "bar"
						if (
							node.init &&
							node.init.type === 'Literal' &&
							node.init.value !== 'bar'
						) {
							/*
							 * Report error to ESLint. Error message uses
							 * a message placeholder to include the incorrect value
							 * in the error message.
							 * Also includes a `fix(fixer)` function that replaces
							 * any values assigned to `const foo` with "bar".
							 */
							context.report({
								node,
								message:
									'Value other than "bar" assigned to `const foo`. Unexpected value: {{ notBar }}.',
								data: {
									notBar: node.init.value,
								},
								fix(fixer) {
									return fixer.replaceText(node.init, '"bar"');
								},
							});
						}
					}
				}
			},
		};
	},
};
plugin 만들기
먼저 새로운 패키지를 만들고 그 안에서 eslint plugin 을 정의합니다.
//package.json
{
  "name": "eslint-plugin-custom",
  "version": "1.0.0",
  "main": "index.cjs"
}
새롭게 만든 규칙을 rules 에 정의합니다.
// index.cjs
const enforeFooBarRule = require('./rules/enforce-foo-bar.cjs');

/** @type {import('eslint').Linter.Config} */
module.exports = {
	root: true,
	meta: {
		name: 'eslint-plugin-custom',
		version: '1.0.0',
	},
	rules: {
		'enforce-foo-bar': enforeFooBarRule,
		// 파일을 분리하는 것을 선호합니다.
		'enforce-bar-foo': {
			meta: {},
			create(){}
		}
	},
};
index.js 에서 정의하는 meta 값의 name 과 version 은 package.json 에 적힌 값과 동일하게 작성해야 합니다. (문서)
The
meta.nameproperty should match the npm package name for your plugin and themeta.versionproperty should match the npm package version for your plugin.
rule 을 정의하는 코드를 index.js 에 직접 작성할 수도 있지만 관리를 용이하게 하고자 파일을 분리하고 index.js 에 import 하도록 구성했습니다.
configs 에 정의하기
eslint-plugin-custom 을 불러와서 rules 에 원하는 규칙 preset 을 만들고 configs 필드에 정의하면 plugin 안에서 정의한 커스텀 규칙을 사용한 config 를 제공할 수 있습니다.
// recommended.cjs
module.exports = {
	plugins: ['custom'],
	rules: {
		'custom/enforce-foo-bar': 'error',
	},
};
// index.cjs 전체 코드
const enforeFooBarRule = require('./rules/enforce-foo-bar.cjs');
const recommendedConfig = require('./recommended.cjs');
/** @type {import('eslint').Linter.Config} */
module.exports = {
root: true,
meta: {
name: 'eslint-plugin-custom-vue',
version: '1.0.0',
},
configs: {
recommended: recommendedConfig,
},
rules: {
'enforce-foo-bar': enforeFooBarRule,
},
};플러그인 적용하기
이제 커스텀 플러그인을 다 만들었으므로 실제 적용할 프로젝트의 eslintrc 에 적용할 수 있습니다.
// (적용할 프로젝트의) .eslintrc
extends: [
	...,
	'plugin:custom/recommended'
],
후기
간단하게 vue 환경에서 동작하는 eslint plugin 을 만들어보았습니다. vue 는 eslint-parser-vue 를 사용하는데 아마도 react 의 경우 @babel/eslint-parser 또는 ts 를 사용한다면 @typescript-eslint/parser 를 많이 사용하는 것으로 알고 있습니다. https://astexplorer.net/ 를 사용하면 AST 의 결과물을 확인할 수 있으므로 react 환경에서도 커스텀 lint 를 만드는데 어렵지 않을 것이라고 생각합니다.
다음 번에는 실제로 서비스에 적용한 사례를 살펴보겠습니다.