참고 자료
https://ichi.pro/ko/rust-react-peulojegteuleul-seoljeonghago-herokue-baepohabnida-150126669988842
모든 공부가 그렇듯 참고자료부터 보고 시작한다.
이런 프로젝트를 하는 사람이 많지는 않은지 ( 그냥 react node 를 쓰자..)
구글에 검색해도 딱 하나밖에 안나왔다.
아무튼 따라해 보겠다.
[dependencies]
actix-web = "3"
serde = "1"
serde_json = "1"
actix-files = "0.5.0"
actix-cors = "0.5.0"
그리고 이 글을 포함한 프로젝트는 읽고있는 사람이 따라하기 적절한 내용은 아니니 궁금한게 있다면 그냥 댓글을 달아 주시길 바란다.
1. create-react-app

npx create-react-app frontend
create-react-app 으로 frontend 단을 만드는 것 부터 시작한다.
2. cargo

cargo new backend
rust project 생성
3. actix
main.rs
use actix_web::{web, App, HttpServer, Result};

async fn index() -> Result<String>{
    Ok(format!("Hello World !"))
}

#[actix_web::main]
async fn main() -> std::io::Result<()>{
    HttpServer::new(||
        App::new()
        .route("/",web::get().to(index)))
        .bind("127.0.0.1:8000")?
        .run()
        .await
}
actix_web을 통한 서버 구축
4. 그래서 연결은 어떻게 . . . ?
가장 중요한 부분인 연결은 대체 어떻게 하는걸까?
위 참고글을 살펴보면 rust로 서버를 하나만들고 react에서 요청하는 식으로 구성 되어 있다.
이 방법밖에 없는건가 싶어서
react + django / flask + node.js 를 사람들은 어떻게 연결했는지 알아보기로 했다.
대부분의 사람들이 연동을 할 때 개발 서버 3000 port , 웹페이지 8000 port와 같은 방식으로 진행한다.
이 때 자주 사용되는 말이 Rest API 인데 나중에 찾아보자.
우선은 쉽게 해보기로 했다.
간단하게 백엔드 쪽에서 프론트엔드 파일을 제공하는 방식으로
앞서 만들었던 영화 사이트를 다시 만들어 본다.
5. Rust에서 html 파일 제공하기
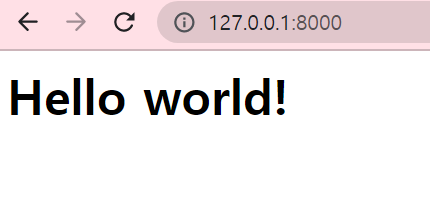
아래와 같은 방식으로 html을 적용할 수 있다.
async fn index() -> impl Responder{
    HttpResponse::Ok().body("<h1>Hello world!</h1>")
}
단순 코드 말고 파일을 넘길 경우에는 아래와 같이 작성한다.
async fn index(_req: HttpRequest) -> Result<NamedFile> {
    Ok(NamedFile::open("./files/hello.html")?)
}
actix-web = "3" 에서만 동작
그러나 이런 방식은 근본적으로 문제가 있는데 , 바로 JSX를 적용한 react를 그대로 사용할 수 없다는 점이다.
index.html에 모든 react코드를 옮겨와서 <script>로 작성을 하면 되기야 하겠다만
쉽게 하려고 멍청한 짓을 할 순 없다. 2022년이니까
그래서 npm으로 react를 실행하고, rust에서 데이터를 받아오는 방식으로 진행한다.
6. React와 Rust 연결
이걸 진행하면서 알게된게 많다.
6.1 정확한 이해
내가 글을 쓰면서 이해하고 있던 방식은,
Rust -> backend -> routing 및 data처리
React -> frontend -> 각각의 페이지에 대한 rendering
이었다.
하지만 이렇게 할 필요가 전혀 없고 , 백엔드와 프론트엔드의 분리라는 것은
api 서버 / frontend 분리만 일어나면 된다.
따라서 Rust는 routing을 하긴 하지만 그건 React가 데이터를 찾아가는 용도고
( 예를 들면 api/loginfo/men )
React 역시 routing을 해야 한다. 이건 사용자들이 보게 될 페이지니까 말이다.
그래서 내가 이해한 방식대로 마지막 결과물을 보여주고 다음 글에 이어서 진행하려고 한다.
6.2 Rust auto-reloading
그 전에 조금 번거롭던 Rust auto-reloading 에 대한 얘기를 잠깐 해보자.
React는 이게 기본기능으로 있어서 너무 편했다. 그래서 Rust는(actix-web은) 없나? 확인해본 결과
cargo-watch 라는 것으로 해결할 수 있다.
cargo install cargo-watch 을 통해 설치하고
cargo run 대신 아래의 명령어를 통해 서버를 실행하면 된다.
cargo watch -x 'run --bin projectname' 이제 main.rs를 수정하면 complie이 자동으로 일어나는 것을 볼 수 있다.
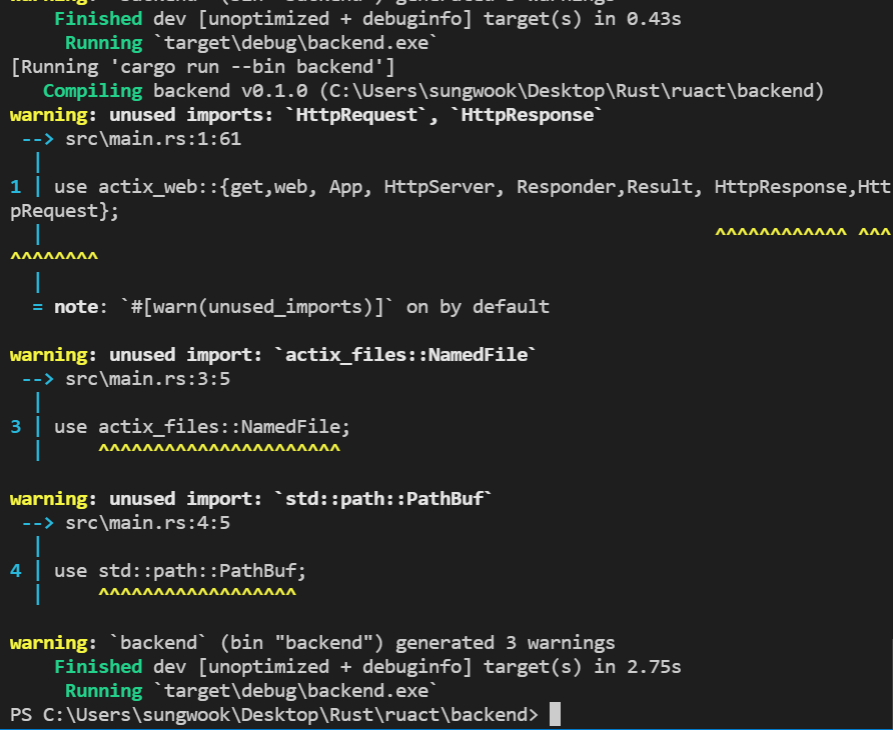
ctrl+c로 종료하지 않고도 compile이 다시 일어난다.
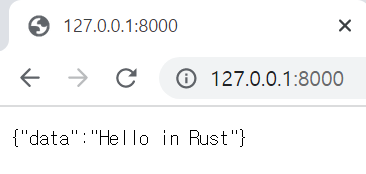
6.3 Rust에서 Json 데이터 만들기 및 Response
#[derive(Serialize)]
struct MyObj {
    data: String,
}
#[get("/")]
async fn index() -> Result<impl Responder>{
    let obj = MyObj {
        data : "Hello in Rust".to_string(),
    };
    Ok(web::Json(obj)) // response Json object
}
위와 같이 만들면 된다.
6.4 CORS error
브라우저에서 내뱉는 에러로,
async fn main() -> std::io::Result<()>{
    HttpServer::new(||{
        let cors = Cors::default()
        .allowed_origin("http://localhost:3000")
        .allowed_methods(vec!["POST", "PUT", "PATCH", "GET", "OPTIONS", "HEAD"]);


        App::new()
        .wrap(cors) // 해결!
        .service(index)


    })
    .bind("127.0.0.1:8000")?
    .run()
    .await
}
Method와 주소를 허용해주고, app을 감싸면 된다.
6.5 React에서 처리하기
function App() {
  const [data, setData] = useState([]);
  const [loading, setLoading] = useState(true);
  const getData = async() => {
    const json = await ( await fetch(
  "http://127.0.0.1:8000/")).json();
  console.log(json);
  setData(json.data);
  setLoading(false);
};

  useEffect(()=>{
    getData()
  },[]);

  return (
    <div>This is from Rust : {data}</div>
  );
}
응답을 처리하는 것은 간단하다.
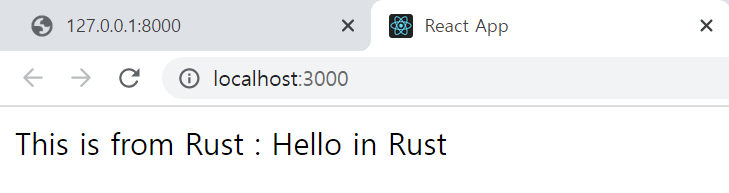
연결은 성공했다 !
전체코드
main.rs
use actix_web::{get,web, App, HttpServer, Responder,Result, HttpResponse,HttpRequest};
use serde::Serialize;
use actix_files::NamedFile;
use std::path::PathBuf;
use actix_cors::Cors;

#[derive(Serialize)]
struct MyObj {
    data: String,
}
#[get("/")]
async fn index() -> Result<impl Responder>{
    let obj = MyObj {
        data : "Hello in Rust".to_string(),
    };
    Ok(web::Json(obj))
}

#[actix_web::main]
async fn main() -> std::io::Result<()>{
    HttpServer::new(||{
        let cors = Cors::default()
        .allowed_origin("http://localhost:3000")
        .allowed_methods(vec!["POST", "PUT", "PATCH", "GET", "OPTIONS", "HEAD"]);


        App::new()
        .wrap(cors)
        .service(index)


    })
    .bind("127.0.0.1:8000")?
    .run()
    .await
}
App.js
import React ,{useState, useEffect} from 'react';

function App() {
  const [data, setData] = useState([]);
  const [loading, setLoading] = useState(true);
  const getData = async() => {
    const json = await ( await fetch(
  "http://127.0.0.1:8000/")).json();
  console.log(json);
  setData(json.data);
  setLoading(false);
};

  useEffect(()=>{
    getData()
  },[]);

  return (
    <div>This is from Rust : {data}</div>
  );
}

export default App;
index.js
import React from 'react';
import ReactDOM from 'react-dom';
import App from './App';


ReactDOM.render(
  <React.StrictMode>
    <App />
  </React.StrictMode>,
  document.getElementById('root')
);
다음 글은 Response Request 에 대한 상호작용을 조금 더 진행해볼 예정이다.