[UE5] Cpp Multiplay Chat #2
멀티 플레이 채팅
3. 유저
일단 게임이 아니라 채팅이더라도 유저는 두 명 이상이어야 한다. 그리고 도중에 추가로 유저가 입장을 할 수도 있다.
또한 유저끼리 구분이 되어야한다.
따라서 우선은 유저가 접속했을때 다른 유저들의 화면에 접속 로그가 띄워지는 작업과, 들어오는 순서에 따라서 차례대로 번호가 매겨지는 작업을 할 것이다.
1. 접속 로그 띄우기
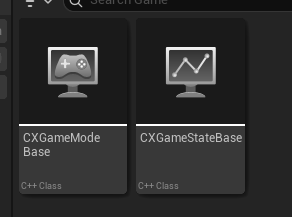
우선은 C++ 클래스 게임 스테이트 베이스를 만들어준다. 이전에 게임 모드 베이스를 만들었기 때문에 그에 맞춰서 게임 스테이트 또한 베이스로 생성해주었다.
// CXGameStateBase.h

#pragma once

#include "CoreMinimal.h"
#include "GameFramework/GameStateBase.h"
#include "CXGameStateBase.generated.h"

UCLASS()
class CHATX_API ACXGameStateBase : public AGameStateBase
{
	GENERATED_BODY()

public:
	UFUNCTION(NetMulticast, Reliable)
	void MulticastRPCBroadcastLoginMessage(const FString& InNameString = FString(TEXT("Guest")));
};
게임 스테이트 헤더 파일이다.
NetMulticast RPC 를 사용할 함수를 하나 선언해주었다.
매개변수에는 유저의 이름이 들어갈 string 을 넣고 기본값으로 Guest 라고 해두었다.
// CXGameStateBase.cpp

#include "Game/CXGameStateBase.h"
#include <Kismet/GameplayStatics.h>
#include <Player/CXPlayerController.h>

void ACXGameStateBase::MulticastRPCBroadcastLoginMessage_Implementation(const FString& InNameString)
{
	if (!HasAuthority())
	{
		if (APlayerController* PC = UGameplayStatics::GetPlayerController(GetWorld(), 0))
		{
			if (ACXPlayerController* CXPC = Cast<ACXPlayerController>(PC))
			{
				FString NotificationString = InNameString + TEXT(" joined the game.");
				CXPC->PrintChatMessageString(NotificationString);
			}
		}
	}
}
소스 파일이다.
현재 내 서버는 데디 서버이기 때문에 만약 Authority 가 없다면 클라이언트이다.
따라서 그 조건을 충족한다면, 플레이어 컨트롤러를 가져와 NotificationString 이라는 string 변수를 하나 선언해 유저의 이름 뒤에 'joined the game.' 을 붙여 출력시켜서 유저가 접속했음을 알린다.
이제 Multicast RPC Invoke 함수를 만들었으니 이를 호출해야한다.
호출은 서버에서 하므로 게임 모드에서 코드를 작성해주면 된다.
// CXGameModeBase.h

#pragma once

#include "CoreMinimal.h"
#include "GameFramework/GameModeBase.h"
#include "CXGameModeBase.generated.h"

UCLASS()
class CHATX_API ACXGameModeBase : public AGameModeBase
{
	GENERATED_BODY()

public:
	virtual void OnPostLogin(AController* NewPlayer) override;
};
게임 모드 헤더 파일이다.
언리얼에 기본으로 있는 OnPostLogin 이라는 함수를 오버라이딩한다.
#include "CXGameModeBase.h"
#include "CXGameStateBase.h"

void ACXGameModeBase::OnPostLogin(AController* NewPlayer)
{
	Super::OnPostLogin(NewPlayer);
	if (ACXGameStateBase* CXGS = GetGameState<ACXGameStateBase>())
	{
		CXGS->MulticastRPCBroadcastLoginMessage();
	}
}
소스 파일이다.
오버라이딩한 함수에서 게임 스테이트를 가져와 아까 만든 Multicast RPC Invoke 함수를 호출한다.
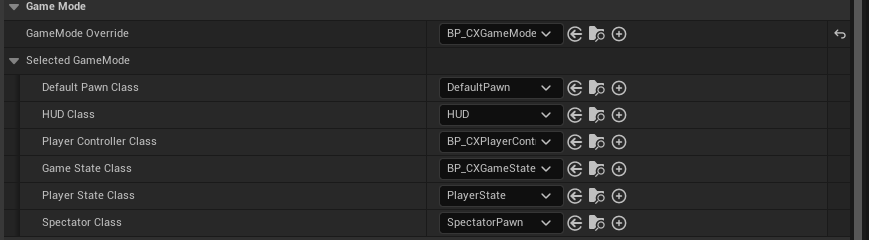
이후 BP 로 상속시킨 후에 게임 스테이트 클래스에 적용시켜준다.
2. 유저 번호 매기기
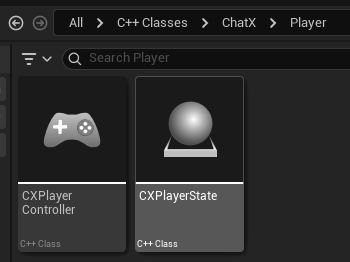
먼저 플레이어 스테이트 C++ 클래스를 생성해준다.
// CXPlayerState.h

#pragma once

#include "CoreMinimal.h"
#include "GameFramework/PlayerState.h"
#include "CXPlayerState.generated.h"

UCLASS()
class CHATX_API ACXPlayerState : public APlayerState
{
	GENERATED_BODY()

public:
	ACXPlayerState();

	virtual void GetLifetimeReplicatedProps(TArray<class FLifetimeProperty>& OutLifetimeProps) const override;

public:
	UPROPERTY(Replicated)
	FString PlayerNameString;
};
플레이어 스테이트 헤더 파일에 우선 생성자와 GetLifetimeReplicatedProps 라는 함수를 선언해준다.
어떤 속성을 클라이언트로 동기화할지 지정해주는 함수이다.
만약에 서버에서 값이 변경되면 언리얼에서 자동으로 그 값을 클라이언트에 복제한다.
그리고 플레이어의 이름을 담을 string 변수 하나를 선언해준다.
또한 복제해야하므로 UPROPERTY 에 Replicated 를 추가해준다.
// CXPlayerState.cpp

#include "CXPlayerState.h"
#include "Net/UnrealNetwork.h"

ACXPlayerState::ACXPlayerState()
	: PlayerNameString(TEXT("None"))
{
	bReplicates = true;
}

void ACXPlayerState::GetLifetimeReplicatedProps(TArray<class FLifetimeProperty>& OutLifetimeProps) const
{
	Super::GetLifetimeReplicatedProps(OutLifetimeProps);

	DOREPLIFETIME(ThisClass, PlayerNameString);
}
소스 파일에서 bReplicates 를 true 로 만들어 복제를 활성화해주고, 동기화 함수를 재정의해준다.
// CXGameModeBase.h

...

class ACXPlayerController;

...

class CHATX_API ACXGameModeBase : public AGameModeBase
{

...

protected:
	TArray<TObjectPtr<ACXPlayerController>> AllPlayerControllers;
};
그리고 게임 모드 헤더 파일에서 플레이어 컨트롤러를 담을 배열 하나를 선언한다.
// CXGameModeBase.cpp

...

#include "Player/CXPlayerController.h"
#include "Player/CXPlayerState.h"

...

void ACXGameModeBase::OnPostLogin(AController* NewPlayer)
{
	...

	// if (ACXGameStateBase* CXGS = GetGameState<ACXGameStateBase>())
	// {
	//     CXGS->MulticastRPCBroadcastLoginMessage();
	// }

    if (ACXPlayerController* CXPC = Cast<ACXPlayerController>(NewPlayer))
	{
		AllPlayerControllers.Add(CXPC);

		if (ACXPlayerState* CXPS = CXPC->GetPlayerState<ACXPlayerState>())
		{
			CXPS->PlayerNameString = TEXT("Player ") + FString::FromInt(AllPlayerControllers.Num());

			if (ACXGameStateBase* CXGS = GetGameState<ACXGameStateBase>())
			{
				CXGS->MulticastRPCBroadcastLoginMessage(CXPS->PlayerNameString);
			}
		}
	}
}
소스 파일에서 기존 출력 코드는 제거하고, 새로운 출력 코드를 작성한다.
새로운 유저가 들어올 때마다 매개 변수에 있는 NewPlayer 컨트롤러를 가져와서 내 프로젝트의 플레이어 컨트롤러로 캐스팅하고, 아까 선언한 PC 배열에 추가한다.
또 플레이어 스테이트를 가져와서 현재 컨트롤러의 플레이어 이름을 Player + 숫자로 정해준다. AllPlayerControllers 에 담긴 PC 개수에 따라서 적용되므로 유저가 입장할때마다 그 플레이어들은 뒤에 숫자가 1씩 커질 것이다.
ex) 첫 번째 플레이어는 Player 1, 두번째는 Player 2...
다음으로는 게임 스테이트를 가져와 Multicast RPC Invoke 함수를 호출해주면 된다.
// CXPlayerController.cpp

...

#include "CXPlayerState.h"

...

void ACXPlayerController::SetChatMessageString(const FString& InChatMessageString)
{
	ChatMessageString = InChatMessageString;

	if (IsLocalController())
	{
		// ServerRPCPrintChatMessageString(InChatMessageString);

        if (ACXPlayerState* CXPS = GetPlayerState<ACXPlayerState>())
		{
			FString CombinedMessageString = CXPS->PlayerNameString + TEXT(": ") + InChatMessageString;

			ServerRPCPrintChatMessageString(CombinedMessageString);
		}
	}
}
플레이어 컨트롤러 소스 파일에서 메시지를 출력하는 함수의 출력 부분을 지워주고 새롭게 작성해준다.
CombinedMessageString 이라는 변수를 만들어 PS에 있는 유저 이름과 입력한 채팅을 합쳐서 대입시켜준다.
그리고 Server RPC Invoke 함수를 방금 그 변수로 호출해주면 된다.
블루프린트 상속
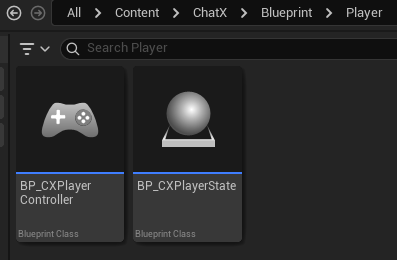
마지막으로 PS 를 BP 로 상속시켜주고 월드 세팅에 설정해주면 된다.
테스트 플레이

상황을 제대로 살피기 위해 임시로 Number of Players 수를 1로 설정해두었다.
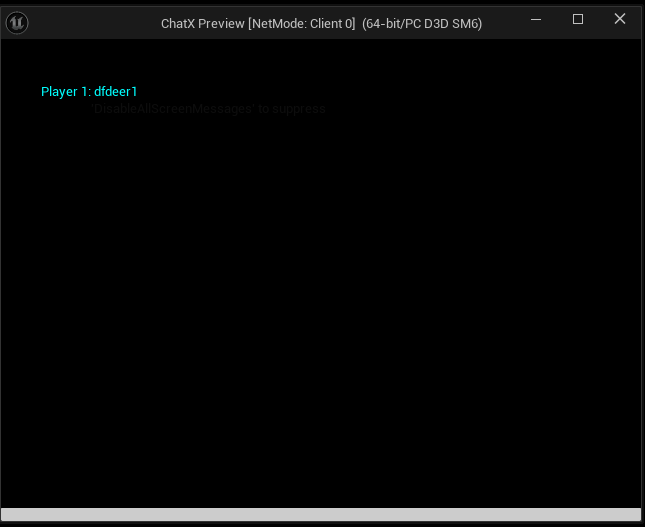
현재 클라이언트의 수는 1개이다. 따라서 플레이어 컨트롤러의 수도 1이므로 유저의 이름이 Player 1 로 설정된 모습이다.
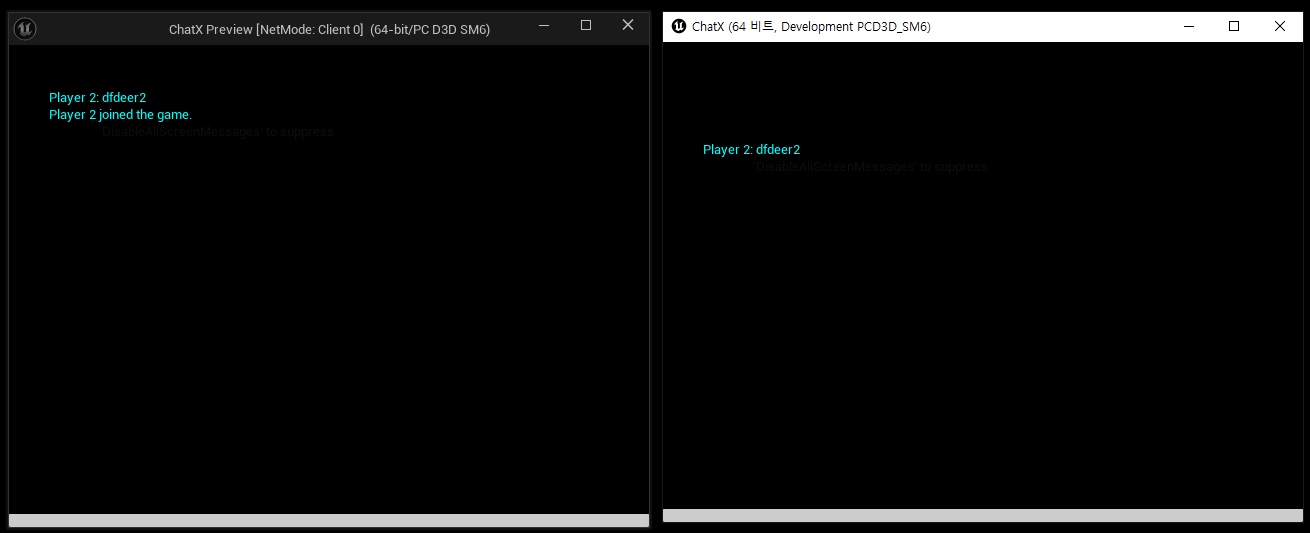
클라이언트 하나를 추가하면 플레이어 컨트롤러도 2개가 되기 때문에 Player 2 로 설정된 모습이다.
또한 새로운 유저가 들어왔을 때 접속 로그도 정상적으로 잘 뜨고 있다.
학습 내용 요약 & 느낀점
오늘은 클라이언트마다 유저가 다르다는 점을 감안해 각자 유니크한 이름을 붙여주고, 새로운 유저가 접속 시 로그가 띄워지는 것을 구현해보았다.
사실 어제 학습을 할 때 유저가 아무리 많아도 서로 구별이 안 되어서 불편했었다.
하지만 이렇게 직접 이름을 작성하지는 않지만 유저별로 구분이 가니 정말로 멀티를 배웠다는 느낌이 강하게 드는 공부 시간이었다.