05. [Springboot , React] Spring Boot + React 연동하기 ( axios.get + @GetMapping )
공공데이터API로 주식차트그리기

준비
- Springboot 프로젝 생성 완료
- React 폴더 생성 및 앱 실행 완료
버전
환경 버전 java corretto 20 npm 10.5.0 Springboot 3.2.3 react 18.2.0
Proxy 설정
React 프로젝트는 3000번 포트, Springboot 프로젝트는 8080 포트에열리기 때문에 origin 이 달라집니다. 이로 인해 CORS(Cross Origin Resource Sharing) 오류가 발생할 수 있습니다.
CORS, 교차출처 리소스 공유(Cross Origin Resource Sharing)
서버와 클라이언트가 동일한 IP주소에서 동작하고 있다면, resource를 제약 없이 서로 공유할 수 있지만, 만약 다른 도메인에 있다면 원칙적으로 어떤 데이터도 주고받을 수 없도록 하는 매커니즘
[프로토콜] - http와 https는 프로토콜이 다름
[도메인] - domain.com과 other-domain.com은 다름
[포트 번호] - 8080포트와 3000포트는 다름
이 두 개의 다른 origin의 서버 간의 리소스 공유를 위해 Proxy 설정이 필요합니다.
리액트 홈페이지 문서
React 프로젝트를 생성한 폴더에서 필요한 모듈을 설치해줍니다.
npm install http-proxy-middleware --save
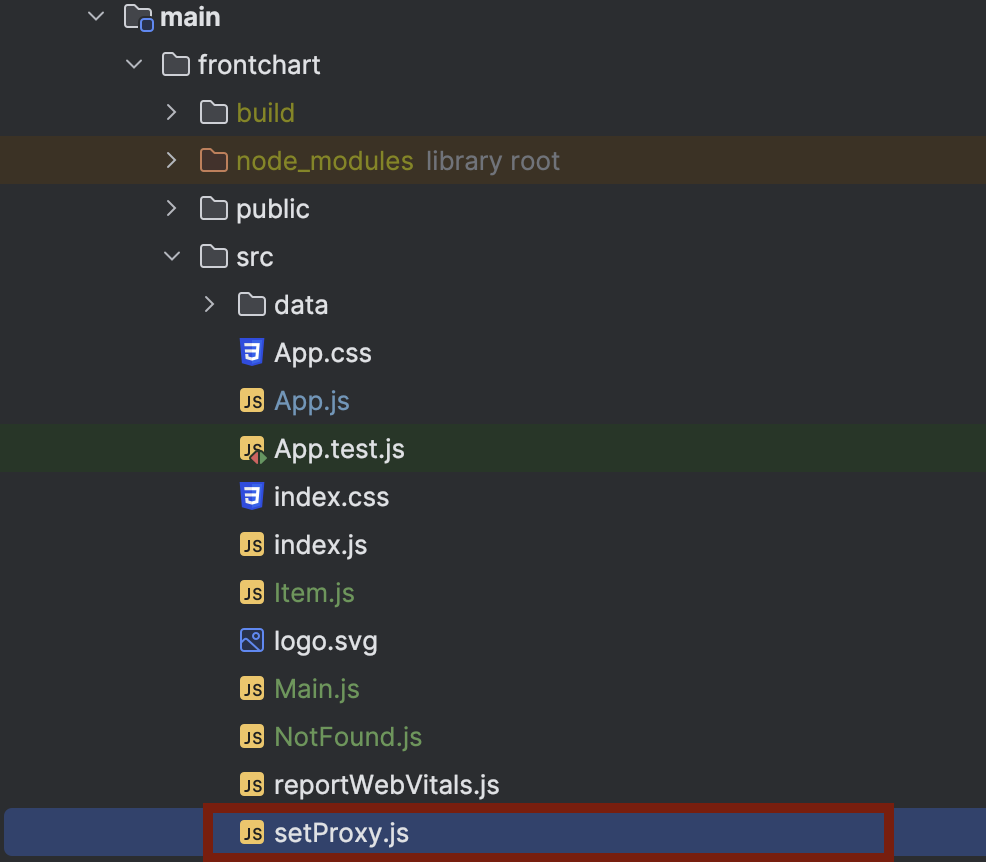
해당 폴더 내 /src 경로 안에 setProxy.js 라는 파일을 생성 한 후, 아래 코드의 내용을 추가해줍니다.
// src/main/frontend/src/setProxy.js

const { createProxyMiddleware } = require('http-proxy-middleware');

module.exports = function(app) {
    app.use(
        '/api',
        createProxyMiddleware({
            target: 'http://localhost:8080',	//서버 URL or localhost:설정한포트번호
            changeOrigin: true,
        })
    );
};
위 설정내용으로 인해 이제 front, 즉 React로 구현된 애플리케이션에서 /api 로 요청을 보내면, 8080포트로 보내지게 됩니다.
만약 위 방법으로 Proxy 설정이 제대로 된 것 같지 않다면, 아래와 같이 React 쪽의 package.json을 수정해보는 것도 방법입니다.
"proxy": "http:/localhost:8080",

axios 이용하여 데이터 요청하기
axios는 백엔드와 프론트엔드 사이의 통신을 쉽게 하기 위해 사용하는 라이브러리입니다.
설치
front 쪽에서 설치를 진행합니다.
npm install axios --save
Item.js (React)
axios 와 개발환경 연동 관련 내용만 추려 정리하였습니다.
import React, {useEffect, useState} from 'react';
import axios from 'axios';

...

const Item = () => {
    const { queryItemId } = useParams();
    const [apiPriceData, setApiPriceData] = useState('');
    const [apiListData, setApiListData] = useState('');
  	const [itemId, setItemId] = useState('');
    const [day, setDay] = useState('');

    useEffect(() => {
      ...
      axios.get('/api/jsonRequest')
        .then(response => setApiListData(JSON.stringify( response.data)))
        .catch(error => console.log("error : "+error))
    }, []);

    useEffect(() => {
        if(itemId){
            axios.get('/api/apiRequest?itemId='+itemId+"&day="+day)
                .then(response => setApiPriceData(JSON.stringify( response.data )))
                .catch(error => console.log(error))
        }
    }, [queryItemId,day,itemId]);

...
이 코드에서, 총 두 개의 api 를 사용하였는데, 각각 url 파라미터 이름에 따라 jsonRequest와 apiRequest이라고 부르겠습니다.
jsonRequest 같은 경우, Item 컴포넌트가 실행될 때 한 번(useEffect) axios.get 을 통해 api 요청을 백엔드에 보냅니다.
그리고 그 결과값을 setApiListData 를 통해 apiListData에 set 합니다.
apiRequest 같은 경우, 변수 queryItemId,day,itemId 중 하나의 상태가 변하면 위 useEffect 내의 코드가 실행되며 api 요청을 보냅니다.
아래와 같은 쿼리 파라미터 형식을 통해 백엔드 api에 파라미터를 함께 전달합니다.
'/api/apiRequest?itemId='+itemId+"&day="+day
그리고 그 결과를 setApiPriceData 를 통해 apiPriceData에 set 합니다.
useState()
useState는 컴포넌트에서 동적인 값인 상태(state)를 관리하는 함수입니다.
const [day, setDay] = useState('');
와 같은 state에서는, setDay([value]) 와 같은 방식으로 state이자 변수인day를 관리합니다.
useEffect()
useEffect는 컴포넌트의 상태가 변할 때마다 특정 작업을 할 수 있도록 해주는 함수입니다.let hello; useEffect(() => { console.log("hello changed!"); }, [hello]);위 코드에서는,
hello변수가 변할 때마다"hello changed!"가 실행될 것입니다.
만약 바라보는 state가 없어[]와 같이 입력해준다면,
컴포넌트가 화면에 렌더링되는 가장 처음 순간 한 번 실행됩니다.
APIController.java (Springboot)
마찬가지로, React와의 연동 관련한 부분을 제외하고는 내용을 생략하였습니다.
@RestController
public class APIController {

    ...

    @GetMapping("/api/apiRequest")
    public String getStockPrice(
            @RequestParam String itemId,
            @RequestParam String day
    ) throws IOException, ParseException {
        String resultString;
		...

        // RequestParam 으로 받은 파라미터 사용
        String requestUrl = makePriceUrl(SERVICEKEY, "400", "1", itemId, day);
        ...

        // front에 return 하는 내용
        return resultString;
    }

    @GetMapping("/api/jsonRequest")
    public String itemList() throws ParseException {
        String resultString;
		...
        resultString = convertListData(returnString);

        // front에 return 하는 내용
        return resultString;
    }
@RestController = @Controller + @ResponseBod
Parameter를 받는 API는 @RequestParam 를 통해 받아오고, 사용합니다.
결과
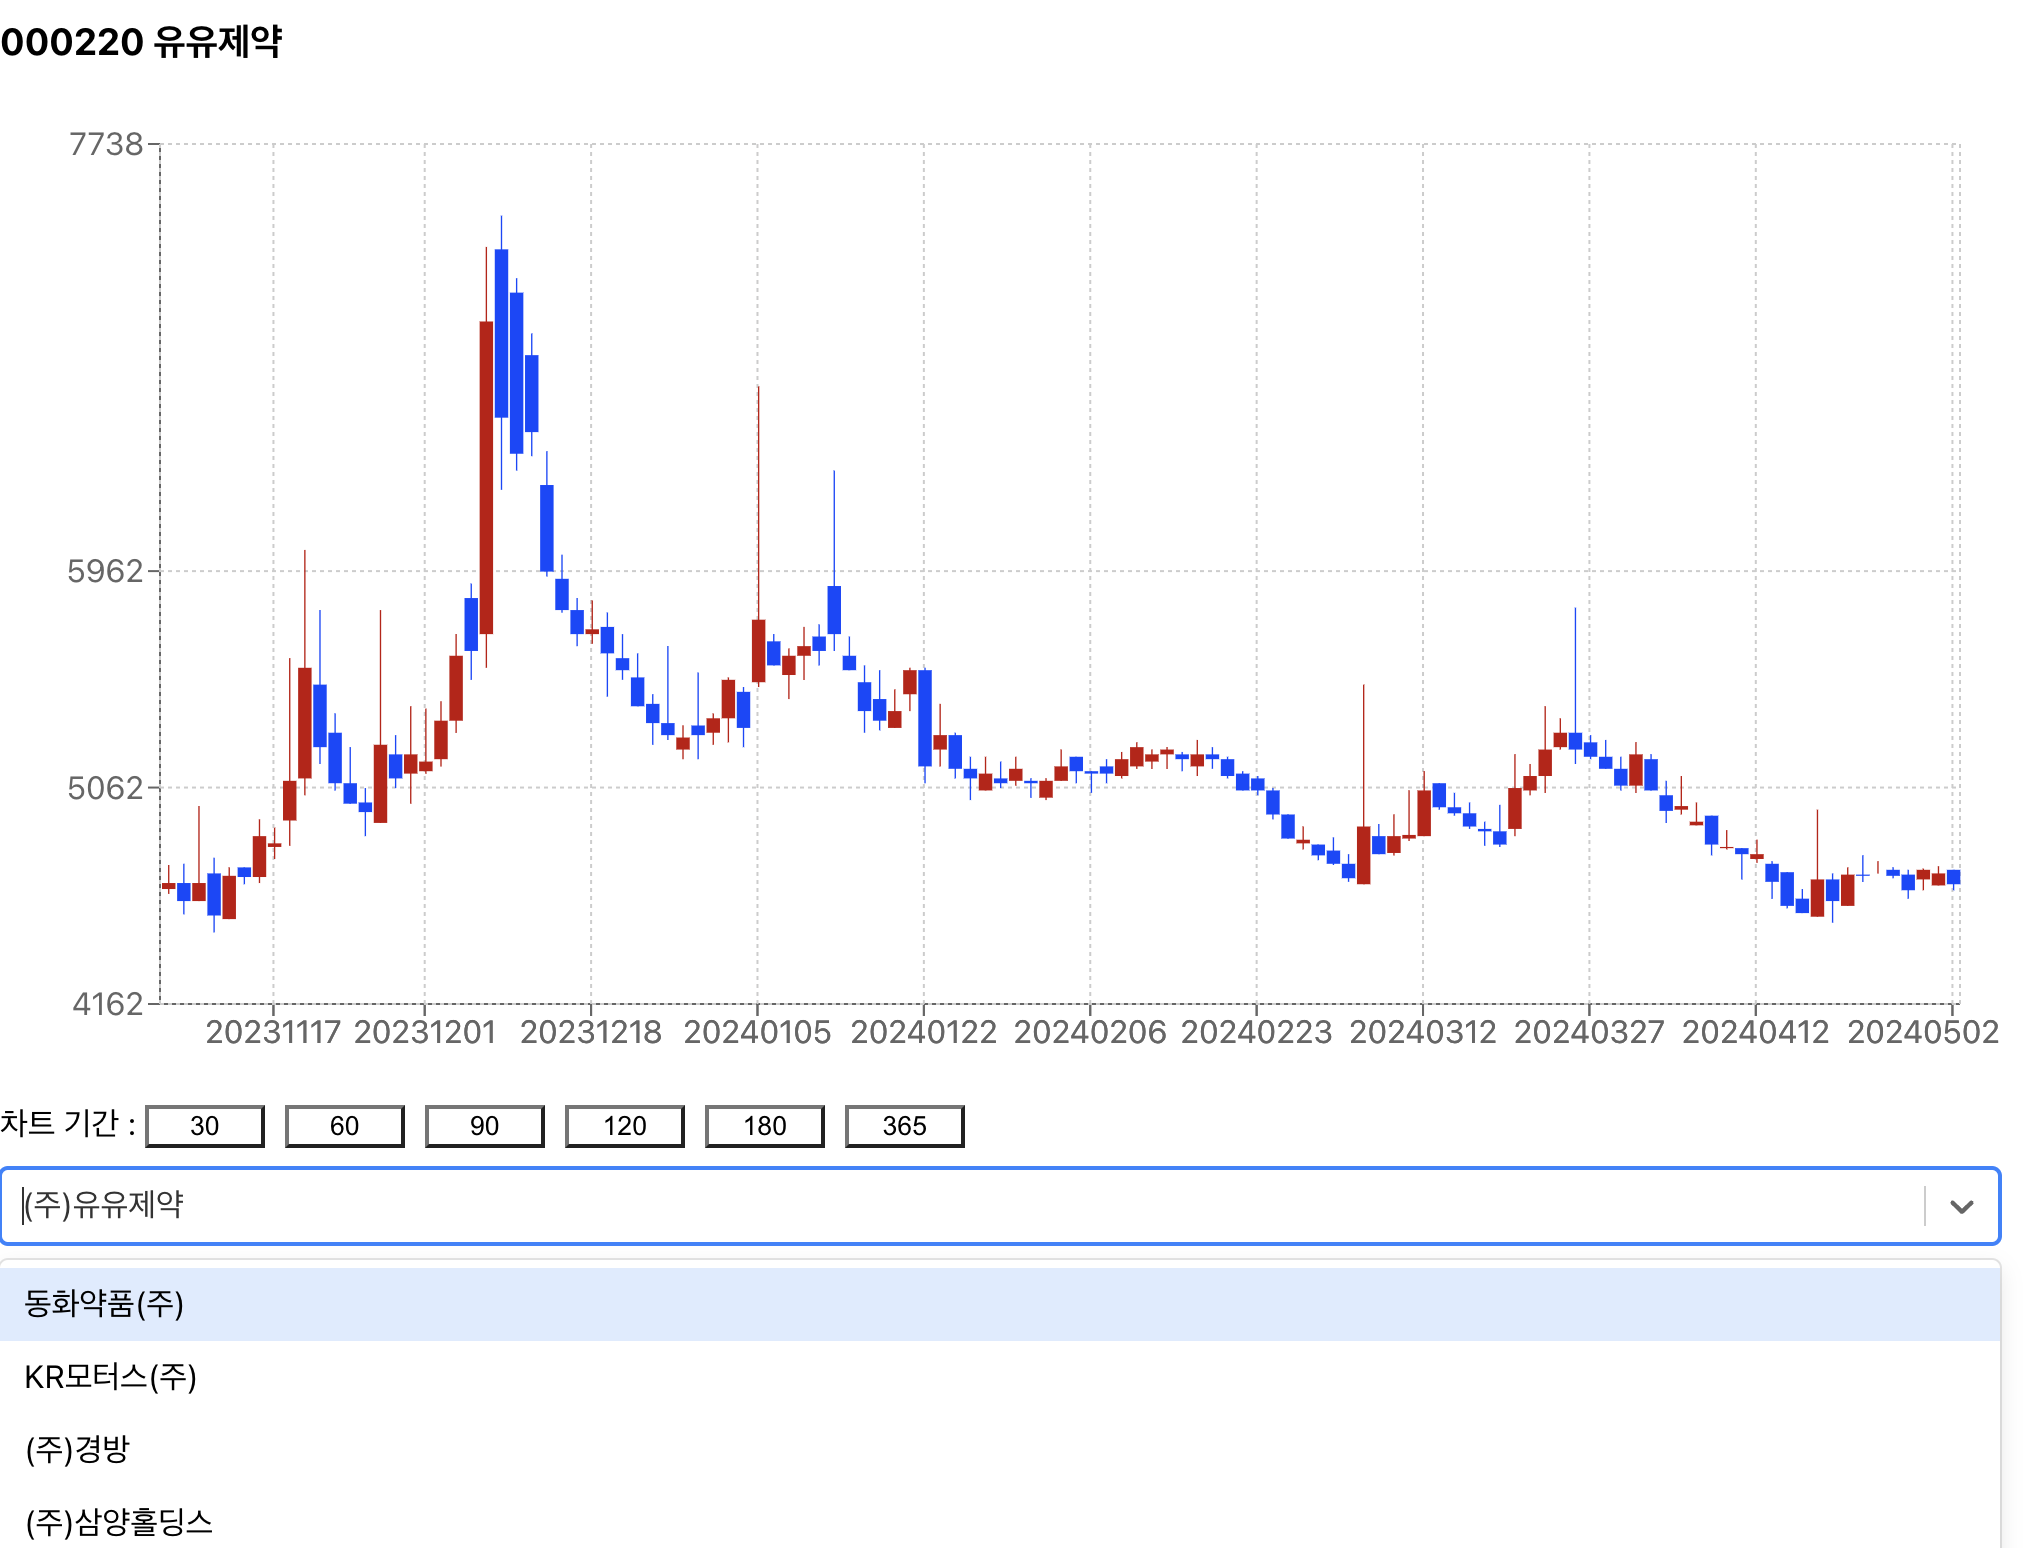
localhost:8080/api/jsonRequest에서 나오는 데이터와localhost:8080/api/apiRequest?itemId=000000&day=90등에서 나온 결과들을Item컴포넌트에서 사용할 수 있게 되었습니다.
이를 활용하여 작성자는 아래와 같이 주식 시세정보를 받아 차트를 그리고, 주식 종목 정보를 받아 선택박스를 만들 수 있었습니다...
출처
CORS - https://hannut91.github.io/blogs/infra/cors
https://velog.io/@u-nij/Spring-Boot-React.js-개발환경-세팅