
1. 설치
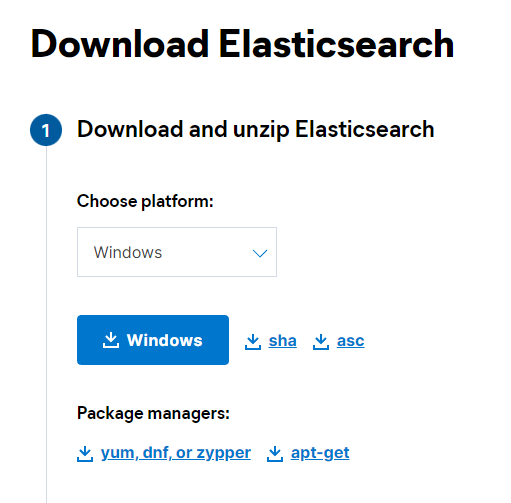
https://www.elastic.co/kr/downloads/elasticsearch
위 링크에서 본인 환경에 맞는 파일을 다운로드 받는다.
나는 윈도우에서 진행했고 8.3.2 버전 zip파일을 다운받은뒤 압축을 풀어줬다.

2. 설정
Elasticsearch는 세 개의 환경설정 파일을 가지고있고 config 디렉토리 안에 있다.
- elasticsearch.yml : Elasticsearch 환경설정
- jvm.options : Elasticsearch JVM 환경설정
- log4j2.properties : Elasticsearch logging 환경설정
이 중에서 elasticsearch.yml 파일을 수정해주었다.
사실 수정이라기보다 기본 내용에서 주석만 제거해주었다.
# 클러스터 이름
cluster.name: my-application
# 노드 이름
node.name: node-1
# 로그 경로
path.logs: D:\program\elasticsearch-8.3.2\logs
# 바인드 주소
network.host: 127.0.0.1
# 사용자 지정 포트
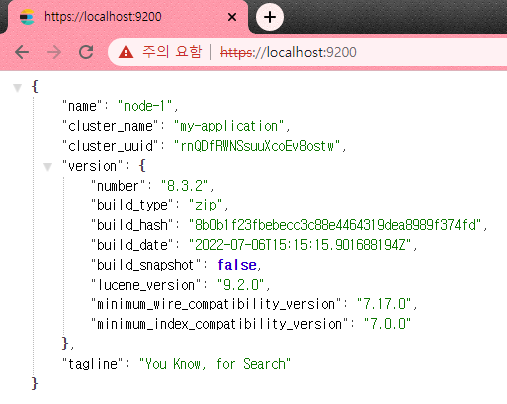
http.port: 9200엘라스틱서치의 노드 구성 쪽은 아직 공부가 부족하기도 하고 일단 한번 테스트해보자는 목적이기 때문에 단일 노드로 구성해보기로 했다.
3. 실행
일단 냅다 실행시켜봤다.
.\bin\elasticsearch.bat
실행시키면
-> Elasticsearch security features have been automatically configured!
-> Authentication is enabled and cluster connections are encrypted.
-> Password for the elastic user (reset with 'bin/elasticsearch-reset-password -u elastic'):
이렇게 어쩌구저쩌구 뜨는데 elastic 계정 비밀번호와 http 인증관련 등등 내용들이 뜬다. 복사해서 저장해둠.
그 다음 bin/elasticsearch-setup-passwords.bat interactive 명령어를 통해 elastic 계정 비밀번호를 바꾸려고 했는데

난 패스워드 설정을 한적이 없는데... 못바꿔준다고 떼를 쓴다.
그래서 .\bin\elasticsearch-users.bat useradd 아이디 -p 비밀번호 -r superuser
이렇게 새로운 관리자 계정을 만들어주었다.
다음은 키바나와 연동시켜봐야겠다.