파일 생성
ViewBinding 설정
build.gradle
viewBinding {
	enabled = true
}
Splash 화면 설정
Splash란
- Splash 화면이란 애플리케이션을 실행하면 로고를 보여주고 지정된 시간이 지나면 사라지는 화면
- 안드로이드 12 출시 이후 구글에서 Splash Screen 라이브러리를 제공하고 있다.
androidManifest.xml 설정
- 첫 Activity에 테마를 Splash Screen의 테마로 설정한다.
<application
        android:allowBackup="true"
        android:dataExtractionRules="@xml/data_extraction_rules"
        android:fullBackupContent="@xml/backup_rules"
        android:icon="@mipmap/lbs_logo"
        android:label="@string/app_name"
        android:roundIcon="@mipmap/lbs_logo"
        android:supportsRtl="true"
        android:theme="@style/Theme.Mini01_LBS01"
        tools:targetApi="31">
        <activity
            android:name=".MainActivity"
            android:exported="true"
            android:theme="@style/AppTheme">
            <intent-filter>
                <action android:name="android.intent.action.MAIN" />

                <category android:name="android.intent.category.LAUNCHER" />
            </intent-filter>
        </activity>
</application> 
지도 사용하기
구글 지도 사용하기
- 애플리케이션에서 구글 지도를 표시하는 작업을 수행
- 구글 지도를 사용하기 위해서는 애플리케이션 등록부터 시작해 많은 작업을 수행
애플리케이션 등록
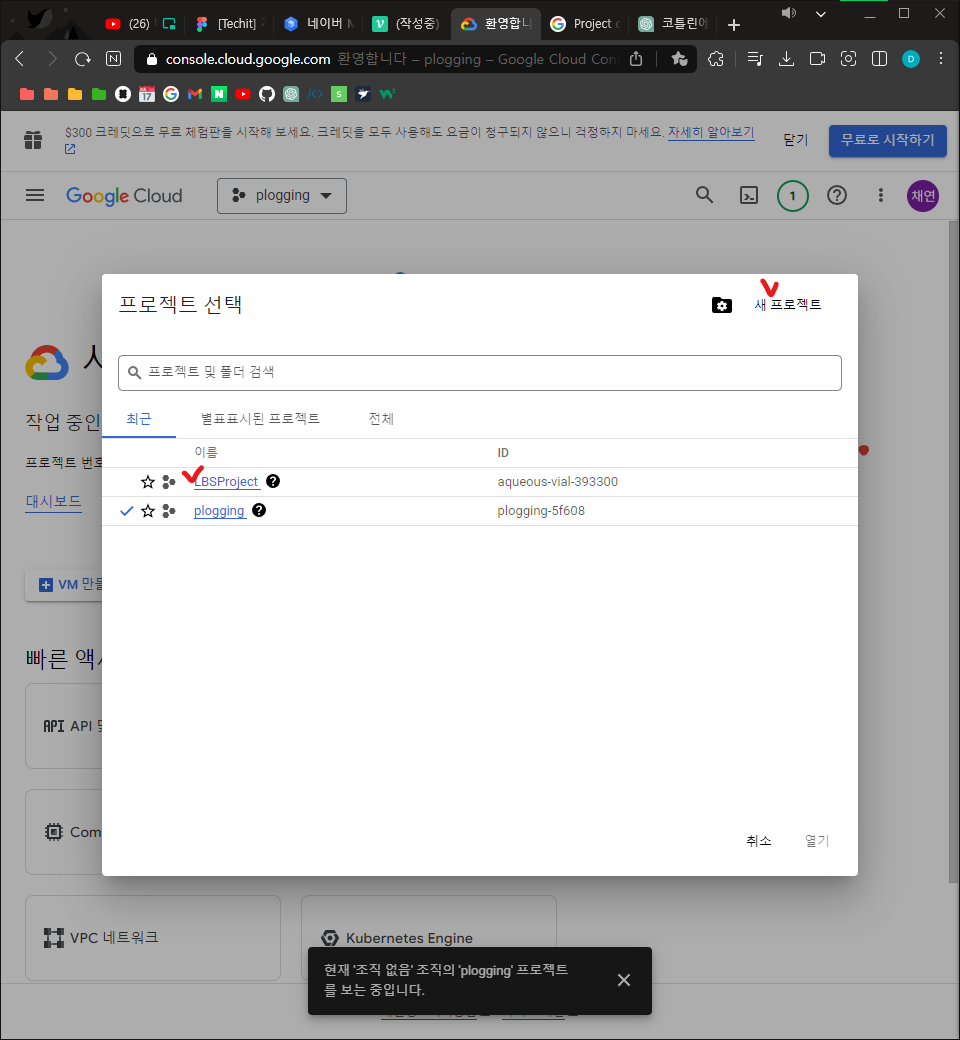
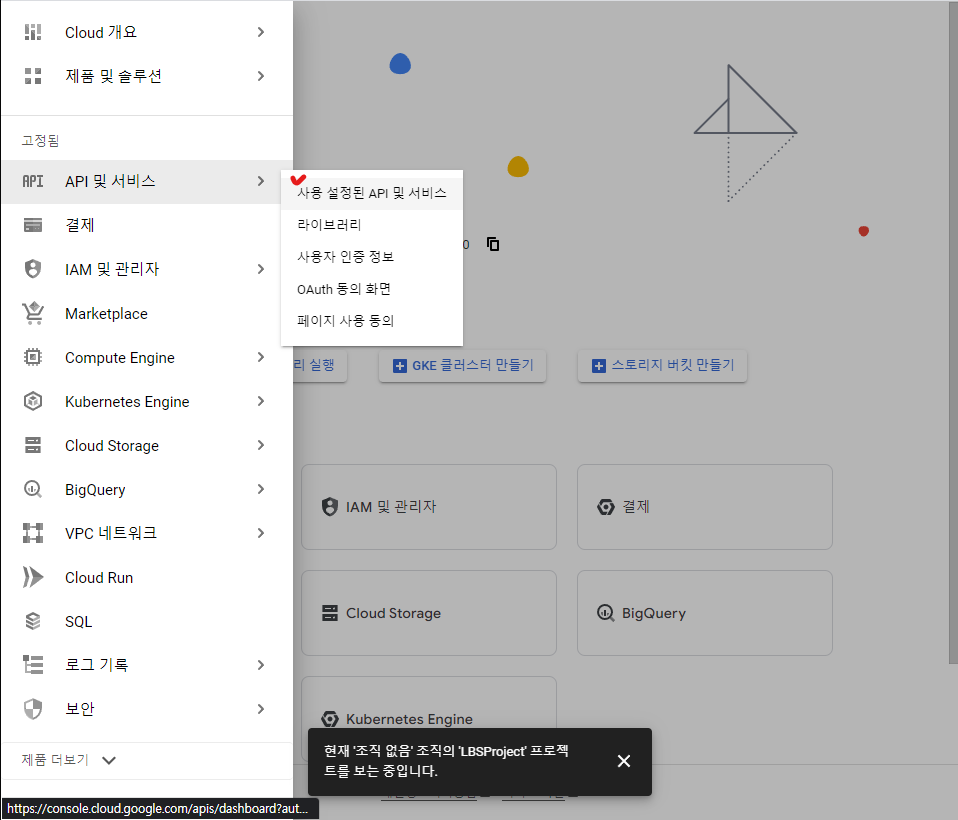
- 메뉴에서 "API 및 서비스" > "사용 설정된 API 및 서비스"를 눌러준다.
- 프로젝트를 선택해준다.
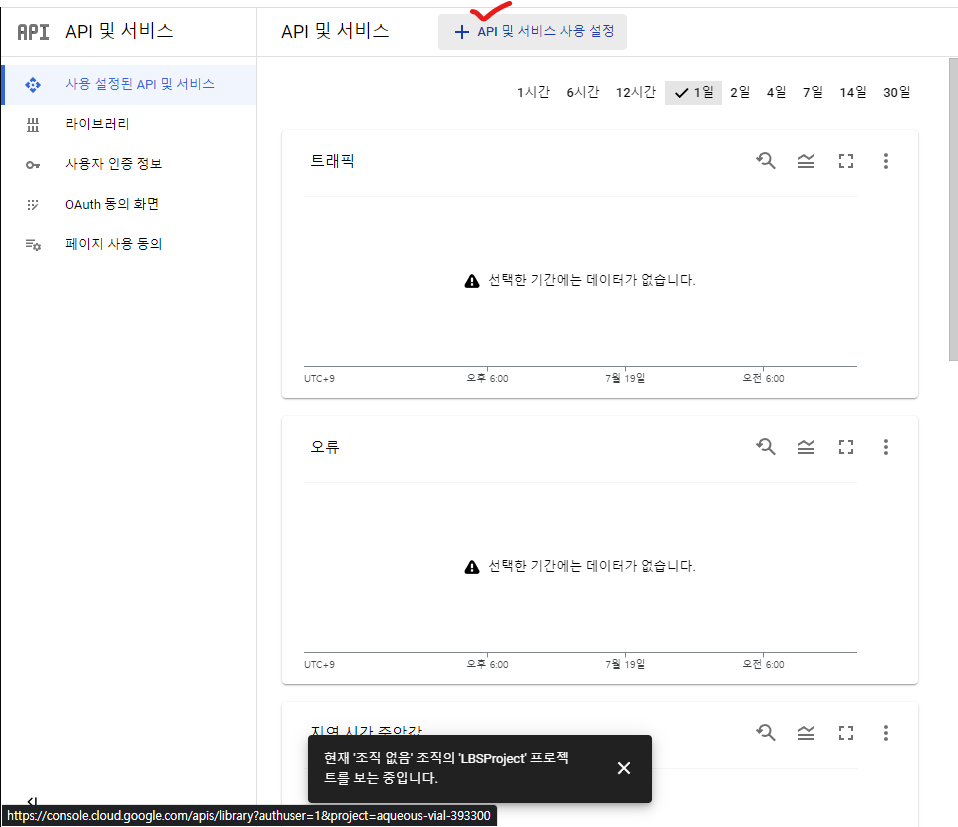
- Maps SDK for Android를 눌러준다.

- 사용을 클릭
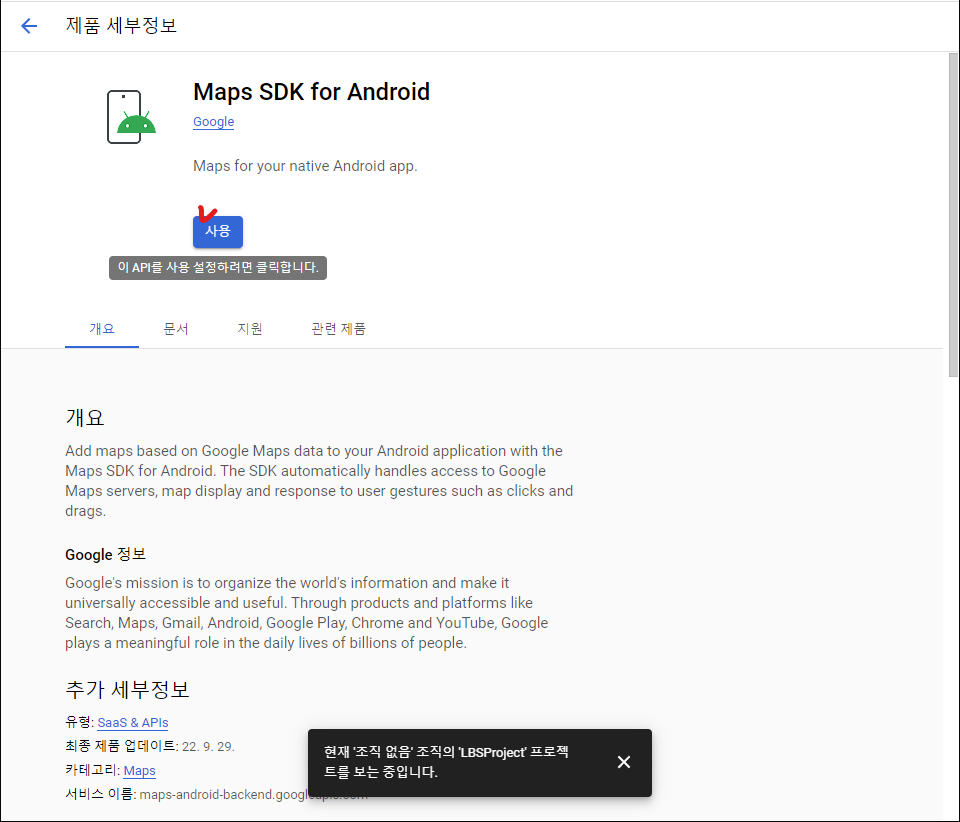
- 시간이 지나면 결제 정보를 등록하는 화면이 나타난다.
- 카드 정보를 입력한다고 해도 결재되는 것은 없다.
SHA-1 | Terminal
gradlew signingReport- ctrl + enter 눌러야 함
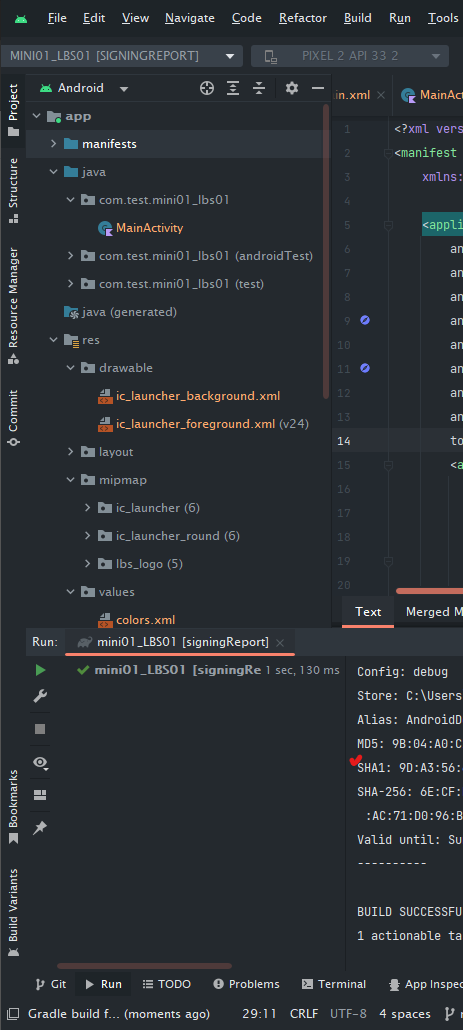
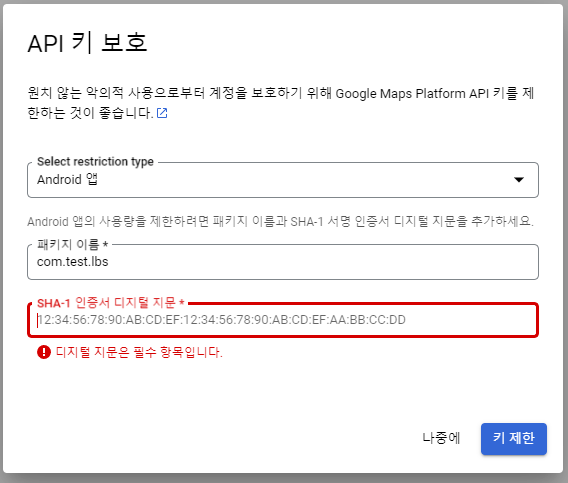
- 마지막에 나오는 화면에 넣어준다.

- 이 화면이 나오면 성공이다.
코드 작성
AndroidManifest.xml
- Application안에 넣어야 함
<meta-data android:name="com.google.android.geo.API_KEY"
android:value="복사한 키 를 넣는다. "/>- AndroidStudio에 Google Play Services 패키지를 설치
- Tools > SDK Manager


- 다운 받는다.
Build.gradle에 설정
implementation 'com.google.android.gms:play-services-maps:18.1.0'
implementation 'com.google.android.gms:play-services-location:21.0.1'
activity_main.xml
<?xml version="1.0" encoding="utf-8"?>
<LinearLayout xmlns:android="http://schemas.android.com/apk/res/android"
    xmlns:app="http://schemas.android.com/apk/res-auto"
    xmlns:tools="http://schemas.android.com/tools"
    android:layout_width="match_parent"
    android:layout_height="match_parent"
    android:orientation="vertical"
    tools:context=".MainActivity" >

    <fragment
        android:id="@+id/map_fragment"
        android:name="com.google.android.gms.maps.SupportMapFragment"
        android:layout_width="match_parent"
        android:layout_height="match_parent" />
</LinearLayout>
MainActivity.kt에 설정
MapsInitializer.initialize(this,MapsInitializer.Renderer.LATEST,null)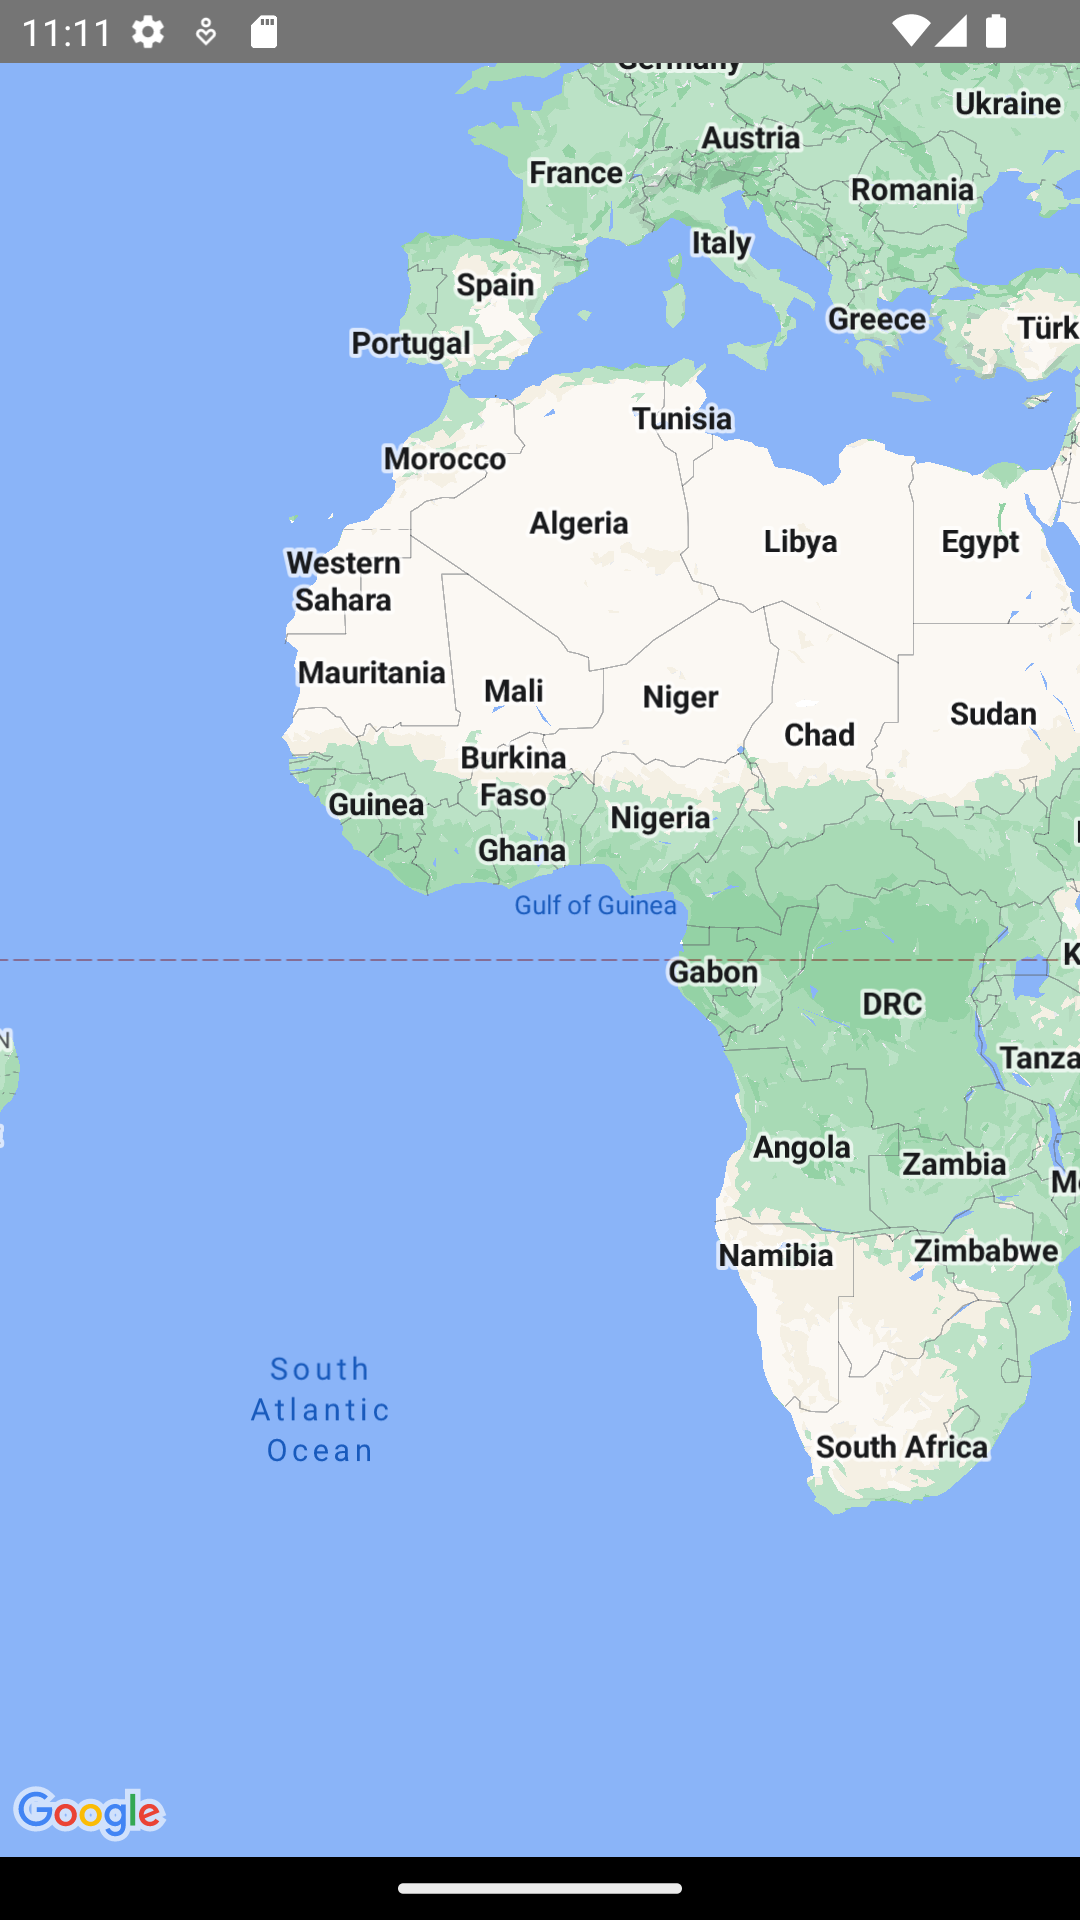

많은 도움이 되었습니다, 감사합니다.