LayoutInflater
지금까지 예제는 layout 폴더에 있는 xml파일을 통해 화면을 구성함
이는 Activity가 처음으로 나타날 때의 모습을 설정하게 된다.
만약 실행 중 View를 만들어 추가할 경우에는 코드를 통해 View를 만들어 추가해야한다. LayoutInflater를 사용하면 xml로 만든 화면 모양을 View객체로 만들어 사용할 수 있다. LayoutInflater.inflate 메서드 : LayoutInflater.inflate 메서드를 사용하면 xml을 통해 View객체를 만들 수 있다.
XML 레이아웃 파일을 실제 뷰 객체로 인스턴스화하는데 사용하는 클래스
안드로이드에서 UI를 구성하기 위해 XML로 작성된 레이아웃 파일을 사용하는데, 이 레이아웃 파일을 실제 뷰 객체로 만들어야 화면에 표시할 수 있다.
이때 LayoutInflater 가 필요하다.
LayoutInflatr를 사용하면 액티빝, 프래그먼트 서비스 등의 컨텍스트에서 레이아웃 인플레이션을 수행할 수 있다.
일반적으로 inflate() 메서드를 호출하여 xml 레이아웃 파일을 인플레이션 한다.
// LayoutInflater 인스턴스 생성
val inflater = LayoutInflater.from(context)

// XML 레이아웃 파일을 인플레이션하여 뷰 객체로 변환
val view = inflater.inflate(R.layout.my_layout, parentView, false)

// 변환된 뷰 객체를 화면에 추가
parentView.addView(view)
위의 예시에서 context는 컨텍스트 객체 ( 액티비티 , 프레그먼트 등 )을 나타내며, R.layout.my_layout 는 인플레이션 뷰 객체를 추가할 부모 뷰입니다.
inflate() 메서드의 세 번째 인자는 인플레이션된 뷰를 부모에게 즉시 추가할 지 여부를 지정
EX )
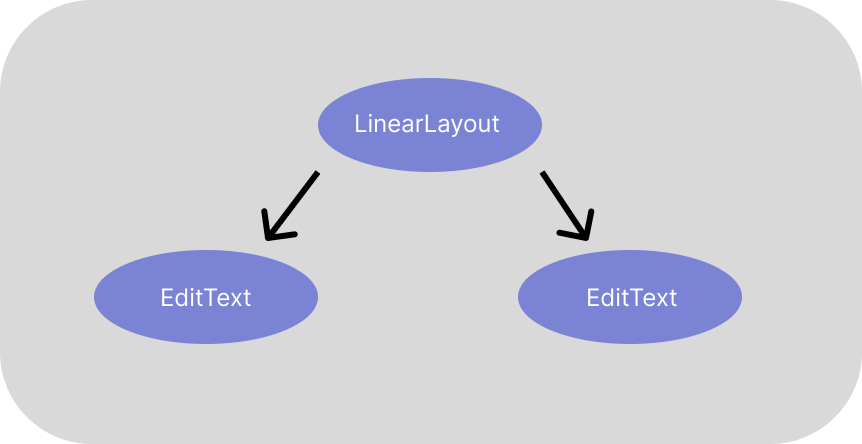
<?xml version="1.0" encoding="utf-8"?>
<LinearLayout xmlns:android="http://schemas.android.com/apk/res/android"
    android:orientation="vertical"
    android:layout_width="match_parent"
    android:layout_height="match_parent">

    <EditText
        android:id="@+id/editTextDialog1"
        android:layout_width="match_parent"
        android:layout_height="wrap_content"
        android:ems="10"
        android:inputType="text"
        android:textAppearance="@style/TextAppearance.AppCompat.Large"
        android:text="" />

    <EditText
        android:id="@+id/editTextDialog2"
        android:layout_width="match_parent"
        android:layout_height="wrap_content"
        android:ems="10"
        android:textAppearance="@style/TextAppearance.AppCompat.Large"
        android:inputType="text"
        android:text="" />
</LinearLayout>
뷰 객체 생성
XML 파일 초기화
val inflater = getSystemService(Context.LAYOUT_INFLATER_SERVICE) as LayoutInflater
val rootView = inflater.inflate(R.layout.activity_one, null ) - getSystemService() 함수로 LayoutInflater를 얻는다.
- inflate() 함수를 호출하면서 초기화할 레이아웃 XML 파일 정보를 매개변수로 전달한다.
viewbinding으로 사용방법
val binding = AcitivtyOneBinding.inflate(layoutInflater)
val rootView = binding.root- 초기화할 xml에 해당하는 바인딩 클래스의 inflate()함수를 호출하면서 매개변수로 layoutInflater 객체를 전달만 해주면 자동으로 초기화해주고 루트 뷰 객체를 얻을 수 있다.