📌 FCM
서버에서 사용자 장치로 알림을 보내기 위해서는 앱과 서버의 연결을 유지시켜야 한다. 하지만 FCM(Firebase Cloud Messaging) 은 구글 클라우드 서버를 사용해서 앱에서 서버에 연결되어있지 않아도 기기의 내부 연결을 통해 메시지를 전송할 수 있다.
📌 FCM으로 메시지를 보내는 과정
- 토큰 요청 및 획득
- 서버에 토큰 저장
- 토큰을 이용해 메시지 전송 요청
- 메시지 전송
- 리스너를 통해 메시지 수신 및 처리
https://maejing.tistory.com/entry/Android-FCM%EC%9D%84-%EC%9D%B4%EC%9A%A9%ED%95%B4-Push-%EA%B5%AC%ED%98%84%ED%95%98%EA%B8%B0
FCM 에 대해서 아주 잘 설명해주신 분이 계셔서 수월하게 FCM 사용법을 익힐 수 있었다.
📌 Firebase 프로젝트 생성 및 환경설정
안드로이드 스튜디오 상단 메뉴 Tools-Firebase-Cloud Messaging 으로 들어가면 다음과 같은 화면을 볼 수 있다.
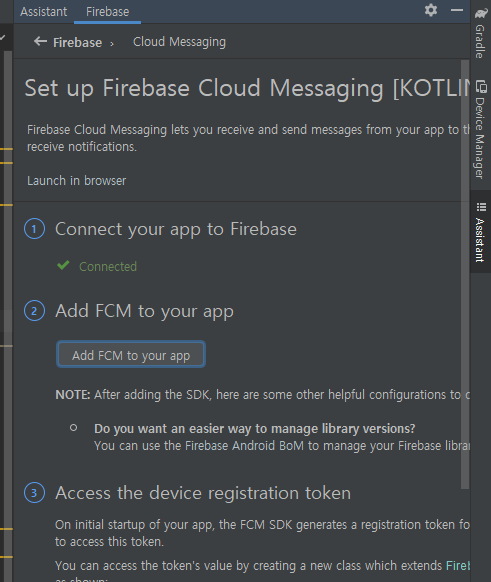
1번과 2번을 모두 수행함으로써 FCM 을 사용하기 위한 환경 설정을 한다.
📌 MessagingService.kt
class MessagingService : FirebaseMessagingService() {

    // 클라우드 서버에 등록되었을 때 호출
    // 파라미터로 전달된 token 이 앱을 구분하기 위한 고유한 키가 된다
    override fun onNewToken(token: String) {
        super.onNewToken(token)
        // token 을 서버로 전송

    }

    // 클라우드 서버에서 메시지를 전송하면 자동으로 호출
    // 이 메서드 안에서 메시지를 처리하여 사용자에게 알림을 보내거나 할 수 있다
    override fun onMessageReceived(message: RemoteMessage) {
        super.onMessageReceived(message)
        // 수신한 메시지를 처리

    }
}
MessagingService 라는 이름의 새로운 클래스를 생성해주고 FirebaseMessagingService() 를 상속받는다.
📌 매니페스트 수정
<manifest>

    <uses-permission android:name="android.permission.INTERNET"/>

    <application>

        <service android:name=".MessagingService"
            android:exported="false">
            <intent-filter>
                <action android:name="com.google.firebase.MESSAGING_EVENT"/>
            </intent-filter>
        </service>
    </application>

</manifest>
구현한 서비스를 매니페스트에 등록하고, 메시지를 수신하기 위한 인텐트 필터를 정의한다.
인터넷 사용권한도 추가해야 한다.
📌 등록된 토큰 확인하는 법
        FirebaseMessaging.getInstance().token.addOnCompleteListener(OnCompleteListener { task ->
            if (!task.isSuccessful) {
                Log.w("testt", "Fetching FCM registration token failed", task.exception)
                return@OnCompleteListener
            }

            // Get new FCM registration token
            val token = task.result

            // Log and toast
            Log.d("testt", token)
        })
로그를 확인해보면 등록된 토큰을 확인 할 수 있다.
📌 수신한 메시지로 Notification 만들기
// 클라우드 서버에서 메시지를 전송하면 자동으로 호출
    // 이 메서드 안에서 메시지를 처리하여 사용자에게 알림을 보내거나 할 수 있다
    override fun onMessageReceived(message: RemoteMessage) {
        super.onMessageReceived(message)
        // 수신한 메시지를 처리
        val notificationManager = NotificationManagerCompat.from(applicationContext)

        var builder :NotificationCompat.Builder

        if(Build.VERSION.SDK_INT >= Build.VERSION_CODES.O){
            if(notificationManager.getNotificationChannel(CHANNEL_ID) == null){
                val channel = NotificationChannel(CHANNEL_ID, CHANNEL_NAME, NotificationManager.IMPORTANCE_DEFAULT)
                notificationManager.createNotificationChannel(channel)
            }
            builder = NotificationCompat.Builder(applicationContext, CHANNEL_ID)
        }else{
            builder = NotificationCompat.Builder(applicationContext)
        }

        val title = message.notification?.title
        val body = message.notification?.body

        builder.setContentTitle(title)
            .setContentText(body)
            .setSmallIcon(R.drawable.ic_launcher_background)

        val notification = builder.build()
        notificationManager.notify(1, notification)

    }
RemoteMessage 의 notification.title 과 notification.body 로 메시지에 대한 정보를 받을 수 있다.
📌 Node.js 서버에서 메시지 보내기
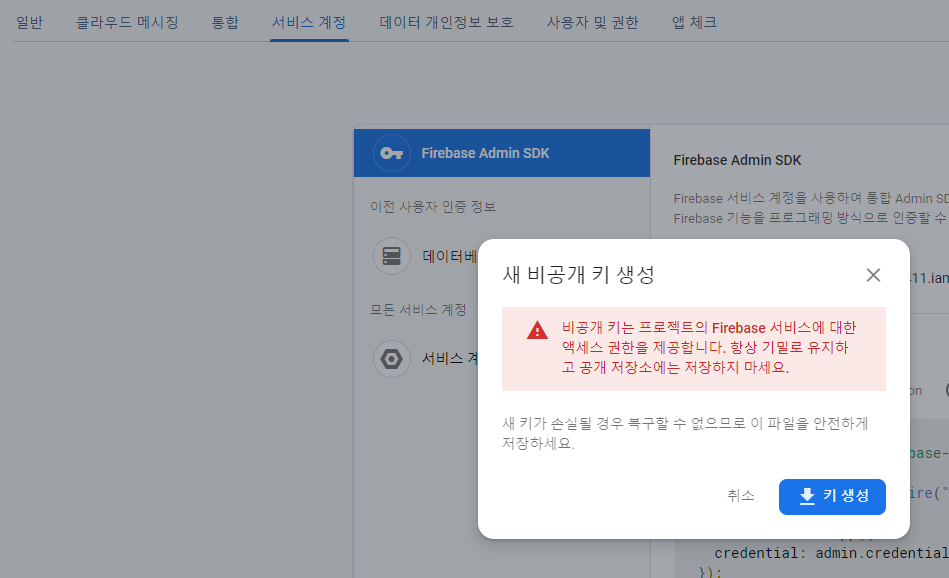
Firebase 콘솔 - 프로젝트 설정 - 서비스 계정 으로 들어와서 새 비공개 키 생성으로 키를 생성해준다. 생성한 키는 서버에 저장
Firebase Admin SDK 설치
서버의 터미널로 들어와 다음의 명령어를 통해 설치한다.
$ npm install firebase-admin --save
SDK 초기화
var admin = require("firebase-admin");

var serviceAccount = require("../서버 키 이름.json");

admin.initializeApp({
  credential: admin.credential.cert(serviceAccount)
});
PUSH 메시지 보내기
router.post('/push', (req,res,next)=>{
    const query = req.query;
    const token = query.token;
    const from = query.from;
    const text = query.text;

    let message = {
        notification: {
            title: from,
            body: text,
          },
        token: token,
    }

    admin
    .messaging()
    .send(message)
    .then(function (response) {
      console.log('Successfully sent message: : ', response)
      res.send(true)
    })
    .catch(function (err) {
      console.log('Error Sending message!!! : ', err)
      res.send(false)
    })
})
쿼리로 토큰과 보내는 사람, 메시지 내용을 받아서 메시지를 보냈습니다.
서버를 실행시키고 postman으로 테스트를 해봤습니다.
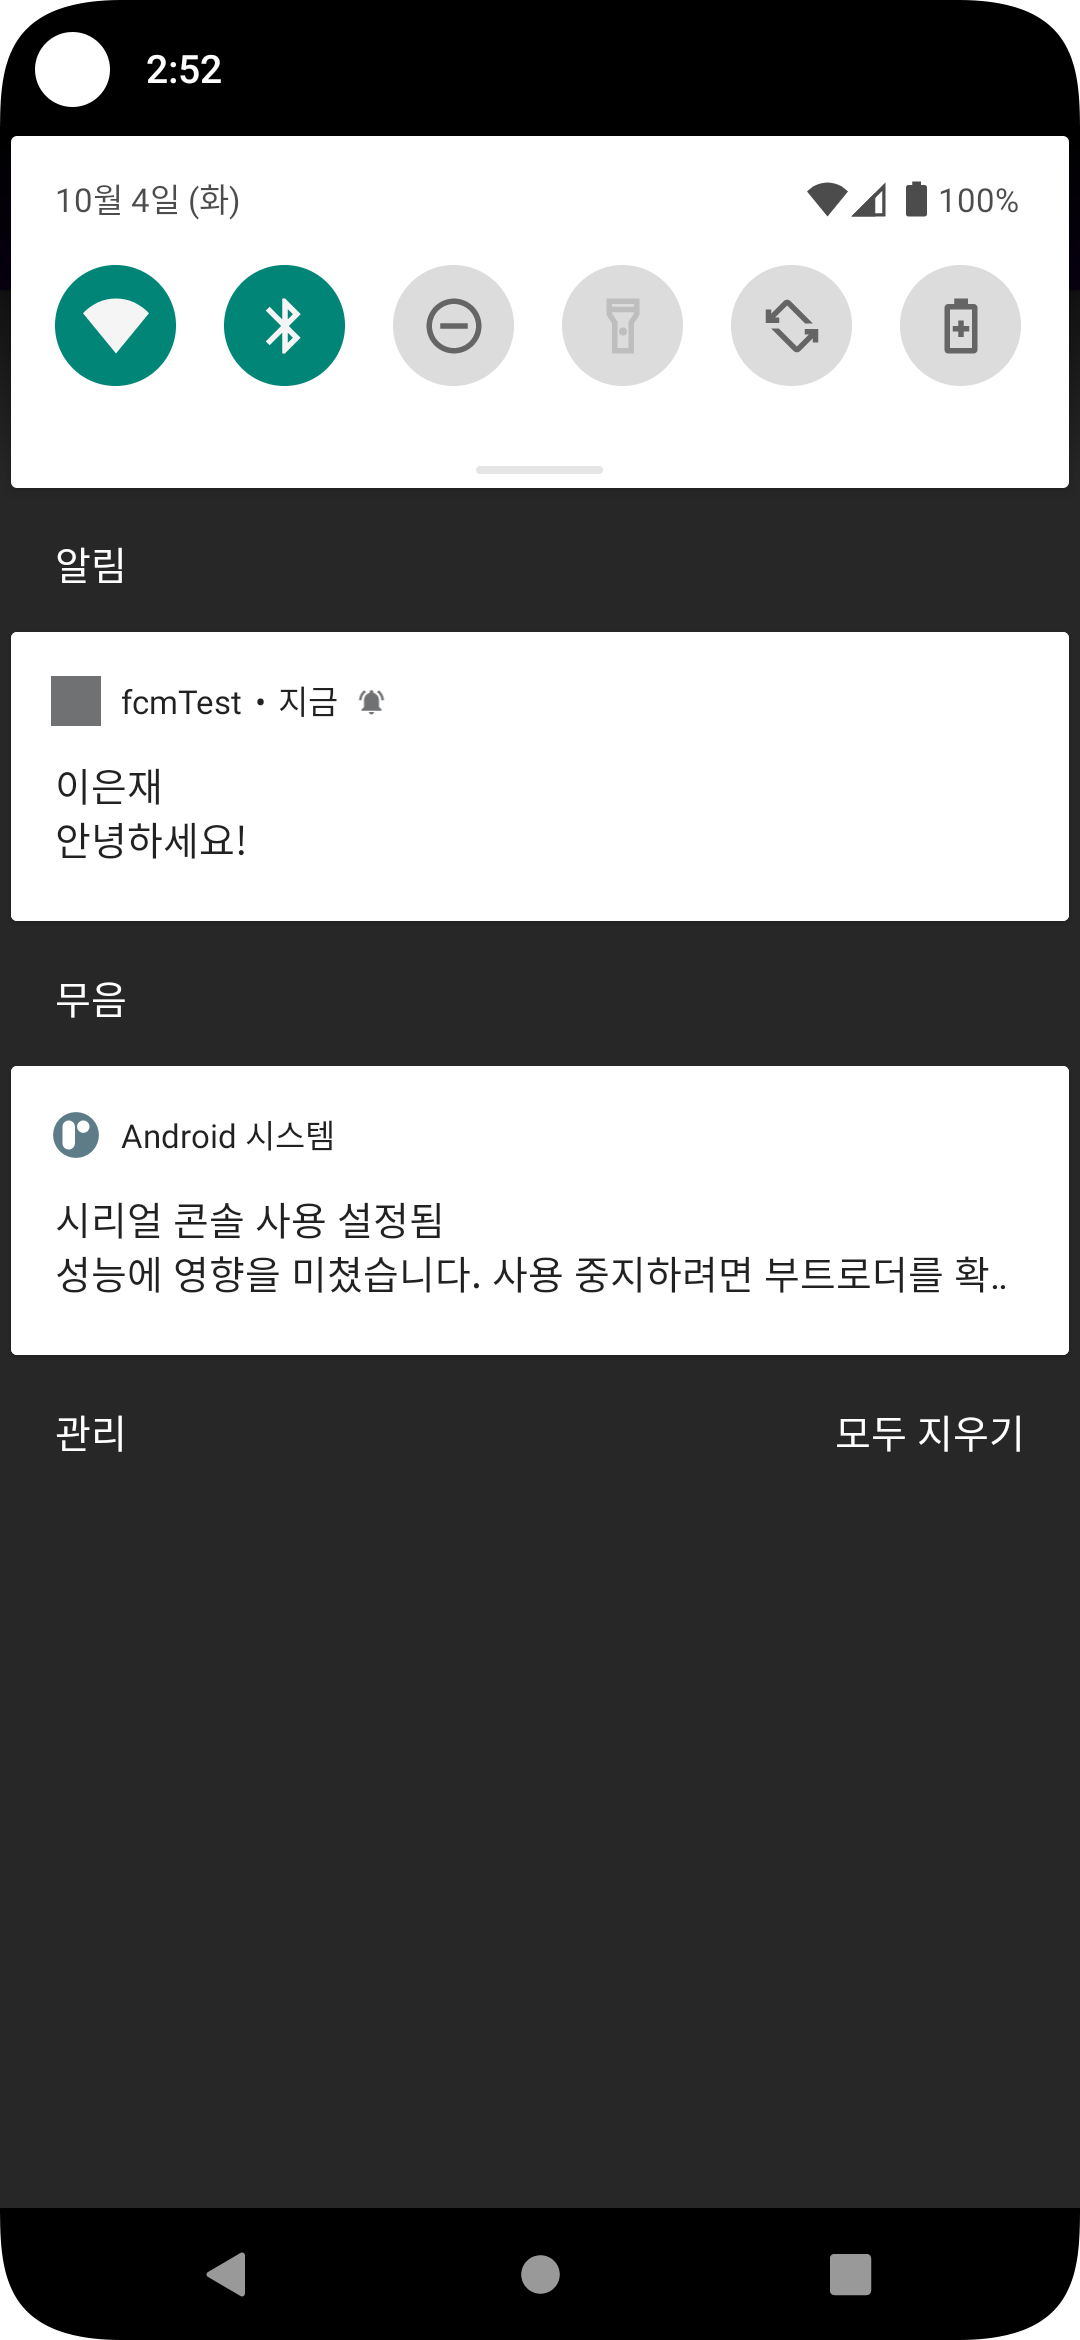
알림이 잘 생성되었다.
FCM 을 사용하면 백그라운드 상태에서도 알림 메시지를 받을 수 있으니까... 현재 진행하고 있는 카카오톡 클론코딩에 응용해서 적용하면 될 것 같다.
백그라운드 상태에서 소켓 연결을 항상 유지하는 식으로 구현을 해야하는 건가 생각했는데, 굳이 그렇게 할 필요 없을 것 같다. 구글에서도 권장하는 방식이 아니라고 한다.
