[OpenCV] bitwise_and, or, xor, not 기능 정리 (RGB Image)

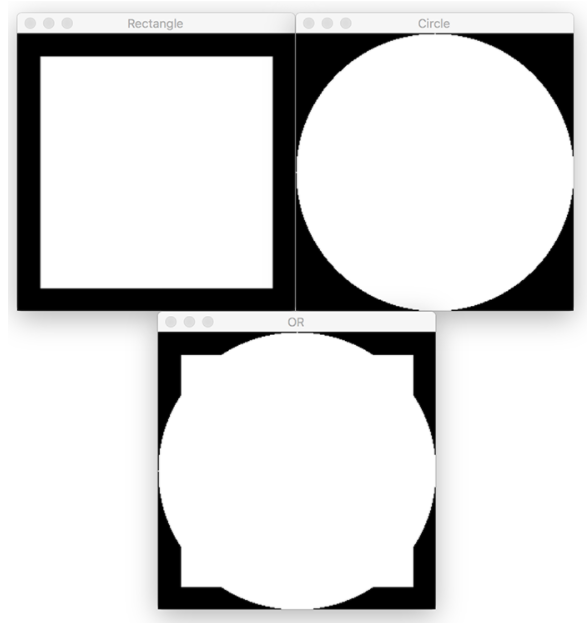
OpenCV 사이트에 나와있는 bitwise의 기능은 흑백 사진을 가지고 정리가 되어있더라고요.

출처 : https://www.pyimagesearch.com/2021/01/19/opencv-bitwise-and-or-xor-and-not/
Detection Color에 관한 Python 프로젝트를 진행하던 도중 RGB 색상 파일에서 bitwise가 어떻게 작용하는지 궁금증이 생겨 이것저것 시도해봤습니다.
import os
import cv2 as cv
import numpy as np
from  matplotlib import pyplot as plt


img_path = 'cv_practice.png'
img = cv.imread(img_path)

# Convert BGR to HSV
hsv = cv.cvtColor(img, cv.COLOR_BGR2HSV)

# define range of yellow color in HSV
lower_blue = np.array([20,20,100])
upper_blue = np.array([32,255,255])
"""
# define range of blue color in HSV
lower_blue = np.array([100,100,100])
upper_blue = np.array([130,255,255])
"""


# Threshold the HSV image to get only blue colors
mask = cv.inRange(hsv, lower_blue, upper_blue)

# Bitwise-AND mask and original image
res = cv.bitwise_and(img,img, mask= mask)

plt.figure(figsize=(12,6))
plt.subplot(131)
plt.imshow(cv.cvtColor(img, cv.COLOR_BGR2RGB))
plt.subplot(132)
plt.imshow(cv.cvtColor(mask, cv.COLOR_BGR2RGB))
plt.subplot(133)
plt.imshow(cv.cvtColor(res, cv.COLOR_BGR2RGB))


plt.show()
본래 프로젝트는 위 코드를 사용하여 노란색 영역을 masking 하고 출력하는 함수였지만
res = cv.bitwise_and(img_2,img, mask= mask)
따위로 코드가 주어질 때는 어떻게 출력하는지 궁금하여 알아보았습니다.
bitwise_and
res_and = cv.bitwise_and(img,img_test, mask= mask)
- bitwise_and
- mask 영역에서 서로 공통으로 겹치는 부분 출력
bitwise_or
res_and = cv.bitwise_or(img,img_test, mask= mask)
- bitwise_or
- mask 영역의 두 이미지를 합쳐버림
- 말 그대로 더해버리기 때문에 outlier의 빨간색은 상대적으로 옅게 나옴
(Ooutlier 이미지의 [R]값이 더 크기 때문에 얼룩 부분이 빨간 빛을 띰)
bitwise_xor
res_and = cv.bitwise_xor(img_test,img, mask= mask)
- bitsise_xor
- XOR --> (0,0) --> 0 / (1,1) --> 0 / 서로 다른부분 --> 출력
이 경우 R값이 - 노란색(moriginal) - 빨강색(outlier) = (초록+빨강) - (빨강) = 초록색
서로 같은 부분인 빨강 제거
bitwise_not
res_and = cv.bitwise_not(img,mask= mask)
- bitwise_not
- NOT function flips pixel values --> mask영역에서의 보색 출력
- not을 쓰는 경우에는 이미지를 한개만 넣어준다.