오늘은 안드로이드에서 bottomSheet(바텀시트)를 적용시키는방법을 공부해봤다.
다양한 방법이 있겠지만 나는 하나의 xml에서 배경이될 바텀시트와 그위를 덮어줄 바텀시트를 coordinatorLayout으로 묶어서 한 화면에서 생성해서 보여주었다.
먼저 결과물이다.
결과물
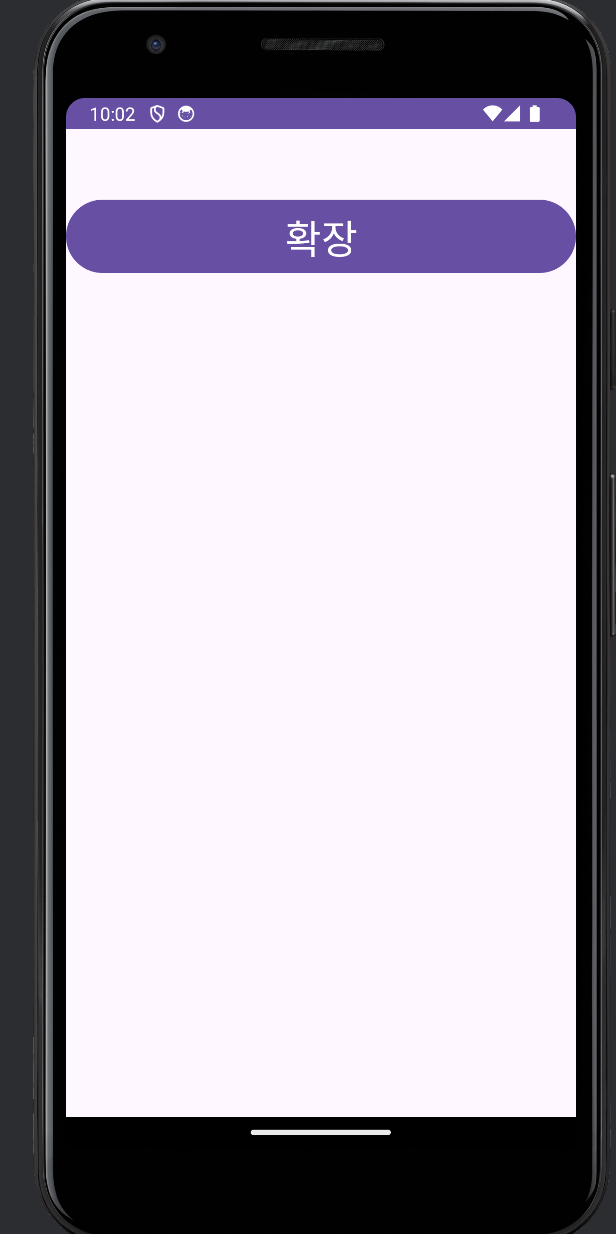

기본상태는 보이지 않는상태로 만들고, 버튼을 누르면 아래서 바텀시트가 올라오고, 숨기기버튼을 누르면 다시 바텀시트가 사라지게 구현했다.
xml
<?xml version="1.0" encoding="utf-8"?>
<androidx.coordinatorlayout.widget.CoordinatorLayout
    xmlns:android="http://schemas.android.com/apk/res/android"
    xmlns:app="http://schemas.android.com/apk/res-auto"
    xmlns:tools="http://schemas.android.com/tools"
    android:layout_height="match_parent"
    android:layout_width="match_parent">

    <androidx.constraintlayout.widget.ConstraintLayout
        android:layout_width="match_parent"
        android:layout_height="match_parent"
        tools:context=".MainActivity">

        <Button
            android:id="@+id/expand_btn"
            android:layout_width="match_parent"
            android:layout_height="wrap_content"
            android:layout_marginTop="50dp"
            android:text="확장"
            android:textSize="30sp"
            app:layout_constraintEnd_toEndOf="parent"
            app:layout_constraintStart_toStartOf="parent"
            app:layout_constraintTop_toTopOf="parent" />

    </androidx.constraintlayout.widget.ConstraintLayout>
    <!--    여기서부턴 바텀시트   -->
    <androidx.constraintlayout.widget.ConstraintLayout
        android:layout_width="match_parent"
        android:layout_height="wrap_content"
        android:id="@+id/bottom_sheet"
        android:background="@drawable/bottom_bg"
        app:layout_behavior="com.google.android.material.bottomsheet.BottomSheetBehavior">

        <Button
            android:id="@+id/hidden_btn"
            android:layout_width="match_parent"
            android:layout_height="wrap_content"
            android:textSize="30sp"
            android:layout_marginTop="100dp"
            android:text="숨기기"
            app:layout_constraintEnd_toEndOf="parent"
            app:layout_constraintStart_toStartOf="parent"
            app:layout_constraintTop_toTopOf="parent"/>

    </androidx.constraintlayout.widget.ConstraintLayout>

</androidx.coordinatorlayout.widget.CoordinatorLayout>
먼저 화면구성이다. 하나의 화면에서 기본화면과 바텀시트화면을 같이 구성해줬다. 주의해야할점은 두가지이다.
1. coordinatorLayout으로 묶어주기
2. 바텀시트를 사용하는 레이아웃은 app:layout_behavior속성을 사용해서 바텀시트인지 알려주기
이렇게 두가지만 지켜서 ui를 작성해주면 된다.
bottom_bg.xml
결과물을 보면 바텀시트의 오른쪽,왼쪽 상단에 radius값이 들어가있다. 보통 바텀시트는 r값을 정해주니까 동일하게 만들어봤다. drawable파일 안에 넣어줬다.
<shape xmlns:android="http://schemas.android.com/apk/res/android">
    <corners
        android:topLeftRadius="30dp"
        android:topRightRadius="30dp"/>
    <solid android:color="#FF0000"/>
</shape>
activity
lateinit var behavior: BottomSheetBehavior<ConstraintLayout>

...

behavior = BottomSheetBehavior.from(binding.bottomSheet)
behavior.isHideable = true
behavior.state = BottomSheetBehavior.STATE_HIDDEN // 초기 상태 설정

binding.expandBtn.setOnClickListener {
    behavior.state = BottomSheetBehavior.STATE_EXPANDED
}
binding.hiddenBtn.setOnClickListener {
    behavior.state = BottomSheetBehavior.STATE_HIDDEN
}

behavior.addBottomSheetCallback(object : BottomSheetBehavior.BottomSheetCallback() {
    override fun onSlide(bottomSheet: View, slideOffset: Float) {
    }
    override fun onStateChanged(bottomSheet: View, newState: Int) {
    }
})
마지막으로 사용이다. xml에서 사용했던 바텀시트의 id를 가져와서 초기 상태를 STATE_HIDDEN설정을 해서 바텀시트를 보이지 않게 해준다.
여기서 isHideable설정이 내 android studio에서는 기본값이 false여서 처음에 이상한오류가 나고 해결하는데 애먹었다...
확장버튼 누르면 상태를 EXPANDED로 바꿔 화면을 가득 매꾸었고, 다시 숨기기버튼을 클릭시 숨겨주는 로직을 구현했다.
아래 addBottomSheetCallback은 화면이 움직일때 상태변화를 알려주는건데, 나는 사용하지 않았다.
바텀시트
바텀 시트
bottom_sheet
bottomsheet
bottomSheet
Bottomsheet
BottomSheet