AAB 파일 만들고 내부테스트 배포하는 과정을 자동화 하는법! 그 내용을 기록.
사전준비
- Google Play Console 계정 (개발자 등록 완료)
- 앱이 이미 Play Store에 한 번 이상 배포되어 있어야 함
- 앱 서명용 키스토어 파일 (
KeyStorePath.jks) - Mac에 Homebrew 설치
Gradle Play Publisher 플러그인 설정
gradle/libs.versions.toml 수정
[versions]
play-publisher = "3.10.1"

[plugins]
play-publisher = { id = "com.github.triplet.play", version.ref = "play-publisher" }
androidApp/build.gradle.kts 수정
import java.util.Properties

plugins {
    alias(libs.plugins.play.publisher)  // 추가
}

// Play Store 배포 설정
play {
    serviceAccountCredentials.set(file("../play-store-credentials.json"))
    track.set("internal")  // internal, alpha, beta, production 중 선택
    defaultToAppBundles.set(true)  // AAB 파일 사용
    releaseStatus.set(com.github.triplet.gradle.androidpublisher.ReleaseStatus.DRAFT)  // Draft 상태로 업로드, COMPLETE로 바꾸면 즉시 자동 배포.
    releaseName.set(provider { "${android.defaultConfig.versionCode} (${android.defaultConfig.versionName})" })  // 릴리스 제목
}

android {
    // 서명 설정
    signingConfigs {
        create("release") {
            val keystorePropertiesFile = rootProject.file("keystore.properties")
            if (keystorePropertiesFile.exists()) {
                // 로컬 개발: keystore.properties 파일 사용
                val keystoreProperties = Properties()
                keystoreProperties.load(keystorePropertiesFile.inputStream())

                storeFile = rootProject.file(keystoreProperties["storeFile"] as String)
                storePassword = keystoreProperties["storePassword"] as String
                keyAlias = keystoreProperties["keyAlias"] as String
                keyPassword = keystoreProperties["keyPassword"] as String
            } else {
                // Jenkins CI: 환경변수 사용
                storeFile = System.getenv("KEYSTORE_FILE")?.let { file(it) }
                    ?: rootProject.file("KeyStorePath.jks")
                storePassword = System.getenv("KEYSTORE_PASSWORD")
                keyAlias = System.getenv("KEY_ALIAS")
                keyPassword = System.getenv("KEY_PASSWORD")
            }
        }
    }

    buildTypes {
        getByName("release") {
            isMinifyEnabled = true
            signingConfig = signingConfigs.getByName("release")
            proguardFiles(
                getDefaultProguardFile("proguard-android-optimize.txt"),
                "proguard-rules.pro"
            )
        }
    }
}
여기서 프로가드 사용중, 프로가드 설정은 알아서! 하면 됩니다
프로젝트 생성
Google Cloud Console 접속
프로젝트 새로 생성
좌측 메뉴 → "IAM 및 관리자" → "서비스 계정"
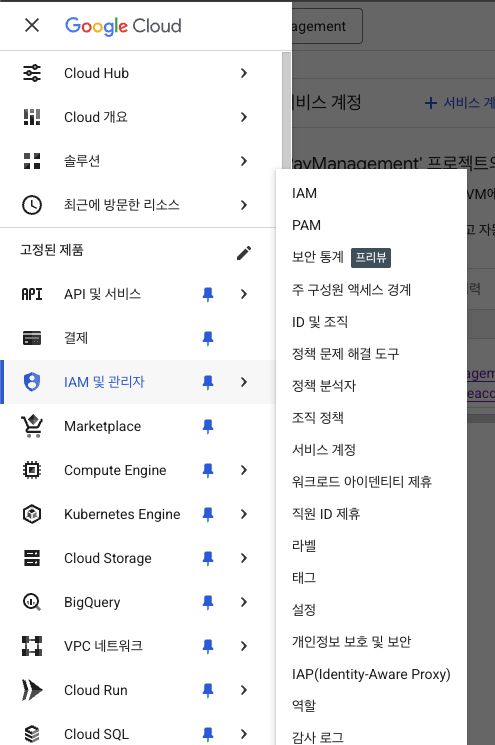
"서비스 계정 만들기" 클릭 -> 서비스 계정 이름 입력 (예: jenkins-play-publisher) -> "만들기 및 계속하기" 클릭 -> 역할은 일단 스킵하고 "완료" -> JSON 키 파일 생성 -> 생성된 서비스 계정 클릭 -> "키" 탭 → "키 추가" → "새 키 만들기" -> JSON 선택 후 "만들기"
-> 자동으로 다운로드되는 JSON 파일명을 'play-store-credentials.json'으로 변경 및 프로젝트 루트에 배치
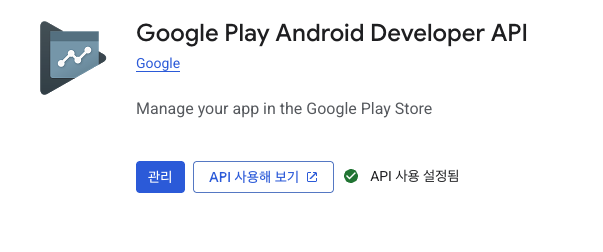
Google Play Android Developer Api 활성화
- Google Cloud Console에서 'API 및 서비스' -> '라이브러리' 진입
- 검색창에 'Google Play Android Developer API' 검색, 사용 설정 클릭
Google Play Console 설정
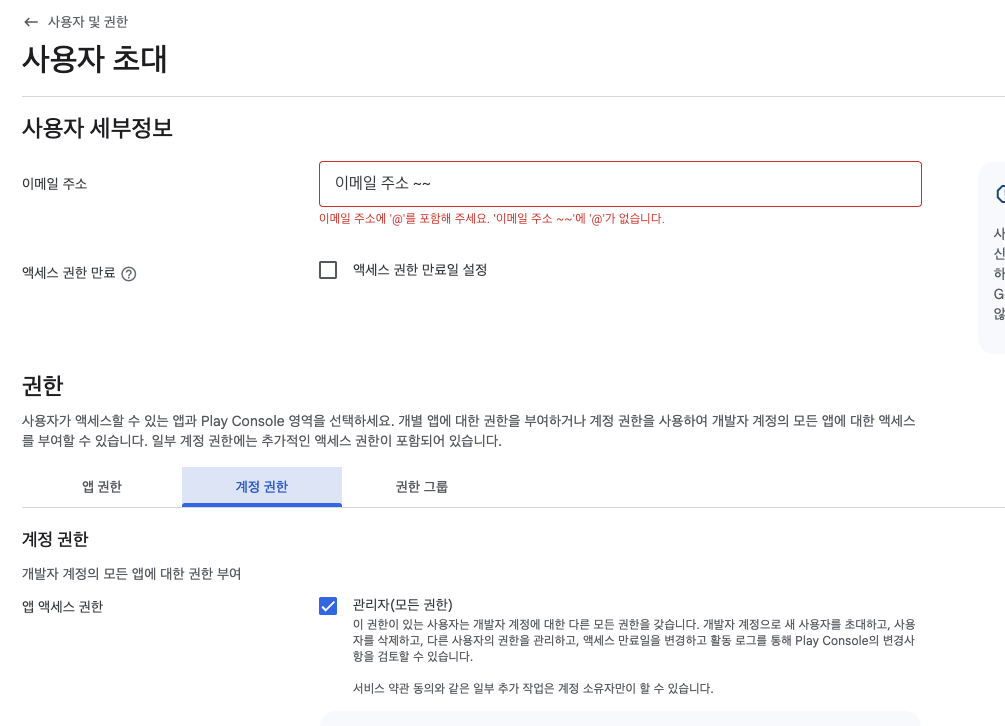
서비스 계정 권한 부여
앱 선택하지 않은 상태에서 '사용자 및 권한' -> 신규 사용자 초대
여기서 이메일 주소 입력 하는데, 아까 다운 받은 json 파일 내부에 있음. 확인 후 추가
앱 권한 -> 적용할 앱 선택
계정 권한 -> 관리자 선택 및 초대 전송
권한 확인
서비스 계정이 이메일을 받을 수 없음으로 무시됨, 추가하면 즉시 권한 활성화됨.
keystore.properties 파일 생성
프로젝트 루트에 파일 생성
storeFile=KeyStorePath.jks
storePassword=실제키스토어비밀번호
keyAlias=실제키별칭
keyPassword=실제키비밀번호
여기 들어가는 내용은 실제 내부테스트 배포 시 사용되는 별칭 및 비밀번호 추가
.gitignore 설정
민감한 파일들이 git에 커밋되지 않도록 추가
# 키스토어 파일 (절대 커밋하면 안 됨!)
*.jks
*.keystore
keystore.properties

# API 키 및 시크릿
google-services.json
key.properties

# Play Store 배포 인증 키 (절대 커밋하면 안 됨!)
play-store-credentials.json
*-credentials.json
Jenkins 설치
여기선 Mac환경에서 Homebrew사용, 설치 및 실행 방법은 다른 글 참조
Jenkins Credentials 등록
우측 상단 Jenkins관리
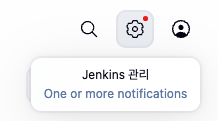
-> Security의 Credentials 진입

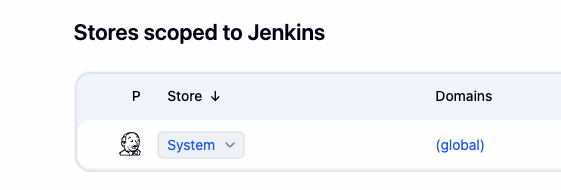
-> Stores scoped to Jenkins에 System 클릭
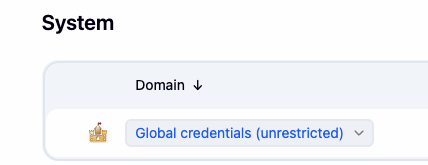
-> Global credentials (unrestricted) 클릭
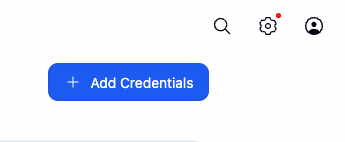
-> 우측 상단 Add Credentials 클릭
총 5가지 만들어야함.
- keystore-file (Secret file)
- Kind:
Secret file - File: 루트 프로젝트의 KeyStorePath.jks 업로드
- ID:
keystore-file - Description: `Android Keystore File
- Kind:
-
play-store-credentials (Secret file)
- Kind:
Secret file - File: 루트 프로젝트의 play-store-credentials.json 업로드
- ID:
play-store-credentials - Description:
Play Store Service Account JSON
- Kind:
-
keystore-password (Secret text)
- Kind:
Secret text - Secret: 실제 aab파일 만들 때 사용하는 Key Store Password 입력
- ID:
keystore-password - Description:
Keystore Password
- Kind:
-
key-alias (Secret text)
- Kind:
Secret text - Secret: 실제 aab파일 만들 때 사용하는 Key alias 입력
- ID:
key-alias - Description:
Key Alias
- Kind:
-
key-password (Secret text)
- Kind:
Secret text - Secret: 실제 aab파일 만들 때 사용하는 Key Password 입력
- ID:
key-password - Description:
Key Password
- Kind:
Jenkins Pipeline Job 생성
- Jenkins 대시보드 -> New Item 클릭
- Enter an item name - '프로젝트 이름-Deploy'
- Select an item type - Pipeline 선택
- Ok
Pipeline 설정
스크롤 내려 Pipeline부분 설정
Definition - Pipeline script from SCM
SCM - Git
Repository URL - 나의 깃 repo url
Credentials - public 저장소면 none
Branch Specifier - 기본설정은 */master 로 돼있는데, 내가 내부테스트 올릴 원하는 브랜치 이름 추가
Script Path - Jenkinsfile (원래 기본 설정으로 되어 있음)
Save 버튼 클릭
Jenkinsfile 작성
프로젝트 루트에 'Jenkinsfile' 생성
pipeline { //Jenkins 파이프라인 시작
    agent any //어떤 Jenkins 서버에서도 실행 가능

    environment { //환경변수 설정
        KEYSTORE_PASSWORD = credentials('keystore-password')
        KEY_ALIAS = credentials('key-alias')
        KEY_PASSWORD = credentials('key-password')
    }

    stages { //실제 작업 단계들
        stage('Checkout') {
            steps {
                echo 'Checking out code...'
                checkout scm
            }
        }

        stage('Setup Credentials') {
            steps {
                echo 'Setting up credentials...'
                withCredentials([
                    file(credentialsId: 'keystore-file', variable: 'KEYSTORE_FILE'),
                    file(credentialsId: 'play-store-credentials', variable: 'PLAY_CREDENTIALS')
                ]) {
                    sh '''
                        # Copy credentials
                        cp $KEYSTORE_FILE KeyStorePath.jks
                        cp $PLAY_CREDENTIALS play-store-credentials.json

                        # Create local.properties with Android SDK path
                        echo "sdk.dir=/Users/leewoojin/Library/Android/sdk" > local.properties
                    '''
                }
            }
        }

        stage('Build AAB') {
            steps {
                echo 'Building Release AAB...'
                sh './gradlew clean :androidApp:bundleRelease'
            }
        }

        stage('Deploy to Play Store') {
            steps {
                echo 'Deploying to Play Store Internal Track...'
                sh './gradlew :androidApp:publishReleaseBundle'
            }
        }
    }

    post { //빌드 후 처리
        success {
            echo '✅ Deployment successful!'
            echo 'AAB uploaded to Play Store Internal Track (Draft)'
        }
        failure {
            echo '❌ Deployment failed!'
        }
        cleanup {
            echo 'Cleaning up credentials...'
            sh '''
                rm -f KeyStorePath.jks
                rm -f play-store-credentials.json
                rm -f local.properties
            '''
        }
    }
}
만든 이후 Jenkinsfile Git Commit
해당 브랜치에서 versionCode 필수로 올린 후 커밋, 푸시
Jenkins에서 Build Now
성공 후 play console 들어가 보면 '임시' 로 올라가있음. 여기서는 제목을 versionCode(versionName)으로 설정해서 1(1.0) 이런식으로 올라가 있음.
들어가서 직접 확인 후 배포 누르면 성공.