오늘은 splash화면 만들기다.
라이브러리
    //Splash Api
    implementation "androidx.core:core-splashscreen:1.0.1"
스플래시 라이브러리를 추가해준다.
values/splash.xml
<resources>
    <style name="App.Starting.Theme" parent="Theme.SplashScreen">
        <item name="windowSplashScreenBackground">#FFFF</item>
        <item name="windowSplashScreenAnimatedIcon">@drawable/ic_splash</item>
        <item name="postSplashScreenTheme">@style/Theme.NewsApp</item>
    </style>
</resources>
여기서 첫번째는 스플래시화면의 배경색(여기선 흰색사용)
두번째는 스플래시 아이콘
마지막은 내 앱의 기본테마와 똑같이 이름을 써주면되는데, 이건
values->themes.xml에가면
<resources>
    <style name="Theme.NewsApp" parent="android:Theme.Material.Light.NoActionBar" />
</resources>
이렇게 있으면 name과 같은 이름으로 써주면 된다.
manifest
여기서 application에 theme이름을 splash.xml에서 만든 이름인 "App.Starting.Theme"로 바꿔준다. 그리고 MainActivity의 theme역시 똑같이 바꿔준다.
android:theme="@style/App.Starting.Theme"MainActivity
class MainActivity : ComponentActivity() {
    override fun onCreate(savedInstanceState: Bundle?) {
        super.onCreate(savedInstanceState)
        installSplashScreen()
        setContent {
            NewsAppTheme {

            }
        }
    }
}
마지막, 메인 엑티비티에서 installSplashScreen()을 추가해주면 스플래시화면이 적용된다.
다크모드
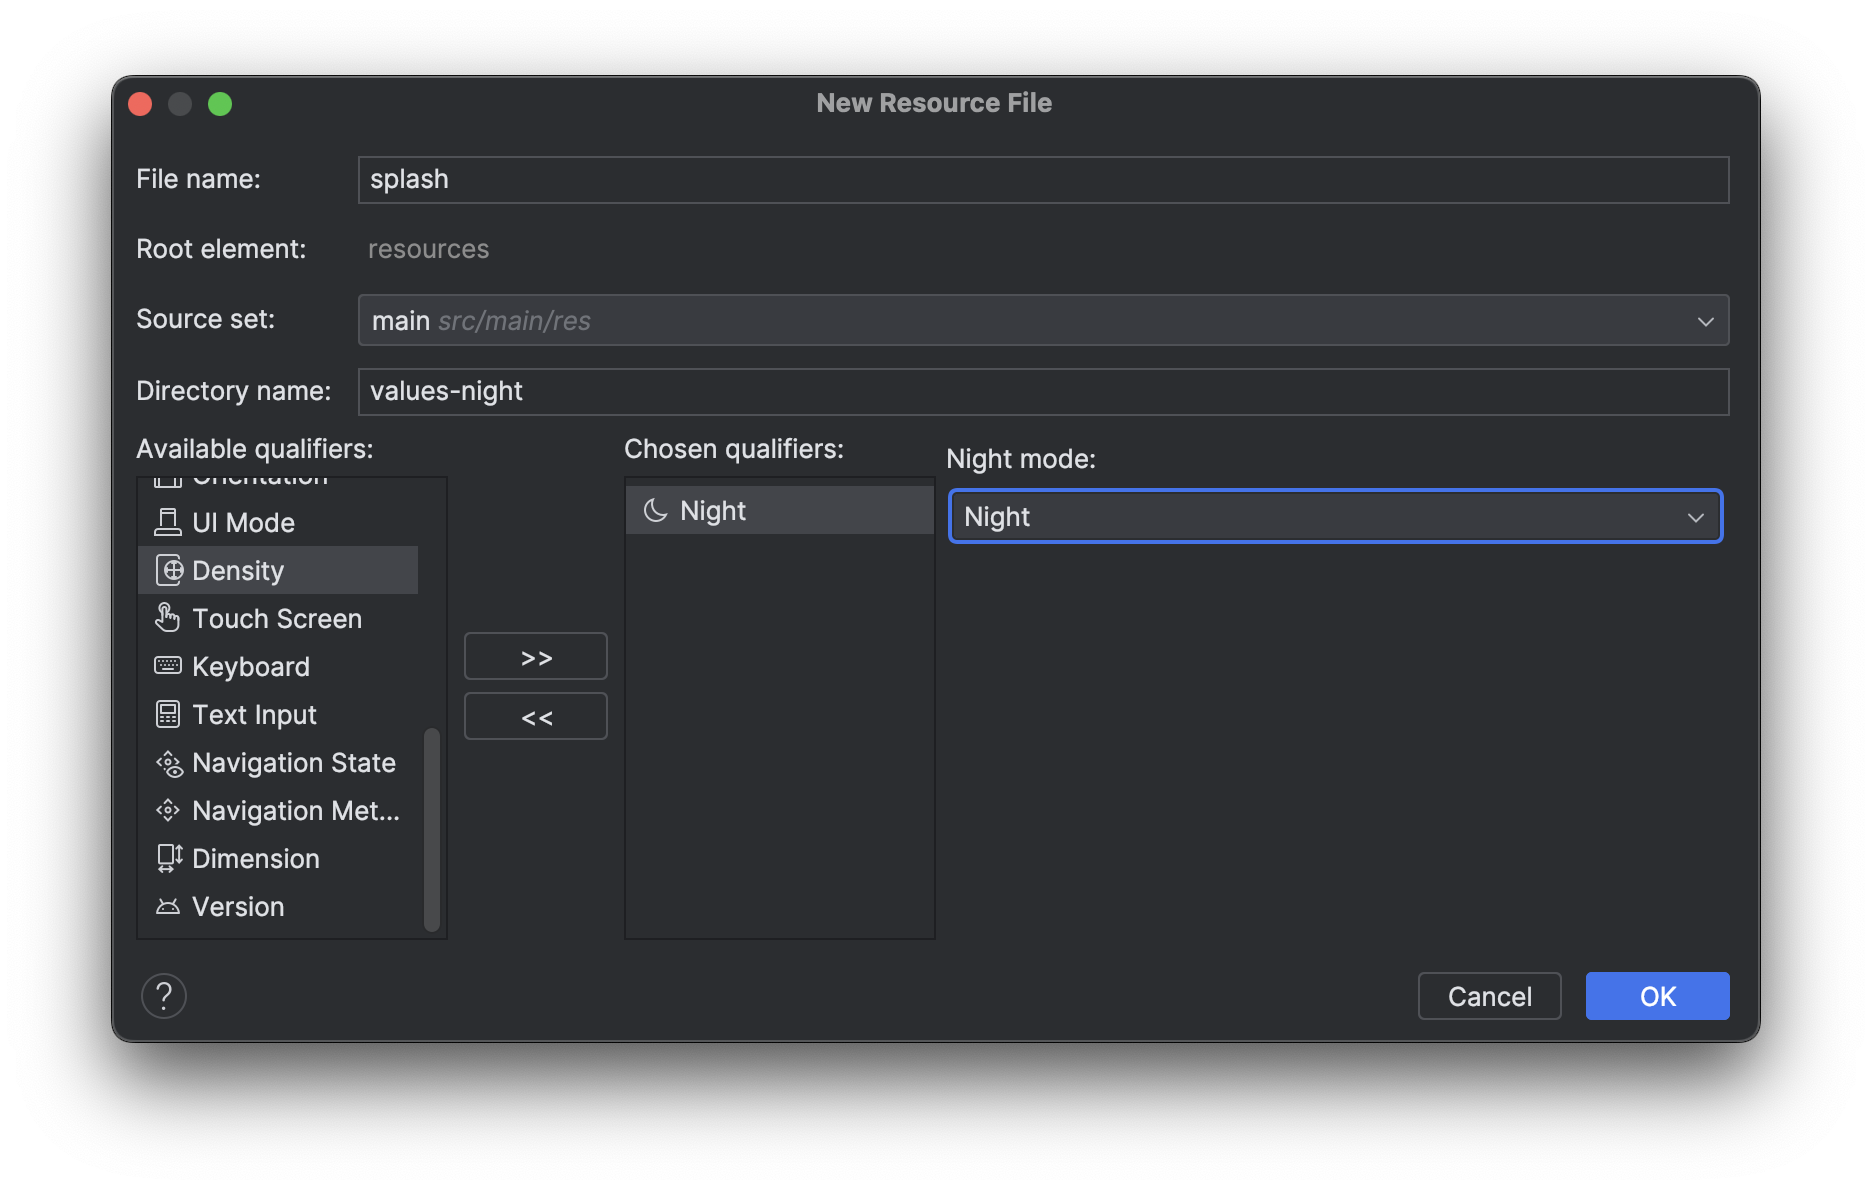
values/splash.xml을 하나더 만들어주는데 다크모드로 만들어준다.
'Night Mode' 를 눌러주고 >> 를 눌러 모드를 Night로 바꿔주면 된다.

이우진