1. UI 작업의 어려움에 관하여
일전에 팀 프로젝트를 하면서 UI 및 이벤트 트리거 부분을 담당했던 적이 있었고, UI를 전적으로 담당하지 않았음에도 UI를 다루는 것이 쉽지 않음을 새삼 느꼈다.
이번에 진행했던 개인 프로젝트에서도 UI 쪽에서 생각보다 시간이 많이 소요되었고, 결국 원했던 사운드 조절 UI나 설정 관련 UI는 결국 손도 못 대 보고 프로젝트가 끝난 것이 아쉬웠다.
UI 작업이란 것은, 알고리즘의 구현이나 이런 부분보다는 소위 노가다라는 부분 때문에 시간이 많이 걸리는 영역이다.
특히나 화면 크기에 따른 UI의 배치가 일정하게 하도록 하는 앵커 작업도 씬 뷰에서 직접 작업해야 하고, 아주 미세하게 잘못되어도 바로 어그러진 것이 티가 나는 부분이다.
UI작업이 어려운 이유는 아래와 같이 세 가지로 생각할 수 있다.
- 단순한 형태의 UI여도 몇십 개의 오브젝트가 붙어 있는 경우가 많음(개수가 많아서 힘들다)
- 유니티 특성상 인스펙터 상으로 참조되어 있던 컨텐츠는 사라지거나 다시 추가될 때와 같은 상황에서 저장되지 않는다. 즉 UI의 변동사항에 취약하다.
- 인스펙터로 UI의 작동 과정을 살펴야 하기 때문에 과정 파악이 힘들고 디버깅이 어렵다.
이런 UI를 보다 편하게 다루기 위해 현업에서 어떻게 하는지 알아보자.
2. UI Binding
UI는 인스펙터 상에서 Onclick으로 참조하는 방식으로 할 수 있다. 하지만 UI의 요소가 늘어나면 어떤 것이 어떤 기능을 참조하고 있는지 인스펙터 상으로 확인하는 과정이 번거로워질 수 있다.
따라서 UI의 변동이 일어나더라도 코드상으로 UI의 관계를 연결해 놓는 UI Binding에 대해 알아보고자 한다.
먼저 BaseUI 컴포넌트를 만들어보자.
- BaseUI
using System.Collections;
using System.Collections.Generic;
using UnityEngine;

public class BaseUI : MonoBehaviour
{
	// 게임오브젝트를 이름으로 찾을 때 사용
    private Dictionary<string, GameObject> gameObjectDic;
    // 특정 컴포넌트(버튼, 스크롤바, 이미지 등)를 이름으로 찾을 때 사용
    private Dictionary<string, Component> componentDic;

    private void Awake()
    {
    	// 게임오브젝트를 이름으로 저장한다
        RectTransform[] transforms = GetComponentsInChildren<RectTransform>(true);
        // Length는 효율성을 위한 것, 더 효율적으로 하고 싶으면 <<2 비트 연산자를 사용하자.
        gameObjectDic = new Dictionary<string, GameObject>(transforms.Length * 4);
        foreach (RectTransform child in transforms)
        {
            gameObjectDic.TryAdd(child.gameObject.name, child.gameObject);
        }

        // 특정 컴포넌트를 이름으로 저장한다
        Component[] components = GetComponentsInChildren<Component>(true);
        componentDic = new Dictionary<string, Component>(components.Length * 4);
        foreach (Component child in components)
        {
            componentDic.TryAdd($"{child.gameObject.name}_{child.GetType().Name}", child);
        }
    }

	// 게임오브젝트를 이름으로 가져온다
    public GameObject GetUI(in string name)
    {
        gameObjectDic.TryGetValue(name, out GameObject gameObject);
        return gameObject;
    }

	// 특정 컴포넌트를 이름으로 가져온다
    public T GetUI<T>(in string name) where T : Component
    {
        componentDic.TryGetValue($"{name}_{typeof(T).Name}", out Component component);
        if (component != null)
            return component as T;

        GameObject gameObject = GetUI(name);
        if (gameObject == null)
            return null;

        component = gameObject.GetComponent<T>();
        if (component == null)
            return null;

        componentDic.TryAdd($"{name}_{typeof(T).Name}", component);
        return component as T;
    }
}
이와 같이 BaseUI를 만들고, 이 BaseUI를 상속하는 Presenter를 만들자.
using UnitEngine.UI;

public class Presenter : BaseUI
{
	// GetUI GameObject
    private GameObject nextButton => GetUI("NextButton");
	private GameObject coinText => GetUI("CoinText");

	// GetUI<컴포넌트 종류>(게임오브젝트 이름)
    private Button NextButton => GetUI<Button>("NextButton");
    private Image NextButtonImage => GetUI<Image>("NextButton");
    private Text CoinText => GetUI<Text>("CoinText");
}
이와 같이 작성하면 추후에 오브젝트의 이름이 변경되거나 했을 때, 스크립트 상으로 확인이 가능하고 스크립트에서 참조하는 이름을 고치거나 가져올 컴포넌트를 수정하면 된다.
3. PointHandler
버튼은 기본적으로 Onclick 함수를 넣을 수 있다. 하지만 버튼 위에 커서가 올라가 있다든지, 버튼을 누르고 있는 중에 발생하는 이벤트라든지 이런 효과를 줄 수 있을 것이다.
이것은 Onclick으로 처리할 수 없는 부분으로, 대신 UI에 적용할 수 있는 PointHandler 인터페이스를 활용해야 한다.
using System;
using System.Collections;
using System.Collections.Generic;
using UnityEngine;
using UnityEngine.EventSystems;
public class PointerHandler : MonoBehaviour
, IPointerEnterHandler // 포인터가 들어갔을 때
, IPointerExitHandler // 포인터가 나왔을 때
, IPointerUpHandler // 버튼을 뗄 때
, IPointerDownHandler // 버튼을 누를 때
, IPointerClickHandler // 버튼을 누르고 뗐을 때
// -> 누르거나 떼거나 둘 중 하나라도 판정이 되지 않았을 경우 판정x
// ex) 영역에서 누른 채로 바깥에서 버튼을 뗐을 경우
, IPointerMoveHandler //
, IDragHandler // 드래그 중일 때
, IBeginDragHandler // 드래그를 시작했을 때
, IEndDragHandler // 드래그를 끝냈을 때
{
public event Action<PointerEventData> Enter;
public event Action<PointerEventData> Exit;
public event Action<PointerEventData> Up;
public event Action<PointerEventData> Down;
public event Action<PointerEventData> Click;
public event Action<PointerEventData> Move;
public event Action<PointerEventData> Drag;
public event Action<PointerEventData> BeginDrag;
public event Action<PointerEventData> EndDrag;
public void OnPointerEnter(PointerEventData eventData) => Enter?.Invoke(eventData);
public void OnPointerExit(PointerEventData eventData) => Exit?.Invoke(eventData);
public void OnPointerUp(PointerEventData eventData) => Up?.Invoke(eventData);
public void OnPointerDown(PointerEventData eventData) => Down?.Invoke(eventData);
public void OnPointerClick(PointerEventData eventData) => Click?.Invoke(eventData);
public void OnPointerMove(PointerEventData eventData) => Move?.Invoke(eventData);
public void OnDrag(PointerEventData eventData) => Drag?.Invoke(eventData);
public void OnBeginDrag(PointerEventData eventData) => BeginDrag?.Invoke(eventData);
public void OnEndDrag(PointerEventData eventData) => EndDrag?.Invoke(eventData);
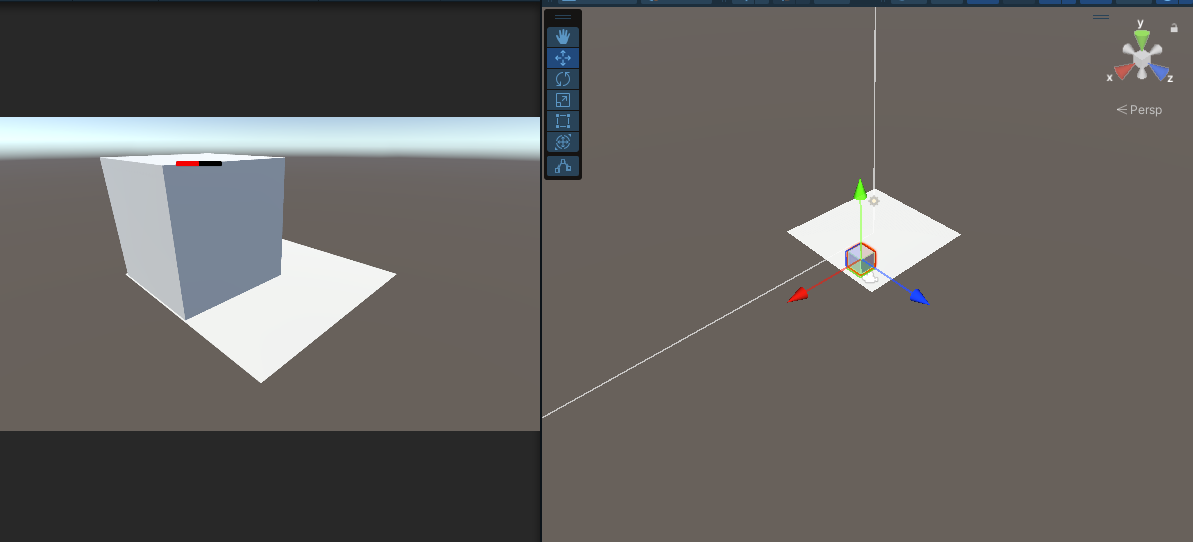
}4. 사용 예시 : PointHandler의 3D 상황 적용
3D 환경에서 오브젝트를 들어올리고, 드래그로 위치를 이동시키면서 다시 내려놓을 수 있는 시스템을 만들어 보자.
using UnityEngine;
using UnityEngine.EventSystems;

public class Pointer3DTester : MonoBehaviour
    , IDragHandler
    , IBeginDragHandler
    , IEndDragHandler
{
    public void OnBeginDrag(PointerEventData eventData)
    {
        transform.Translate(Vector3.up * 1f, Space.World);
    }

    public void OnDrag(PointerEventData eventData)
    {
        Plane plane = new Plane(Vector3.up, Vector3.zero);
        Ray ray = Camera.main.ScreenPointToRay(Input.mousePosition);
        if(plane.Raycast(ray, out float distance))
        {
            transform.position = ray.GetPoint(distance) + Vector3.up * 1.5f;
        }
    }

    public void OnEndDrag(PointerEventData eventData)
    {
        transform.Translate(Vector3.down * 1f, Space.World);
    }
}
이와 같은 컴포넌트를 큐브에 사용하면, Raycast를 쏴서 ScreenPointToRay로 큐브를 이동하고 배치하는 방식을 구현할 수 있다.
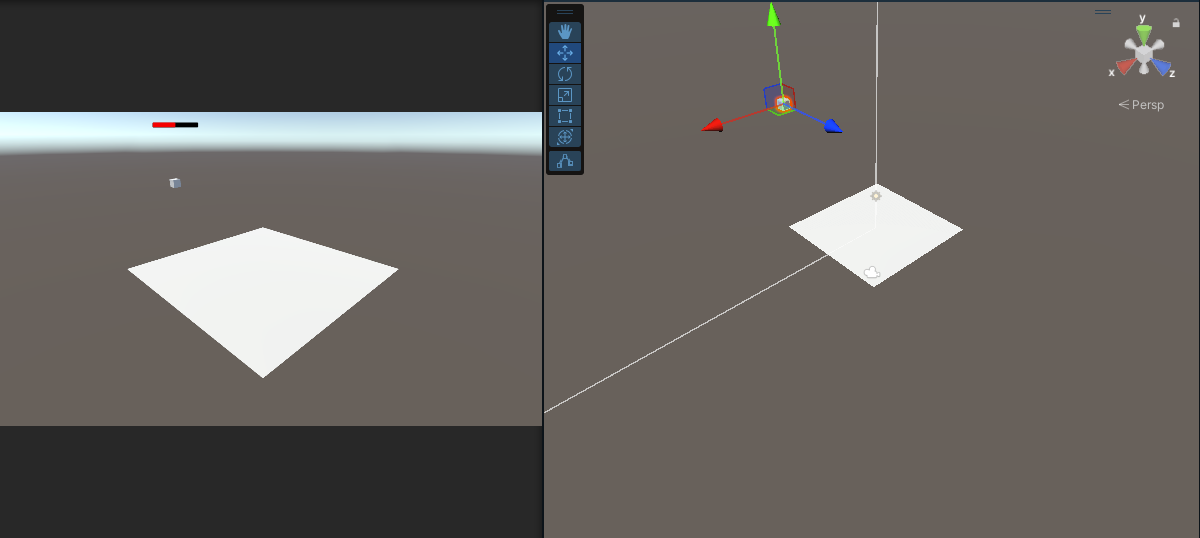
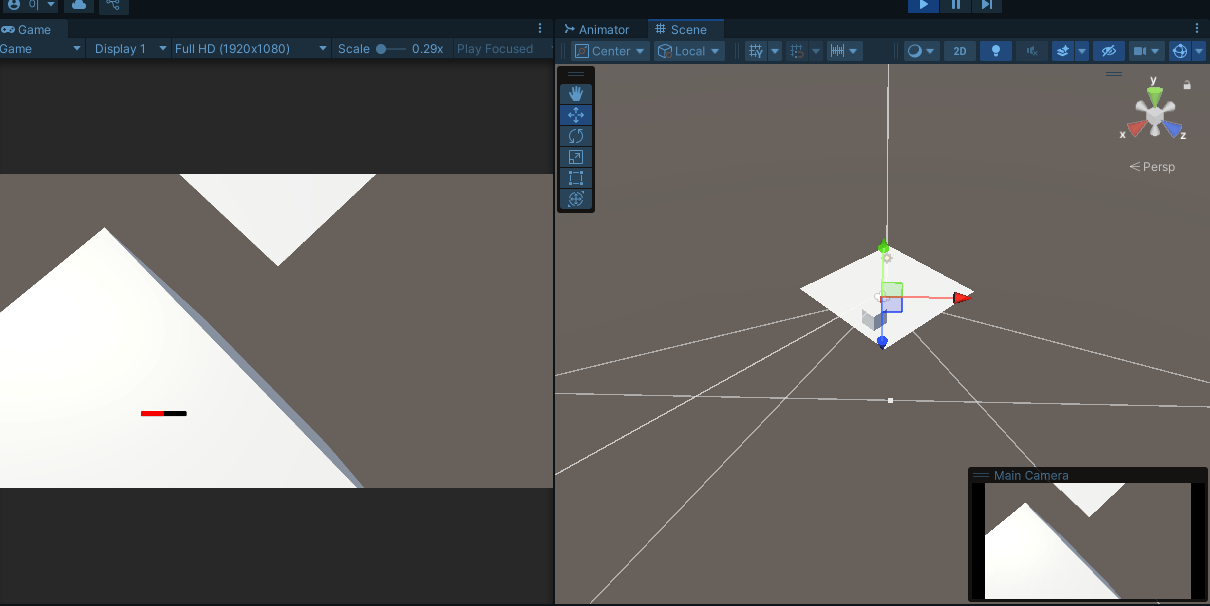
5. Unity Billboard UI
Billboard 란 아래와 같이 항상 카메라 방향으로 이미지가 보이도록 하는 렌더링 방식을 말한다.
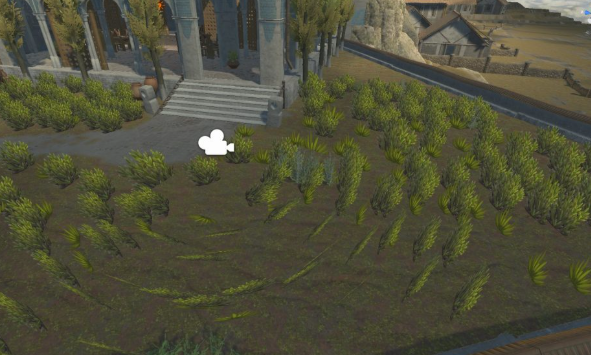
실제로 플레이어의 시점에서는 3D라고 착각할 수 있겠지만, 실제로는 2D 이미지가 계속 카메라를 따라오게 하는 방식으로 배경을 꾸미는 데에서 사용할 수 있다.
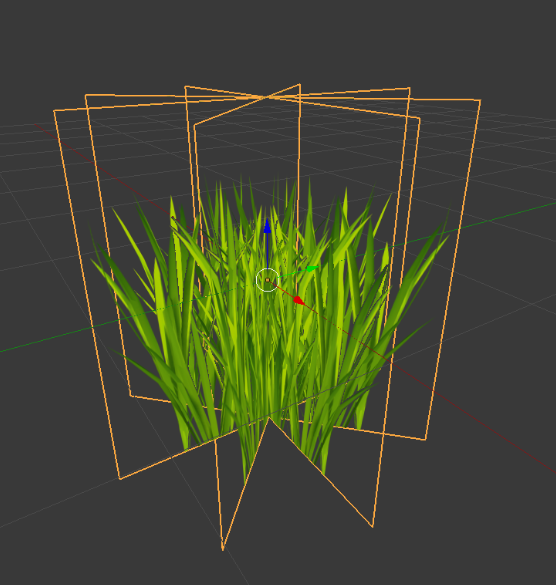
이와 같이 풀이나 상호작용이 없는 배경 오브젝트에서 쓰는 방식이다. 이와 같은 방식을 활용했을 때, 실제 3D 모델링된 오브젝트를 사용하는 것보다 최적화의 효과를 노릴 수 있을 것이다.
이걸 UI에 적용하는 경우 Billboard UI라고 한다.
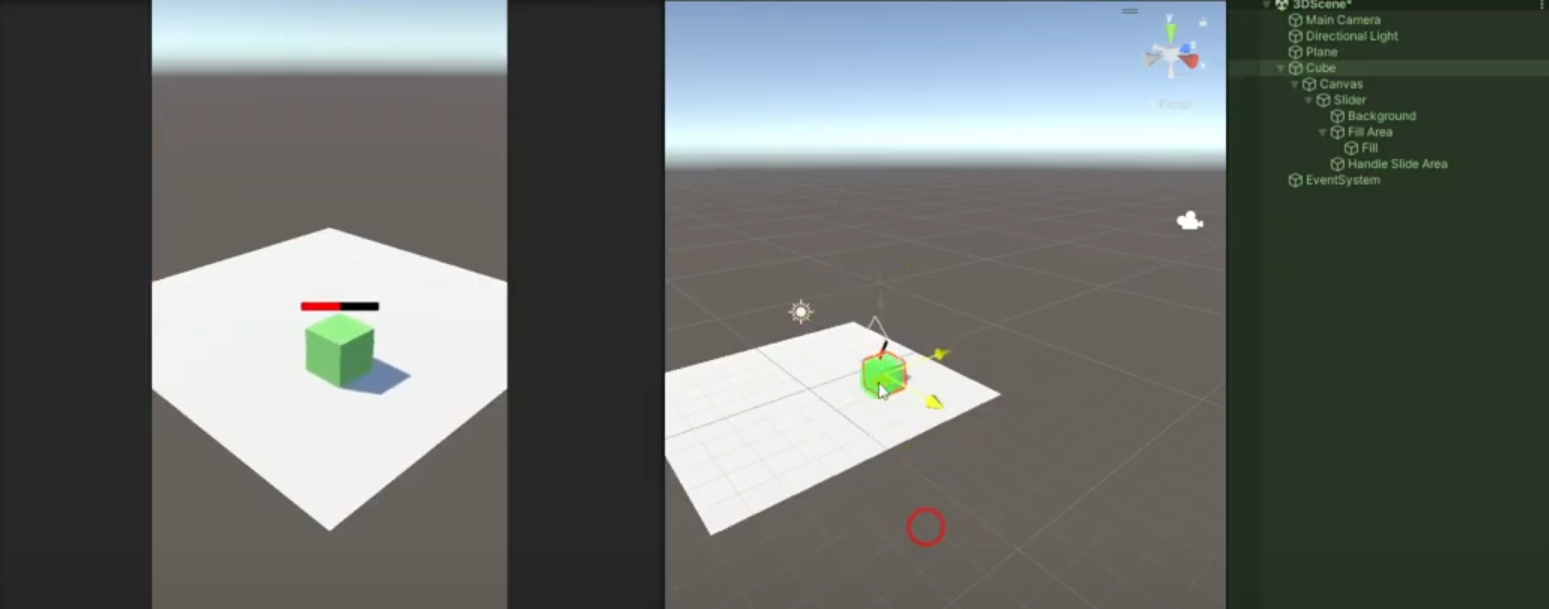
이와 같이 몬스터에게 체력바를 붙일 경우 플레이어 시점에서 계속 UI를 띄우고 싶은 상황에서 사용할 수 있을 겻이다.
일반적으로 이런 UI를 몬스터의 자식 오브젝트로 두어 월드 스페이스 단위로 캔버스를 두어 설계하는 방식으로도 만들 수 있다.
다만 이와 같이 설계했을 경우 몬스터가 가까워지는 만큼 UI가 커지고, 멀어지면 UI가 작아지는 현상을 겪게 된다.
이를 해결할 방법에 대해 생각해보고자 한다.
using UnityEngine;

public class HUD : MonoBehaviour
{
	[SerializeFielc] Transform follow;

    private void LateUpdate()
    {
    	transform.position = Camera.main.WorldToScreenPoint(follow.Position) + Vector3.up * 200f;
    }
}
이와 같이 간단하게 만든 후, Canvas는 Screen Space - Overlay로 설정하고 Slider에 해당 컴포넌트를 부착하면 된다.
그러면 아래와 같이 UI가 자연스럽게 따라오는 것을 확인할 수 있다.

6. UIManager
UI를 관리하는 방식을 구성하기 위해 UIManager를 만들어보자.
UIManager는 싱글톤 형식으로 만들어 볼 것이다.
- UIManager
using UnityEngine;
public class UIManager : MonoBehaviour
{
#region Singleton
private static UIManager instance;
public static UIManager Instance { get { return instance; } }
private void Awake()
{
if (instance == null)
{
instance = this;
DontDestroyOnLoad(gameObject);
}
else
{
Destroy(gameObject);
}
}
#endregion
// 팝업 캔버스를 기본적으로 참조시키나, 팝업 캔버스가 없는 경우 1차로 씬에서 찾아보고,
// 씬에도 존재하지 않으면 생성하도록 함.
private PopUpCanvas popUpCanvas;
public PopUpCanvas PopUpCanvas
{
get
{
if (popUpCanvas != null)
return popUpCanvas;
popUpCanvas = FindObjectOfType<PopUpCanvas>();
if (popUpCanvas != null)
return popUpCanvas;
PopUpCanvas prefab = Resources.Load<PopUpCanvas>("UI/PopUpCanvas");
return Instantiate(prefab);
}
}
public T ShowPopUp<T>() where T : BaseUI
{
T prefab = Resources.Load<T>($"UI/PopUp/{typeof(T).Name}");
T instance = Instantiate(prefab, PopUpCanvas.transform);
PopUpCanvas.AddUI(instance);
return instance;
}
public void ClosePopUp()
{
PopUpCanvas.RemoveUI();
}
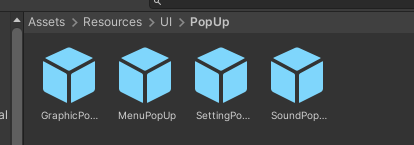
}이와 같이 UIManager가 팝업 캔버스에 대한 관리를 하도록 하고, Resources 파일을 생성하고 PopUpCanvas 프리팹을 만들어 그 안에 저장한다.
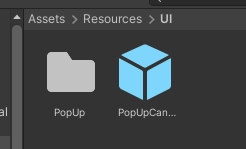
또한 ShowPopUp에 대한 부분은 UI/PopUp/{typeof(T).Name} 으로 생성하므로, 해당 프리팹을 생성하고 이와 동일한 이름의 스크립트를 생성한다.
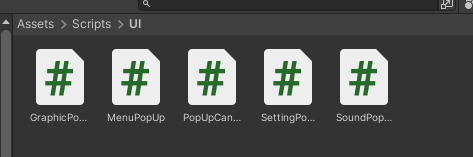
우선 제일 위에 생성되는 PopUpCanvas에 대한 스크립트를 아래와 같이 작성한다.
사용 방식은, Stack을 이용한 방식으로 Setting 팝업 UI 위에 세부 설정에 대한 팝업을 겹쳐 올리는 방식으로 Push와 Pop을 반복한다.
- PopUpCanvas
using System.Collections.Generic;
using UnityEngine;

public class PopUpCanvas : MonoBehaviour
{
    [SerializeField] GameObject blocker;

    private Stack<BaseUI> stack = new Stack<BaseUI>();

    public void AddUI(BaseUI ui)
    {
    	// 새로운 UI를 생성하기 전 제일 위의 UI를 확인한 후, 해당 UI를 비활성화 시킨다.
        if (stack.Count > 0)
        {
            BaseUI top = stack.Peek();
            top.gameObject.SetActive(false);
        }
        // 새로운 UI를 생성한다.
        stack.Push(ui);

		// 제일 밑의 blocker를 활성화 시킨다.
        blocker.SetActive(true);
    }

    public void RemoveUI()
    {
        if (stack.Count == 0)
            return;

		// 맨 위의 UI를 Pop하고 제거한다.
        BaseUI top = stack.Pop();
        Destroy(top.gameObject);

		// 맨 위의 UI를 파괴시킨 후, 그 밑의 비활성화되어 있던 UI를 활성화시킨다.
        if (stack.Count > 0)
        {
            top = stack.Peek();
            top.gameObject.SetActive(true);
        }
        // 스택에 저장된 것이 없을 경우 제일 밑의 blocker를 비활성화 시킨다.
        else
        {
            blocker.SetActive(false);
        }
    }
}
이와 같이 만든 후, 생성할 UI의 프리팹의 경로를 코드에 맞춰서 저장하고, 코드로 해당 프리팹에서의 작동을 저장한다.
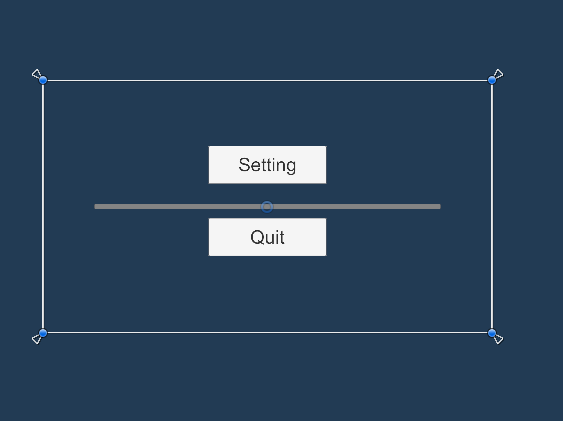
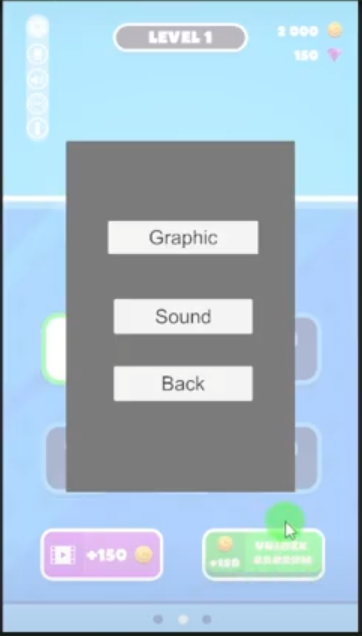
- MenuPopUp
public class MenuPopUp : BaseUI
{
    private void Start()
    {
        GetEvent("SettingButton").Click += data => Manager.UI.ShowPopUp<SettingPopUp>();
        GetEvent("QuitButton").Click += data => Manager.UI.ClosePopUp();
    }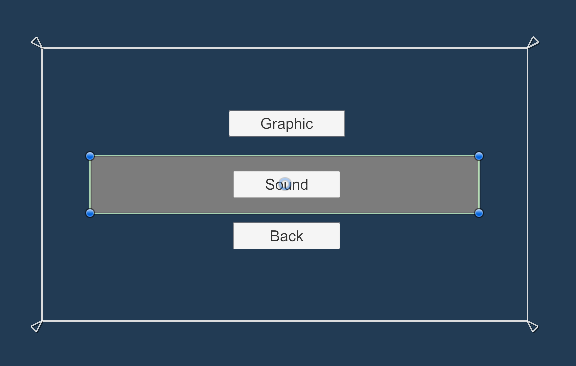
}- SettingPopUp
public class SettingPopUp : BaseUI
{
    private void Start()
    {
        GetEvent("GraphicButton").Click += data => Manager.UI.ShowPopUp<GraphicPopUp>();
        GetEvent("SoundButton").Click += data => Manager.UI.ShowPopUp<SoundPopUp>();
        GetEvent("BackButton").Click += data => Manager.UI.ClosePopUp();
    }
}- GraphicPopUp
public class GraphicPopUp : BaseUI
{
private void Start()
{
GetEvent("SaveButton").Click += data => Manager.UI.ClosePopUp();
GetEvent("CancelButton").Click += data => Manager.UI.ClosePopUp();
}
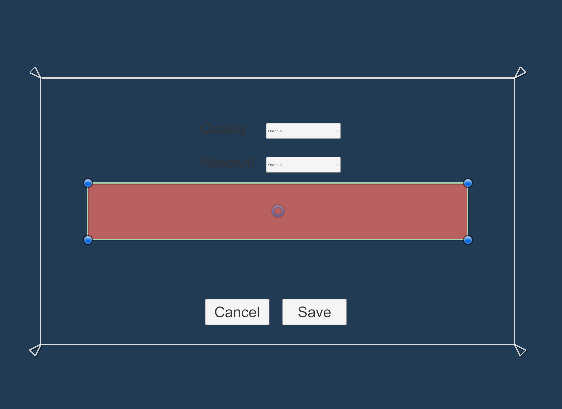
}* 세부 옵션 및 저장 매커니즘은 스스로 만들어 볼 것.
- SoundPopUp
public class SoundPopUp : BaseUI
{
private void Start()
{
GetEvent("SaveButton").Click += data => Manager.UI.ClosePopUp();
GetEvent("CancelButton").Click += data => Manager.UI.ClosePopUp();
}
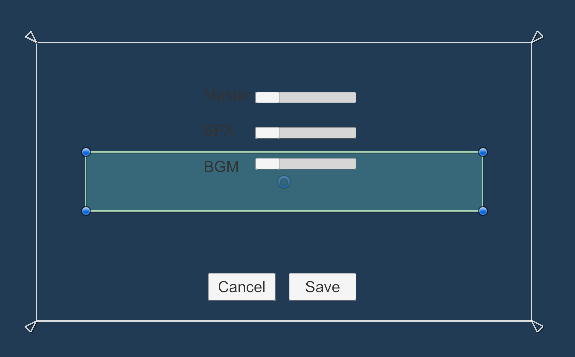
}* 세부 옵션 및 저장 매커니즘은 스스로 만들어 볼 것.
7. PopUpUI 관련 팁(편법)
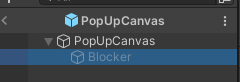
위의 코드에서는 PopUpCanvas에 Blocker라는 부분이 있는데, 이 부분이 있는 이유는 다음과 같다.
- UI가 팝업 형식으로 화면 크기보다 작은 UI로 떴을 때, 이런 문제가 생길 수 있다.
SettingUI가 활성화되어 있는데 그 뒤에 있는 UI 버튼들이 눌리게 되는 현상이 생길 수 있다.
따라서 blocker라는 화면 전체를 덮는 Panel 같은 것을 반투명/투명하게 만들어 뒷 부분이 눌리지 않게 하는 것이다.
이렇게 하면 Setting 관련 옵션을 설정하다가 외부의 부분을 눌러도 다른 UI가 뜨지 않고, 맨 마지막의 UI가 비활성화되어 Stack이 0이 되었을 경우 이 Blocker를 비활성화시키는 것이다.
이런 편법을 이해하면, 아래와 같은 상황에 대해서도 기능을 구현할 수 있다.
- UI가 팝업으로 떴을 때, 그냥 화면의 빈 공간을 눌렀을 때 UI가 바로 꺼지는 기능을 만들고 싶다.
-> 편법으로, 화면 전체를 덮는 Blocker를 Button으로 만들어버린다. 이때, 버튼이 눌렸을 때 모든 팝업이 꺼지는 방식으로 만들면 된다.
