
데이터 통신배우기 1~3단계를 통해 직접 해본 디코딩, 역직렬화를 모두 활용해 최종 목적지인 UI에 보여주는 작업을 해보자!
순서는 아래와 같다.
- 먼저 JSON 파일을 확인해보고
- UI 틀을 대략 잡고
- http 통신하여 가져온 데이터를 디코딩하여 파싱하고
- JSON 데이터를 앱 내의 객체로 변환시킨 후에
- UI에 보여준다.
엄청 복잡해보이지만 .. 하다보면 익숙해진다..!
1. JSON 파일 확인하기
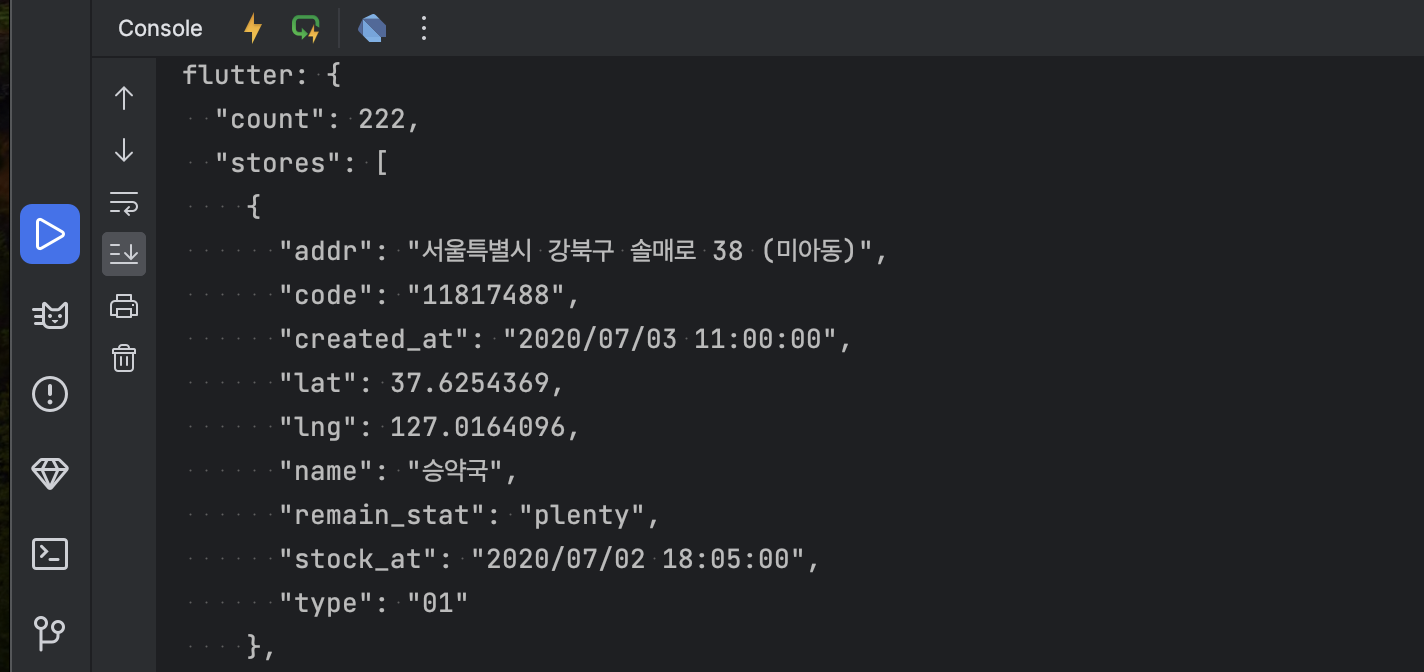
우리가 가져다 쓸 JSON 데이터를 먼저 살펴보자.
  "count": 222,
  "stores": [
    {
      "addr": "서울특별시 강북구 솔매로 38 (미아동)",
      "code": "11817488",
      "created_at": "2020/07/03 11:00:00",
      "lat": 37.6254369,
      "lng": 127.0164096,
      "name": "승약국",
      "remain_stat": "plenty",
      "stock_at": "2020/07/02 18:05:00",
      "type": "01"
    },
    {
      "addr": "서울특별시 강북구 삼양로 247 3층 (미아동)",
      "code": "12856941",
      "created_at": "2020/07/03 11:00:00",
      "lat": 37.6255182,
      "lng": 127.017747,
      "name": "대지약국",
      "remain_stat": "plenty",
      "stock_at": "2020/07/03 10:45:00",
      "type": "01"
    }
- 총 222개의 객체가 stores가 리스트에 담겨있다.
- 각 객체는 addr, code, created_at 등 총 8개의 key와 value로 이루어진 값을 가지고 있다.
2. UI 틀 잡기
Main은 생략한 MyHomePage 클래스이다. ListView, ListTile을 이용한 아주 간단한 UI이며 Text안에는 하드코딩된 문자열이 들어가있으나 바로 이 자리에 데이터가 들어오게 할 것이다.
class _MyHomePageState extends State<MyHomePage> {
  }

  @override
  Widget build(BuildContext context) {
    return Scaffold(
      appBar: AppBar(
        title: const Text('데이터통신 연습'),
      ),
      body: ListView(children: const [
         ListTile(
          title: Text('가게이름'),
          subtitle: Text('가게주소'),
          trailing: Text('재고현황'),
        ),
      ]),
    );
  }
}- 이런 UI를 그리기 위해 우리가 필요한 정보는 가게이름, 가게주소, 재고현황이다.
- 따라서 1번에서 살펴본 JSON 파일 내에서 addr, name, remain_stat만 필요하다는 것을 파악할 수 있다.
3. 데이터 통신해보기
1) http.get
그럼 이제 http로 통신을 해서 데이터를 가져와보자. UI가 시작되는 @override 위쪽에 http 라이브러리를 활용해 데이터 통신을 했다.
class MyHomePage extends StatefulWidget {
  const MyHomePage({super.key});

  @override
  State<MyHomePage> createState() => _MyHomePageState();
}

class _MyHomePageState extends State<MyHomePage> {

@override
  void initState() {
    super.initState();
    fetch();
  }

  Future fetch() async {
   var response = await http.get(Uri.parse('http://example.com'));
   print(response.body);
  }

//ui 코드 생략
  @override
  Widget build(BuildContext context) {...}
데이터 통신에 해당하는 내용만 뜯어서 보자!
@override
   void initState() {
     super.initState();
     fetch();
  }

  Future fetch() async {
    var response = await http.get(Uri.parse('http://example.com'));
    print(response.body);
}- fetch() 라는 Future 함수를 만들었다.
- http.get으로 url 주소를 통해 데이터를 가져온다.
- response.body를 통해 JSON 문자열을 가져올 수 있다.
- 참고로 앱이 재실행될 때 fetch 함수가 실행되어 내가 원하는 프린트 결과를 볼 수 있도록 initState를 추가했다.
 이렇게 JSON이 잘 들어오는 걸 확인할 수 있다!
직접 print 하기에 양이 너무 많기 때문에 데이터를 불러오는 것 보다 statusCode를 찍어 200인지 확인하는 방법이 더 편하다.
이렇게 JSON이 잘 들어오는 걸 확인할 수 있다!
직접 print 하기에 양이 너무 많기 때문에 데이터를 불러오는 것 보다 statusCode를 찍어 200인지 확인하는 방법이 더 편하다.
@override
   void initState() {
     super.initState();
     fetch();
  }

  Future fetch() async {
    var response = await http.get(Uri.parse('http://example.com'));
    print('Response status : ${response.statusCode}');
} 
2) jsonDecode로 JSON 문자열을 파싱하기
이제 이 JSON 문자열을 Dart에서 활용할 수 있도록 Dart의 Map으로 변환(파싱) 시켜주자.
response.body를 jsonDecode함수로 감싸주면 된다.
@override
   void initState() {
     super.initState();
     fetch();
  }

  Future fetch() async {
    var response = await http.get(Uri.parse('http://example.com'));
    final jsonResult = jsonDecode(response.body);
    print(jsonResult);
  }
이번엔 Map 형태로 변환된 것을 확인할 수 있다!
response.body와 jsonResult의 runtimeType을 확인해보면 JSON 문자열을 그대로 읽어온 response.body는 String, 파싱한 결과인 jsonResult는 Map인걸 알 수 있다.
print(response.body.runtimeType);
print(jsonResult.runtimeType);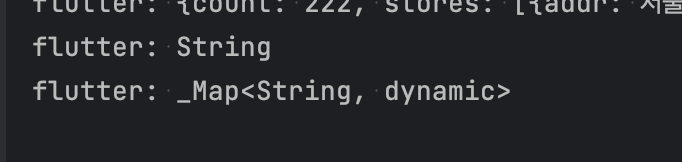
3) 원하는 데이터만 가져오기
Map으로 파싱된 결과를 보면 count: 222 까지 들어온 걸 확인할 수 있다. 그런데 우리가 원하는 정보는 Stores 배열 안에 있기 때문에 Stores만 가져와야 할 것이다!
@override
   void initState() {
     super.initState();
     fetch();
  }

  Future fetch() async {
    var response = await http.get(Uri.parse('http://example.com'));
    final jsonResult = jsonDecode(response.body);
    final jsonStores = jsonResult['stores']; //stores 정보 가져오기
    final jsonCount = jsonResult['count']; //count 정보 가져오기![]
}- 방법은 너무 쉽다. ['stores']를 넣으면 stores 배열만 읽어온다.
- 마찬가지로 count 정보만 갖겨오고 싶다면 ['count']만 넣으면 된다.

여기까지만 이해해도 잘 하고 있는거다..!!
UI로 그림 그리는 마지막 단계는 다음 글에서 살펴보자