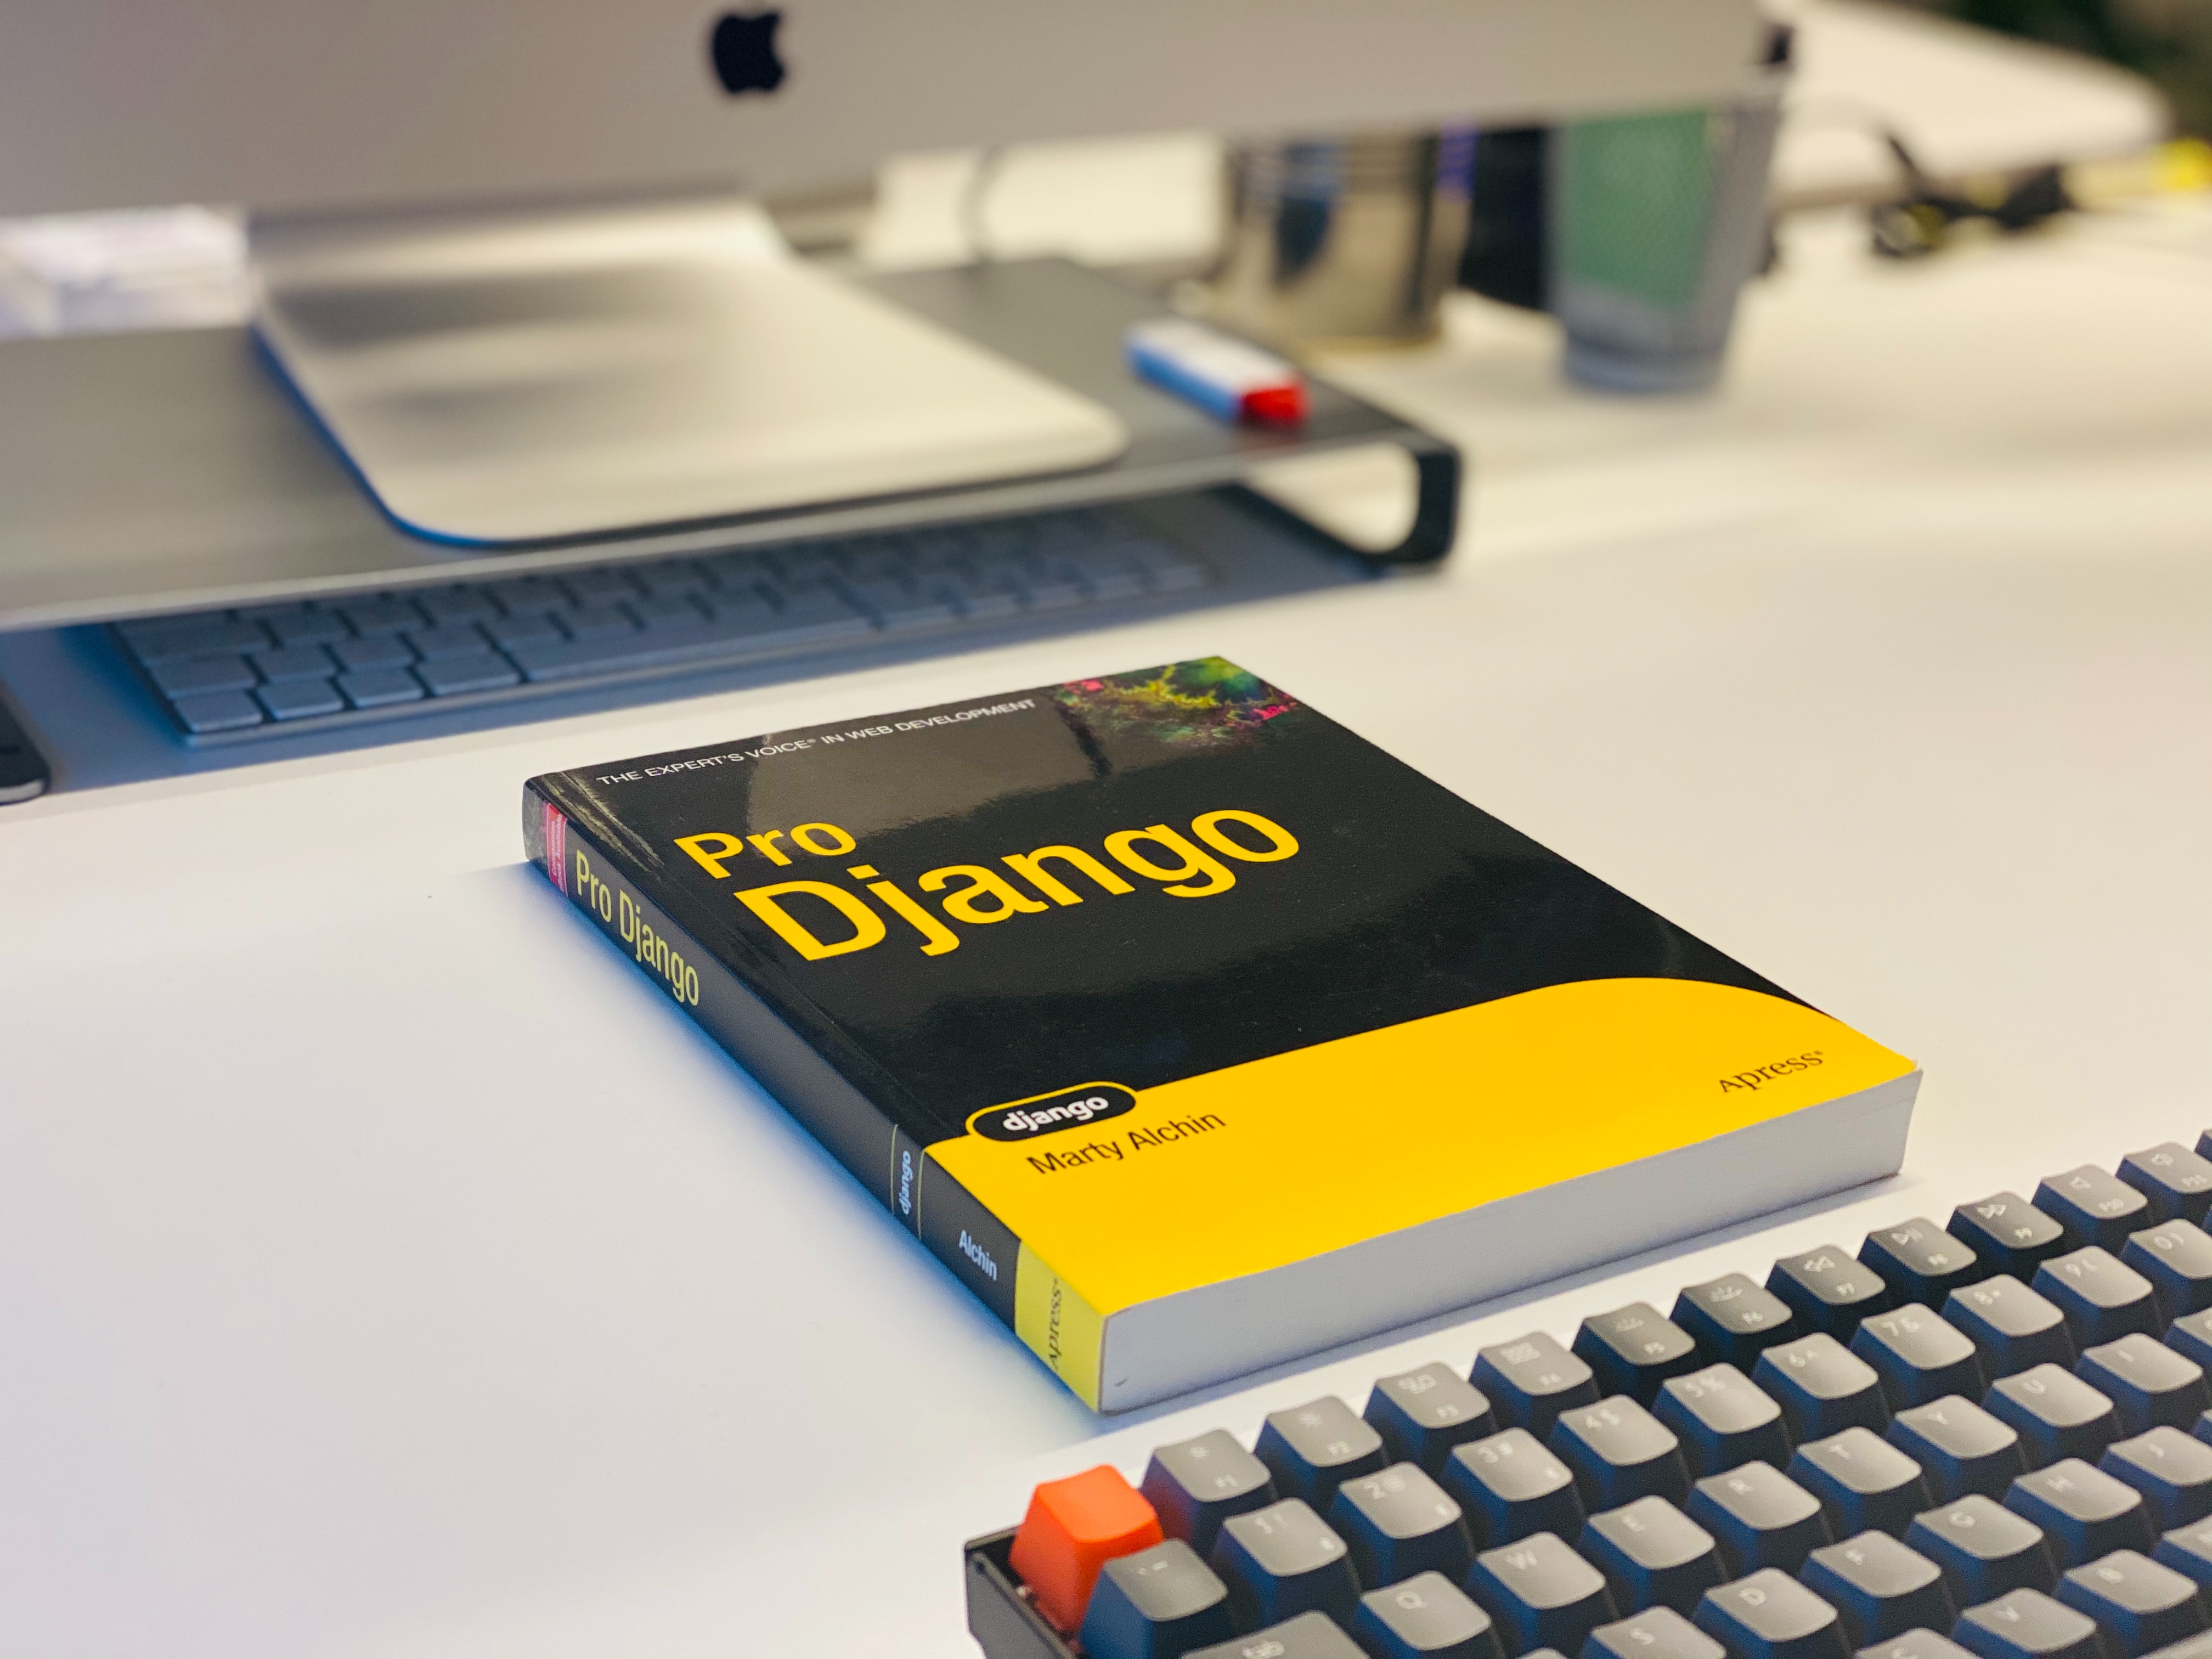
면접 과제를 진행하면서 Data Migration에 대해 배웠다!🙌🏻
Data Migration
마이그레이션을 사용해서 데이터베이스 스키마를 변경하는 것 뿐 아니라 데이터베이스 자체의 데이터를 변경할 수도 있다. 데이터를 변경하는 마이그레이션을 데이터 마이그레이션이라고 한다. 스키마 마이그레이션과 함께 별도로 마이그레이션 파일을 작성하는 것이 좋다. 스키마 마이그레이션처럼 자동으로 생성할 수는 없지만 빈 마이그레이션 파일을 만든 후 그 파일 안에 데이터를 어떻게 옮길지 작성하면 된다. 마이그레이션 파일은 Operations로 구성되며 데이터 마이그레이션에는 RunPython을 사용한다.
# 빈 마이그레이션 파일 생성
python manage.py makemigrations --empty appname

# 빈 마이그레이션 파일 생성 및 이름 설정
python manage.py makemigrations --empty --name file_name appname
# 빈 마이그레이션 파일
from django.db import migrations
class Migration(migrations.Migration):
dependencies = [
('yourappname', '0001_initial'),
]
operations = [
]빈 마이그레이션 파일에서 class Migration 위에 데이터를 보내는 함수를 작성하면 된다.
# 내가 쓴 데이터 마이그레이션을 위해 작성한 마이그레이션 파일

from django.db import migrations

def factorial_replies(comment):
    for reply in comment.replies.all():
        if not comment.parent_id:
            reply.parent_id = comment.id
            reply.save()
        else:
            reply.parent_id = comment.parent_id
            reply.save()

        factorial_replies(reply)

    return True

# RunPython 으로 보낼 함수 / 함수의 인자는 apps, schema_editor 로 작성해야 한다
# get_model 메소드를 사용해 앱이름과 모델의 이름을 써서 가지고 오고 싶은 모델을 가져옴
def list_parent(apps, schema_editor):
    Comment = apps.get_model('boards', 'Comment')
    for comment in Comment.objects.filter(comment_id=None):
        factorial_replies(comment)

class Migration(migrations.Migration):

    dependencies = [
        ('boards', '0004_comment_parent'),
    ]

    operations = [
        migrations.RunPython(list_parent),
    ]
이렇게 해서 마이그레이트를 하면 데이터가 원하는 대로 옮겨지는 것을 확인할 수 있다👍🏼

