명령 하나하나를 인스턴스로 표현하는 방식
JFrame 이용
- JFrame을 사용하면 window를 생성할 수 있다
- 창에 버튼, 그림판 등의 기능을 추가할 수 있다
Box
Box를 생성하고 이때 추가되는 기능들을 X축 방향으로 넣을지 Y축 방향으로 넣을지 정할 수 있다
public DrawingApp(String title)
    {
        super(title);

        // 기능 버튼들을 담는 박스
        Box buttonBox = new Box(BoxLayout.X_AXIS);

        // 기능
        JButton undoButton = new JButton("undo");
        JButton clearButton = new JButton("clear");
        JButton saveButton = new JButton("save");

        buttonBox.add(undoButton);
        buttonBox.add(clearButton);
        buttonBox.add(saveButton);

        Canvas canvas = new Canvas();
        canvas.setSize(300, 200);

        // main Box
        Box mainBox = new Box(BoxLayout.Y_AXIS);

        // 메인 박스에 모든 것들을 추가
        mainBox.add(buttonBox);
        mainBox.add(canvas);

        getContentPane().add(mainBox);

        pack(); // 화면의 사이즈가 알아서 조절된다
        setVisible(true);
    }
실행 예
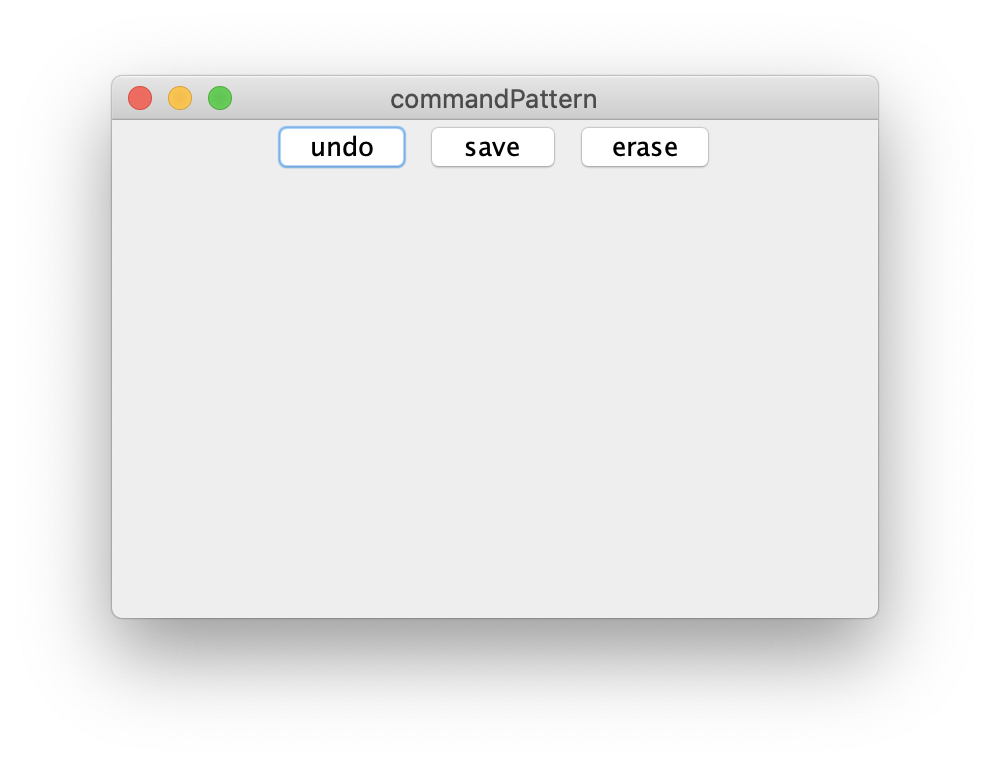
Draw기능
Command, Drawable 인터페이스를 통해서 해당 창 내에 생성되는 캔버스에 연속적으로 점을 찍어서 선을 그리는 기능을 추가하겠다
DrawCommand 클래스
Draw명령어를 execute()를 하는 클래스
- DrawCommand 생성시 그릴수 있는 canvas와 마우스 클릭시 얻는 좌표를 전달하면 draw()메소드를 통해 그린다
public class DrawCommand implements Command{
    // Canvas 에서 클릭이 발생하면 해당 point 좌표를 얻을수 있다
    private Point point;
    private Drawable drawable;

    public DrawCommand(Drawable drawable, Point point) {
        this.drawable = drawable;
        this.point = point;
    }

    @Override
    public void execute() {
        drawable.draw(point.x, point.y);
    }
}
DrawCanvas 클래스
실제 그리기위한 canvas를 생성하는 클래스이다
- DrawCanvas를 생성할때 canvas의 크기를 받아서 canvas의 크기 및 색을 설정한다
- draw 메소드를 구현하기 위해
Graphics를 사용한다
public class DrawCanvas extends Canvas implements Drawable {
    private int radius = 4;

    public DrawCanvas(int width, int height) {
        setSize(width, height); // canvas 크기
        setBackground(Color.white); // canvas 색
    }

    @Override
    public void draw(int x, int y) {
        Graphics g = getGraphics();
        g.setColor(Color.GREEN); // 그리는 점의 색
        g.fillOval(x - radius, y - radius, radius * 2, radius * 2); // 점의 크기
    }
}
실행 예
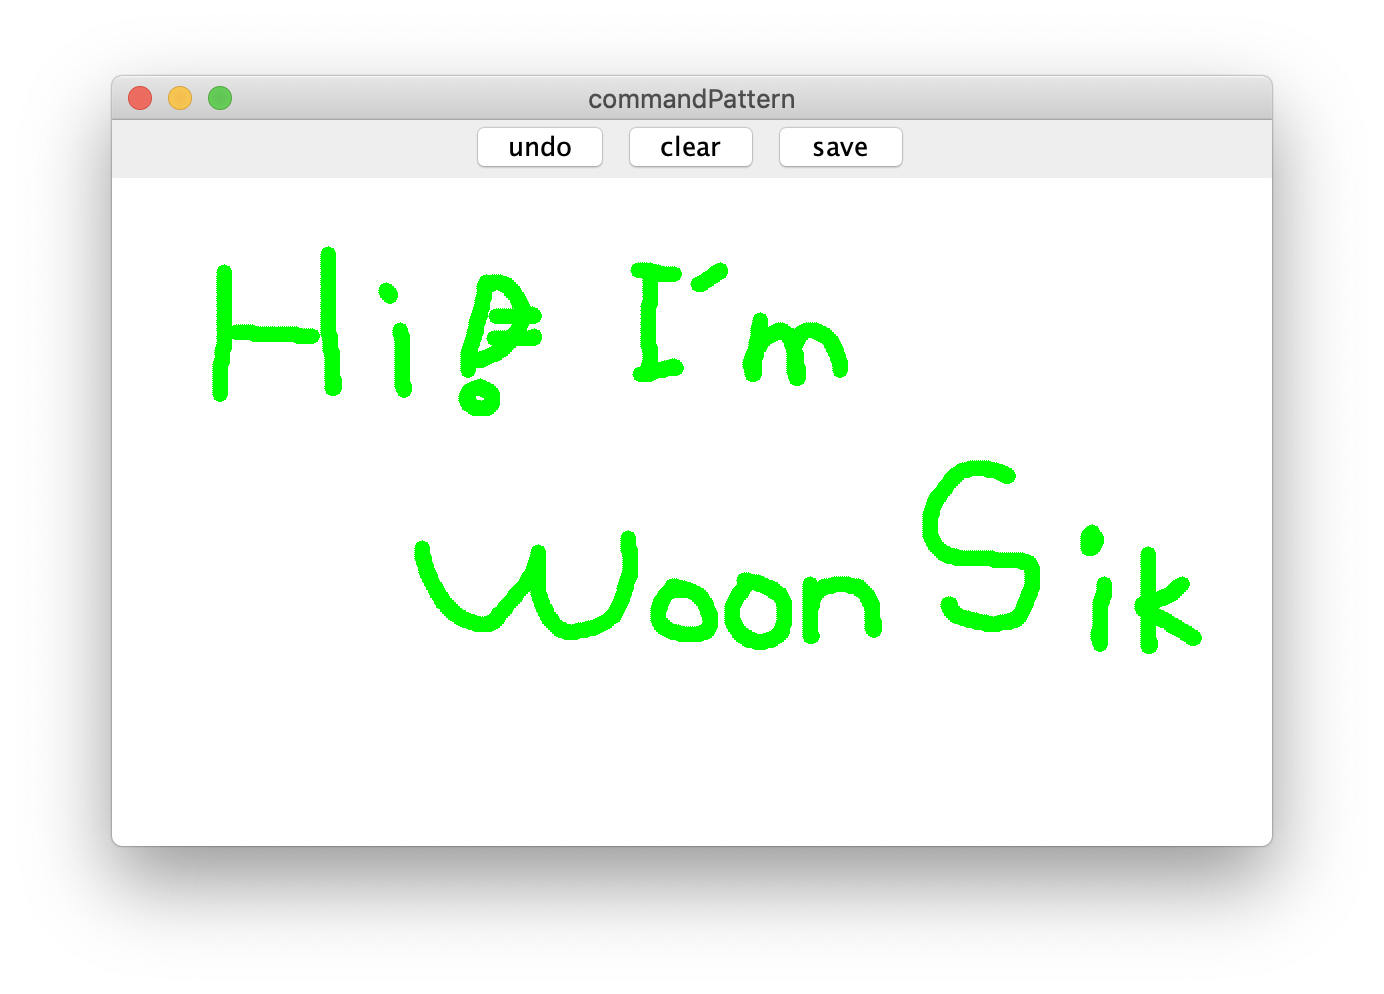
Undo 기능
Stack을 이용해서 Command형 값을 담아서 최근값을 빼고 나머지를 전부 다시 그리는 방식으로 구현한다
MacroCommand 클래스
Command관련 기능 클래스
public class MacroCommand implements Command{

    // 커맨드 관리
    private Stack<Command> commandStack = new Stack<>();

    @Override
    public void execute() {
        commandStack.forEach(Command::execute);
    }

    public void add(Command command) {
        commandStack.push(command);
    }

    public void undo() {
        commandStack.pop();
    }
}
DrawingApp 클래스
// Undo
~
undoButton.addActionListener(e -> {
	history.undo();
	canvas.repaint();
});
문제점 : 현재 점을 찍는 방식으로 선을 그리는 것이므로 undo()를 실행시 점을 하나씩 빼면서 뒤로가게 된다
따라서 한번의 드래그에 대해 undo()를 할 수 있도록 변경해야한다
Clear 기능
clear기능은 간단하게 stack을 비워준 후에 다시 canvas를 빈 stack을 이용해서 그려주면 된다
MacroCommand 클래스에 clear기능 추가
public void clear()
{
    commandStack.clear();
}
DrawingApp 클래스에 clear버튼 클릭 이벤트 추가
// Clear
clearButton.addActionListener( e -> {
    history.clear();
    canvas.repaint();
});
Undo 추가기능
점이 아닌 마우스의 눌린 시점부터 뗀 시점까지의 모든 점들에 대해 undo를 진행할 수 있도록 변경한다
Canvas 클래스의 addMouseListner 메소드를 사용
많은 메소드가 존재하지만 마우스가 눌린것과 떼어진것 두 상황에 대한 메소드만 사용하므로
해당 메소드만 오버라이드한다
 canvas.addMouseListener(new MouseListener() {
            @Override
            public void mouseClicked(MouseEvent e) {
            }

            @Override
            public void mousePressed(MouseEvent e) {
                System.out.println("pressed");
                lineHistory = new MacroCommand();
            }

			// 라인을 그리기 위해 사용된 커맨드들이 담긴 lineHistory를 history에 담는다
            @Override
            public void mouseReleased(MouseEvent e) {
                System.out.println("released");
                history.add(lineHistory);
            }

            @Override
            public void mouseEntered(MouseEvent e) {
            }

            @Override
            public void mouseExited(MouseEvent e) {
            }
        });
하나의 라인을 그리기위해 사용된 커맨드를 모두 lineHistory의 하나의 커맨드에 담고 이를 History에 각각 담는다
canvas.addMouseMotionListener(new MouseMotionListener() {
    @Override
    public void mouseDragged(MouseEvent e) {
        DrawCommand command = new DrawCommand(canvas, e.getPoint());
        lineHistory.add(command);
        command.execute();
    }

    @Override
    public void mouseMoved(MouseEvent e) {

    }
});
이제 선분 하나씩 undo를 통해 지울수 있다

내꿈은 숲속의잠자는공주