django로 GraphQL 요약
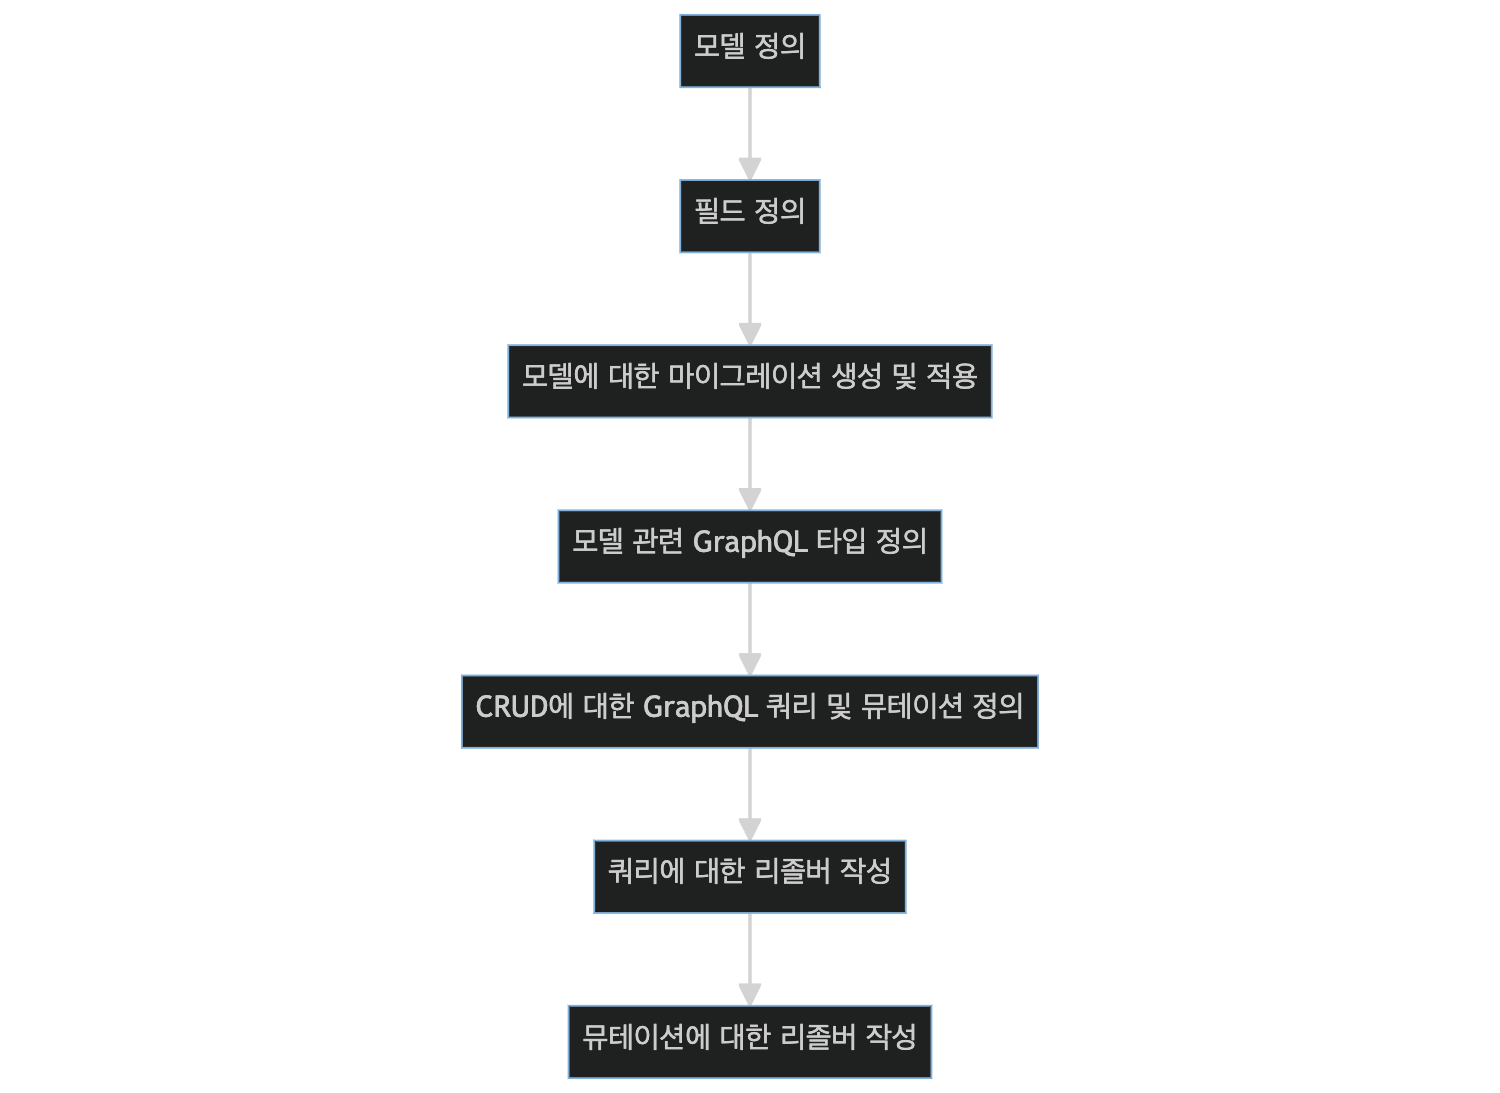
1. 모델 정의
아래는 간단한 Blog 모델을 정의한 것입니다. blog/models.py 파일에 아래의 코드를 추가해주세요:
from django.db import models
class Blog(models.Model):
    title = models.CharField(max_length=100)
    content = models.TextField()

def __str__(self):
    return self.title
2. 모델 필드 정의
위 모델에서 CharField와 TextField로 필드를 정의했습니다.
3. 모델에 대한 마이그레이션 생성 및 적용
터미널에서 아래의 명령어를 실행해 마이그레이션을 생성 및 적용합니다.
python manage.py makemigrations
python manage.py migrate
4.모델 관련 GraphQL 타입 정의
schema.py 파일을 생성해주세요. 이 파일에는 Graphene을 이용한 GraphQL의 스키마를 정의합니다. BlogType을 정의하여 장고 모델 관련 GraphQL 타입을 정의합니다.
import graphene
from graphene_django import DjangoObjectType
from .models import Blog

class BlogType(DjangoObjectType):
    class Meta:
        model = Blog
        fields = "__all__"
5. CRUD에 대한 GraphQL 쿼리 및 뮤테이션 정의
쿼리와 뮤테이션을 정의합니다.
class Query(graphene.ObjectType):
    all_blogs = graphene.List(BlogType)

    def resolve_all_blogs(root, info):
        return Blog.objects.all()

class CreateBlogMutation(graphene.Mutation):
    # 코드 생략, 참조: 위에서 이미 정의한 CreateBlogMutation

class UpdateBlogMutation(graphene.Mutation):
    # 코드 생략, 참조: 위에서 이미 정의한 UpdateBlogMutation

class DeleteBlogMutation(graphene.Mutation):
    # 코드 생략, 참조: 위에서 이미 정의한 DeleteBlogMutation

class Mutation(graphene.ObjectType):
    create_blog = CreateBlogMutation.Field()
    update_blog = UpdateBlogMutation.Field()
    delete_blog = DeleteBlogMutation.Field()
서버 실행
마지막으로, 아래의 명령어를 사용해서 마이그레이션을 수행하고 서버를 실행해주세요:
python manage.py runserver이제 브라우저를 열고 http://127.0.0.1:8000/graphql로 접속하면 GraphiQL 인터페이스를 통해 CRUD 작업을 테스트해볼 수 있습니다.

🐱 도쿄에서 활동 중인 웹 개발자 🇯🇵💻 🧑💻 최근에는 요즘IT에서 작가로도 활동 중입니다! 📝 요즘IT 글 모음: https://yozm.wishket.com/magazine/@donghyuk65/