개요
- Docker 를 실무에서 오랫동안 사용하지 못하여 다시 리마인드를 하기위해 실습을 하며 기록을 위해 포스팅을 작성하였다.
사전 준비 사항
- Docker Desktop
Nginx, Tomcat 설정
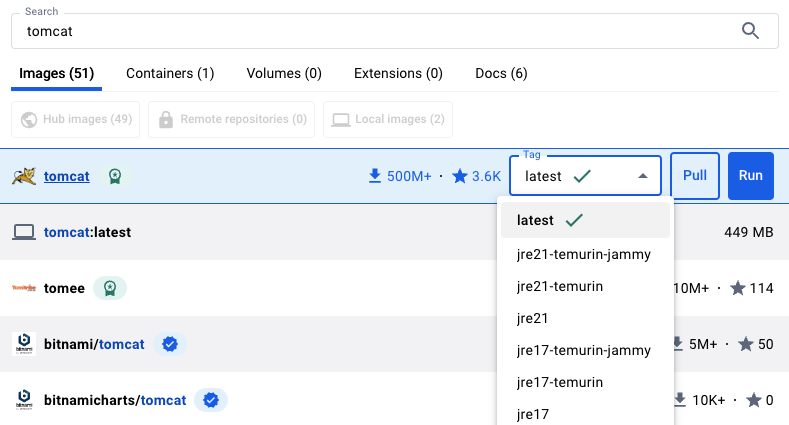
Docker Desktop 에서 Image 를 Pull 할 수 있다.
# 실습을 위해 tomcat 의 최신 버전 다운
% docker pull nginx:latest
% docker pull tomcat:latest
CLI 환경에서 또한 이미지를 다운 받을 수 있다.
Docker Desktop 으로 컨테이너 실행
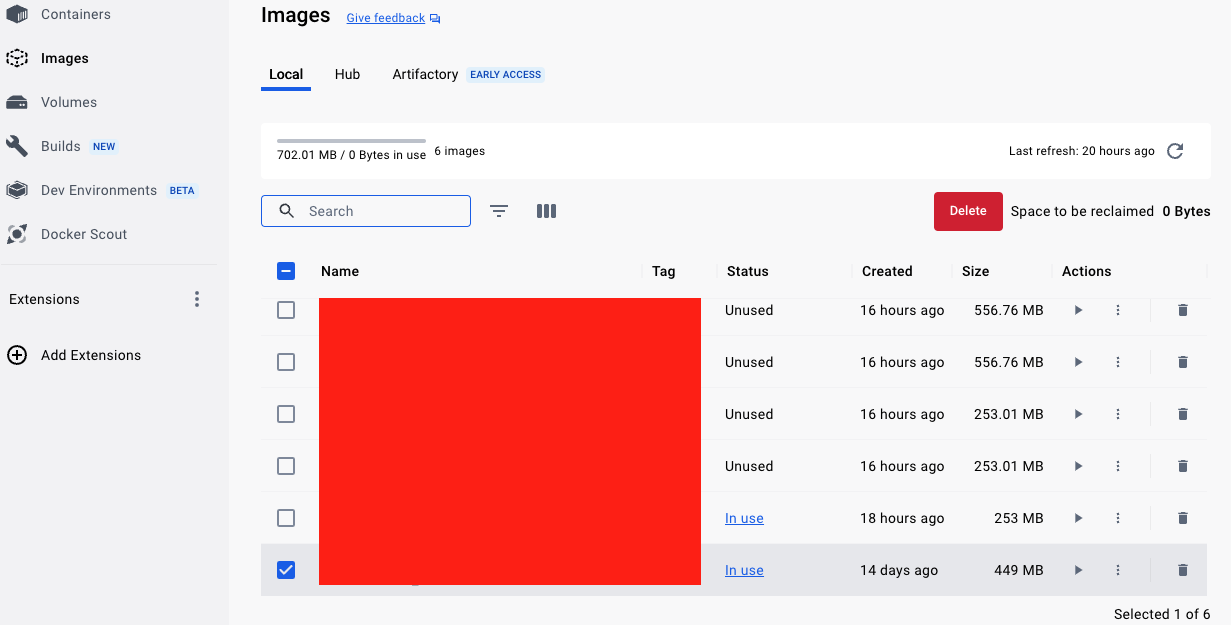
편의를 위해 Docker Desktop 에서 진행 하였으며, 왼쪽 Images 에서 docker pull 로 다운 받아온 이미지 리스트를 확인할 수 있다.
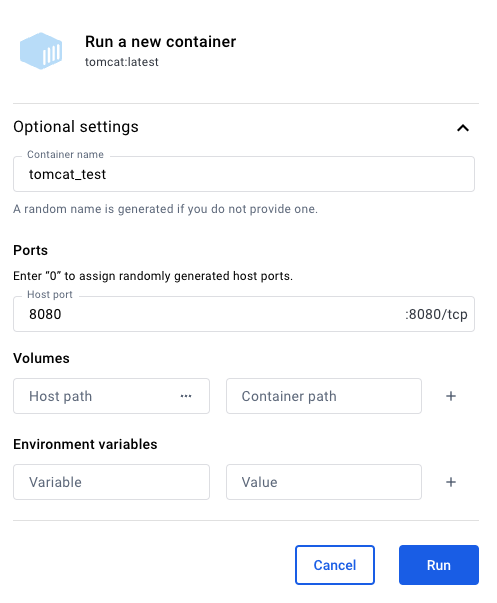
% docker run -it -d -p 80:80 --name nginx nginx:latest
% docker run -it -d -p 8080:8080 --name tomcat tomcat:latest
해당 이미지에서 실행►(Run)버튼을 클릭하면 위 그림처럼 콘솔에서 간단하게 컨테이너 실행을 할 수 있다.
Nginx 컨테이너
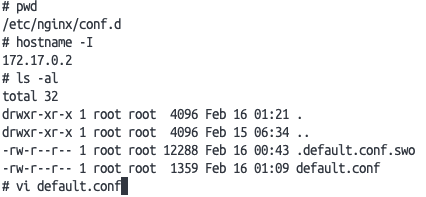
% apt-get update
$ apt-get install vim
Nginx 컨테이너 접근 후 /etc/nginx/conf.d 디렉터리로 이동 후 default.conf 파일을 vi 를 통해 실행한다. (처음 컨테이너에 접근 시 vi 가 없어 apt-get 명령어를 통해 다운 받아야함)
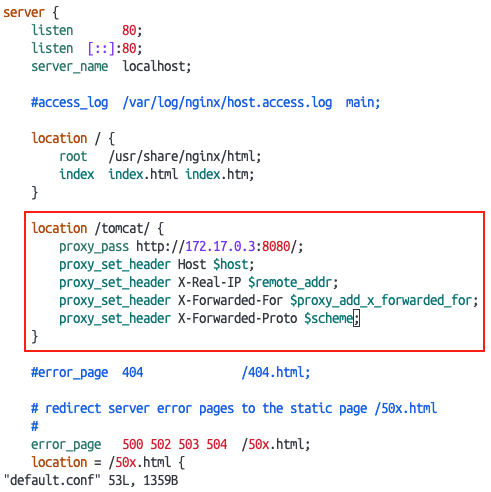
# default.conf
    location /tomcat/ {
	    proxy_pass http://[Tomcat IP or DNS]:8080/;
	    proxy_set_header Host $host;
	    proxy_set_header X-Real-IP $remote_addr;
	    proxy_set_header X-Forwarded-For $proxy_add_x_forwarded_for;
	    proxy_set_header X-Forwarded-Proto $scheme;
    }
conf 파일에 위 내용을 추가해주도록 하자.
처음에 proxy_pass 만 설정 하였는데 tomcat 기본 페이지의 이미지를 불러오지 못하는 이슈가 있었다...;
Tomcat 컨테이너
% apt-get update
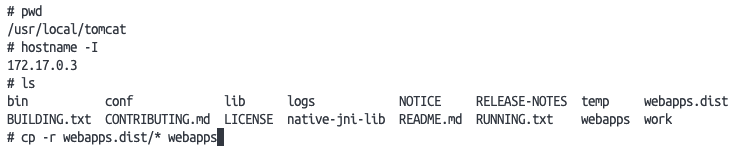
$ apt-get install vimTomcat 컨테이너는 기본적으로 접근 시 /usr/local/tomcat 으로 잡히게 된다. (Tomcat 컨테이너도 동일하게 apt-get 명령어를 통해 패키지를 다운 받아야함)

Tomcat 의 server.xml 파일을 보면 appBase 가 webapps 로 되어 있어 webapps.dist/* 아래의 파일을 webapps 로 복사할 것이다.
# Tomcat 관련 파일 복사
% cp -r webapps.dist/* webapps
결과
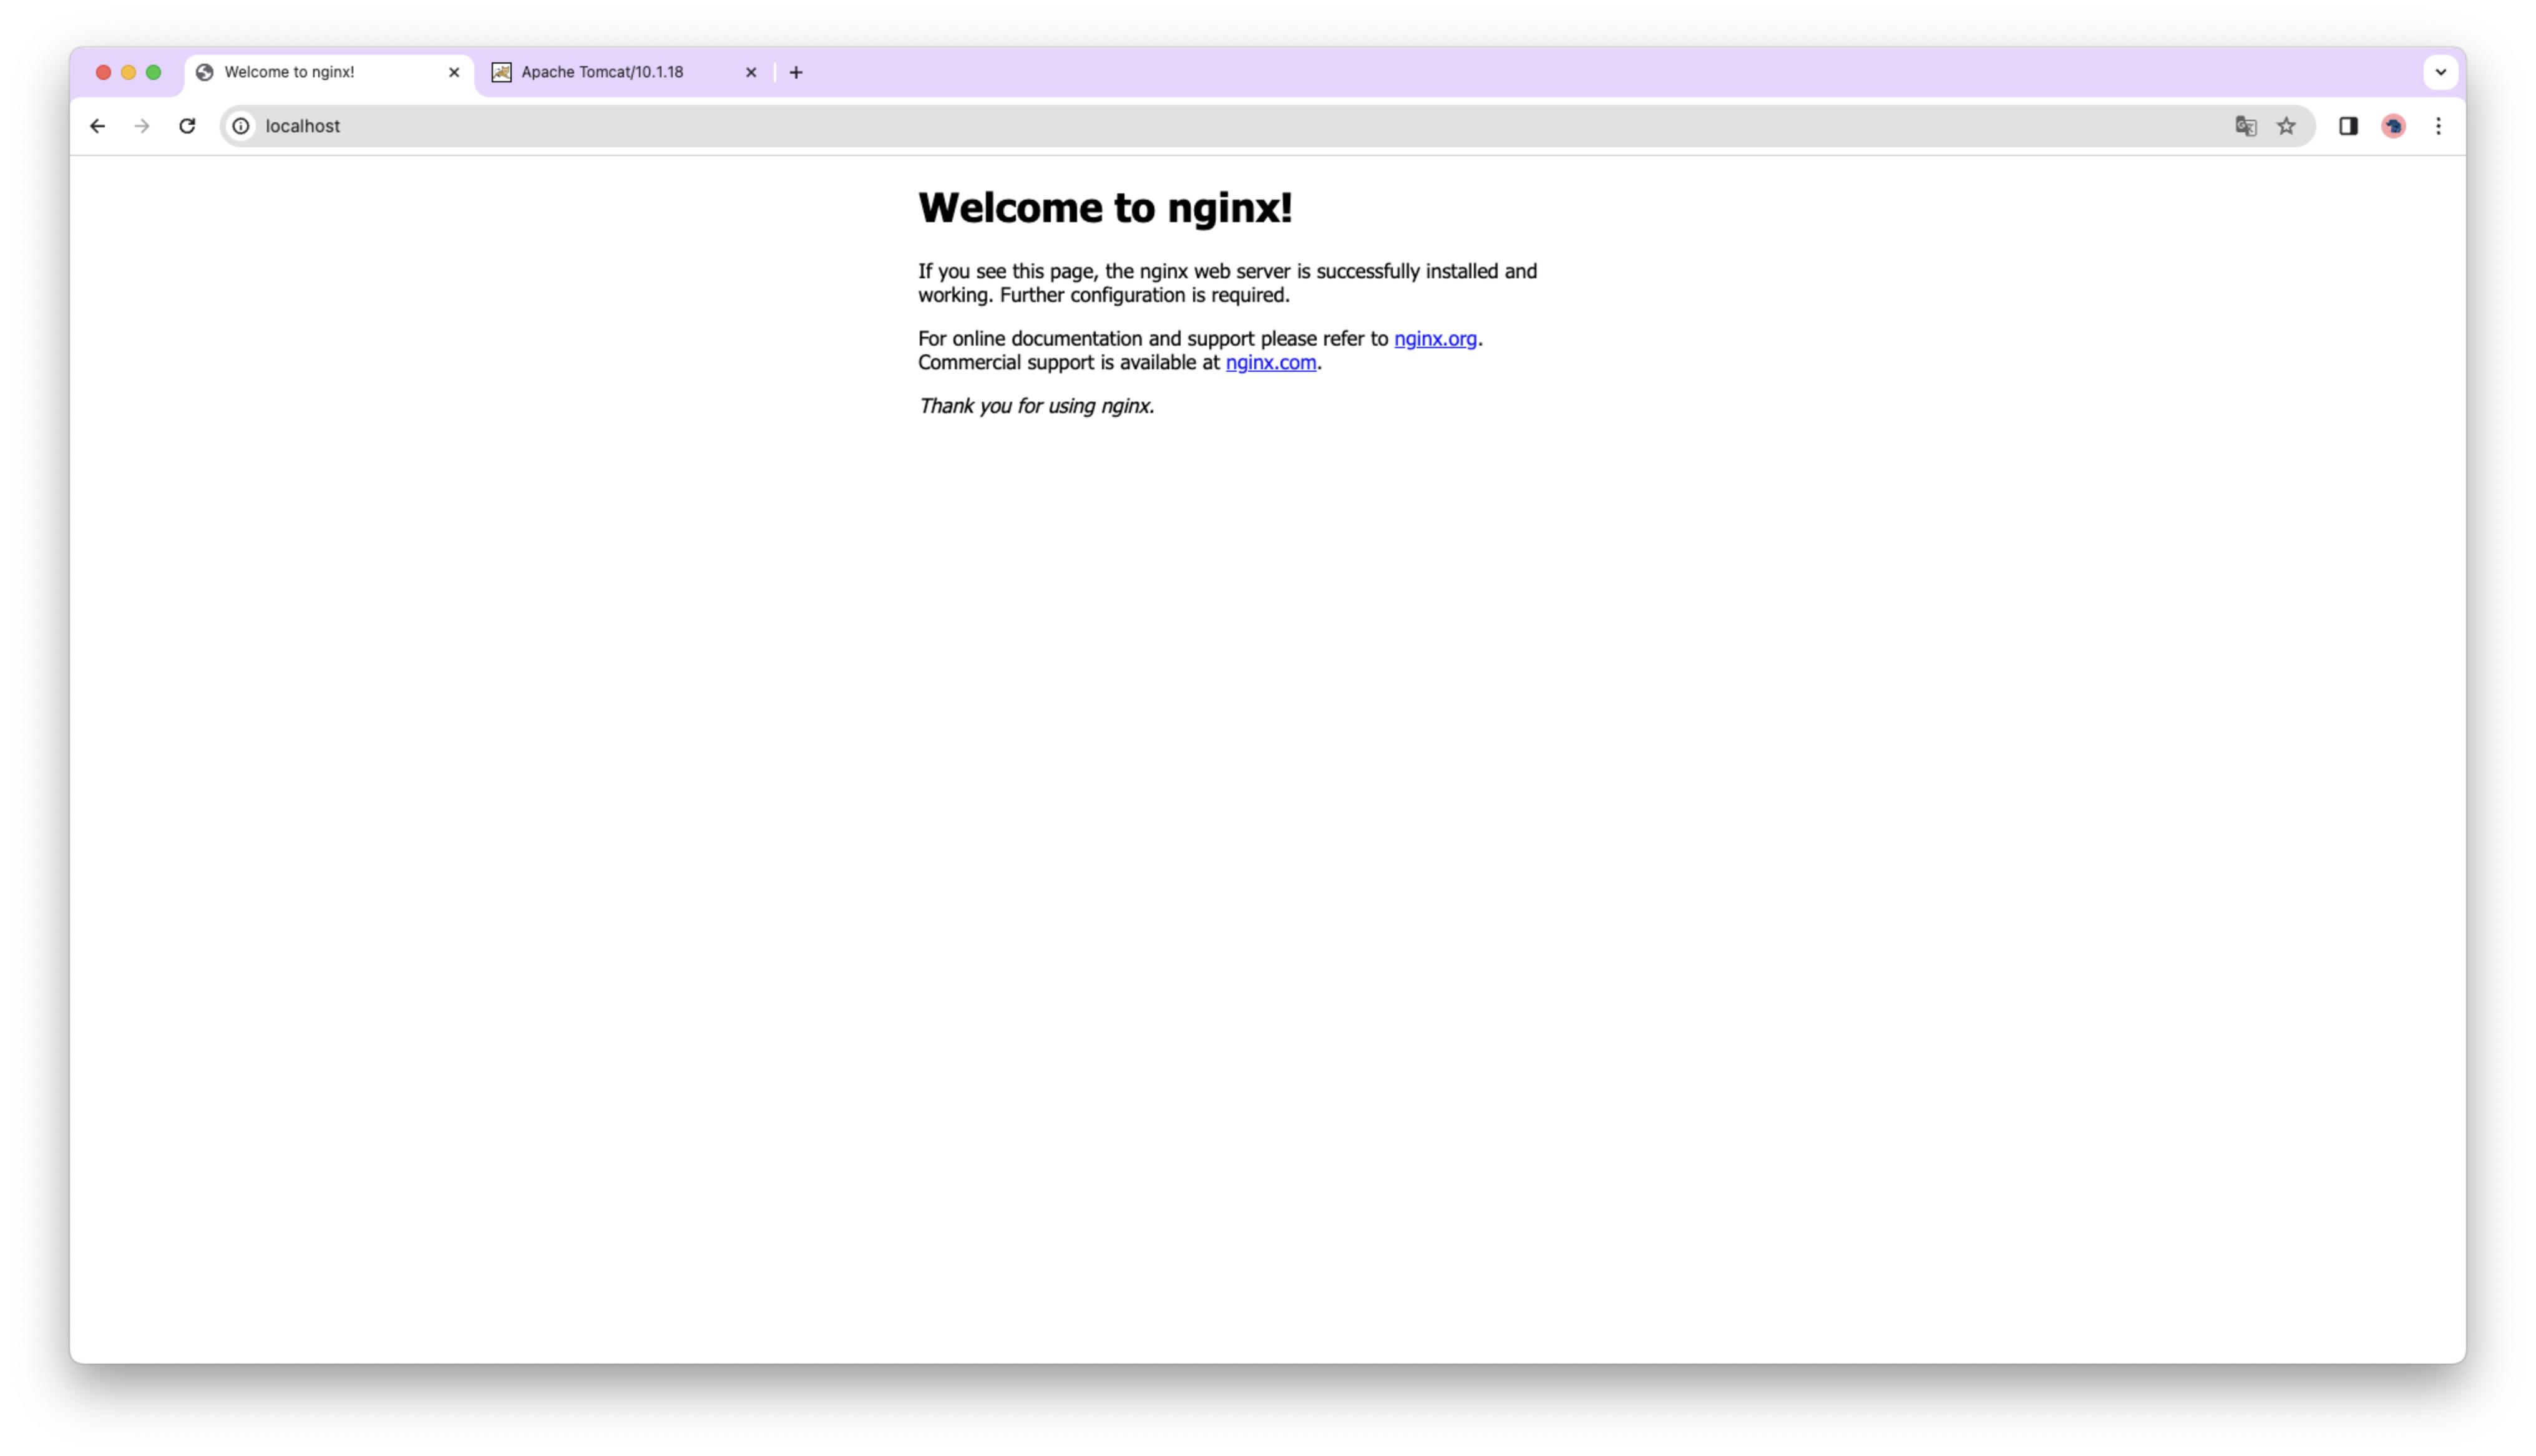
웹 브라우저에 localhost 로 접근 시 nginx 페이지가 나오게 된다.

Nginx 에는 tomcat 경로 접근 시 tomcat 으로 Proxy 해주기에 localhost/tomcat 으로 접속 시 아까 복사해둔 파일이 webapps 에 있기에 페이지를 확인할 수 있다.