Dialog Custom
Android로 custom dialog를 만드는 방법에 대해 알아보겠습니다
android에서 dialog를 만드는 방법은 여러 가지가 있습니다
- Dialog 객체를 만들고 여러 설정들을 추가
- Dialog를 Builder 패턴으로 만들기
- Dialog를 상속받는 Custom Dialog class를 만들기
Builder패턴의 경우, 아래와 같은 코드를 사용해 간단하게 다이얼로그를 띄울 수 있습니다
binding.alertButton.setOnClickListener(view -> {

            /**Builder Pattern**/
            alertDialog = new AlertDialog.Builder(this)
                    //create()를 통해 Builder가 alert를 만들도록 함    .setIcon(android.R.drawable.ic_dialog_alert)
                    .setTitle("알림")
                    .setMessage("정말 종료 하시겠습니까?")
                    .setPositiveButton("OK", dialogListener)
                    .setNegativeButton("NO", null)
                    .create();  //return dialog
            alertDialog.show();
        });
이번 포스팅에서는 Dialog를 상속받는 Custom Dialog를 만들어보겠습니다 ‼️
✅ Intro
구조는 다음과 같습니다
//경로 초기화 다이얼로그
    private void resetRoute() {
        ResetRouteDialog resetRouteDialog = new ResetRouteDialog(this);
        resetRouteDialog.show();
    }
경로초기화 버튼을 누르면, resetRoute()가 실행되어 ResetRouteDialog라는 이름의 CustomDialog가 뜨게 됩니다
✅ xml 만들기
custom을 위해 다이얼로그로 설정할 xml을 만들어주겠습니다
<?xml version="1.0" encoding="utf-8"?>
<LinearLayout xmlns:android="http://schemas.android.com/apk/res/android"
android:layout_width="wrap_content"
android:layout_height="wrap_content"
android:layout_marginStart="40dp"
android:layout_marginEnd="40dp"
android:layout_marginBottom="20dp"
android:background="@color/white"
android:orientation="vertical">
<TextView
android:layout_width="match_parent"
android:layout_height="wrap_content"
android:layout_marginTop="20dp"
android:lines="2"
android:text="@string/reset_route_text"
android:textAlignment="center"
android:textSize="20sp"
android:textStyle="bold" />
<LinearLayout
android:layout_width="wrap_content"
android:layout_height="50dp"
android:layout_marginTop="20dp">
<Button
android:id="@+id/close_reset_route_btn"
android:layout_width="110dp"
android:layout_height="wrap_content"
android:background="@drawable/custom_button_white"
android:text="닫기"
android:textColor="@color/black"
android:textSize="16sp"
android:textStyle="bold"
android:layout_marginEnd="15dp"
/>
<Button
android:id="@+id/reset_route_btn"
android:layout_width="110dp"
android:layout_height="wrap_content"
android:background="@drawable/custom_button_main"
android:text="초기화"
android:textColor="@color/white"
android:textSize="16sp"
android:textStyle="bold" />
</LinearLayout>
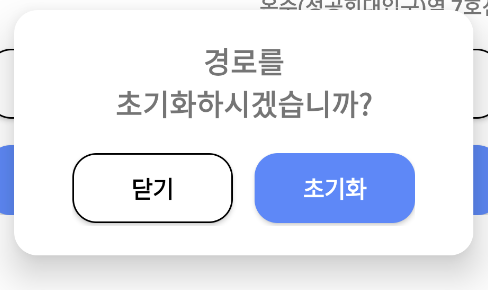
</LinearLayout>만들어진 뷰는 다음과 같습니다
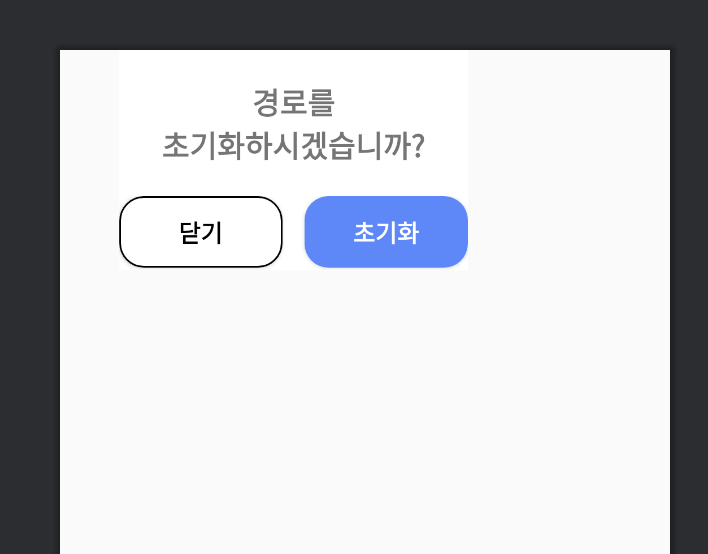
참고로 버튼의 둥글기를 위해 각 버튼에 대해 drawable을 적용해 custom해주었습니다
⬇️ 아래는 닫기 버튼에 대한 drawable 코드입니다
<?xml version="1.0" encoding="utf-8"?>
<shape xmlns:android="http://schemas.android.com/apk/res/android"
    android:padding="10dp"
    android:shape="rectangle">
    <solid android:color="@color/white"/>
    <corners
        android:radius="16dp"/>
    <stroke
        android:width="1dp"
        android:color="@color/black"/>
</shape>
✅ class 생성
Dialog를 extend하는 클래스를 만들어주고, 생성자를 추가해줍니다
public class ResetRouteDialog extends Dialog {
    private Button positiveBtn;
    private Button negativeBtn;
    private MainActivity mainActivity;

    public ResetRouteDialog(@NonNull Context context) {
        super(context);
        this.mainActivity = (MainActivity) context;
    }

    @Override
    protected void onCreate(Bundle savedInstanceState) {
        super.onCreate(savedInstanceState);
     }
   }
✅ dialog custom drawable
dialg의 배경을 둥글게 하기 위해 따로 drawable을 만들어 background로 지정해주었습니다
<?xml version="1.0" encoding="utf-8"?>
<shape xmlns:android="http://schemas.android.com/apk/res/android">
    <corners android:radius="16dp" />
    <solid android:color="#FFFFFF" />
</shape>
배경의 색과 둥글기를 지정해줍니다
✅ 리소스 적용
custom class에 xml을 지정해주고, 만든 drawable도 배경으로 지정해줍니다
  @Override
    protected void onCreate(Bundle savedInstanceState) {
        super.onCreate(savedInstanceState);
        requestWindowFeature(Window.FEATURE_NO_TITLE);
        getWindow().setBackgroundDrawableResource(R.drawable.custom_dialog_background);
        setContentView(R.layout.dialog_reset_route);
✅ listener 적용
xml에서 만들었던 positiveBtn과 negativeBtn에 대해 각각 onClickListener를 설정해줍니다
positiveBtn = findViewById(R.id.reset_route_btn);
negativeBtn = findViewById(R.id.close_reset_route_btn);
positiveBtn.setOnClickListener(view -> {
//경로 초기화
mainActivity.onResetRouteBtnClicked();
//mainActivity의 함수 실행
dismiss();
});
negativeBtn.setOnClickListener(view -> {
dismiss();
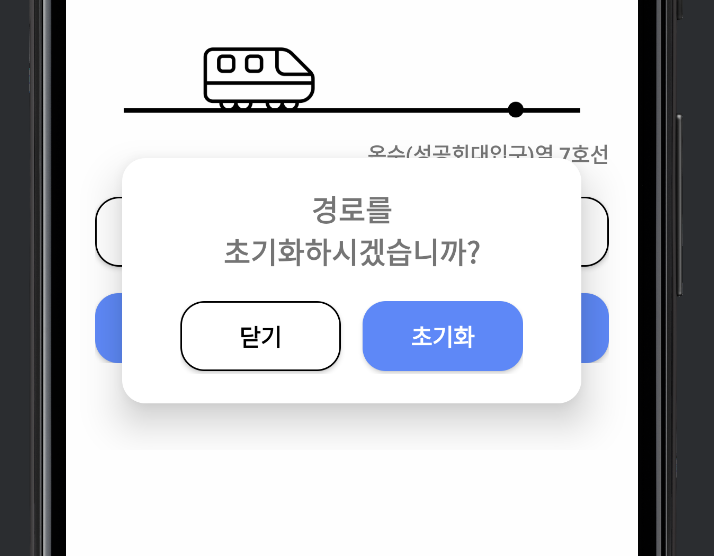
});✅ 결과
버튼을 누르면 아래와 같이 customDialog가 뜹니다
다른 다이얼로그처럼 뒷 배경이 어두워지는 효과는 실기기에서는 적용되는데 에뮬에서는 적용이 안되네요 ..

CS 마스터를 향해 ..