WARNING! 이 계산기는 기능구현이 완전하지 않은 계산기입니다!
제 구실 해보게끔 고군분투한 흔적들이 담겨 있습니다 (....)
제가 현재까지 구현한 기능과 특징은 다음과 같습니다!
-
기본적인 사칙연산 기능
-
소수점은 한번만 찍히도록 함
-
연산자는 화면에 찍히지 않도록 함
-
C를 누르면 화면이 clear 됨
-
첫번째 피연산자와 두번째 피연산자가 존재하는 상태에서 연산자를 한번 더 누르면 연산자가 =과 같은 역할을 함
각각의 기능을 어떻게 구현했는지, 어떤 점이 개선해야 할 점인지 적으면서 돌아보는 시간을 가져볼게요
가보자구~!
1. 계산기의 핵심, 사칙연산 구현
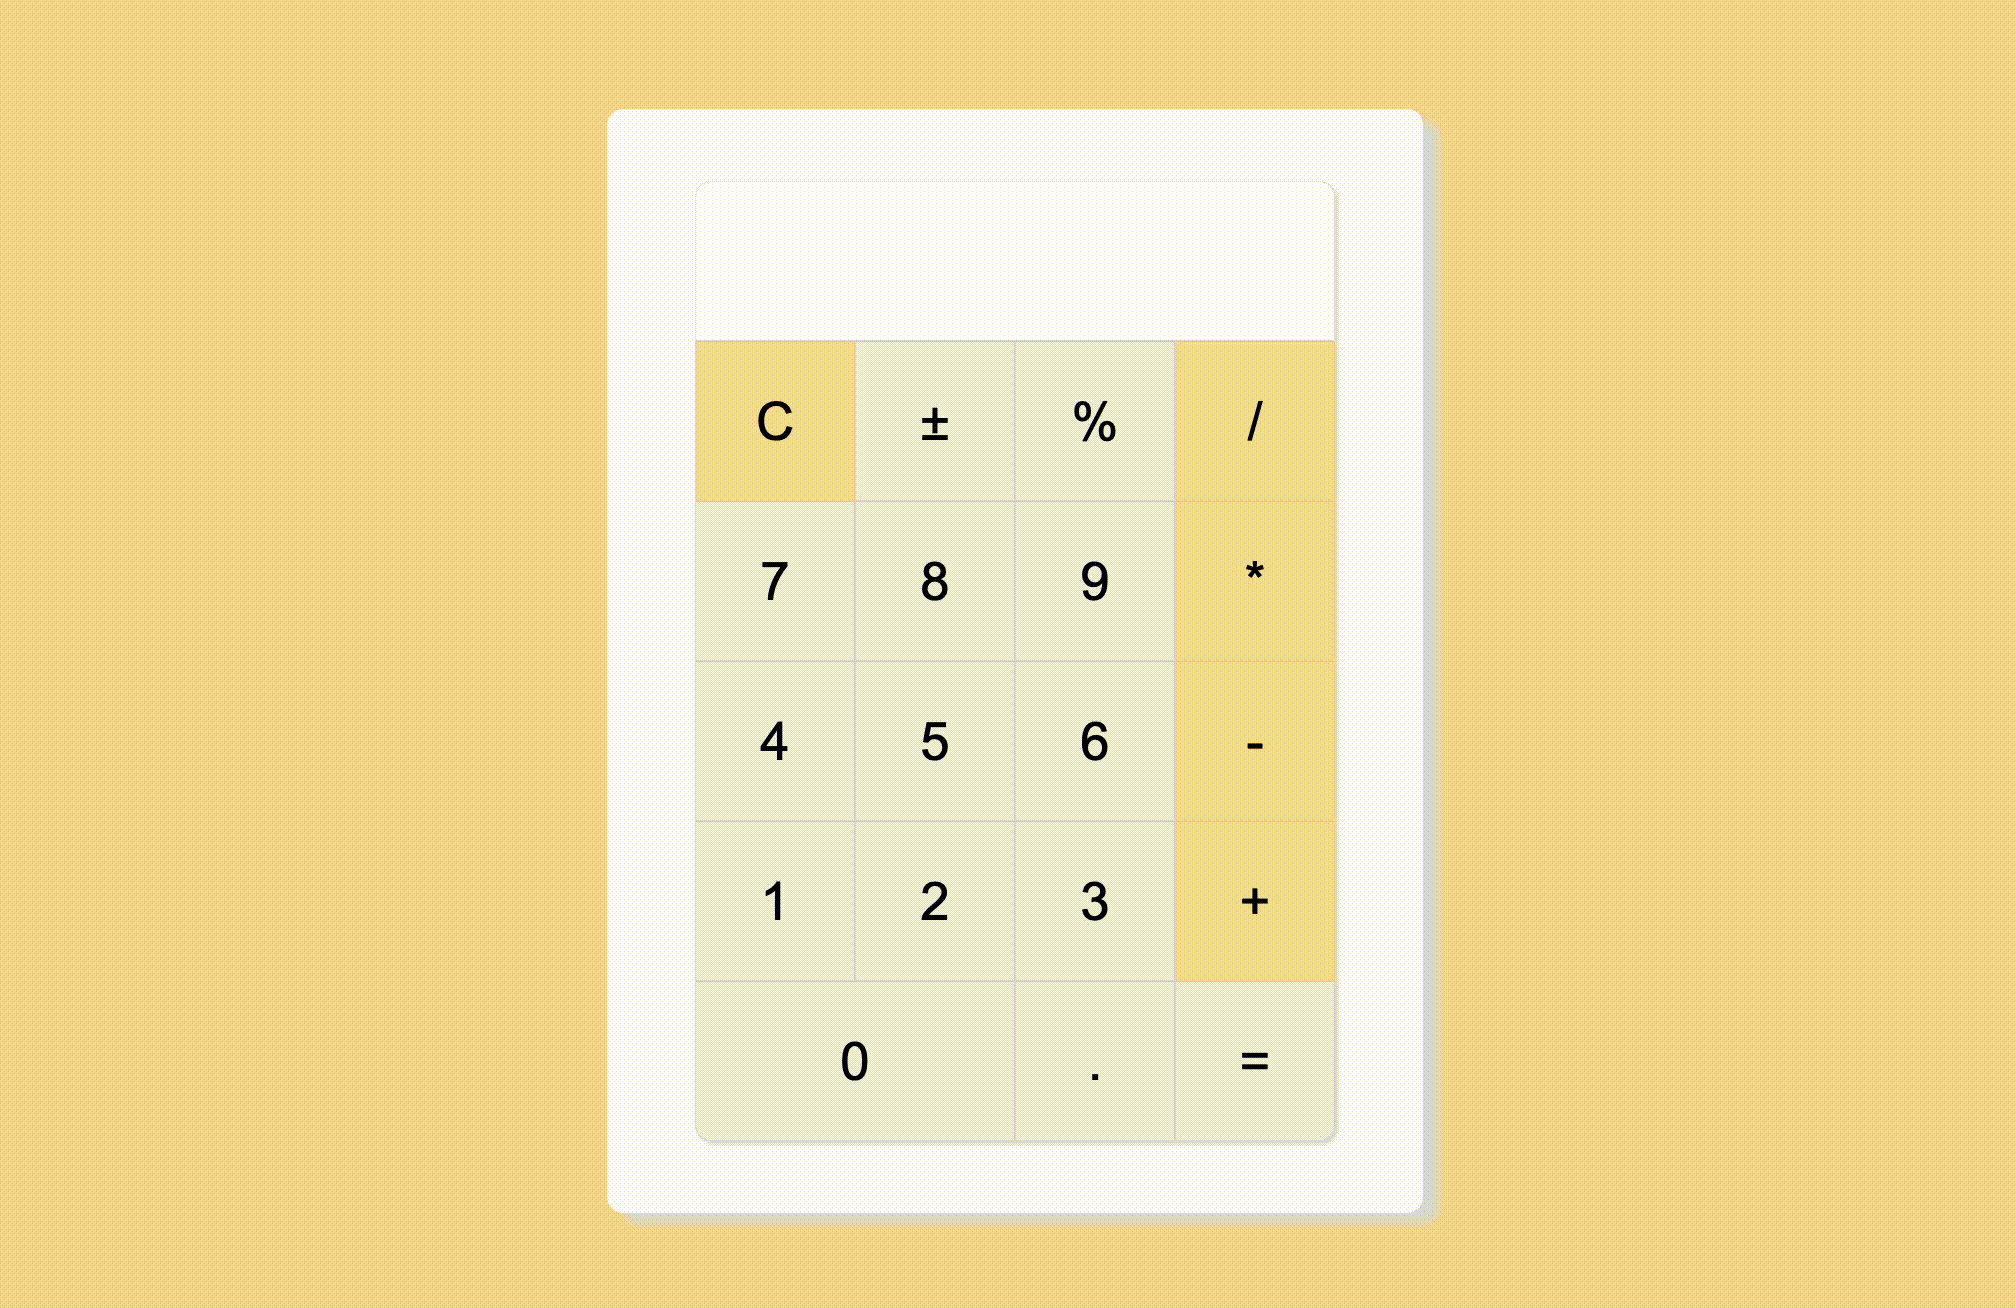
HTML
<body>
    <div class="calculator-container">
        <div id="display">0</div>

        <div id="buttons">
            <button class="button function clear">C</button>
            <button class="button function">±</button>
            <button class="button function">%</button>
            <button class="button operator">/</button>

            <button class="button number">7</button>
            <button class="button number">8</button>
            <button class="button number">9</button>
            <button class="button operator">*</button>

            <button class="button number">4</button>
            <button class="button number">5</button>
            <button class="button number">6</button>
            <button class="button operator">-</button>

            <button class="button number">1</button>
            <button class="button number">2</button>
            <button class="button number">3</button>
            <button class="button operator">+</button>

            <button class="button number zero">0</button>
            <button class="button dot">.</button>
            <button class="button equal">=</button>
        </div>
    </div>
    <script src="calculator.js"></script>
</body>

</html>-
처음에는 table을 사용해볼까도 생각했었는데, 아무래도 css로 디자인하기에는 애로사항이 많을 것 같아서 그냥 버튼 클래스를 쭉 나열하고 flex를 사용해서 계산기스럽게 배치해주었습니다.
-
html class는 각 버튼의 기능에 맞게 배분해주었습니다. 사실 class 같은 경우는 과제에서 제시하는 요구사항을 기본적으로 따랐고, 그 다음에 dot, equal 같은 클래스 명은 제가 임의로 정해주었습니다.
근데 지금 시점에서 돌아보니, 만약 필수적인 요구사항 없이 처음부터 끝까지 제가 다 짠다면 저는 클래스 명 배정을 좀 다르게 했을 것 같아요.
예를 들자면 제가 코딩하기 편한 방식으로 % 은 버튼은 아예 고유의 id나 class를 줬을 것 같네요! 굳이 function 으로 묶기보단요. 그게 훨씬 편할 것 같아요!
Java Script
//forEach문 안에 addEventListener를 사용.

buttonsArr.forEach((btn) => {
    btn.addEventListener("click", function (e) {
        const clickedBtn = e.target.textContent;
        console.log(clickedBtn)

//display.textContent가 0이면서 e.target이 number라는 클래스명을 가지고 있을 때
 //디스플레이 초기화와 클릭된 버튼이 화면에 보여지게 함..
        if (display.textContent === "0" && e.target.classList.contains("number")) {
            display.textContent = "";
            display.textContent = clickedBtn;
        }

//직전 조건문의 조건을 제외하면서 number 클래스를 가진 요소가 이벤트 타겟일 때는
//기존에 디스플레이에 있던 문자열에 클릭된 버튼의 문자열이 더해지도록 구현함.
      else if (e.target.classList.contains("number")) {
            display.textContent += clickedBtn;
        }

        dot(clickedBtn) // 소수점

        clear(clickedBtn) // 클리어 버튼

        equalSign(clickedBtn) // 등호 버튼

    });

});

// 클릭한 연산자의 케이스에 맞춘 연산이 진행되도록 해주는 함수
function calculate(firstOperand, operator, secondOperand) {

//소수점 뒷자리까지 반환해주는 parseFloat을 사용해서 문자열을 숫자로 변환.
    firstOperand = parseFloat(firstOperand);
    secondOperand = parseFloat(secondOperand);

  // 스위치 문을 사용해서 각 케이스에 맞는 연산 진행되도록 함.
    switch (operator) {
        case "+":
            return firstOperand + secondOperand;

        case "-":
            return firstOperand - secondOperand;

        case "*":
            return firstOperand * secondOperand;

        case "/":
            return firstOperand / secondOperand;
    }
}

function equalSign(clickedBtn) {

  //// 클릭된 버튼이 = 이면서, 첫번째 피연산자와 연산자가 존재할 때
    if (clickedBtn === "=" && operator !== null && firstOperand !== null) {

 //두번째 피연산자 변수가 디스플레이에 보여지는 텍스트가 되도록 해줌.
        secondOperand = display.textContent;
        const result = calculate(firstOperand, operator, secondOperand);

   // 디스플레이에 연산 결과를 표시
        display.textContent = result

      // 다음 연산 준비를 위해
      //첫번째 피연산자 값은 현재의 연산결과가 되도록,
      //두번째 피연산자와 연산자 값은 없애줌.
        firstOperand = result;
        secondOperand = null;
        operator = null;

    }
}

function dot(clickedBtn) {
  //디스플레이가 .을 포함하지 않으면서 클릭한 버튼이 .일때
    if (!display.textContent.includes(".") && clickedBtn === ".") {
      // .을 디스플레이에 더해줌
        display.textContent += clickedBtn;
    }
}

function clear(clickedBtn) {
  //클릭한 버튼이 C일 때
    if (clickedBtn === "C") {
      //디스플레이에 표기되는 내용과 피연산자, 연산자 값을 초기화 함.
        display.textContent = "";
        operator = null;
        firstOperand = null;
        secondOperand = null;
    }
}


// 여기까지가 디스플레이에 숫자가 보여지는 부분의 구현 & 소수점과 =, 그리고 C 기능의 구현입니다.


// 연산자 버튼만 따로 빼서 이벤트 리스너를 만들어 줌.
operatorBtnArr.forEach((btn) => {
    btn.addEventListener("click", (e) => {
        const clickedBtn = e.target.textContent

        //연산자가 null이면서 클릭한 버튼이 operator 클래스를 가지고 있다면?
        if (operator === null && e.target.classList.contains("operator")) {

          //오퍼레이터 값에 클릭한 버튼 값을 주고
            operator = clickedBtn
          //첫번째 피연산자에는 디스플레이에 표기된 값을 할당.
            firstOperand = display.textContent
          //그리고 디스플레이 초기화
            display.textContent = ""
        }

      //앞의 조건문의 경우는 제외, 첫번째 피연산자는 있는데 두번째 피연산자는 값이 없는 경우
        else if (firstOperand !== null && secondOperand == null) {
          //두번째 피연산자에 디스플레이에 찍혀있는 값을 할당.
            secondOperand = display.textContent;
        }

      //또다른 별개의 조건문 등장.
      // 클릭한 버튼이 operator이면서 첫번째와 두번째 피연산자가 모두 존재할 때
        if (e.target.classList.contains("operator") &&
            firstOperand !== null && secondOperand !== null) {
            const result = calculate(firstOperand, operator, secondOperand)
            // 디스플레이에는 연산함수가 내준 값을 할당.
            display.textContent = result

          //첫번째 피연산자에 계산된 결과를 값으로 할당.
          //두번째 피연산자와 연산자의 초기화
            firstOperand = result;
            secondOperand = null;
            operator = null;
        }

    });
}); // 여기까지가 연산자와 두번째 피연산자가 존재하는 상태에서
//연산자를 한번 더 누르면 = 과 같은 역할을 하게끔 만들어 주기 위한 코드입니다.
소수점, = , C, 계산 기능을 구현하기 위한 파트입니다.
주석을 같이 읽어주세요!
- 일단 getElementBy~ 로 가져온 class나 id같은 경우는 배열이 아니기 때문에 배열 메서드인 forEach문에서 사용이 안됩니다! 그래서 Array.from()을 사용해서 전부 배열로 바꾼 후 진행했다는 점 말씀드려요!
참고로 제가 알아본 바에 의하면 querySelector는 nodelist 형태로 가져와주기 때문에 (다른 배열 메서드는 모르겠지만) forEach문에서는 굳이 배열형태로 바꾸어주지 않아도 사용이 가능한 것 같았습니다. 실제로 같은 과제를 수행한 다른 분들 코드를 보면 querySelector를 사용한 경우에는 문제가 일어나지 않더라고요.
-
forEach문은 배열의 각 요소를 모두 순회하면서 함수를 실행해주는 메서드라서 addEventListener와 함께 쓰면 계산기 기능 구현 시에 적합한 느낌이라 가이드라인에서 forEach문을 쓰라고 제시해준 것 같습니다.
-
연산이 실행되는 함수는 switch문을 사용해서 각 연산자 case에 알맞는 연산이 실행되도록 구현해주었습니다!
if문 쓰는 것보단 계산기 기능 구현에는 switch가 더 편할 것 같아서요~! -
근데 뒤늦게 알게 된 점 ...! 이 switch문은 Lookup table 로 바꾸어서 더 짧고 가독성 좋게 바꾸어 쓸 수도 있다고 합니다 (띠요옹)
멘토님께 이런 게 있다~ 하고 들어보기만 하고 아직 제대로 알아보질 못해서 다음 블로그 주제는 아마 switch문을 Lookup table로 바꾸어 쓰는 법이 되지 않을까 싶어요! (나중에 리팩토링 할 때 lookup Table 형식으로 써보고 싶어서 꼭! 한번 구글링해서 배워보려구요 ㅎㅎ)
- 그리고 블로그 쓰다가 발견한 결함인데, 2번째 연산자가 = 기능을 하게 만들어두었기 때문인지 9 x 9 x 9 를 치면 9 x 9까지는 제대로 연산이 되어서 81로 바뀌는데, x 9 부분에서 연산이 안되고 클릭한 숫자 버튼이 문자열인 채로 819가 되어버리는...
즉 +=가 되어버리네요 !!!! 고쳐야 할 오류 발견~!
정말 기본적인 기능만 구현했고,
css는 보시다시피 기본적인 것만 만들었기 때문에 넣지는 않았어요!
이 계산기 만들기...
과제였기 때문에 가이드라인이 존재했음에도
이 기능들을 구현하기까지 너무 고된 시간이었습니다,,,
딴에는 좀 더 계산기다운 계산기를 만들고픈 마음에
% 기능도 구현해보려고 이런 코드, 저런 코드 다 넣어봤지만 어딘가 어설퍼서ㅋㅎㅋㅎㅋㅎ
% 기능은 좀 더 연구를 해봐야할 것 같습니다 ...

이래저래 저의 부족함을 참 많이 느꼈었네요 ㅎ
그래도 확실히 처음 시작했을 때의 아무것도 모르던 저보단 정말 많은 것을 알게된거니까요!
앞으로는 더 많은 성취가 있을거라고 생각합니ㄷr...!
아자자~~~! 파이팅~!

가보자구!! 계산기 정말 예쁘게 만드셨어요!!