패스트컴퍼스 강의를 듣고 (제가 알아보게..) 정리한 내용입니다.
Link Component / Client-side Navigate
Link Component : Next.js에서 제공하는 링크 기능
- Link 와 A 의 차이
- <a href="/posts/first-post"> 첫번째 글(A)</a>
- <Link href="/posts/first-post">첫번째 글(Link)</Link>
쉽게 알아보는 법
- 태그에 background-color 를 주고 페이지 변화 차이를 본다.
- 개발자 도구의 네트워크 탭에서 불러오는 파일들의 차이를 본다.
-
A태그는 주소창에 새로운 링크를 치는 것과 동일, 페이지를 새로 불러온다.
-
Link태그는 페이지 안에서 필요한 데이터만 추가적으로 가져온다.
-
Client-side Navigate <Link> → url로 접근하는 것과 다르게 JS상에서 컴포넌트를 교체해줌
Layouts / Styling
public 폴더 - 정적 리소스를 Next.js 로 서빙하기 위한 폴더.
Image Component
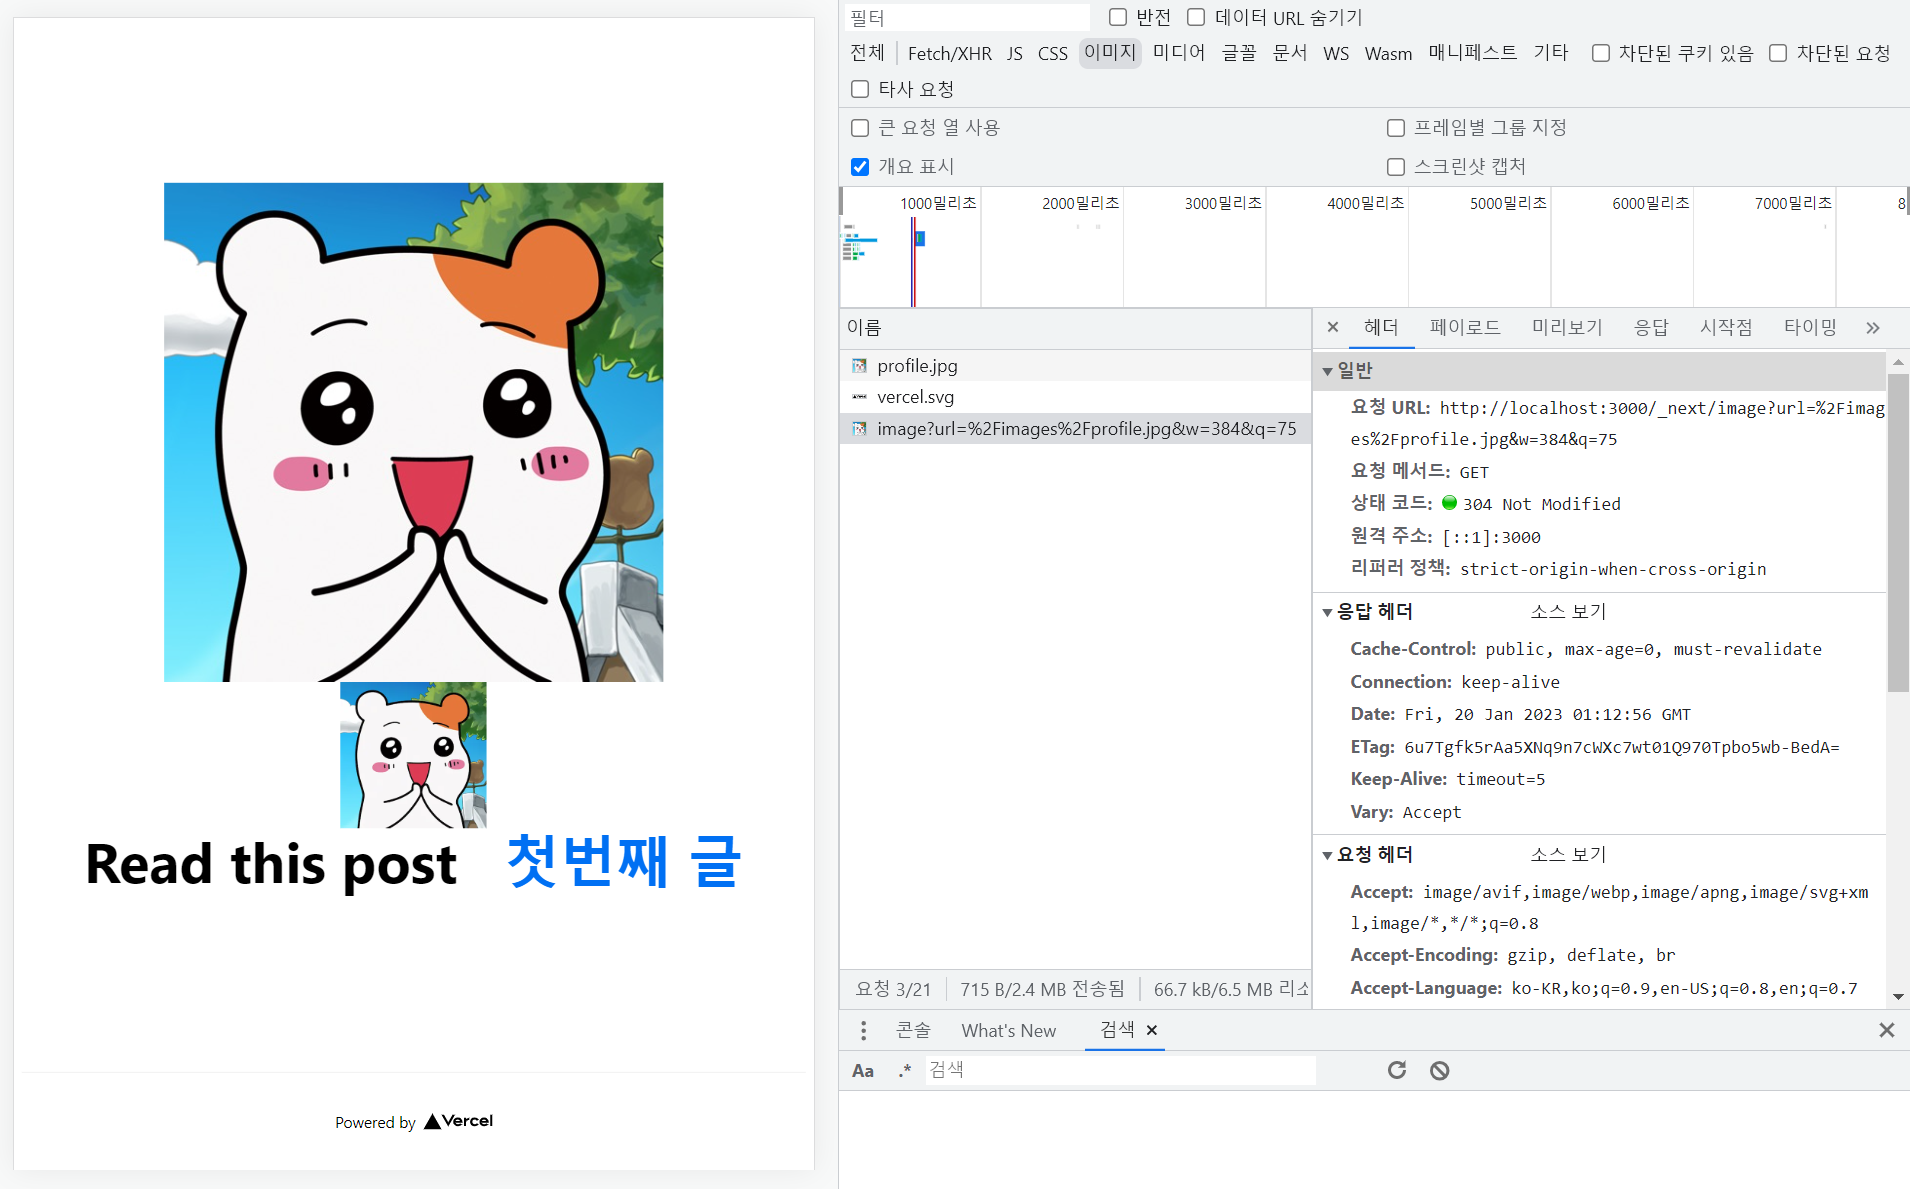
- <img src="/imgaes/profile.jpg" alt="dorikoo" />
- <Image src="/images/profile.jpg" width={150} height={150} alt="dorikoo" />
위 두 태그의 차이점을 알아보자
1. <img 태그>

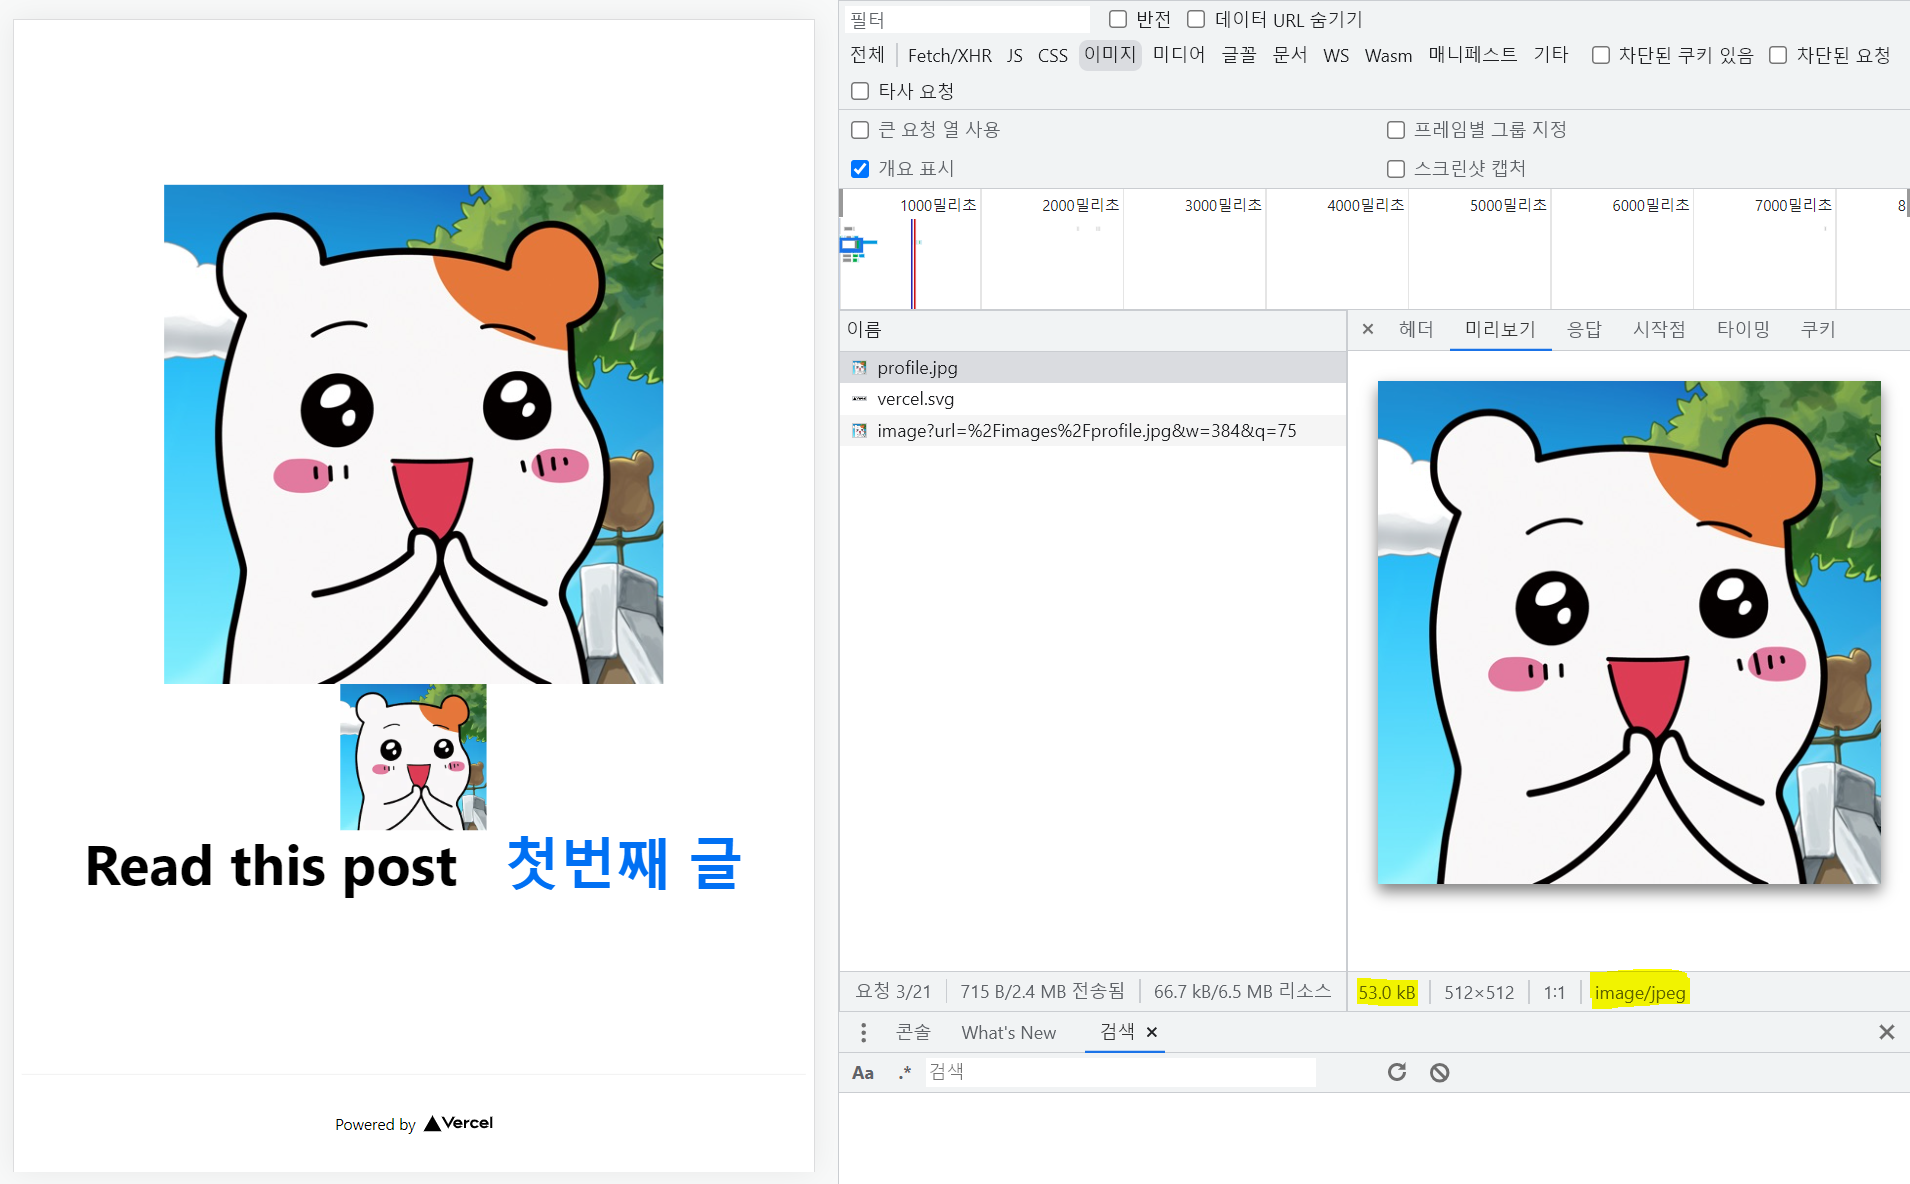
-
특징
- /images/profile.jpg 로 받아오고 있다.
- image/jpeg 파일이다.2. <image 태그>
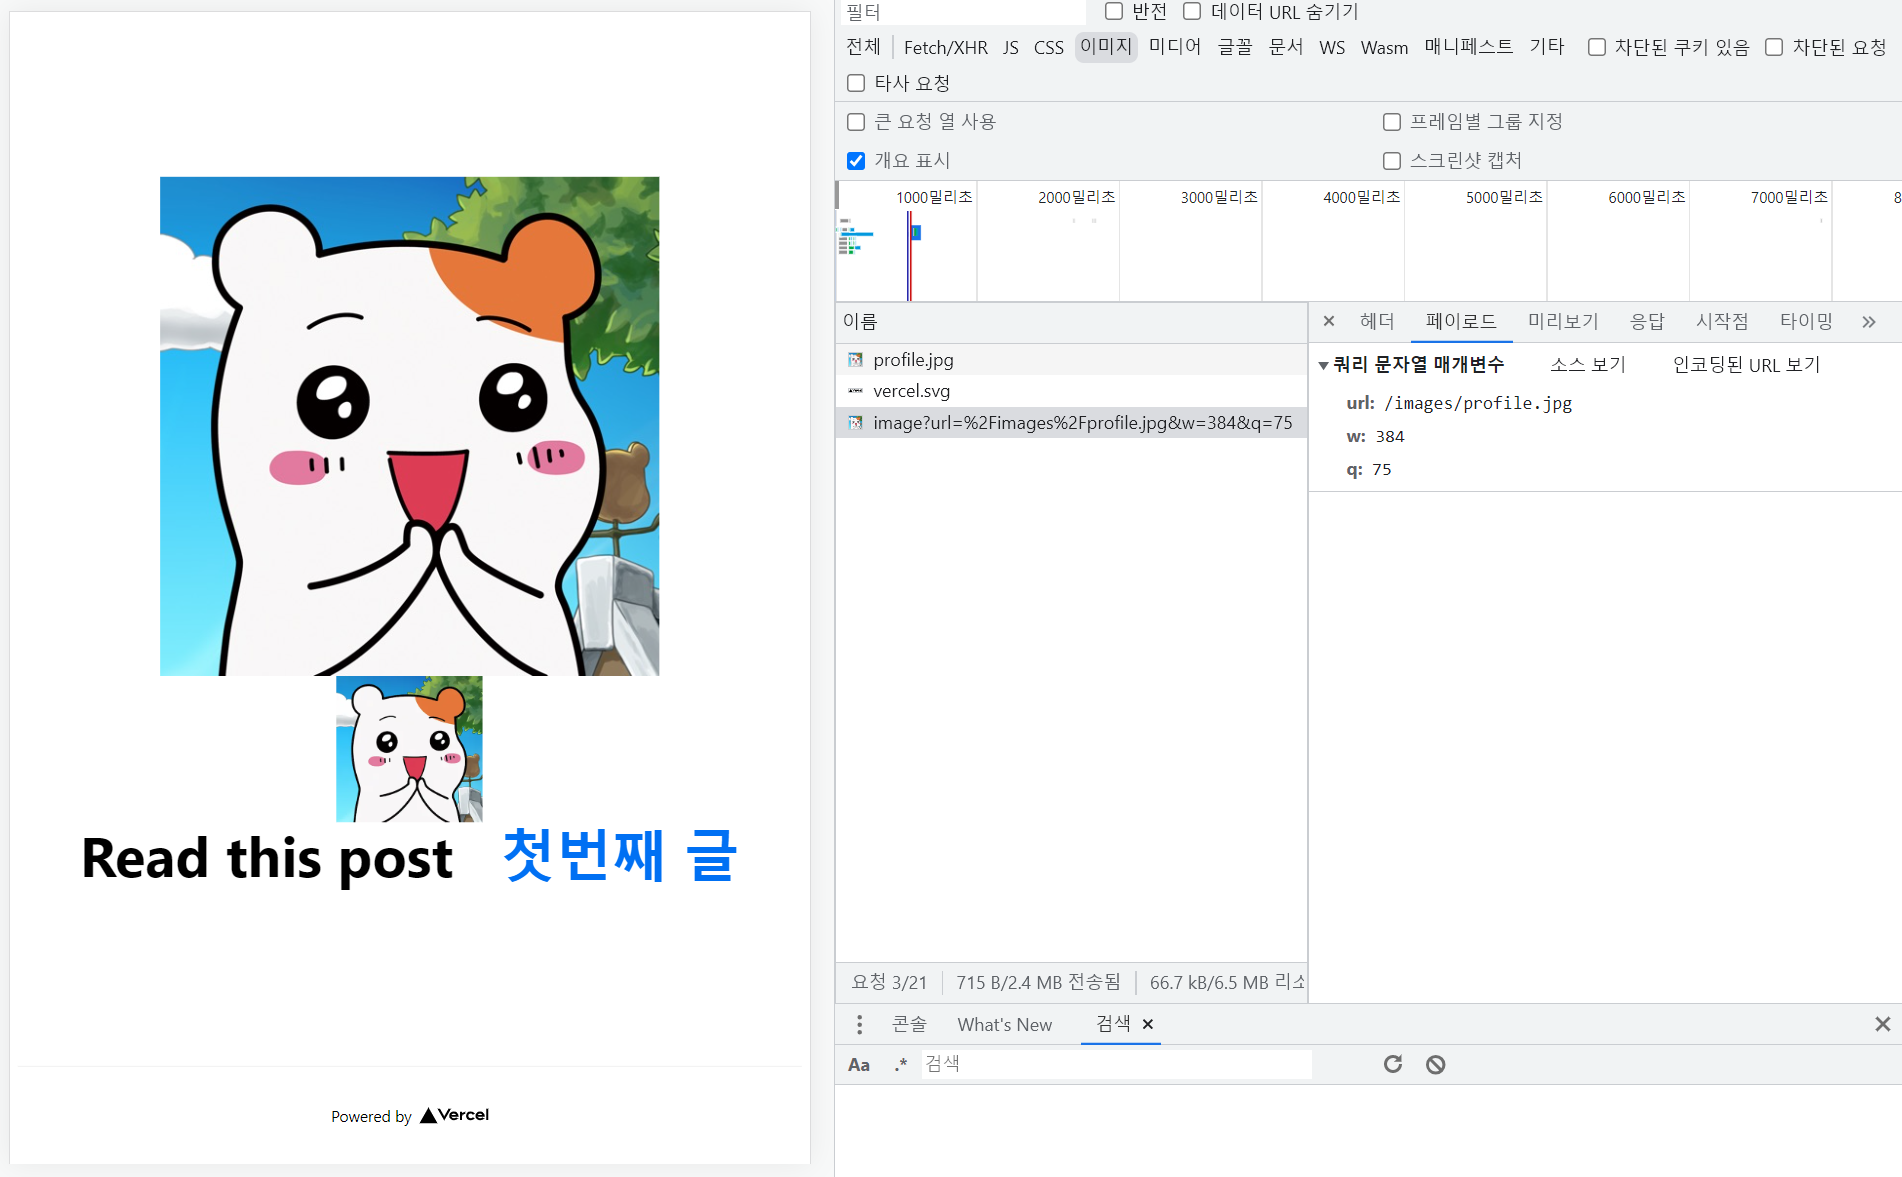
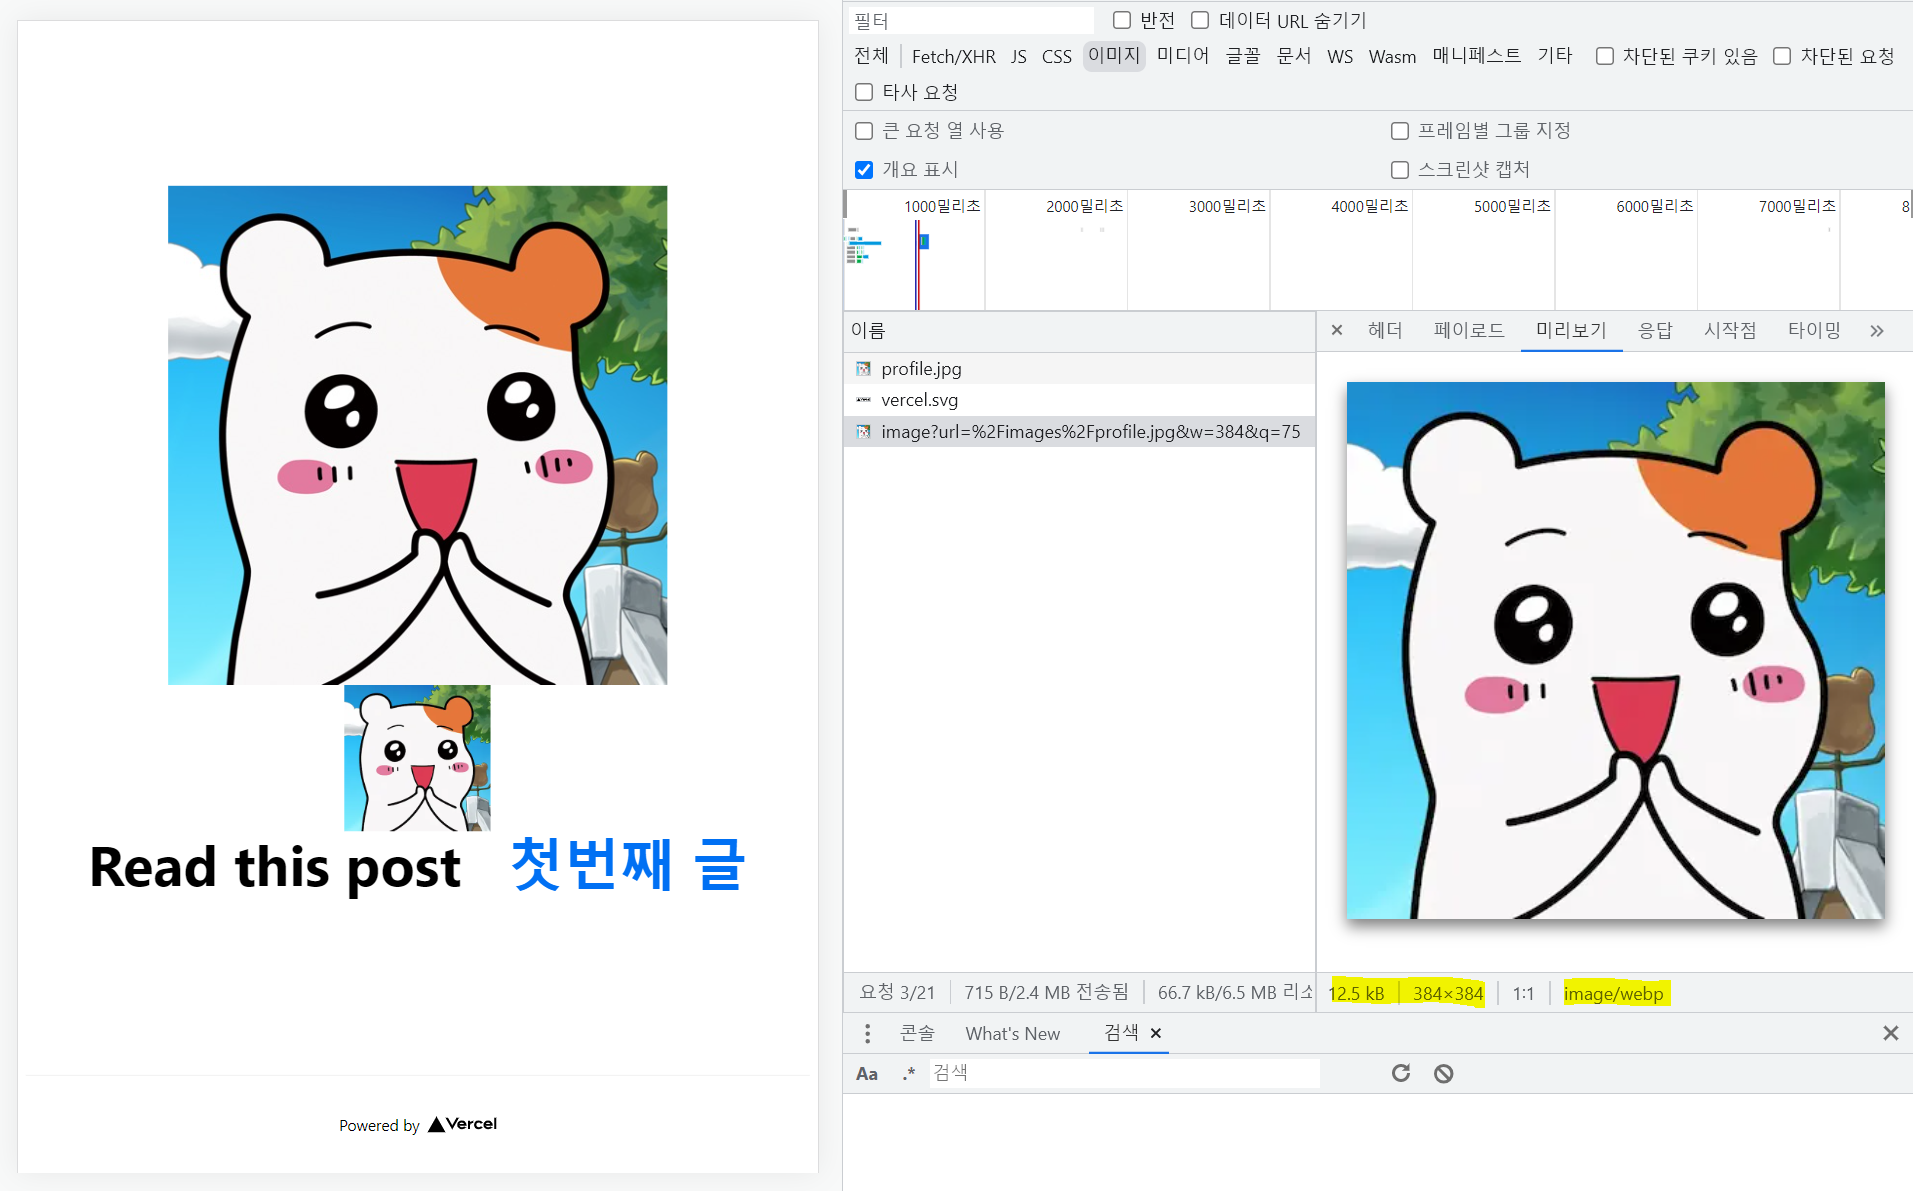
- 특징
- _next/image?url=%2Fimages%2Fprofile.jpg&w=384&q=75 로 데이터를 함께 받아오고 있다.
- image/webp 파일이며 사이즈 최적화가 되어있다.
(크롬은 webp를 제공하기 때문에 알아서 최적화가 됨.)
Image 태그의 또 다른 특징!
- lazy loading (테스트를 여럿 시도했으나...하단에 이미지 태그를 써도 저는 왜 스크롤 전에 불러오는지 모르겠습니다....참고 url 남기겠습니다... )
( - https://fe-developers.kakaoent.com/2022/220714-next-image/#lazy-loading )
Image Component 특징 정리
- Resizing(responsive 사이즈 최적화)
- Lazy load(scroll 등 이벤트로 인해 viewport에 들어오면 로드 됨)
- 그외 optimization(webp 포맷으로 최적화)
MetaData
- Head Component
- title / image / description 등 og Tag
- icon
- third party script ( ex. google-analytics..)
(title 예시)
(og:title 예시)
- Script Component
- strategy
- onLoad
Layout
- CSS Module
./layout.module.css 라는 CSS 모듈을 만들어 보자
- components 폴더를 생성
- Layout.js / layout.module.css 파일을 생성 해준다.
→ /component/Layout.js
import Head from 'next/head';
import Image from 'next/image';
import styles from './layout.module.css';
import utilStyles from '../styles/utils.module.css';
import Link from 'next/link';

const name = 'Your Name';
export const siteTitle = 'Next.js Sample Website';

export default function Layout({ children, home }) {
    return (
        <div className={styles.container}>
            <Head>
                <link rel="icon" href="/favicon.ico" />
                <meta
                    name="description"
                    content="Learn how to build a personal website using Next.js"
                />
                <meta
                    property="og:image"
                    content={`https://og-image.vercel.app/${encodeURI(
                        siteTitle,
                    )}.png?theme=light&md=0&fontSize=75px&images=https%3A%2F%2Fassets.vercel.com%2Fimage%2Fupload%2Ffront%2Fassets%2Fdesign%2Fnextjs-black-logo.svg`}
                />
                <meta name="og:title" content={siteTitle} />
                <meta name="twitter:card" content="summary_large_image" />
            </Head>
            <header className={styles.header}>
                {home ? (
                    <>
                        <Image
                            priority
                            src="/images/profile.jpg"
                            className={utilStyles.borderCircle}
                            height={144}
                            width={144}
                            alt=""
                        />
                        <h1 className={utilStyles.heading2Xl}>{name}</h1>
                    </>
                ) : (
                    <>
                        <Link href="/">
                            <Image
                                priority
                                src="/images/profile.jpg"
                                className={utilStyles.borderCircle}
                                height={108}
                                width={108}
                                alt=""
                            />
                        </Link>
                        <h2 className={utilStyles.headingLg}>
                            <Link href="/" className={utilStyles.colorInherit}>
                                {name}
                            </Link>
                        </h2>
                    </>
                )}
            </header>
            <main>{children}</main>
            {!home && (
                <div className={styles.backToHome}>
                    <Link href="/">← Back to home</Link>
                </div>
            )}
        </div>
    );
}
→ /component/layout.module.css
.container {
  max-width: 36rem;
  padding: 0 1rem;
  margin: 3rem auto 6rem;
}

.header {
  display: flex;
  flex-direction: column;
  align-items: center;
}

.backToHome {
  margin: 3rem 0 0;
}- Layout.js 에서 layout.module.css를 style로 import 해온 뒤 className={styles.container} 으로 모듈을 활용할 수 있다.
styles 폴더를 생성 후 utils.module.css 를 만들어보자
→ /styles/utils.module.css
.heading2Xl {
    font-size: 2.5rem;
    line-height: 1.2;
    font-weight: 800;
    letter-spacing: -0.05rem;
    margin: 1rem 0;
}

.headingXl {
    font-size: 2rem;
    line-height: 1.3;
    font-weight: 800;
    letter-spacing: -0.05rem;
    margin: 1rem 0;
}

.headingLg {
    font-size: 1.5rem;
    line-height: 1.4;
    margin: 1rem 0;
}

.headingMd {
    font-size: 1.2rem;
    line-height: 1.5;
}

.borderCircle {
    border-radius: 9999px;
}

.colorInherit {
    color: inherit;
}

.padding1px {
    padding-top: 1px;
}

.list {
    list-style: none;
    padding: 0;
    margin: 0;
}

.listItem {
    margin: 0 0 1.25rem;
}

.lightText {
    color: #666;
}- Layout.js 에서 utils.module.css 또한 import 해서 활용하는 것을 볼 수 있다.
Global Module CSS
- pages/ 안에 _app.js 를 생성해준다.
- styles/ 안에 global.css를 생성해준다.
→ /pages/_app.js
import '../styles/globals.css'
export default function App({Component, pageProps}){
    return <Component {...pageProps} />
}
→ /styles/utils.module.css
html,
body {
padding: 0;
margin: 0;
font-family: -apple-system, BlinkMacSystemFont, Segoe UI, Roboto, Oxygen, Ubuntu,
Cantarell, Fira Sans, Droid Sans, Helvetica Neue, sans-serif;
line-height: 1.6;
font-size: 18px;
}

* {
box-sizing: border-box;
}

a {
color: #0070f3;
text-decoration: none;
}

a:hover {
text-decoration: underline;
}

img {
max-width: 100%;
display: block;
}- _app.js 에 global.css를 import 하면 전역으로 style이 적용되는 걸 알 수 있다.
참조 (global.css) - https://nextjs.org/learn/basics/assets-metadata-css/global-styles
참조 (Profile Layout) - https://nextjs.org/learn/basics/assets-metadata-css/polishing-layout
.jpeg)
환영