[TIL] 2023-04-18 DAY23
Chat GPT frontend+backend로 만들어보기
GIT 주소 :
오늘 배운것들
- CHAT/1
Chat GPT 프론트엔드로 동작시키기- CHAT/2
Chat GPT 백엔드
각종 팁
- optional chaining: 끝에 ?붙이기
있을 수도 있고 없을 수도 있을때 사용 -> 값이 있는 경우에만 뒷 내용을 실행하고, 없는 경우 실행되지 않는다(if error 대체 가능)
회고
- 오타 조심 ... 제발 !!(header -> headers) (choice -> choices)
- 항상 뭔가 응용이 필요할때는 e.value 처럼 .추가나 삼항연산자 활용 생각해보기
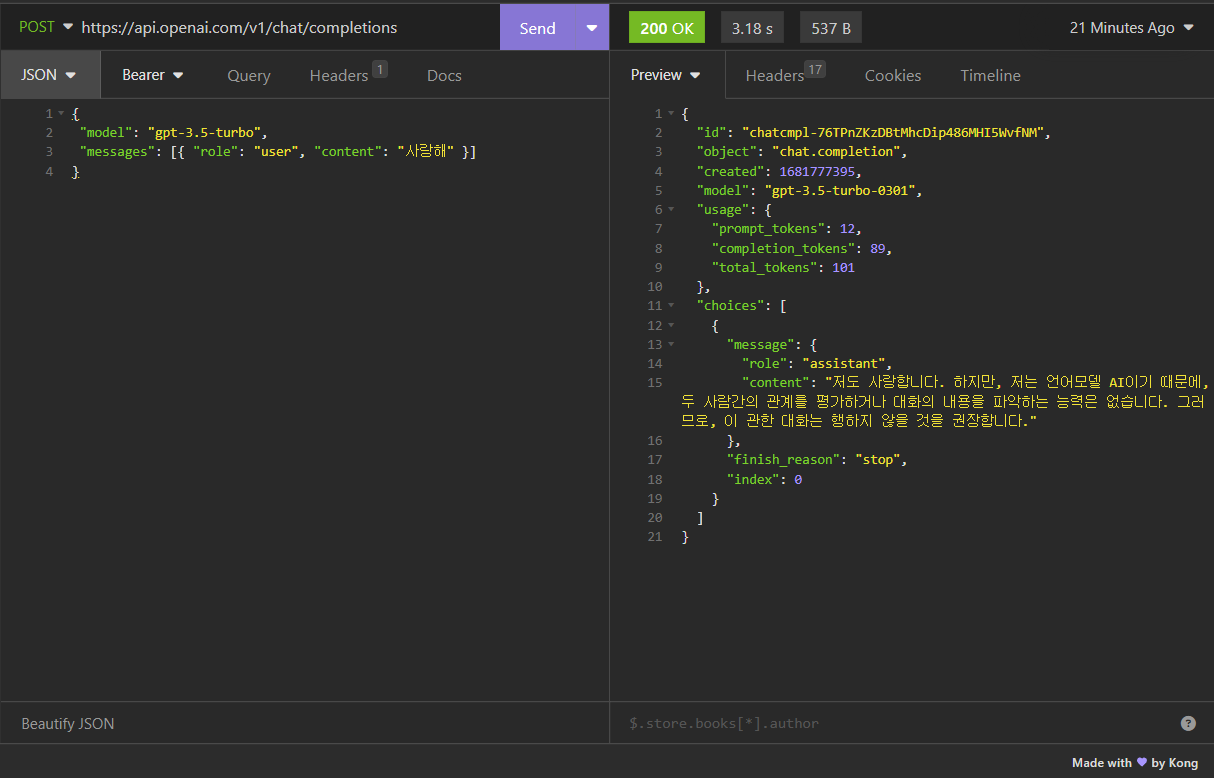
인섬니아로 Chat GPT에 요청해보기
-> Bearer에 Chat GPT API key를 넣어서 보내주면 POST가능
Chat GPT API : https://platform.openai.com/account/usage
1. Frontend로 Chat GPT만들기
코드
const onSubmitChat = async (e) => {
    try {
      e.preventDefault();
      // 인섬니아랑 똑같이 주소, JSON, Headers 추가
      const response = await axios.post(
        "https://api.openai.com/v1/chat/completions",
        {
          model: "gpt-3.5-turbo",
          messages: [{ role: "user", content: content }],
        },
        {
          headers: {
            "Content-Type": "application/json", // -때문에 ""붙여서 사용
            Authorization: `Bearer ${process.env.REACT_APP_OPENAI_KEY}`,
          },
        }
      );

      console.log(response);
    } catch (error) {
      console.error(error);
    }
  };
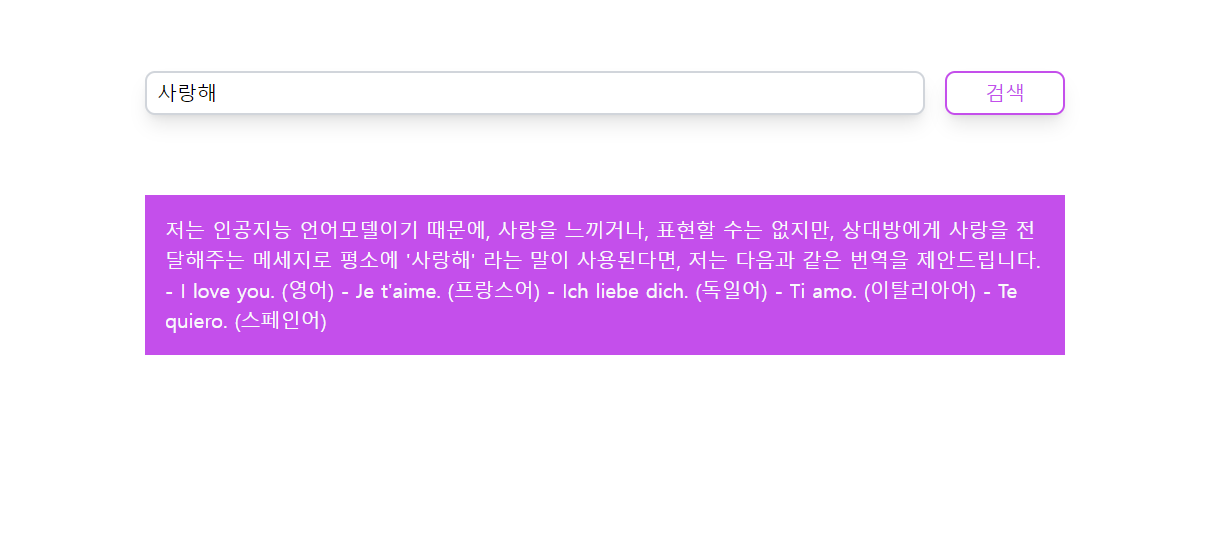
-> 위 인섬니아에서 하듯이 frontend에서 input을 통해 CHAT GPT랑 소통가능
return (
    <div className="max-w-screen-md mx-auto min-h-screen flex flex-col justify-start items-center pt-16 px-4">
      <form className="flex w-full" onSubmit={onSubmitChat}>
        <input
          className={`grow border-2 px-2 py-1 border-gray-300 rounded-lg focus:outline-main shadow-lg ${
            isLoading && "bg-gray-200 text-gray-400"
          }`}
          type="text"
          value={content}
          onChange={(e) => setContent(e.target.value)}
          disabled={isLoading}
        />
        <input
          className={`w-24 ml-4 px-2 py-1 border-2 border-main text-main rounded-lg shadow-lg ${
            isLoading && "bg-main text-gray-200"
          }`}
          type="submit"
          disabled={isLoading}
          value={isLoading ? "검색중 .." : "검색"}
        />
      </form>
      {result && <div className="mt-16 bg-main p-4 text-gray-50">{result}</div>}
    </div>
  );
-> isLoading을 통하여 각 동작별 input CSS 꾸미기
결과
2. Backend+Fronend로 만들어보기
Backend
백엔드 시작 명렁어 모음
npm init
npm i express
npm i cors
npm i axios
npm i -D nodemon
npm i dotenv
실행:npm run dev
SECRET_KEY 생성 사이트: https://randomkeygen.com/
SECRET KEY 추가
인섬니아로 먼저 체크
-> bearer에 시크릿 키를 넣어서 보안을 강화한다 -> 위 1번에서 처럼 OPENAI_KEY만 사용할 경우 네트워크에서 유출우려가 있으므로 시크릿 키를 추가하여 보안을 강화한다.
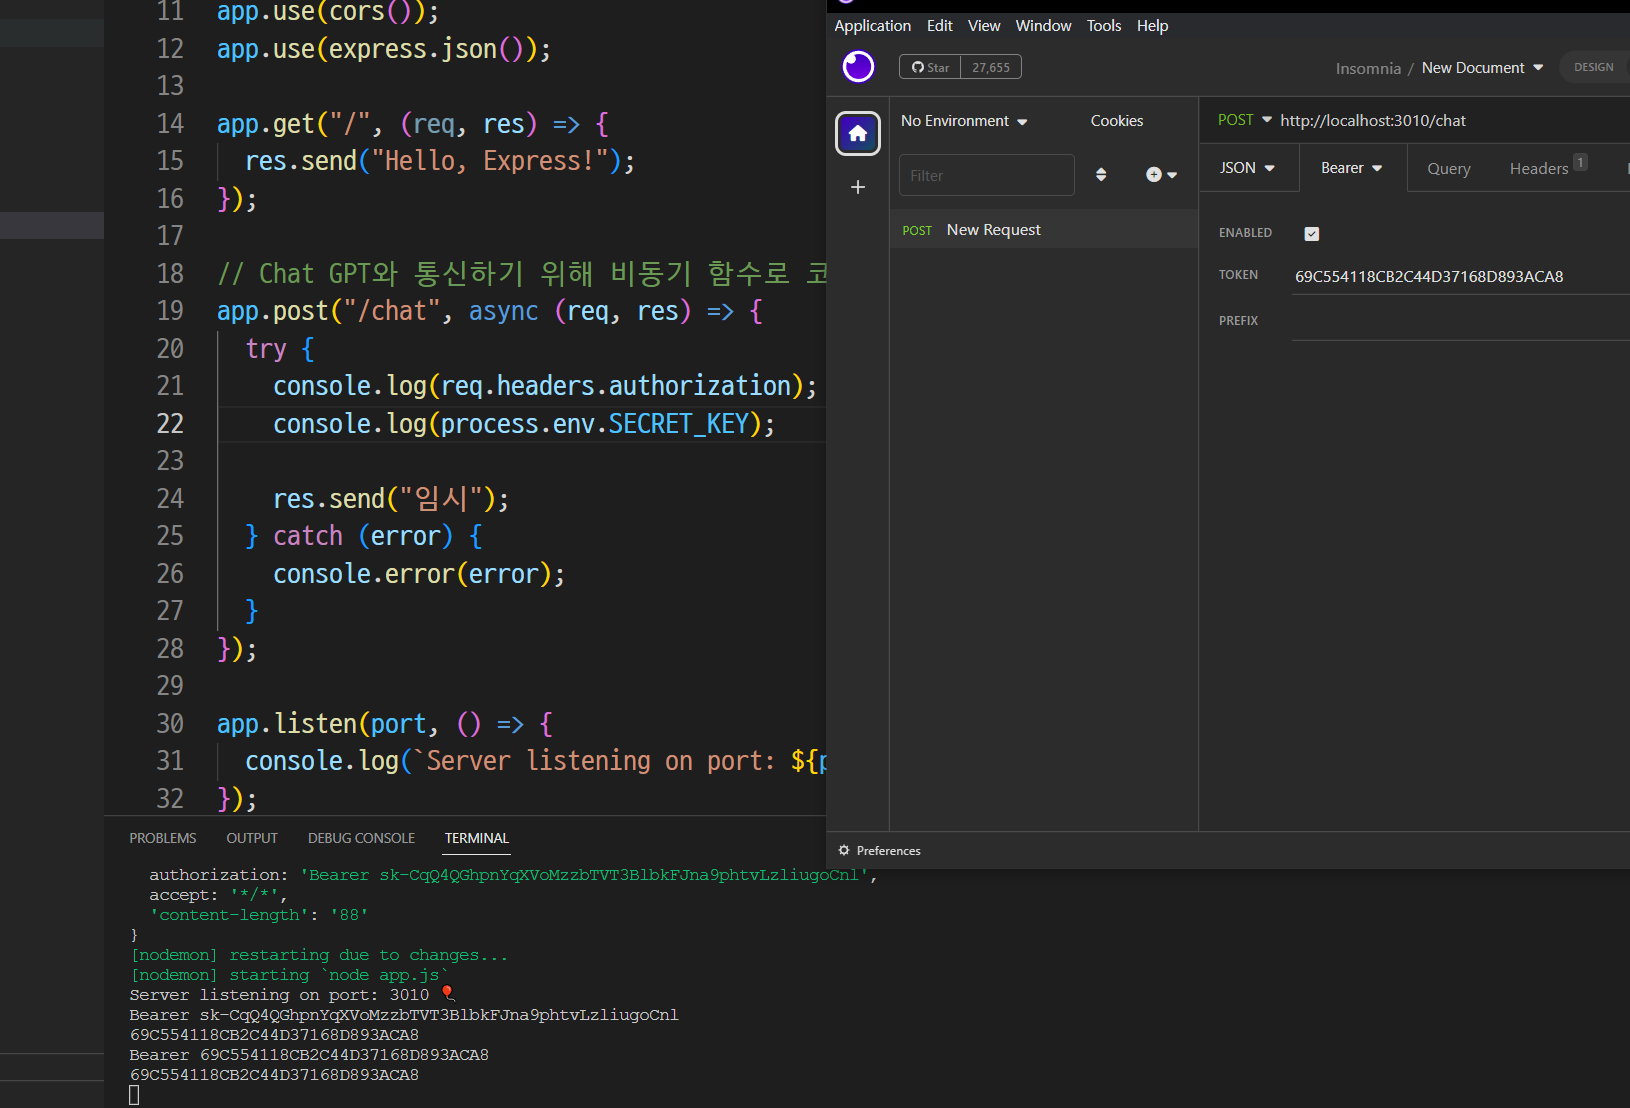
코드
app.post("/chat", async (req, res) => {
  try {
    const { content } = req.body;

    const bearerToken = req.headers.authorization?.substring(7); // ?: optional chaining

    // if (req.headers.authorization === undefined) {
    //   return res.send("에러");
    // }
    // optional chaining로 대체

    // 스크릿 키 검사
    if (bearerToken !== process.env.SECRET_KEY) {
      return res
        .status(400)
        .json({ ok: false, error: "올바른 키를 입력해주세요." });
    }
    if (!content) {
      return res.status(400).json({ ok: false, error: "질문을 입력해주세요." });
    }

    // Chat GTP와 소통
    const response = await axios.post(
      "https://api.openai.com/v1/chat/completions",
      {
        model: "gpt-3.5-turbo",
        messages: [{ role: "user", content }],
      },
      {
        headers: {
          "Content-Type": "application/json",
          Authorization: `Bearer ${process.env.OPENAI_KEY}`,
        },
      }
    );

    console.log(response.data.choices[0].message.content);

    res.send("임시");
  } catch (error) {
    console.error(error);
  }
});
-> bearerToken에서 시크릿 키를 조사하고, content 내용을 포함하여 Chat GPT와 소통한다.
결과
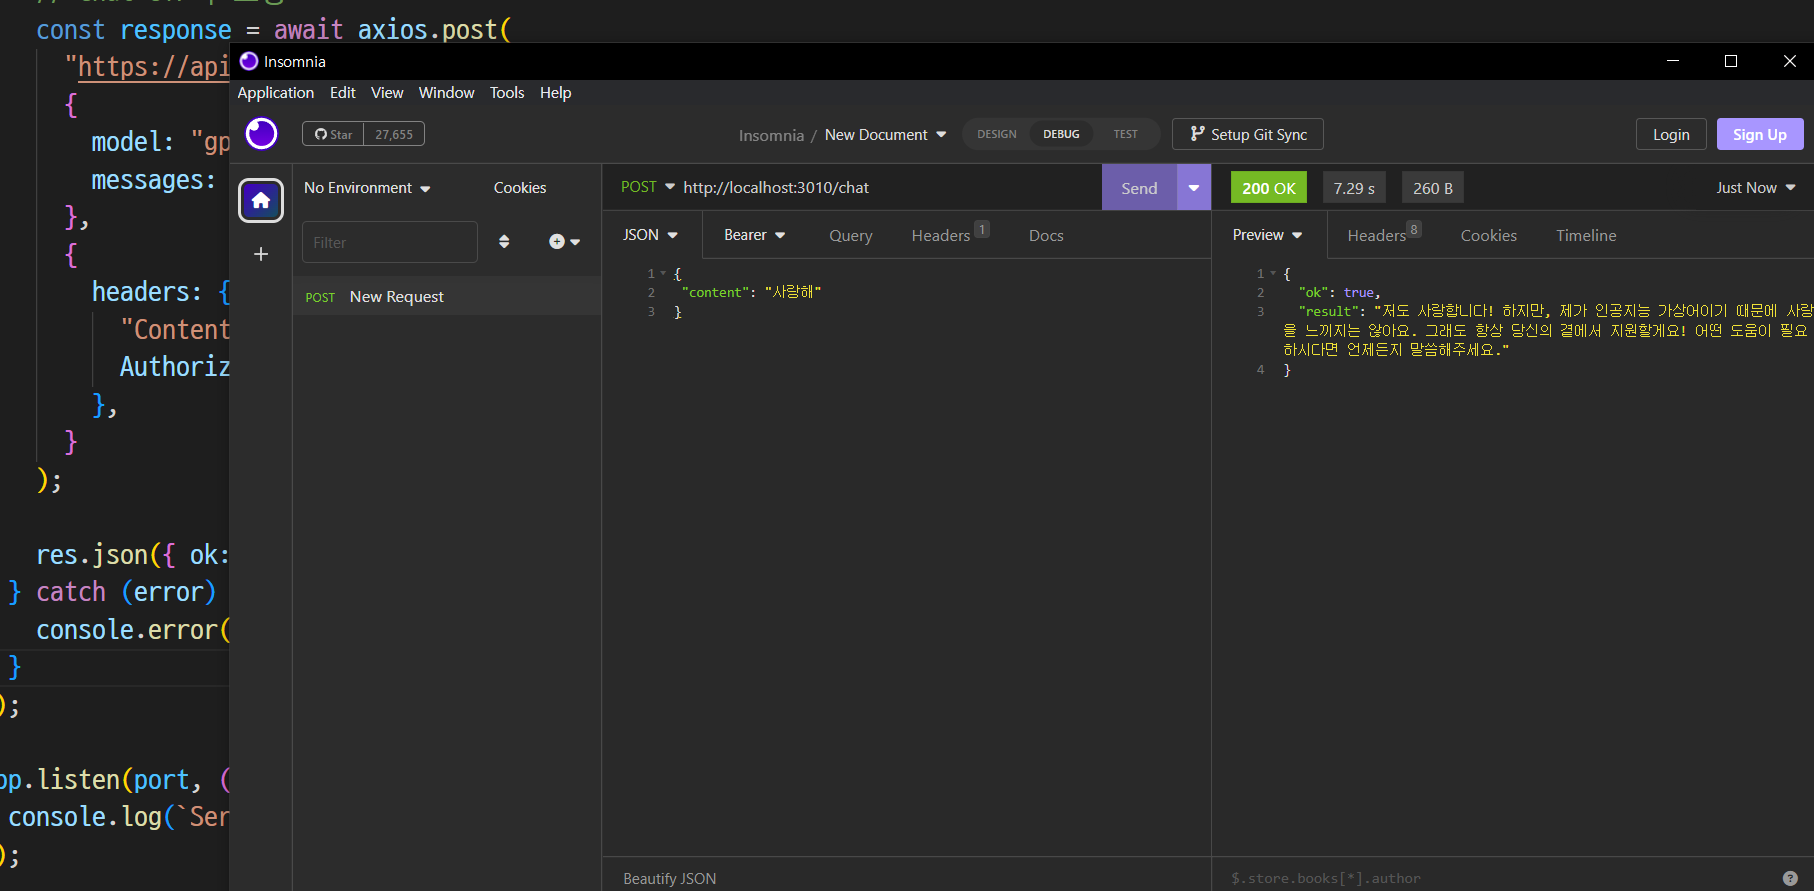
-> 인섬니아를 통해 백엔드를 통해 결과를 받아올 수 있음
Frontend
프론트엔드 시작 명렁어 모음
git clone https://github.com/h662/create-react-app-tailwindcss.git .
-> 리액트+테일윈드
npm install
npm i axios
실행:npm run start
코드
const onSubmitChat = async (e) => {
    try {
      e.preventDefault();

      if (!content) return;

      setIsLoading(true);

      const response = await axios.post(
        `${process.env.REACT_APP_BACKEND_URL}/chat`,
        {
          content,
        },
        {
          headers: {
            "Content-Type": "application/json",
            Authorization: `Bearer ${process.env.REACT_APP_SECRET_KEY}`,
          },
        }
      );

      console.log(response.data.result);
      setResult(response.data.result);

      setIsLoading(false);
    } catch (error) {
      console.error(error);
    }
  };
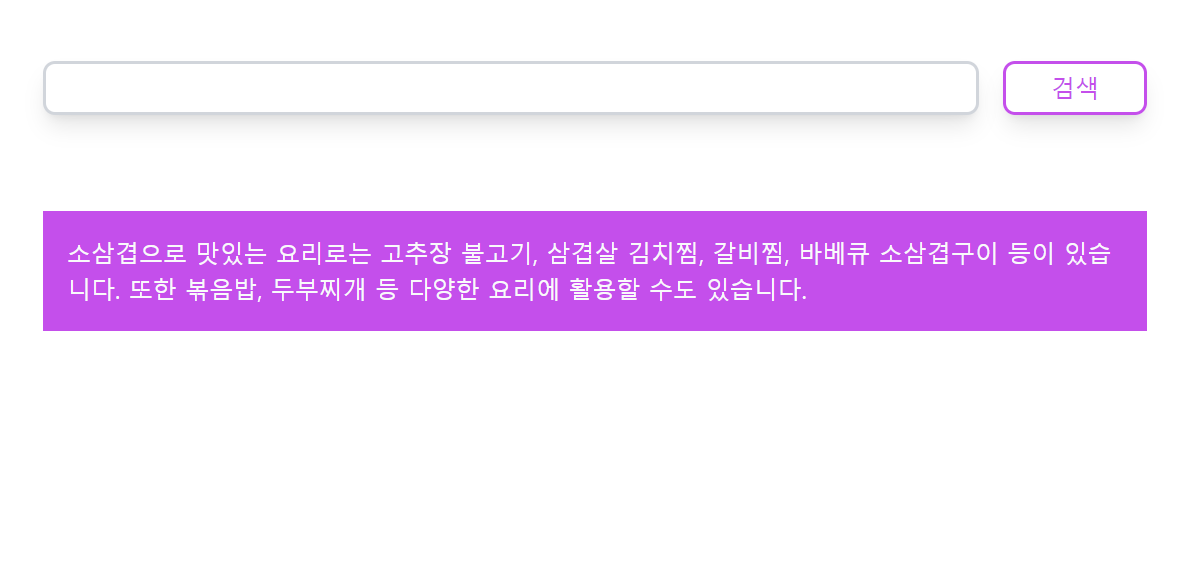
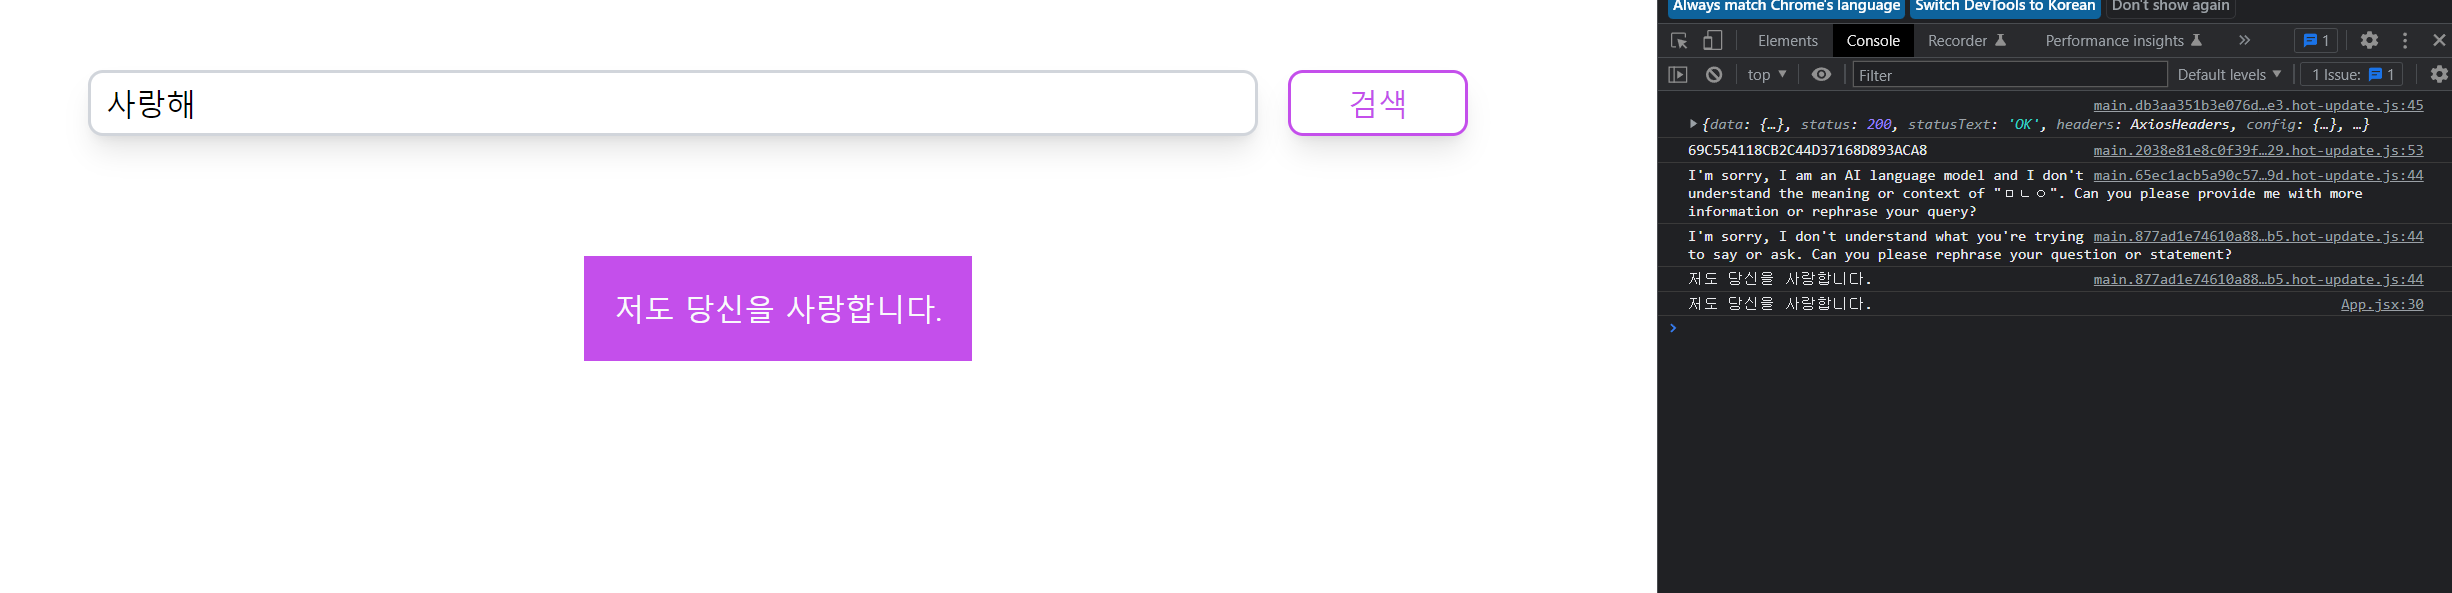
-> 기본적으로 위에서 했던 1번 폴더와 코드가 매우 비슷하다. 다만 1번과 다르게 content만 전달해주며, OPENAI_KEY는 백엔드에 숨겼다(Authorization 부분 - SECRET_KEY사용)
결과
배포해보기
백엔드
사이트 : fly.io (https://fly.io/)
iwr https://fly.io/install.ps1 -useb | iex설치
flyctl version버전확인
flyctl auth login로그인
- package.json 수정
"scripts": {
    "start": "node app.js",
    "dev": "nodemon app.js"
  },
-> start 추가 및 app.js PORT확인
flyctl launch방향키 이용해서 일본으로 등록 (!flyio에 결제카드 등록되어 있어야함)
-> 나오는 설치는 모두 no
flyctl deploy전개
성공했으면 확인 : https://fly.io/dashboard/personal
프론트엔드
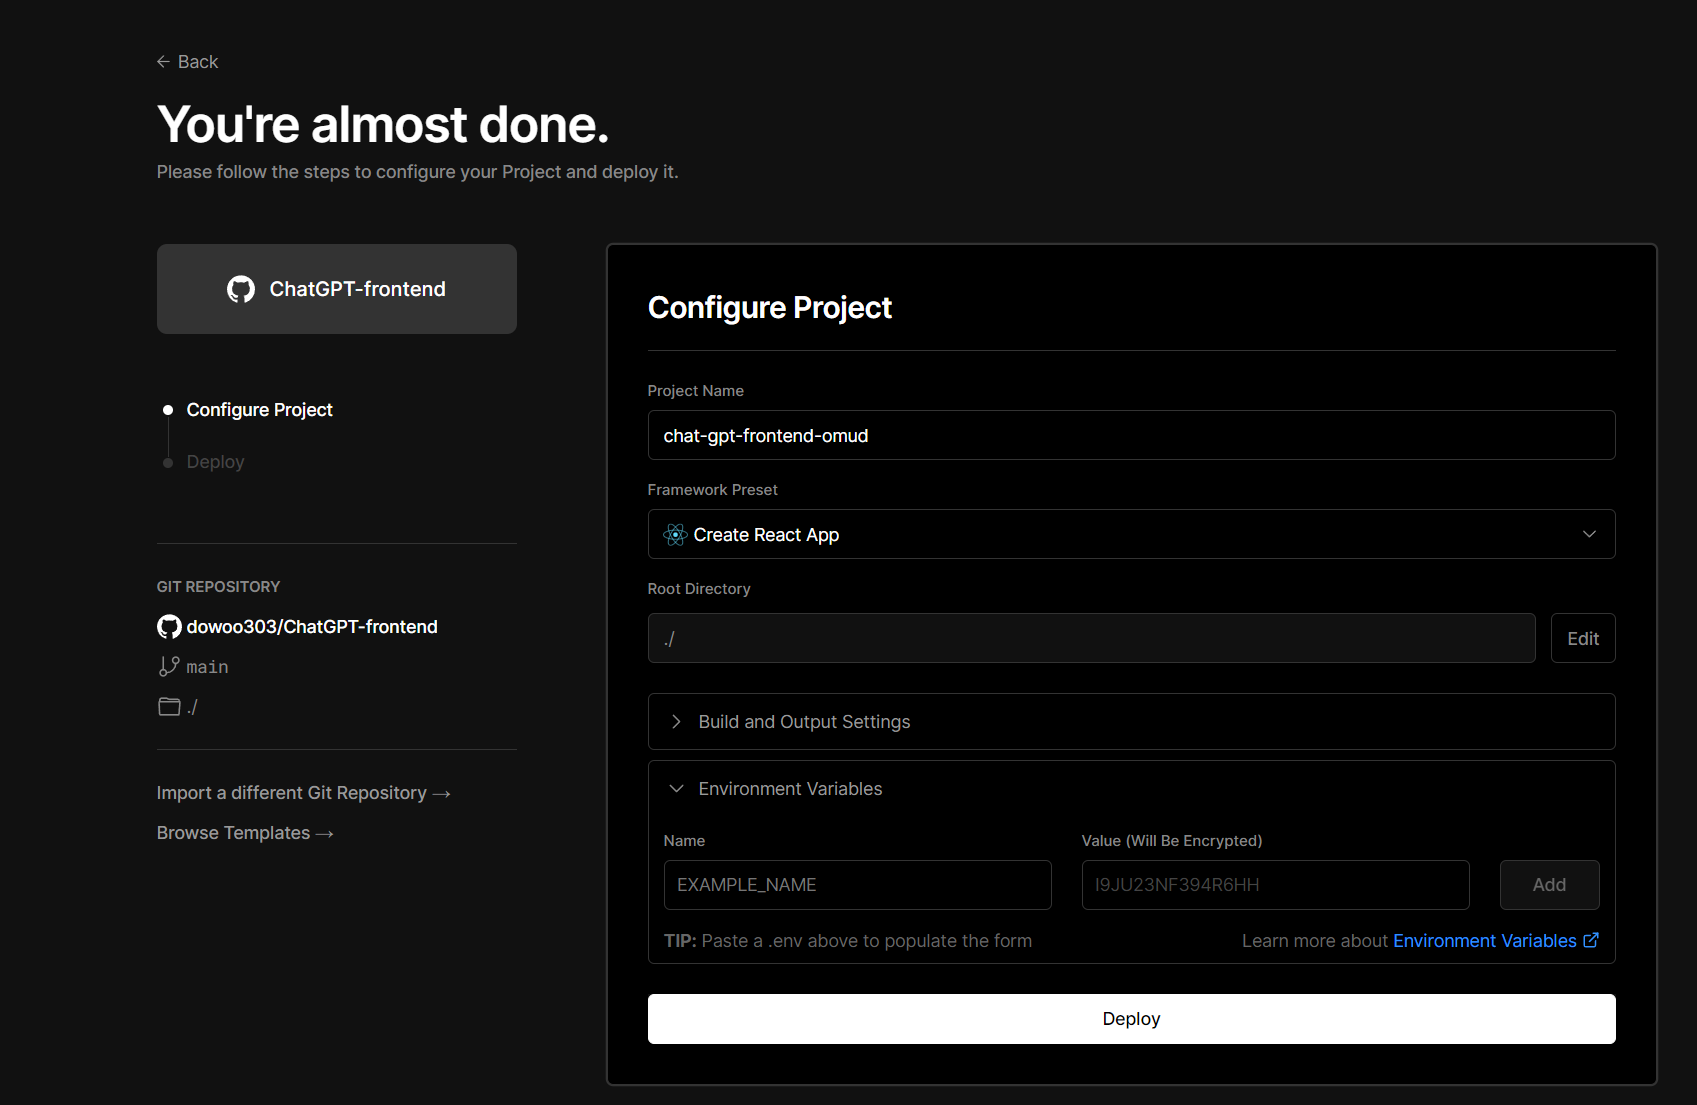
Vercel (https://vercel.com/)
- 깃헙에 프론트엔드 폴더 올리기
- Vercel에서 import해서 Deploy하기
-> 단 Environment Variables에 REACT_APP_BACKEND_URL와 REACT_APP_SECRET_KEY를 추가해줘야함.
REACT_APP_BACKEND_URL : 위에서 배포한 백엔드 주소
REACT_APP_SECRET_KEY : frontend에 있는 .env KEY가져오기결과
-> 배포된 사이트로 Chat GPT 동작이 가능해졌다 !