NestJS class-validator와 transformer가 데코레이터와 다른점
다양한 자바스크립트 환경에서 class-validator 와 class-transformer 를 사용하고 있습니다. 꽤나 유용한 라이브러리라서 NestJS 공식 문서에도 NestJS와 통합하여 사용할 수 있는 방법을 소개하고 있습니다. (공식 문서)
실행 순서가 일반 Decorator와 다르다
다만 사용하는데 큰 다른점이 하나 있는데요, Decorator는 선언 순서에 따라 실행되는 순서가 결정됩니다.
예제 코드로 설명하겠습니다.
function ConsoleLog(print: string) {
  return (target: object, key?: any, descriptor?: any) => {
    const originMethod = descriptor.value;
    descriptor.value = (...args: any[]) => {
      console.log(print);
      return originMethod.call(this, ...args);
    };
    return descriptor;
  };
}
예제로 간단한 Decorator를 선언합니다. 단순히 출력할 내용을 print 매개변수를 받아 함수 실행 전 출력하는 동작을 합니다.
그리고 사용하기 위한 코드를 작성합니다.
class DecoratorTest {
  @ConsoleLog('first')
  @ConsoleLog('second')
  test() {
    console.log('run test');
  }
}

const dt = new DecoratorTest();
dt.test();
first
second
run test
해당 코드를 실행하면 예상한 대로 출력됩니다.
그런데, 아래와 같은 경우엔 어떻게 동작할까요?
import { Transform } from 'class-transformer';
import { IsPositive, IsString } from 'class-validator';

export class GetHelloDto {
  @IsString()
  @Transform(({ value }) => value.toUpperCase())
  name: string;

  @IsPositive()
  @Transform(({ value }) => Number(value))
  age: number;
}
class-transformer 와 class-validator 로 선언한 평범한 DTO 입니다. 앞선 예제를 본 이후에 당연히 선언한 대로 validator가 실행된 후 transformer가 실행될 것이라고 예상할 수 있습니다.
실행 순서를 보기 위해 class-validator 를 새롭게 선언합니다. 기존에 선언된 IsPositive 와 동일한 동작을 합니다.
@ValidatorConstraint({ name: 'CustomPositive' })
export class CustomPositive implements ValidatorConstraintInterface {
  validate(text: string) {
    console.log('validate');
    const value = Number(text);
    return value > 0;
  }

  defaultMessage(args: ValidationArguments) {
    return `${args.property} is must be a positive number`;
  }
}
export class GetHelloDto {
@IsString()
@Transform(({ value }) => value.toUpperCase())
name: string;
@Transform(({ value }) => {
console.log('transform');
return Number(value);
})
@Validate(CustomPositive)
age: number;
}이렇게 각 실행단계에서 console.log로 출력하도록 합니다. 그리고 실행해 보면

transform이 출력되고 validate가 출력되는 걸 볼 수 있습니다. 그럼 validator와 transformer의 순서를 변경하면 어떻게 실행될지 궁금해집니다.
export class GetHelloDto {
  @IsString()
  @Transform(({ value }) => value.toUpperCase())
  name: string;

  @Validate(CustomPositive)
  @Transform(({ value }) => {
    console.log('transform');
    return Number(value);
  })
  age: number;
}
validator가 먼저 선언되었지만, 선언한 순서에 상관없이 항상 transformer가 실행되고 validator가 실행되는 걸 알 수 있습니다.
선언 순서와 실행 순서가 일치하지 않은 이유
Request의 Payload로 들어오는 값들은 JSON 리터럴 객체입니다. 그런데 class-validator는 클래스 기반으로 동작합니다. 그래서 리터럴 객체를 클래스 인스턴스로 먼저 변환을 해야 합니다.
그래서 NestJS의 ValidationPipe는 class-transformer의 plainToClass 함수를 이용해 인스턴스로 변환합니다. 그 과정에서 transform 함수가 먼저 동작하게 되고, 그 인스턴스로 변환된 이후에 validation이 가능하게 되는 것입니다.
ValidationPipe의 코드를 보면 더 쉽게 이해가 가능합니다.
// https://github.com/nestjs/nest/blob/master/packages/common/pipes/validation.pipe.ts

@Injectable()
export class ValidationPipe implements PipeTransform<any> {
	...
	public async transform(value: any, metadata: ArgumentMetadata) {
    if (this.expectedType) {
      metadata = { ...metadata, metatype: this.expectedType };
    }

    const metatype = metadata.metatype;
    if (!metatype || !this.toValidate(metadata)) {
      return this.isTransformEnabled
        ? this.transformPrimitive(value, metadata)
        : value;
    }
    const originalValue = value;
    value = this.toEmptyIfNil(value);

    const isNil = value !== originalValue;
    const isPrimitive = this.isPrimitive(value);
    this.stripProtoKeys(value);
    let entity = classTransformer.plainToClass( // <-- classTransformer.plainToClass 함수 호출
      metatype,
      value,
      this.transformOptions,
    );

    const originalEntity = entity;
    const isCtorNotEqual = entity.constructor !== metatype;

    if (isCtorNotEqual && !isPrimitive) {
      entity.constructor = metatype;
    } else if (isCtorNotEqual) {
      // when "entity" is a primitive value, we have to temporarily
      // replace the entity to perform the validation against the original
      // metatype defined inside the handler
      entity = { constructor: metatype };
    }

    const errors = await this.validate(entity, this.validatorOptions); // <-- classValidator.validate 함수 호출
    if (errors.length > 0) {
      throw await this.exceptionFactory(errors);
    }
		...
  }

	protected validate(
    object: object,
    validatorOptions?: ValidatorOptions,
  ): Promise<ValidationError[]> | ValidationError[] {
    return classValidator.validate(object, validatorOptions);
  }
	...
}
ValidationPipe 의 transform 함수를 확인해 보면, 설명한 대로 tranfromer를 호출해 인스턴스로 변환한 뒤 변경된 인스턴스로 validator로 검증하는 것을 확인할 수 있습니다.
의미없는 검증
변환된 값으로 검증하다 보니 순서를 잘못 이해하게 되면, 다음과 같이 문제가 발생할 수 있습니다.
1. 비밀번호 검증
export class SignUpDto {
  @IsString()
  @IsEmail()
  email: string;

  @Length(8)
  @Transform(({ value }) => hash(value.trim()))
  password: string;
}
최소 비밀번호를 8자리 이상으로 설정하고 비밀번호가 입력되면 해싱하도록 하는 동작을 기대한 코드를 작성하였지만, 실제로는 변환(해싱)이 먼저 이루어지다 보니 길이 비교는 해싱 된 값을 비교하게 되어 유저는 어떤 값을 입력해도 항상 검증에 통과하게 됩니다.
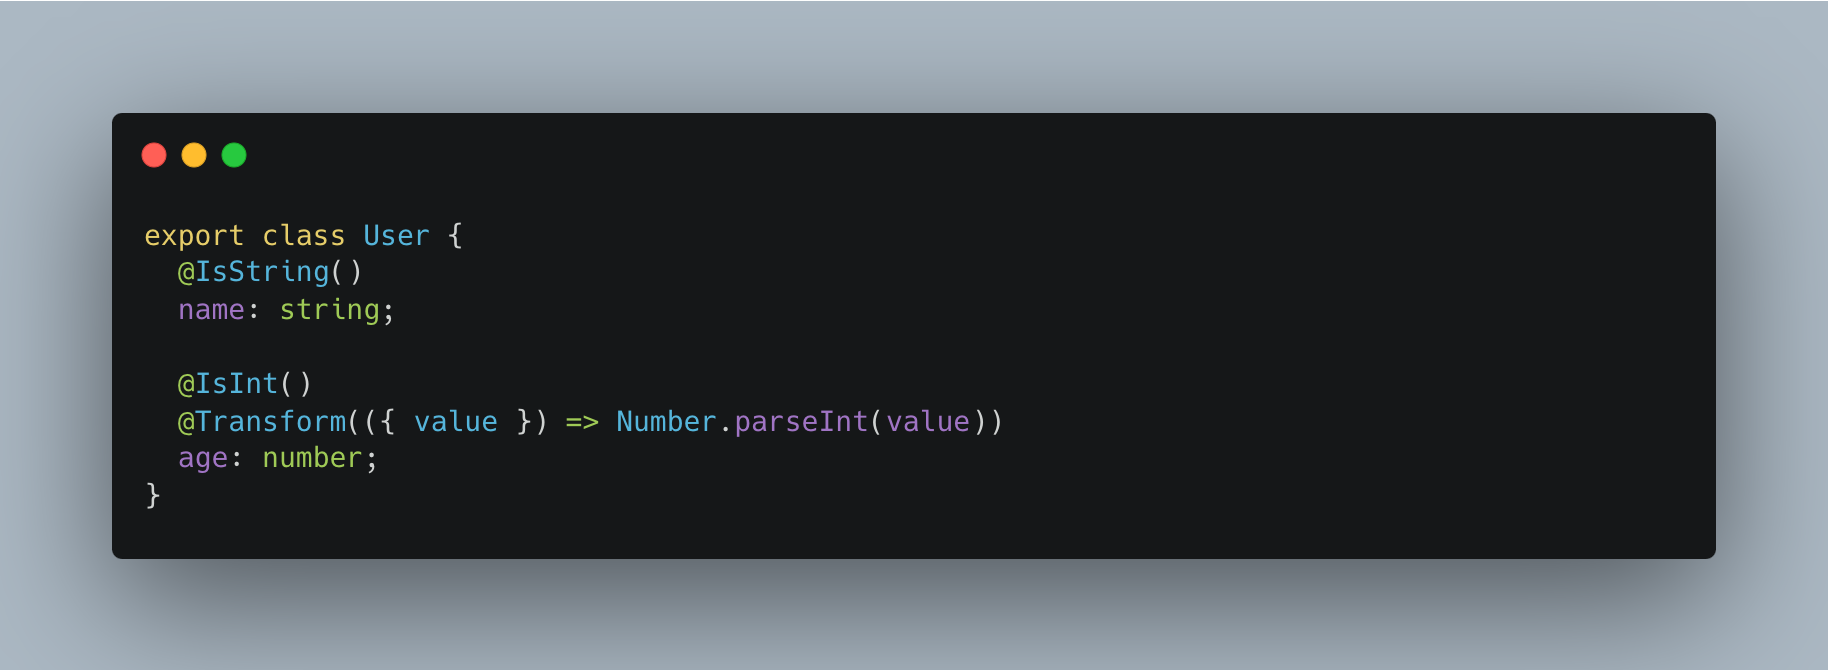
2. 숫자 검증
export class User {
  @IsString()
  name: string;

  @IsInt()
  @Transform(({ value }) => (value && value < 0 ? 0 : Number.parseInt(value)))
  age: number;
}
만약 나이를 입력받는 필드가 있다고 가정할 때 나이는 정수값으로 표현할 수 있습니다. 그런데 먼저 Integer로 변환한다면, 항상 정수값으로 변환된 값을 검증하게 되어 유저가 유리수를 입력해도 무시하고 정수값을 비교하게 되고 검증에 통과하게 됩니다.
마무리
이외에도 다양한 문제가 발생할 수 있고, 놓치고 지나갈 수 있는 부분이 있는데 이를 방지하기 위해서는 먼저 class-transformer 가 실행된다고 알고 있는 것도 중요하지만 코드를 선언할 때 실행되는 순서대로 명시적으로 선언하는 게 좋아 보입니다.
// BAD
class User {
  @IsString()
  name: string;

  @IsInt()
  @Transform(({ value }) => (value && value < 0 ? 0 : Number.parseInt(value)))
  age: number;
}

// GOOD
class User {
  @IsString()
  name: string;

  @Transform(({ value }) => (value && value < 0 ? 0 : Number.parseInt(value)))
  @IsInt()
  age: number;
}
다른 데코레이터와 동일하게 실행되는 순서로 선언하여 실행되는 순서를 눈으로도 쉽게 파악할 수 있도록 하는 것이 좋아 보입니다.