※ubuntu 18.04 를 사용
nextjs 빌드파일을 배포하지 않고 폴더 전체를 배포함
1. Node, npm, yarn 설치
1-1. nodejs 설치 - 14버전말고 다른 버전을 설치하고 싶으면 14를 원하는 버전으로 바꿀것
$ curl -sL https://deb.nodesource.com/setup_14.x | sudo -E bash -
$ sudo apt-get install -y nodejs
1-2. nodejs 업데이트
$ sudo npm cache clean -f
$ sudo npm install -g n
$ sudo n stable
1-3. npm 최신버전 설치
$ sudo curl -L https://npmjs.org/install.sh | sh
sudo npm update -g npm
1-4. yarn 설치
$ npm install -g yarn1-5. 버전 확인
$ node -v
$ npm -v
$ yarn -v
2. 소스코드 배포
소스 코드 배포시 vscode의 sftp 서비스를 자주 사용함. git을 사용하는 것이 더 좋을 듯.
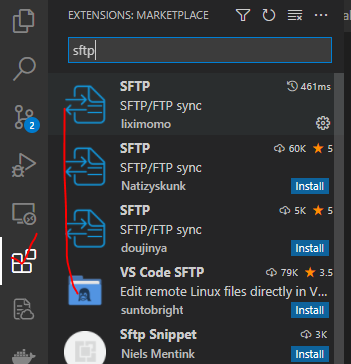
vscode에서 f1을 누르면 설정할 수 있는 파일을 열수 있다.

config파일을 연 뒤, 아래와 같이 설정한다. (host, port, username, password, remotePath, uploadOnSave(옵션) 은 본인에게 맞게 설정)
{
    "name": "linux share",
    "protocol": "sftp",
    "defaultProfile": "upload",
    "profiles": {
        "upload": {
            "host": "xxx.xxx.xxx.xxx",
            "port": 22,
            "username": "root",
            "password": "12345",
            "remotePath": "/root/source",
            "uploadOnSave": false
        },
    }
}
설정이 끝나면 f1을 다시 눌러 sftp 의 upload project를 수행한다.

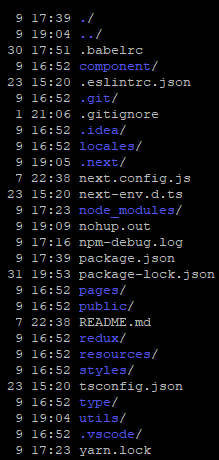
파일 업로드가 완료되면 아래와 같이 root/source 폴더에 파일이 들어간 것을 확인할 수 있다.
해당 폴더에서 다음 명령을 수행
$ yarn install
$ yarn build
$ yarn start