데이터 삭제 과정
게시판에서 글을 삭제하는 과정은 다음 순서로 이루어진다.
- 클라이언트가 HTTP 메서드로 특정 게시글의 삭제를 요청한다.
- 삭제 요청을 받은 컨트롤러는 리파지터리를 통해 DB에 저장된 데이터를 찾아 삭제한다. 이 작업은 기존 데이터가 있는 경우에만 수행된다.
- 삭제가 완료됐다면 클라이언트를 결과 페이지로 리다이렉트한다.
데이터 삭제하기
Delete버튼 추가하기
show.mustache 파일에 아래 코드를 넣는다.
<a href="/articles/{{article.id}}/delete" class="btn btn-danger">Delete</a>
참고로 부트스트랩 버튼에서 btn-primary는 파란색, btn-danger는 빨간색, btn-success는 초록색, btn-warning은 노란색으로 넣을 수 있다.
Delete 요청을 받아 데이터 삭제하기
ArticleController 클래스에 delete() 메서드를 추가한다.
    @GetMapping("/articles/{id}/delete")
    public String delete(@PathVariable Long id, RedirectAttributes rttr) {
        log.info("삭제 요청이 들어왔습니다!!");
        // 1. 삭제할 대상 가져오기
        Article target = articleRepository.findById(id).orElse(null);
        log.info(target.toString());
        // 2. 대상 엔티티 삭제하기
        if (target != null) {       // 삭제할 대상이 있는지 확인
            articleRepository.delete(target);       // delete() 메서드로 대상 삭제
            rttr.addFlashAttribute("msg", "삭제됐습니다!");
        }
        // 3. 결과 페이지로 리다이렉트하기
        return "redirect:/articles";
    }
삭제 요청이 들어오고, 첫번째로 삭제할 대상을 {id}로 찾아내서 삭제할 대상이 있는지 확인하고, 있다면 CrudRepository의 delete() 메서드로 대상 데이터를 삭제한다.
삭제 완료 메시지 남기기
삭제가 완료되면, 그냥 목록 페이지로 넘어가게 되는데, 이제 삭제 메시지로 삭제가 정상적으로 되었음을 알리도록 하겠다.
delete() 메서드에 RedirectAttributes 객체를 받도록 하고, addFlashAttribute() 메서드를 쓰면 리다이렉트가 될 때, 한 번 쓰고 사라지는 휘발성 데이터를 쓸 수가 있다.
이번에는 header.mustache 파일의 맨 아래에 아래 코드를 추가해주었다.
{{#msg}}		// msg 사용 범위 설정
    <div class="alert alert-primary alert-dismissible">
        {{msg}}		// 메시지 창 작성
        <button type="button" class="btn-close" data-bs-dismiss="alert" aria-label="Close"></button>
    </div>
{{/msg}}		// msg 사용 범위 설정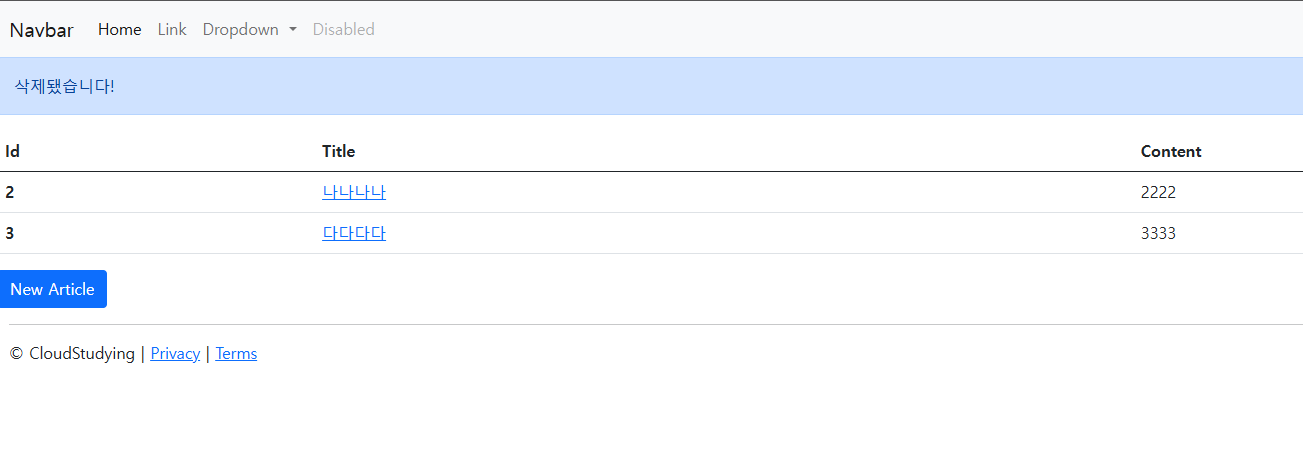
이제 delete 버튼을 누르면 맨 위에 '삭제됐습니다!'라는 메시지가 나오면서, 삭제됨을 확인할 수 있다.